
Whether you're an office worker, a gamer, or someone who uses the computer for hours, your wrists and hands will likely get sore. The best way to avoid this is with proper ergonomics — namely, having a good keyboard tray to keep your wrists straight and allow you to type without pain. There is number of DIY homemade keyboard tray ideas available on the internet to help you around, but we have tried our best to get the most useful and easy-to-make ideas here for you. However, building a keyboard tray can be a bit of a hassle. It's not too difficult, but it does require some tools and knowledge that many people don't have readily available. If you want to make your keyboard tray but don't want to spend money on something you may never use again, here are different DIY solutions for building your own!
DIY Homemade Keyboard Trays
A keyboard tray is essential if you spend a lot of time working on a computer — especially if you type a lot. It keeps your wrists at a more natural angle, and it makes it easier to get up and walk around without having to bend over and pick up your keyboard. The downside is that most keyboard trays are expensive. You can find some for less than $100, but most of them are well over $200. DIY versions are available on Instructables, but they require excellent woodworking skills and tools. We've rounded up 17 homemade keyboard trays that won't break the bank — or your back! They range from simple plans for those with trim carpentry experience to ones made from recycled materials like pallets or old furniture.
Tips To DIY Homemade Keyboard Trays
Making your keyboard tray is a great way to save money. You can also customize the size and shape to fit your needs.
Here are some tips for homemade keyboard trays:
- Get the measurements right. Make sure you measure the length and width of your desk and any other furniture that might be in the way of your keyboard tray before you start building. The measurements will help ensure that your new tray fits perfectly.
- Use sturdy materials when possible.
- Consider using plywood for extra sturdiness.
- Make sure the surface can support the weight without bending or breaking
- Use screws instead of nails whenever possible, especially if you’re using wood as a material

DIY Cost-effective Keyboard Tray

Looking for a way to give your desk a more contemporary feel. We have the solution for you. Check out this easy and cost-effective DIY keyboard tray that can be retrofitted under your desk. This DIY keyboard tray will help you sit comfortably, allowing for better posture, lower back support, and an affordable price tag. The best part about this tray is that it can be customized to fit any size desk, so you don't have to worry about buying the right size when shopping. With the help of your tools and skills, you can make your wooden keyboard tray for less than $30! As long as you have some woodworking and measuring skills, making your keyboard tray shouldn't be too difficult.
DIY Keyboard Tray out of Desk Drawer

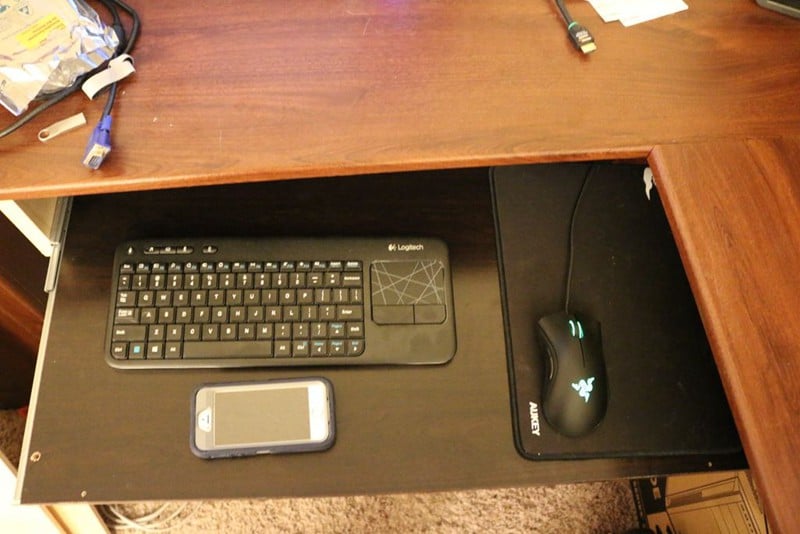
Have an old drawer that doesn't fit your desk? Why not turn it into a keyboard tray? You'll make the most of what you have and add a unique DIY touch to your home office. This keyboard tray project is one of the easiest to make. You only need an old drawer, which can be bought from any DIY store or thrift shop. This tutorial will show you how to build the tray and secure it under your desk quickly. It efficiently increases the space on your desk while keeping your keyboard within easy reach (and off the floor!).
DIY Keyboard Tray for a Tall desk
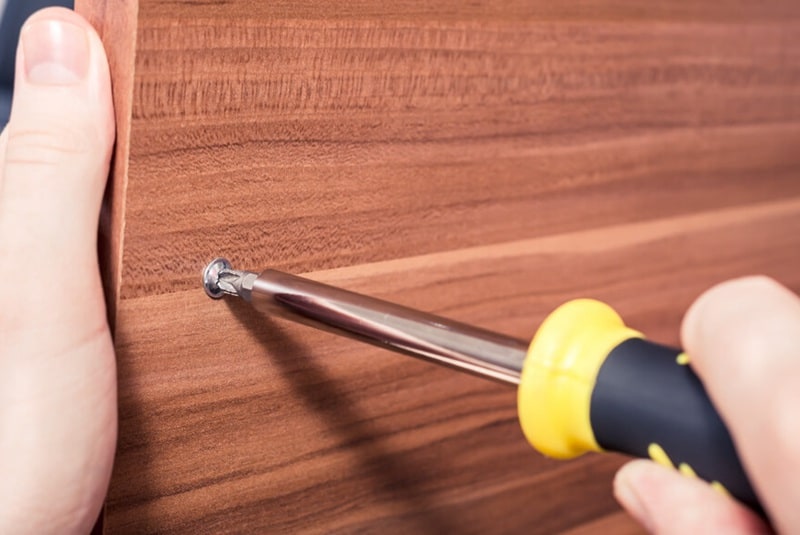
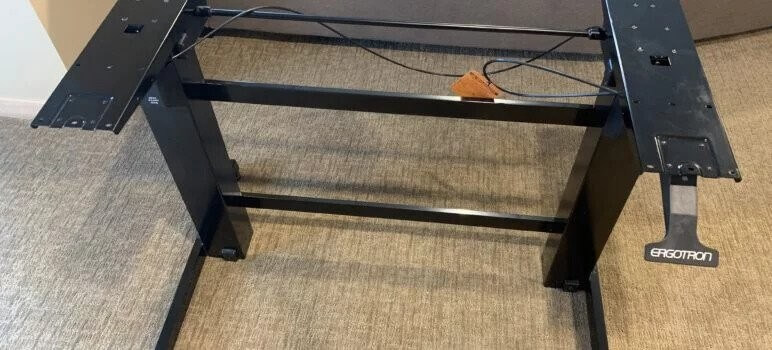
If your desk is tall, you may want to add a keyboard tray. This DIY project makes it easy to customize your workspace and keep it looking great. Add a keyboard tray to your desk or table using a drill and new tools. Once the tabletop is in place, you will attach three drawer slides (with screws) to the underside of the desk. The tray attaches to this structure, with legs swinging out on both sides. When not in use, it can be stowed in a corner or removed entirely, giving you more space on your desk surface without compromising functionality."
Building A MIDI Keyboard Drawer
This DIY MIDI keyboard drawer is a very easy project. It's great for those that don't have space to store their keyboards under the bed or in a closet and would like an easy way to access them when needed. This drawer will provide a convenient way to access my MIDI keyboard while making music. It's made from ¾ inch birch plywood, basswood trim, and maple edging. The drawer slides on ball-bearing tracks and includes a keyed lock so no one can steal my gear!
Sturdy DIY Keyboard Tray
A DIY keyboard tray can be an excellent solution for saving space on your desk and making your space more organized. This tutorial highlights all the materials and tools you need to build one. This DIY keyboard tray is made out of ¼-inch thick plywood. It is sturdy and can securely carry a heavy keyboard, mousing platform, and accessories. This allows you to save money by building this at home, rather than buying one online or from the local stores. This DIY keyboard tray is great because it lets you place your laptop at any height on your desk and move it around quickly. It is simple and only requires a few cutting and measuring skills. This DIY is great for building a solid keyboard tray to last long.
Movable DIY Keyboard Tray
Essential for an efficient work environment, this DIY keyboard tray is a must-have. The Movable DIY Keyboard Tray is a simple project that makes a great addition to your home office. This one comes in handy with extra storage space to store your computer equipment, art essentials, etc. The process is quick, simple, and easy to build. It is easy to build, does not require complicated tools, and provides adequate space for items such as keyboards and more. This keyboard tray can be built using essential tools, and it has been designed to accommodate both your keyboard and other items with ease.
DIY Keyboard Tray Using Reclaimed Hardware
Are you tired of the way your keyboard is placed on your desk? Well, this DIY keyboard tray using reclaimed hardware can help. IIf you want to take your workspace to the next level, then this project is for you. It has all the secrets to a clean and polished desk, which will make your workspace look even more awesome. You can use any reclaimed wood piece or desk to recreate this project because it requires manual work, tools, and mostly creativity. It's easy to do and cheap enough for anyone who owns an old desk in their home garage. Whether you want to save money or feel like getting rid of clutter, this project is for you!
Keyboard Tray for Gamers
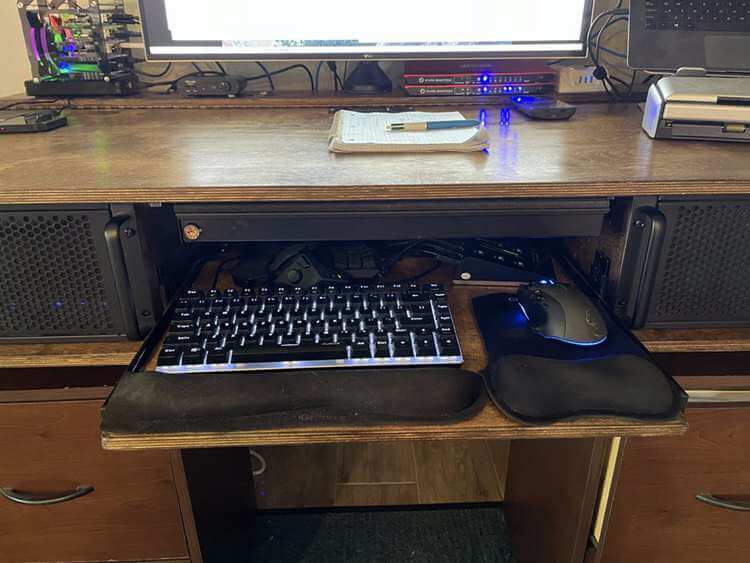
The gaming keyboard tray is one of the essential assets to have in your gaming needs. The track design allows you to place the keyboard comfortably and securely. This simple DIY project proves that you can create a keyboard tray using no more than two glide slides and an Ikea board. You need to screw on the slides to your desk frame and then secure them firmly by gluing (superglue) or screwing other parts of the Ikea board with your computer desk. This keyboard tray is perfect for gamers who need a desk without drawer space. It uses an IKEA board, an angle bracket, and two glide slides. The process is simple and can be completed in just a few minutes.
DIY Keyboard Tray and Desk
This keyboard drawer is an excellent idea for people who need a reliable office desk accessory. It is ideal for people that want to make a keyboard tray or upgrade their current one. It uses readily available materials and simple tools and does not need expert skills to build. You will need steel bars or wood to build the desk's frame. It is ideal for people that need a reliable keyboard drawer for easy use. Following this simple cutting procedure, you can easily attach the pieces and make the tray using steel bars or wood. This DIY plan will show you how to build a simple and reliable keyboard tray for your desk.
DIY Midi Keyboard Tray
This video guide will be more effective if you have a tabletop where you place stuff like your Monitor, mouse, and other computer and sound-related parts. The creator made a small sliding compartment beneath the table. He made this midi keyboard tray for just $30, and it's super easy to build. The creator bought a Kinjoek keyboard slide kit from Amazon, so. You can check the link in the description of this video to get a direct link to Amazon to buy it.
DIY Music Keyboard Tray
The same idea applies to this guide, like the one above. The creator has a music studio, and he needs a favorable place to place his keyboard, and making a sliding keyboard tray seems to be the best option yet. He used a keyboard slide he got from Amazon, some screws and nuts, a Rubbermaid wooden shelf, a ratchet set, a tape measure, and a drill. The making process is seamlessly easy and simple to follow.
Apple Keyboard Tray
Are you looking for a keyboard tray for your Apple computer? This DIY guide will show you everything you need to know. First, you need to put your keyboard and trackpad together with the measurements taken. Then take those measurements to the wood for the tray. First, you need to put the keyboard and trackpad together and measure them, then take that dimensions to the wood you'll use for the tray. Then you'll measure and cut out your wood for the tray. After creating your tray, do some sanding and cleaning before attaching it to your desk with screws or nails.
How To Install A Sliding Drawer Under A Desk
For this guide, you won't be making a keyboard tray but installing an existing drawer under your desk that you can use to slide your keyboard in and out whenever you want. If you have a MiDi keyboard, this video tutorial guide will still assist you in installing the sliding drawer used for the keyboard. It's super easy to install. You need a good wooden board that will take the weight and size of the keyboard and then attach it to the slider, and now you have freed up space on your table, and you can effortlessly slide out your keyboard and make music.
See More: DIY Vanity Table Ideas
DIY Keyboard Tray
The first step in making a keyboard tray is choosing the right keyboard tray slides, the options for the keyboard tray surfaces, and a few other supplies you'll need to work with. The steps are simple and easy to follow. For the keyboard tray, you need 14 inches of hardware resources to attach a keyboard tray to the underside of desks or tables without necessarily making custom brackets. You also need a top mount, wood, screws and nuts, wood glue, clamps, orbital sander, and other tools and materials.
DIY Keyboard Tray From Walnut And Leather

This is the guide if you have a beautiful wooden desk and want a keyboard tray to match it. If you're looking for a way to add functionality to your desk, this guide will show you how to build a keyboard tray that matches the other materials in your office. This keyboard tray from walnut and leather is not just a beautiful addition to your desk, but it's also a practical one. The guide will show you how to make a tray that matches the table and adds to its beauty, durability, and effectiveness.
DIY Keyboard Tray With Desk
This keyboard tray is an excellent addition to your desk or table. It's small, flat, and easy to slide in and out from underneath the table. It also has a small space for your computer mouse, which is perfect because you can keep your hand on the tray and do all your work easily. In this project guide, you will learn how to make a DIY keyboard tray perfect for anyone who needs help staying organized when working away from home.
DIY Sliding Keyboard Tray
A keyboard tray can make your work a lot easier, especially for those with back problems. Depending on your personal needs, a sliding keyboard tray can move the keys closer or farther away from the desk. This DIY project will teach you how to make a simple sliding keyboard tray from scratch with ease, as long as you have the necessary tools and materials. The fact is, it's not easy to build this tray, but if you follow the creator's instructions and directions, you'll see a positive result, and your sliding keyboard tray will be ready in no time.