
Unique Crochet Sagittarius Amigurumi Pattern Everyone Will Love
Try the Free Crochet Sagittarius Amigurumi Pattern for a playful zodiac doll that adds fun and star power to your collection.
Have you ever wanted to create a little piece of the stars with your own hands? Crocheting a tiny Sagittarius amigurumi pattern is a wonderful way to bring a bit of magic and personality into your crochet projects. This charming Sagittarius bow pattern is perfect for anyone who loves astrology, handmade gifts, or simply wants to practice their crochet skills. Using simple stitches like single crochet and double crochet, you'll find this project both enjoyable and satisfying. These basic stitches are the building blocks of many crochet designs, from cozy hats to cute stuffed animals.
Fun Crochet Sagittarius Amigurumi Pattern to Charming Your Decor
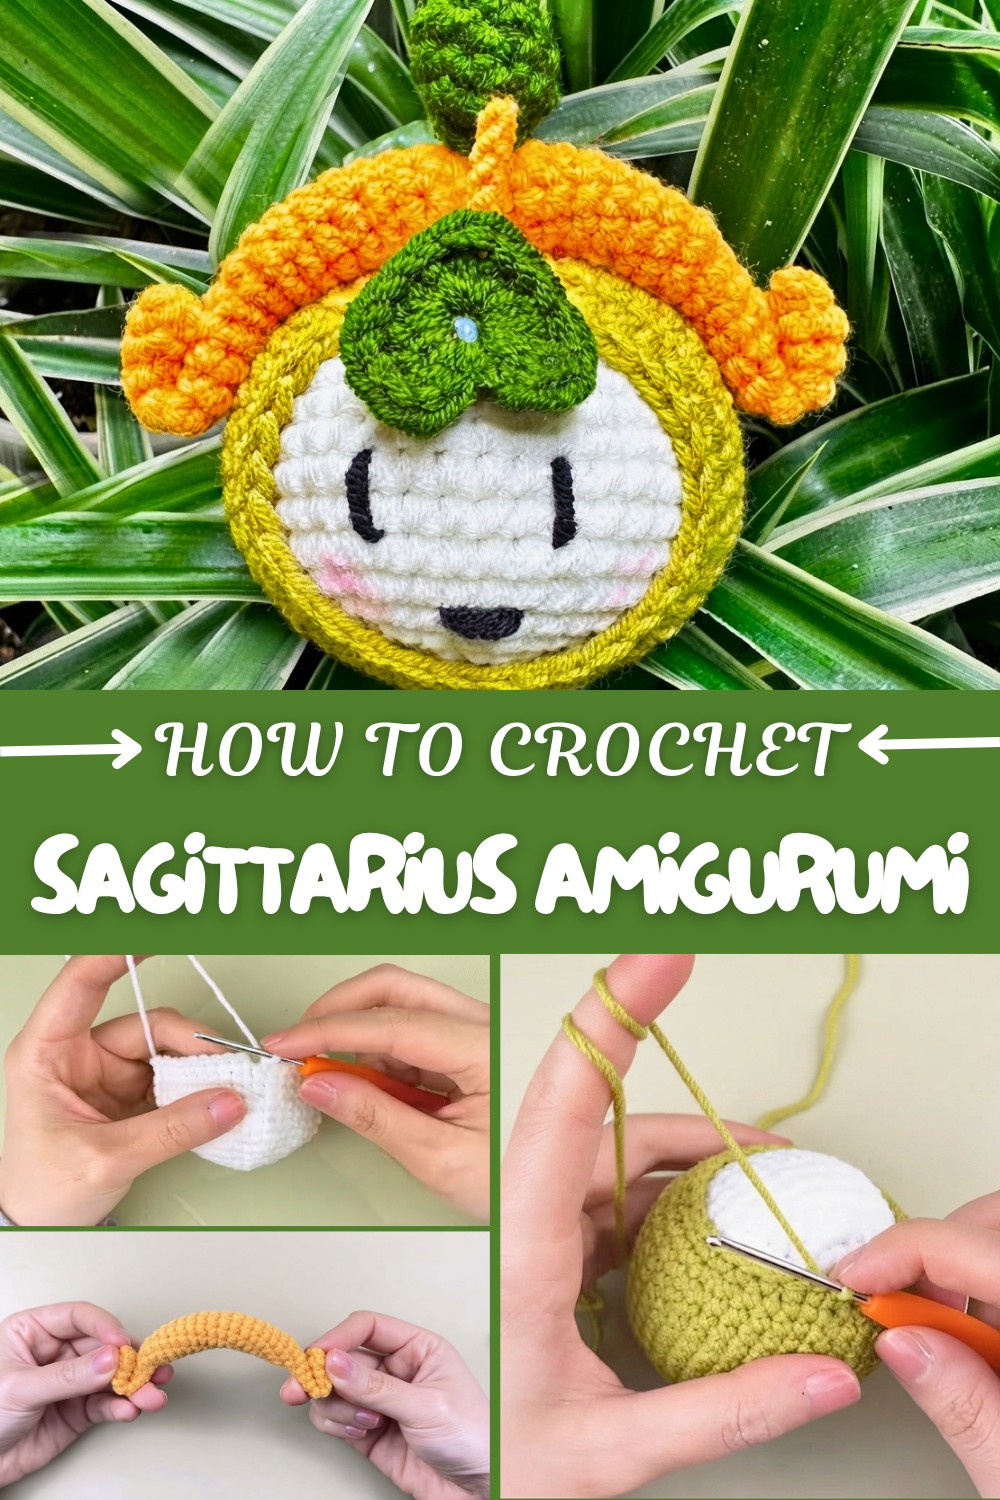
This free crochet pattern makes it super easy for beginners to follow along. Starting with a magic ring, you work in rounds, increasing and decreasing stitches to shape the bow and other parts. The repetitive use of single and double crochets helps you gain confidence and perfect your tension while making something beautiful. The Sagittarius bow is not only adorable but also a meaningful gift for zodiac lovers or a unique decoration for your room.
By working on this project, you'll practice key techniques like crocheting in spirals, making decreases, and stitching parts together neatly. These skills are handy if you want to create other amigurumi animals or characters, as they often involve shaping parts with increases and decreases and assembling them. Besides the Sagittarius bow itself, you can use the same techniques to crochet other zodiac signs or even create miniature accessories like tiny hats, arrows, or stars.
Tiny Sagittarius Bow Crochet Pattern
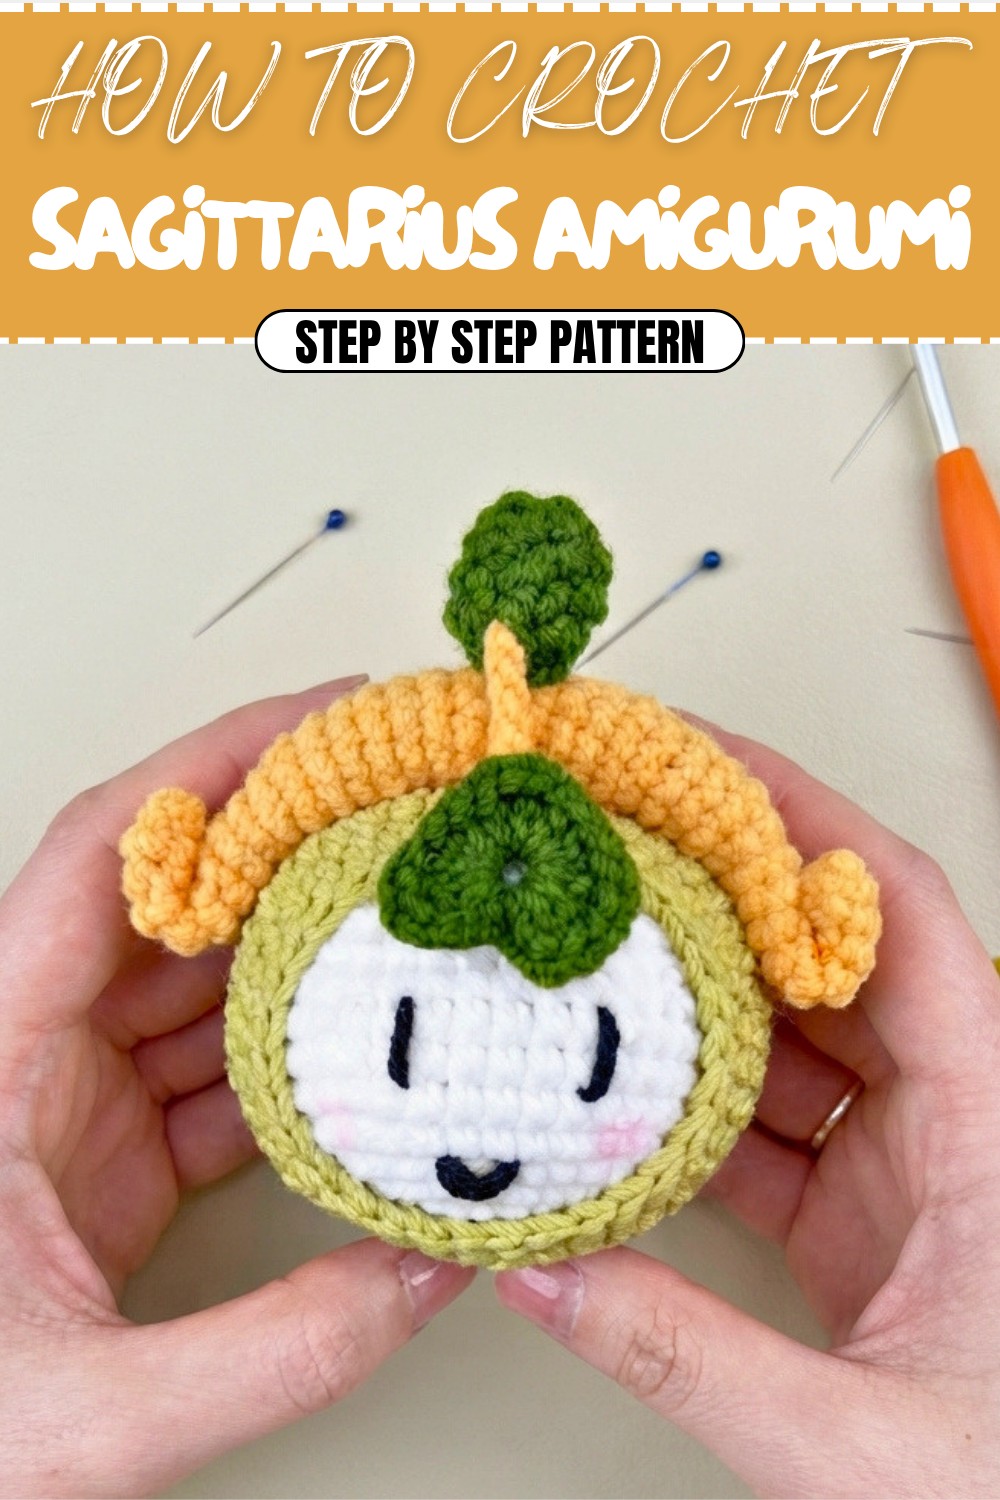
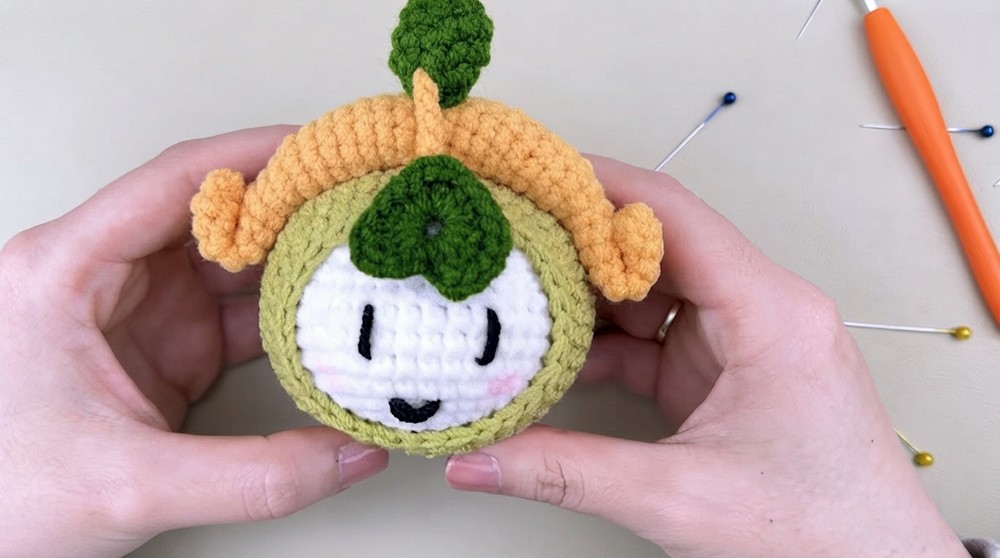
Welcome to this step-by-step pattern for crocheting a "Tiny Sagittarius Bow." Whether you're a zodiac enthusiast or simply adore crocheting unique crochet designs, this pattern is sure to excite you! With easy-to-follow instructions, you'll create a charming mini bow complete with intricate details to capture the essence of Sagittarius.
Skill Level & Terminology
Skill Level:
Beginner to Intermediate - Ideal for those familiar with basic crochet stitches. Some shaping and assembly knowledge required.
Crochet Terminology:
This pattern uses US terminology.
Materials & Tools
- Yarn:
– Yellow yarn (for the bow and arrow body)
– Blue yarn (for the hat and accents)
– Dark green yarn (for the arrow tail)
– Black thread (for facial details) - Hook:
– Size 3.25 mm (or a size suitable for your yarn). - Other Tools:
– Tapestry/yarn needle (for sewing edges and weaving ends).
– Fiberfill (for stuffing).
– Scissors.
– Glue/pins (optional, for better attachment).
Gauge
Gauge is not critical for this project, but ensure your stitches are consistent and tight enough to hold fiberfill stuffing.
Abbreviations List
Here’s a quick reference for the abbreviations used throughout this pattern:
- ch – chain
- sc – single crochet
- dc – double crochet
- dec – decrease (crochet two stitches together)
- sl st – slip stitch
- rep – repeat
Special Stitch Instructions
Magic Ring:
This technique allows for a tightly closed center start. Wrap the yarn in a loop, insert your hook, pull up a loop, and secure with stitch(es).
Decrease (dec):
Insert hook into stitch, yarn over, pull up a loop. Insert hook into next stitch, yarn over, pull up a loop, yarn over, pull through all loops on hook.
Finished Size
Approximately 5–6 inches when assembled, making it perfect as a decoration or gift.
The Pattern Itself:
Follow the instructions step by step, breaking down each section into manageable rounds.
Part 1: Bow Shape
Instructions
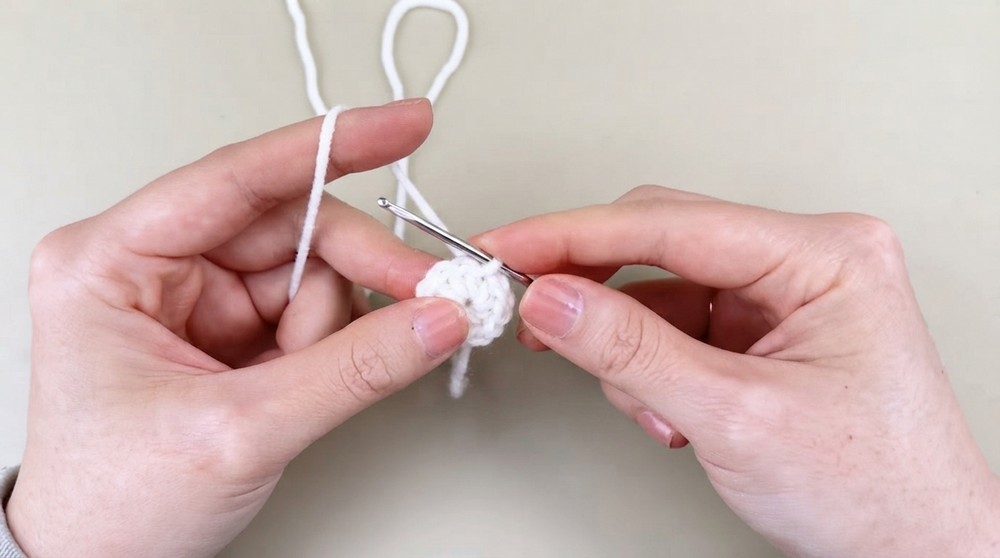
- Magic Ring: Create a magic ring; crochet 6 sc into the ring.
- Close the round by sl st into the first stitch, ch 1.
- Round 2: Crochet 2 sc into each stitch around (12 sc total).
- Round 3: Crochet 1 sc, 1 dc into each stitch (rep 6x).
- Round 4: Crochet 1 sc, 1 dc, 1 sc into each stitch (rep 6x).
- Round 5: Crochet 3 sc, 1 dc (rep 6x).
- Round 6: Crochet 2 sc, 1 dc, 2 sc (rep 6x).
- Round 7: Crochet 5 sc, 1 dc (rep 6x).
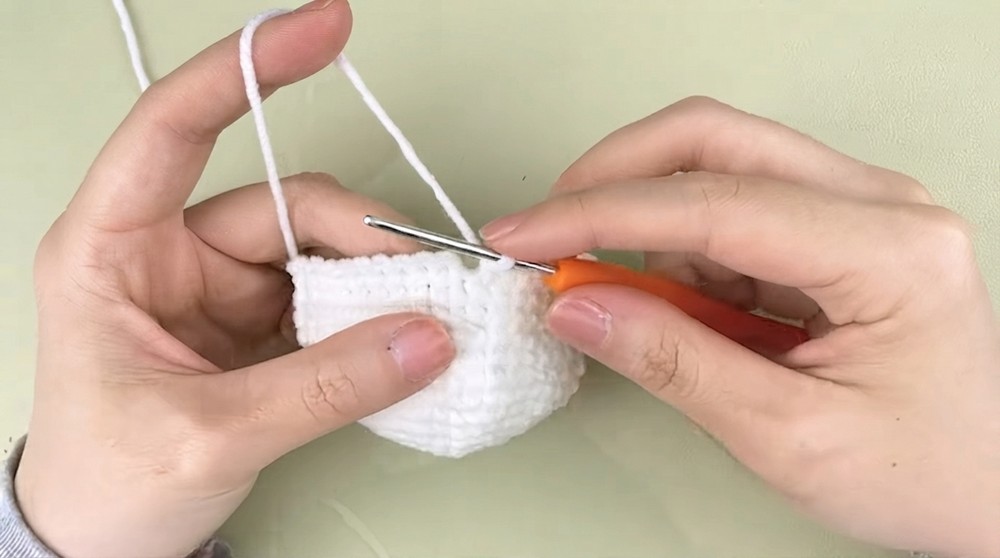
- Rounds 8–14: Crochet 42 sc in each round without increasing or decreasing.
- Round 15: Crochet 5 sc, 1 dec (rep 6x).
- Round 16: Crochet 4 sc, 1 dec (rep 6x).
- Round 17: Crochet 3 sc, 1 dec (rep 6x).
- Round 18: Crochet 2 sc, 1 dec (rep 6x).
- Stuff the bow: Firmly stuff it with fiberfill and shape into a round form.
- Round 19: Crochet 1 sc, 1 dec (rep 6x).
- Round 20: Crochet 6 dec then fasten off and cut the yarn.
- Secure edges: Use a yarn needle to sew the outer edges together and pull tight. Weave in the remaining yarn to secure it.
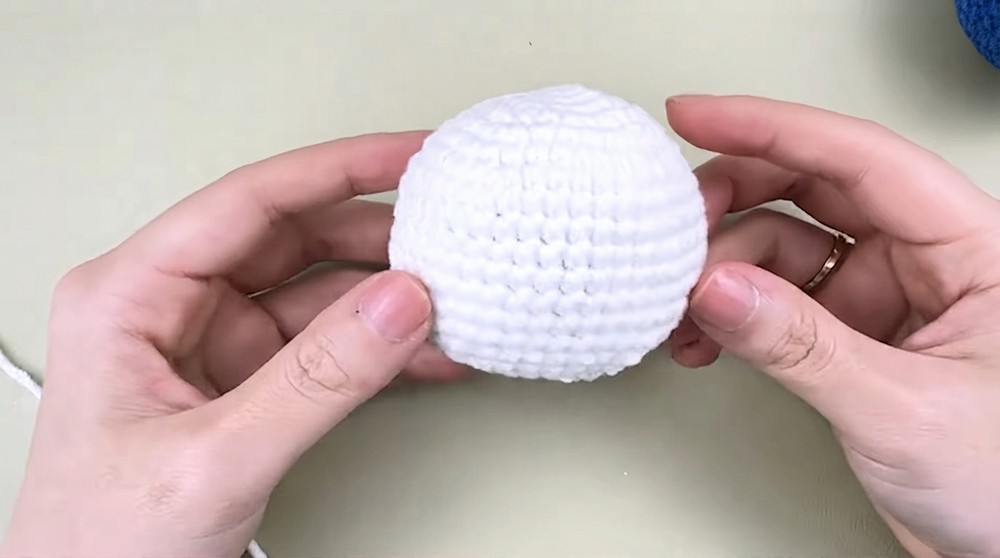
Simplified Notes:
You have just finished creating the soft, spherical bow! This involves shaping and decreasing stitches to form a rounded structure. Be sure to stuff evenly as you go.
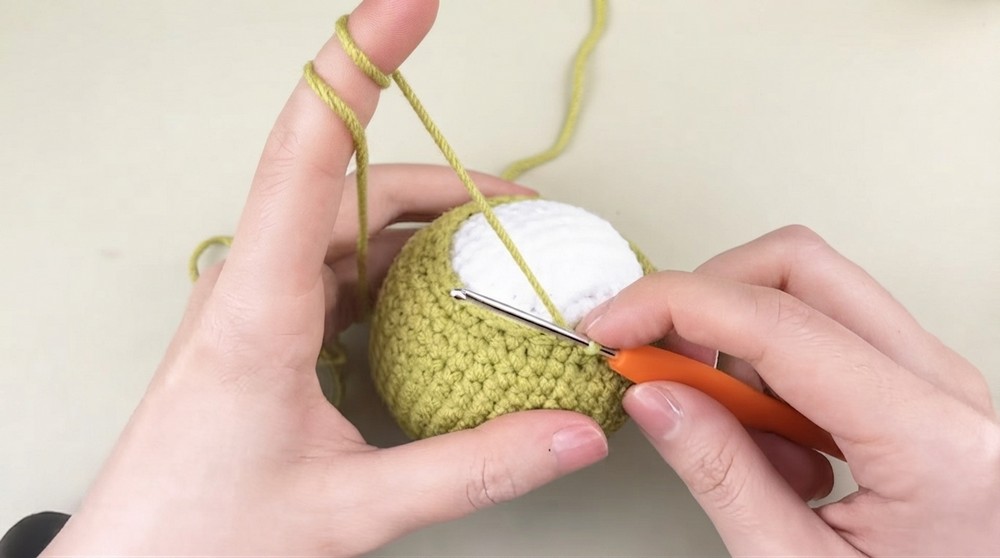
Part 2: Hat
Instructions
Using yellow yarn:
- Repeat the same pattern used for the bow until Round 14.
- Insert the finished bow (face structure) into the hat for fitting. Adjust to ensure symmetry.
Simplified Notes:
This part uses repetitive rounds from the bow pattern to make the hat. Once finished, ensure proper alignment of the hat with the bow for aesthetic balance.
Part 3: Horn
Instructions
- Rounds 1–10: Crochet 6 sc into a magic ring. Continue in a spiral without closing rounds.
- Round 11: Crochet 1 sc, 1 dc (rep 3x).
- Rounds 12–27: Crochet 9 sc per round without increasing or decreasing.
- Stuff & shape: Add fiberfill between Round 11 and Round 27.
- Round 28: Crochet 1 sc, 1 dec (rep 3x).
- Rounds 29–37: Crochet 6 sc per round.
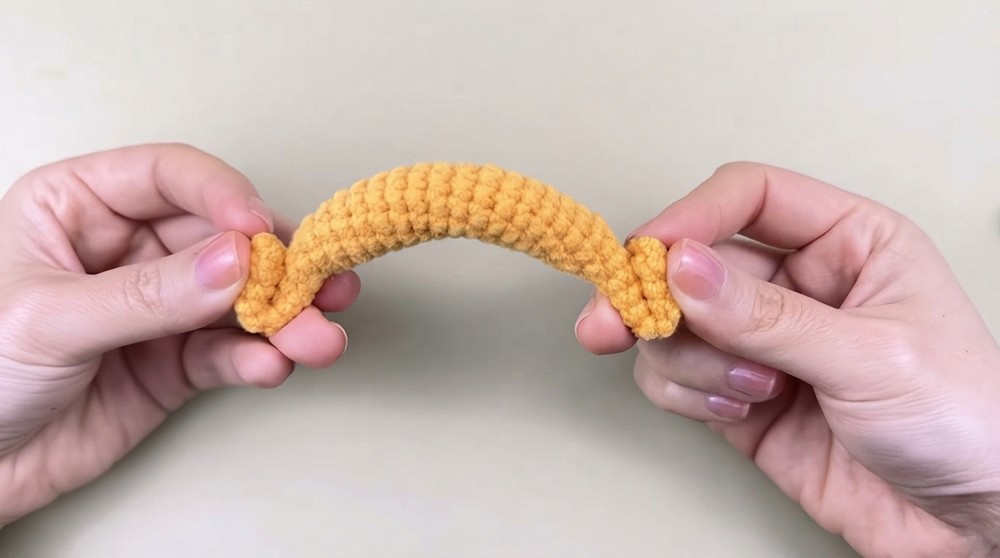
- Finish: Cut the yarn, leaving a tail for sewing. Weave in the ends and fold both horn ends together. Secure with glue.
Simplified Notes:
Now you're creating the base for the arrow, shaping it into the final horn appearance (slightly extended tube-like structure).
Part 4: Arrow Tail
Instructions
- Magic Ring: With dark green yarn, create a magic ring; crochet 4 sc into it.
- Round 2: Crochet 4 dc in a spiral without closing the round.
- Round 3: Crochet 1 sc, 1 dc (rep 4x).
- Round 4: Crochet 12 sc (no increases).
- Round 5: Crochet 1 sc, 1 dec (rep 4x).
- Finishing: Stuff with fiberfill and sew outer edges together.
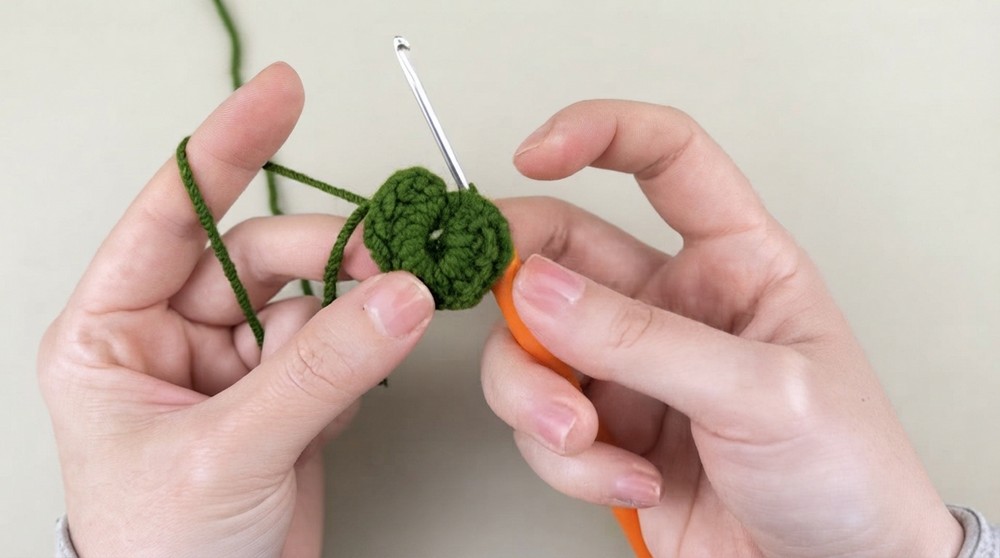
Simplified Notes:
The arrow tail’s defined shape comes from alternating single and double crochets along with slight decreases for tapering.
Part 5: Body & Assembly
Instructions
- With yellow yarn, ch 8 stitches (leave long tails).
- Adjust the ends of the arrow body to attach the tail and horn.
- Secure placement: Use pins or glue to hold the assembly in place.
Simplified Notes:
This step combines all parts for final assembly, enhancing the Sagittarius bow's distinct appearance.
Assembly & Finishing
- Use black thread to stitch simple eyes and a mouth onto the bow's face.
- Any remaining yarn ends should be woven in neatly.
What You’ll Learn From This Pattern
By completing this project, you'll improve on:
- Shaping techniques: You’ll master decreasing stitches to create rounded and tapered designs.
- Assembly skills: Combining multiple crochet components into one cohesive piece.
- Creative crafting: Explore the art of constructing zodiac-inspired designs.
Why You'll Love This Pattern
This pattern is perfect for showcasing your creativity while celebrating the Sagittarius zodiac! The tiny bow brings flair with its distinct elements like the hat, horn, and arrow tail that combine beautifully into a single handmade treasure.