
Playful Crochet Penguin Amigurumi Pattern for Kids and Collectors
Bring smiles to everyone with the Free Crochet Penguin Amigurumi Pattern, perfect for making cute and soft little friends.
Crocheting small, lovable creatures can brighten up any day and bring a sense of accomplishment. This pattern uses the single crochet stitch, worked in continuous rounds to carefully shape a soft and cuddly penguin. Through simple increases and decreases and thoughtful color changes, this project is perfect for beginners eager to explore the world of amigurumi while creating something truly adorable.
Learn to Crochet Penguin Amigurumi Pattern with Easy Steps
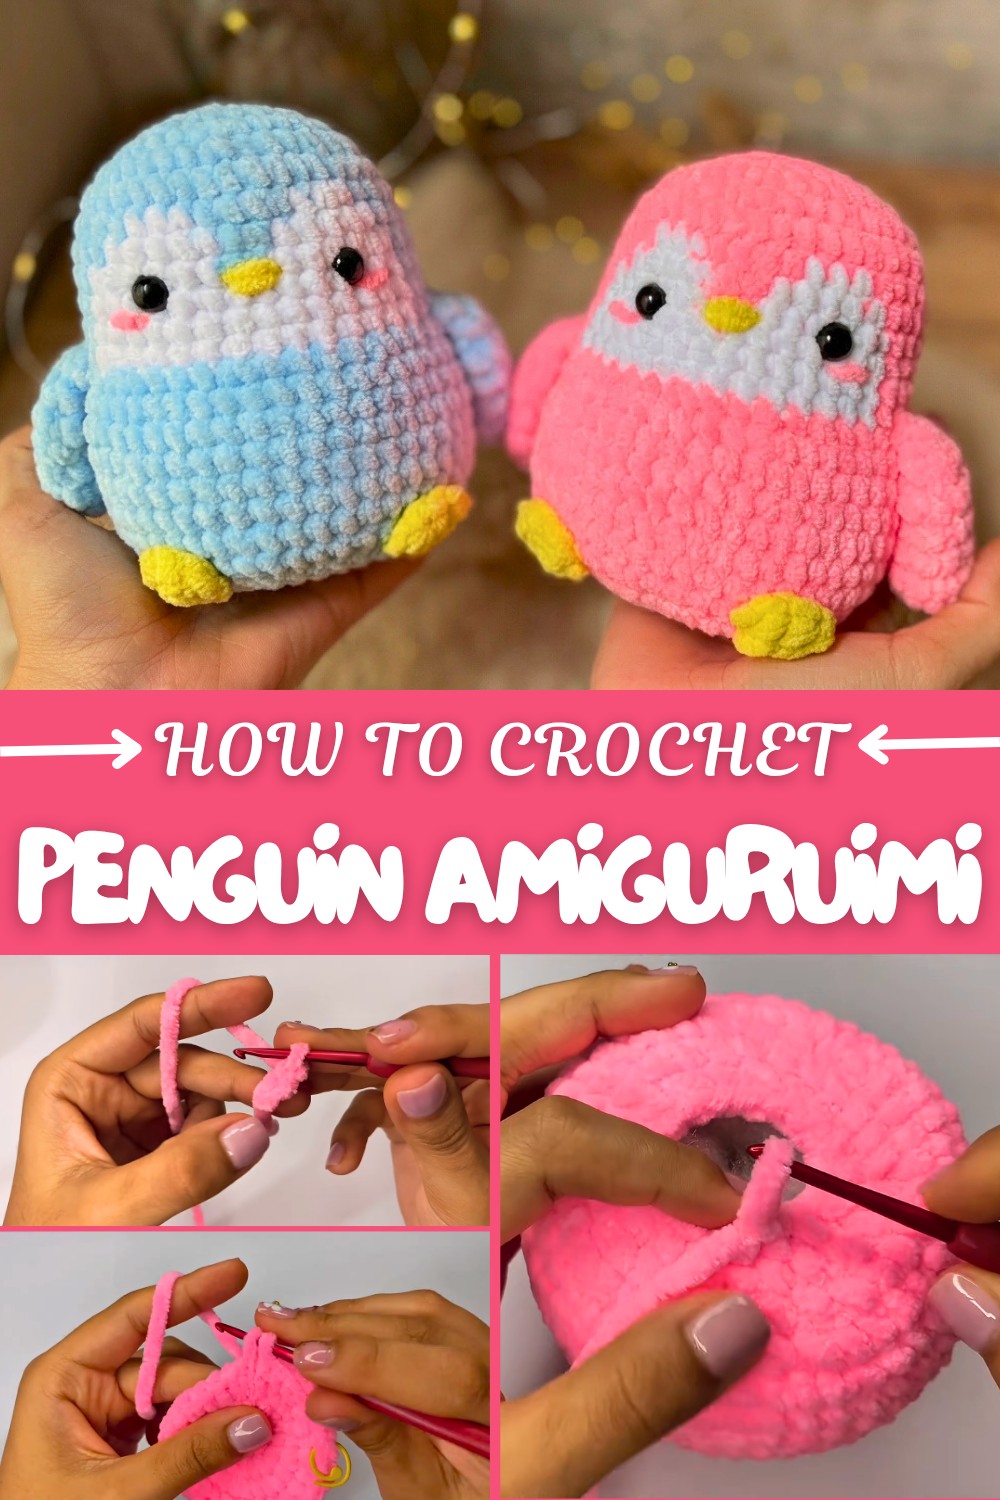
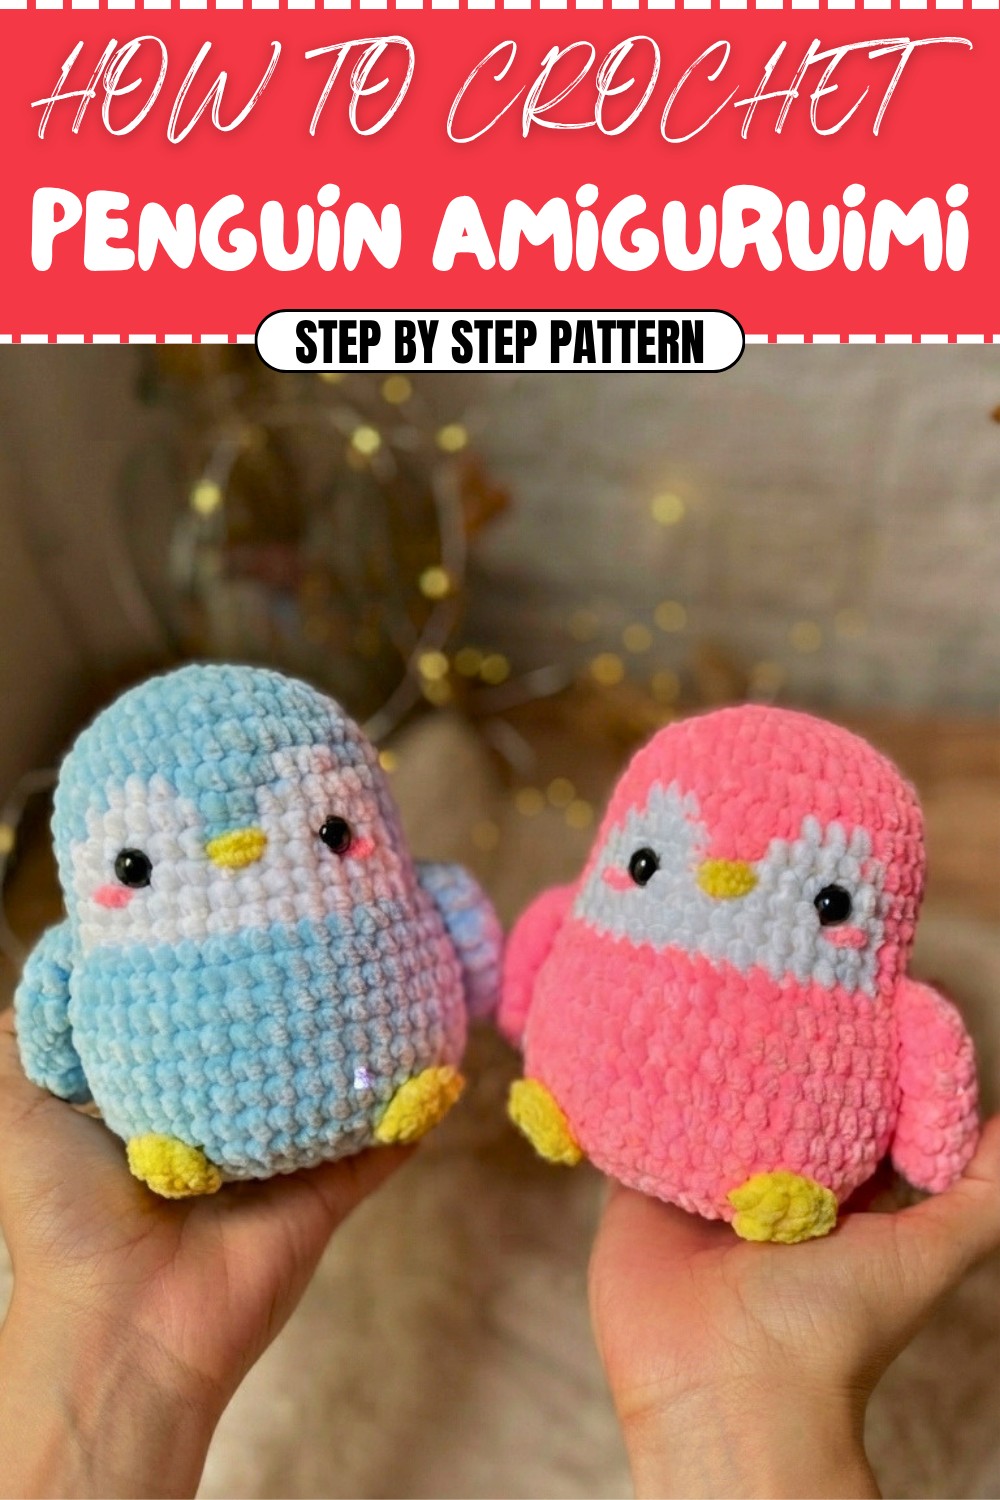
The smooth texture of the yarn combined with neat, consistent stitches results in a plush toy with delightful character. The penguin’s body features charming stripes made by switching yarn colors seamlessly during the rounds, adding personality without complicated sewing. Embroidered details and safety eyes complete the look, turning your handmade penguin into a perfect gift or a cozy decoration for your home.
Beyond making penguins, this pattern’s techniques can inspire you to crochet other cute animals and amigurumi characters by playing with different color combinations and shapes. With the skills you gain here, you’ll be ready to design toys, accessories, and decorative items that showcase your creativity and bring joy to those around you.
Skill Level & Terminology
- Skill Level: Confident Beginner / Intermediate
- Terminology: US crochet terms
You should be comfortable with:
- Working in the round
- Single crochet increases and decreases
- Basic color changes
- Simple hand sewing for assembly
Materials & Tools
- Yarn:
- Main color (MC): Chenille or similar yarn for body (e.g., Cartopu Yumurcak/Yarca or equivalent; about 50–70 g)
- Contrast color (CC): White yarn for tummy section
- Accent color: Yellow yarn for feet and embroidered beak
- Optional: Pink or same MC for embroidered cheeks
- Hook:
- 3.0 mm crochet hook (or size appropriate for your yarn)
- Notions:
- Safety eyes: approx. 9 mm (size can vary with body size)
- Polyester fiberfill / silicone-coated stuffing
- Tapestry (yarn) needle
- Stitch marker (for marking round beginnings)
- Scissors
Gauge
Gauge is not critical for this amigurumi, but a tight fabric is important so stuffing does not show through.
As a reference (with chenille and 3.0 mm hook):
- 6 rounds of sc in the round ≈ ~3–3.5 cm in height
- 8 sc stitches across ≈ ~3–3.5 cm in width
Aim to crochet firmly. If your fabric has visible holes, go down a hook size.
Abbreviations
- ch – chain
- sc – single crochet
- hdc – half double crochet
- inc – increase (2 sc in the same stitch)
- dec – decrease (see special stitch)
- st(s) – stitch(es)
- MC – main color
- CC – contrast color
- RS – right side
Finished Size
Using chenille yarn and a 3.0 mm hook, the finished penguin will be approximately:
- Height: 14–18 cm (5.5–7 in)
- Width (body): 8–10 cm (3–4 in)
Size will vary depending on yarn weight, hook size, and personal tension.
What Stitches Are Used & How to Start
The entire pattern uses basic stitches:
- Single crochet (sc) in the round
- Single crochet increases and decreases
- Half double crochet (hdc) for the feet
- Simple slip stitch joins and embroidery for facial features
The Pattern Itself
Body – Head & Upper Body (MC)
Round 1:
- Ch 2.
- In first ch, work 8 sc. Place a stitch marker in the first sc. (8 sts)

If you don’t read patterns: Start with a small loop by chaining 2. In the first chain, put 8 single crochets around to make a tiny circle – this is the top of the penguin’s head.
Round 2:
- 8 inc (2 sc in each st around). (16 sts)
Here you make two single crochets in every stitch from the previous round, doubling the count from 8 to 16. This widens the circle.
Round 3:
- Repeat (1 sc, 1 inc) around 8 times. (24 sts)
Work 1 single crochet in the first stitch, then 2 single crochets in the next stitch; repeat this pair all the way around. You are gradually enlarging the head.
Round 4:
- Repeat (2 sc, 1 inc) around 8 times. (32 sts)
Work 2 single crochets (one in each of the next 2 stitches), then an increase (2 sc in the next stitch). Continue around to keep building the head and shoulders.
Round 5:
- Repeat (3 sc, 1 inc) around 8 times. (40 sts)
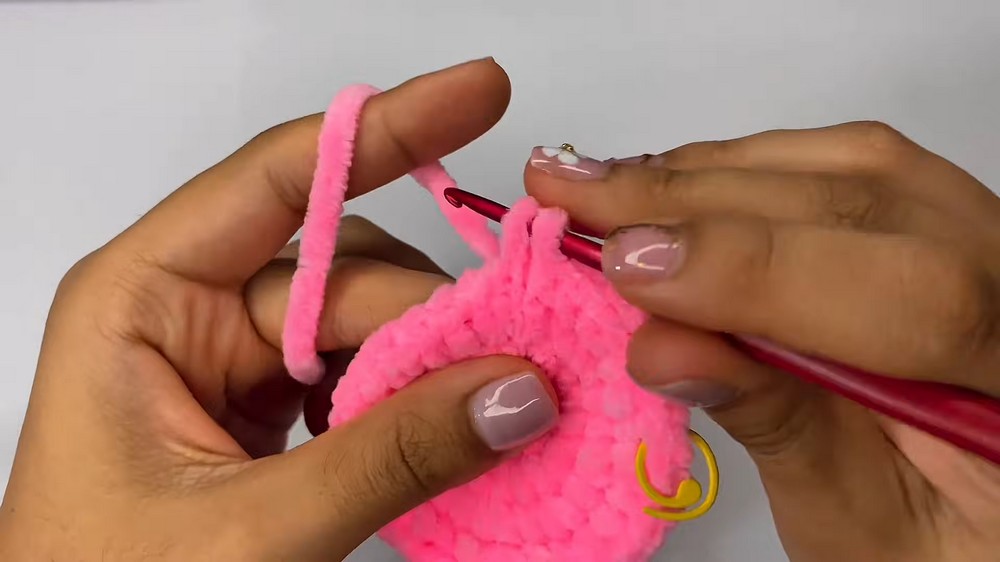
Now you do 3 single crochets, then an increase, all around. The body is becoming broader and rounder.
Round 6:
- 1 sc in each st around. (40 sts)
No increases or decreases here. Just put one single crochet in each stitch to straighten and stabilize the shape.
Tummy Colorwork Rounds (MC + CC)
You will now build the white tummy with color changes while keeping a total of 40 sts per round.
Round 7:
- With MC (pink in the video): 15 sc.
- Change to CC (white) using the front-loop method described above.
- With CC: 3 sc, carrying MC inside 2–3 sts and then snugging.
- Change back to MC as described.
- With MC: 4 sc.
- Change to CC again as before.
- With CC: 3 sc.
- Change back to MC.
- With MC: 15 sc to end the round. (40 sts total)
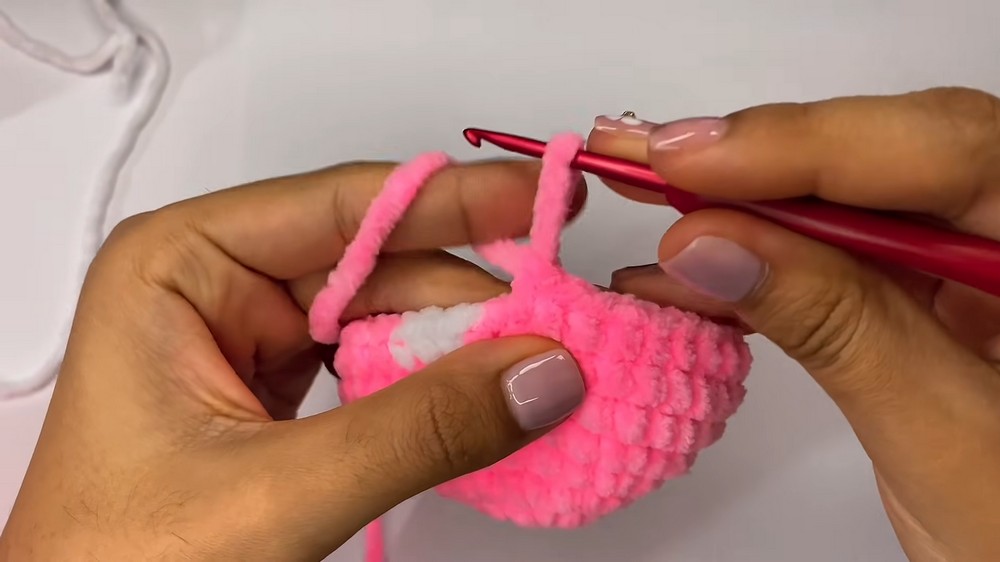
For this round, you work mostly in the main color, switching to white twice for small patches on the tummy. You carry the unused color inside the stitches so the joins look clean and the strands are hidden.
Round 8:
- With MC: 14 sc.
- Change to CC.
- With CC: 5 sc, enclosing MC in the first 2–3 sts.
- Change to MC.
- With MC: 2 sc.
- Change to CC again.
- With CC: 5 sc, enclosing MC briefly.
- Change back to MC.
- With MC: 14 sc. (40 sts)
This round enlarges the white section on the tummy, creating a wider central white area while maintaining pink at the sides and back.
Round 9:
- With MC: 13 sc.
- Change to CC.
- With CC: 6 sc.
- Change to MC.
- With MC: 2 sc.
- Change to CC.
- With CC: 6 sc.
- Return to MC and 13 sc to finish. (40 sts)
Here the white tummy grows further down the front, with 6-stitch white sections on each side of the center. The back remains pink.
Round 10:
- With MC: 13 sc.
- Change to CC (cutting and rejoining as needed if preferred).
- With CC: 14 sc.
- Change back to MC.
- With MC: 13 sc. (40 sts)
Rounds 11–12:
- Repeat Round 10:
- 13 sc (MC), 14 sc (CC), 13 sc (MC). (40 sts each round)
Rounds 10–12 create a solid white band on the tummy, three rounds high. This gives the penguin its recognizable white front.
Round 13 – Final Increase Round (MC only)
From here, work only with MC:
- 4 sc, place marker in first st.
- Repeat (4 sc, 1 inc) around. (48 sts)
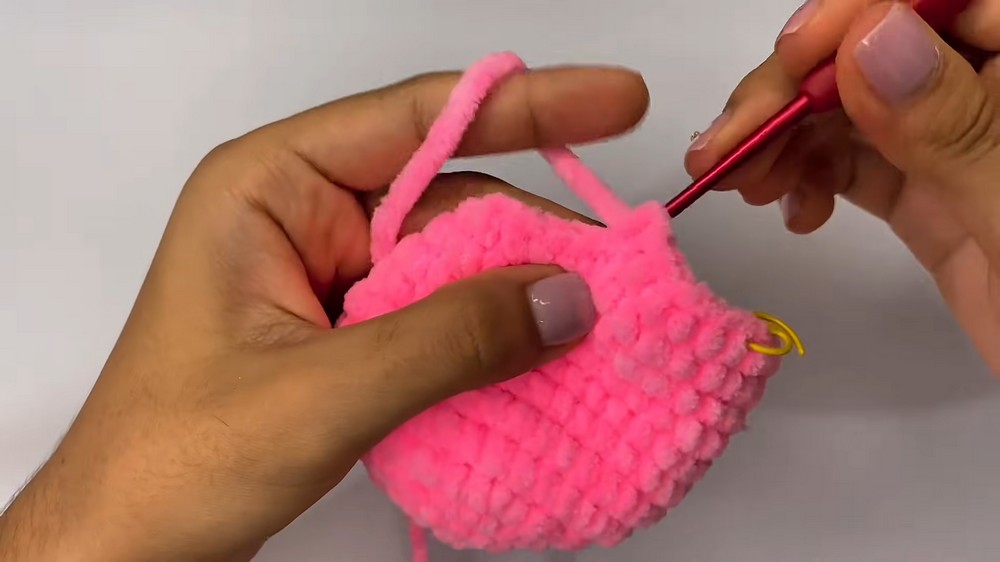
This round slightly widens the lower body so the penguin has a rounded, chubby form before we work straight and then start closing.
Rounds 14–20 – Body Height
- 1 sc in each st around for 7 rounds. (48 sts each round)
These rounds add height to the body. You simply crochet one single crochet in every stitch for seven rounds, making a tall, rounded cylinder shape.
Eyes & Face Placement
- After Round 20, locate Rounds 9–10 (where 6 white stitches appear).
- Place safety eyes between these rounds, spaced evenly:
- Count 3 sts from the center of the white area for the first eye
- Repeat on the other side for the second eye
- Attach the backs securely.
Place the eyes so they sit above the widest white area. This positioning gives the penguin a cute, centered facial expression.
Rounds 21–25 – Decreasing & Closing the Body
Round 21:
- (4 sc, 1 dec) repeat 8 times. (40 sts)
Work four single crochets then an invisible decrease, repeating around. The body begins to taper.
Round 22:
- (3 sc, 1 dec) repeat 8 times. (32 sts)
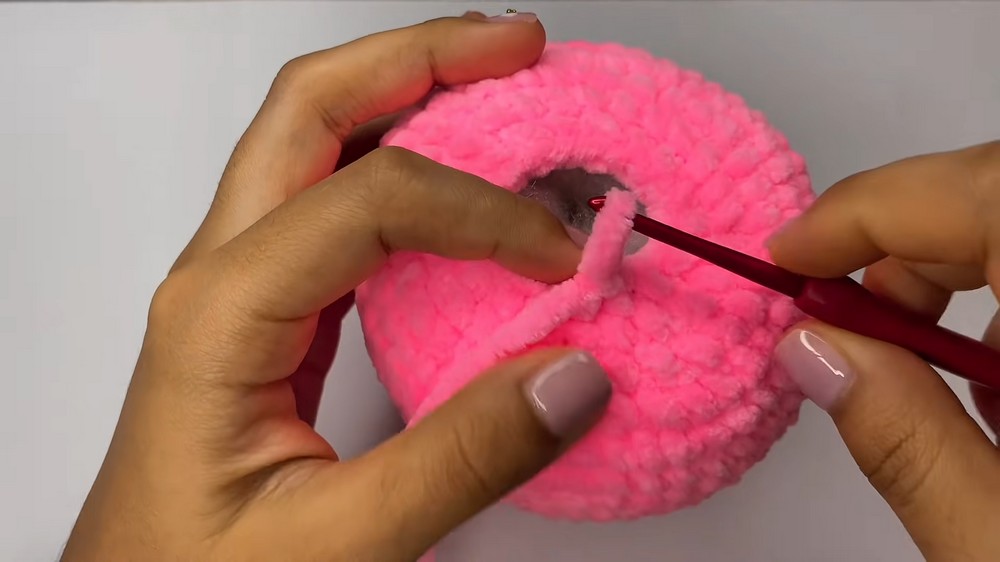
Now work three single crochets and then a decrease, tightening the base further.
Round 23:
- (2 sc, 1 dec) repeat 8 times. (24 sts)
The base continues to narrow. At this stage, the penguin body is nearly closed.
Stuffing:
- After Round 23, stop and stuff the body firmly with fiberfill.
- Distribute stuffing evenly so the penguin maintains a smooth, round shape with no flat spots.
Stuffing now ensures the shape holds when you continue decreasing and finally close the bottom.
Round 24:
- (1 sc, 1 dec) repeat 8 times. (16 sts)
One single crochet and one decrease, repeated, creates a small opening ready to be cinched closed.
Round 25:
- 8 dec around. (8 sts)
- Cut yarn, leaving a long tail.
- Using a tapestry needle, pick up the front loop of each of the 8 sts and pull tight to cinch the hole closed.
- Secure the yarn, pass it through the body, and trim.
In this final body round, you decrease all around, then use the yarn tail to draw the last stitches together into a neat, closed base.
Facial Embellishments (Beak & Cheeks)
Beak (yellow yarn):
- With a tapestry needle, bring yellow yarn out to the row between Rounds 9 and 10, centered between the eyes.
- Use 2–3 small horizontal stitches over two pink stitches to form a tiny triangular beak.
- Secure the ends inside with a double knot and tuck in.
The small embroidered beak gives expression and is placed right under the eyes on the color-change line.
Cheeks (pink or MC):
- With pink or MC yarn, bring needle out near one eye, slightly below and to the side.
- Make one or two small short horizontal stitches for a blush cheek.
- Repeat on the other side at the same level.
- Tie a small knot inside and tuck in.
Adding cheeks softens the expression and enhances the “cute” look of the penguin.
Wings (Make 2 in MC)
Round 1:
- Ch 2; in first ch, work 8 sc. (8 sts)
Round 2:
- 8 inc (2 sc in each st). (16 sts)
Rounds 3–4:
- 1 sc in each st around. (16 sts each round)
Round 5:
- Repeat (3 sc, 1 inc) 4 times. (20 sts)
Round 6:
- 1 sc in each st around. (20 sts)
Round 7:
- Repeat (3 sc, 1 dec) 4 times. (16 sts)
Round 8 – Closing the Wing Flat:
- Fold the wing so front and back edges meet.
- Work sc across through both layers (front st + matching back st) about 8 sc, closing the opening.
- Leave a long tail for sewing.
Each wing is a small oval that’s flattened and closed. The long tail will be used later to attach the wings to the sides of the body.
Feet (Make 2 in Yellow)
- Make a slip knot.
- Ch 2.
- In the first ch, work 4 hdc.
- Ch 1, then sl st into the same first ch to round off the shape.
- Cut yarn, leaving a tail for sewing.
Each foot is a small rounded shape formed by four half double crochets into one chain, then closed with a slip stitch.
Assembly & Finishing
Attaching the Wings
- Using the wing tail and tapestry needle, position each wing at the side of the body, aligned near the upper white section (around the color-change area).
- Sew by alternating between a stitch on the wing and the matching stitch on the body, working along the top edge of the wing.
- For symmetry, bring the yarn through the body to the opposite side and attach the second wing at the same height.
- Secure with a double knot inside and hide the ends.
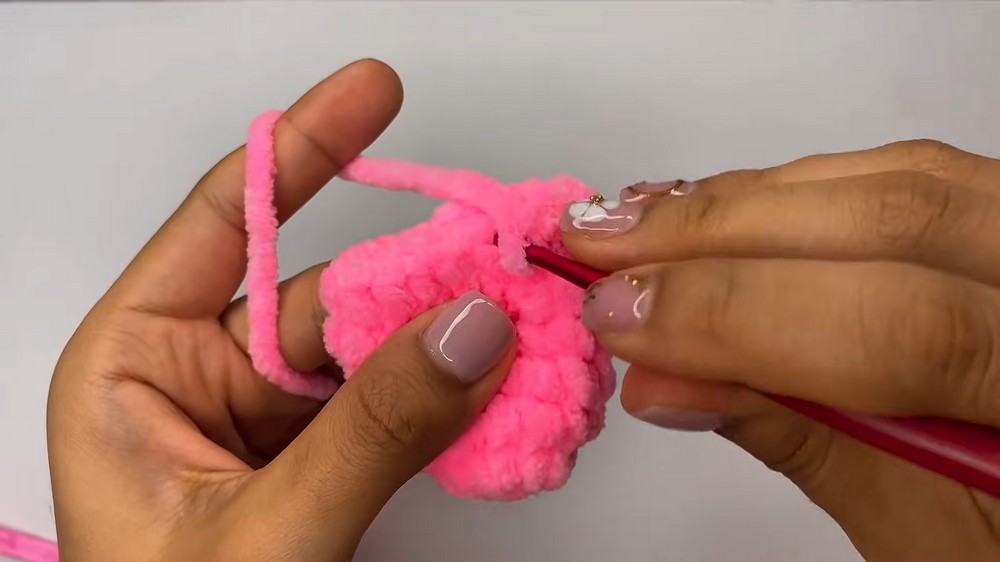
The wings should sit just below and slightly behind the cheeks, giving the penguin a balanced, huggable look.
Attaching the Feet
- Position the feet near the bottom front of the penguin, roughly between Rounds 21–22, and aligned under the eyes.
- Pin if needed to keep them symmetrical.
- Sew each foot by grabbing a few strands from the foot edge and the body.
- Bring both tails together inside the body, tie a secure knot, and hide the ends.
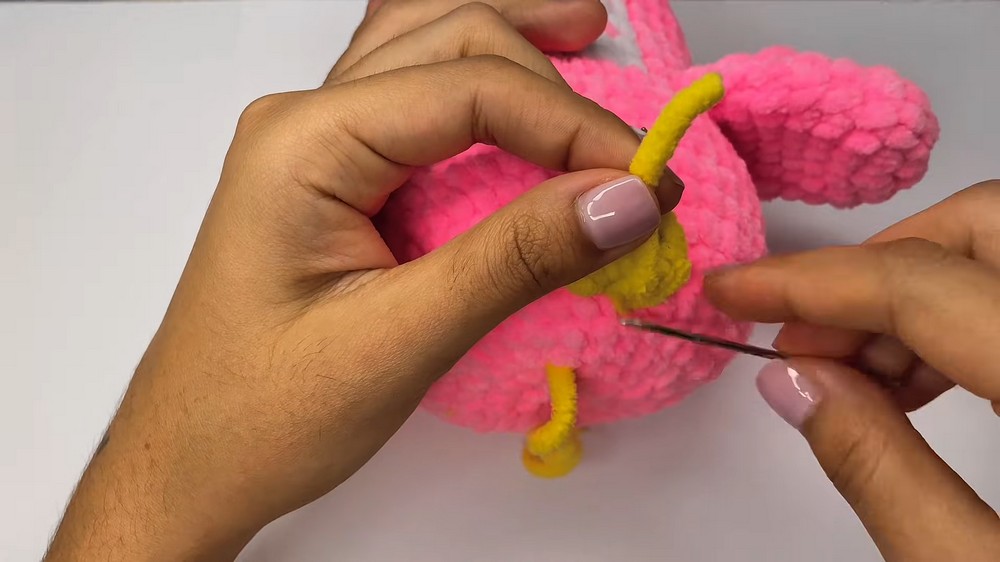
Proper placement of the feet helps the penguin appear balanced and “standing,” even if it’s used mainly as a plush toy.
Why I Love This Pattern
This penguin combines simple stitches with thoughtful shaping and color placement to create a charming, polished amigurumi. The pattern is repetitive enough to be relaxing, yet varied enough (with colorwork, shaping, and assembly) to stay interesting. It’s an excellent project for turning basic crochet skills into a delightful finished toy that’s perfect for gifts, decor, or just for fun.