
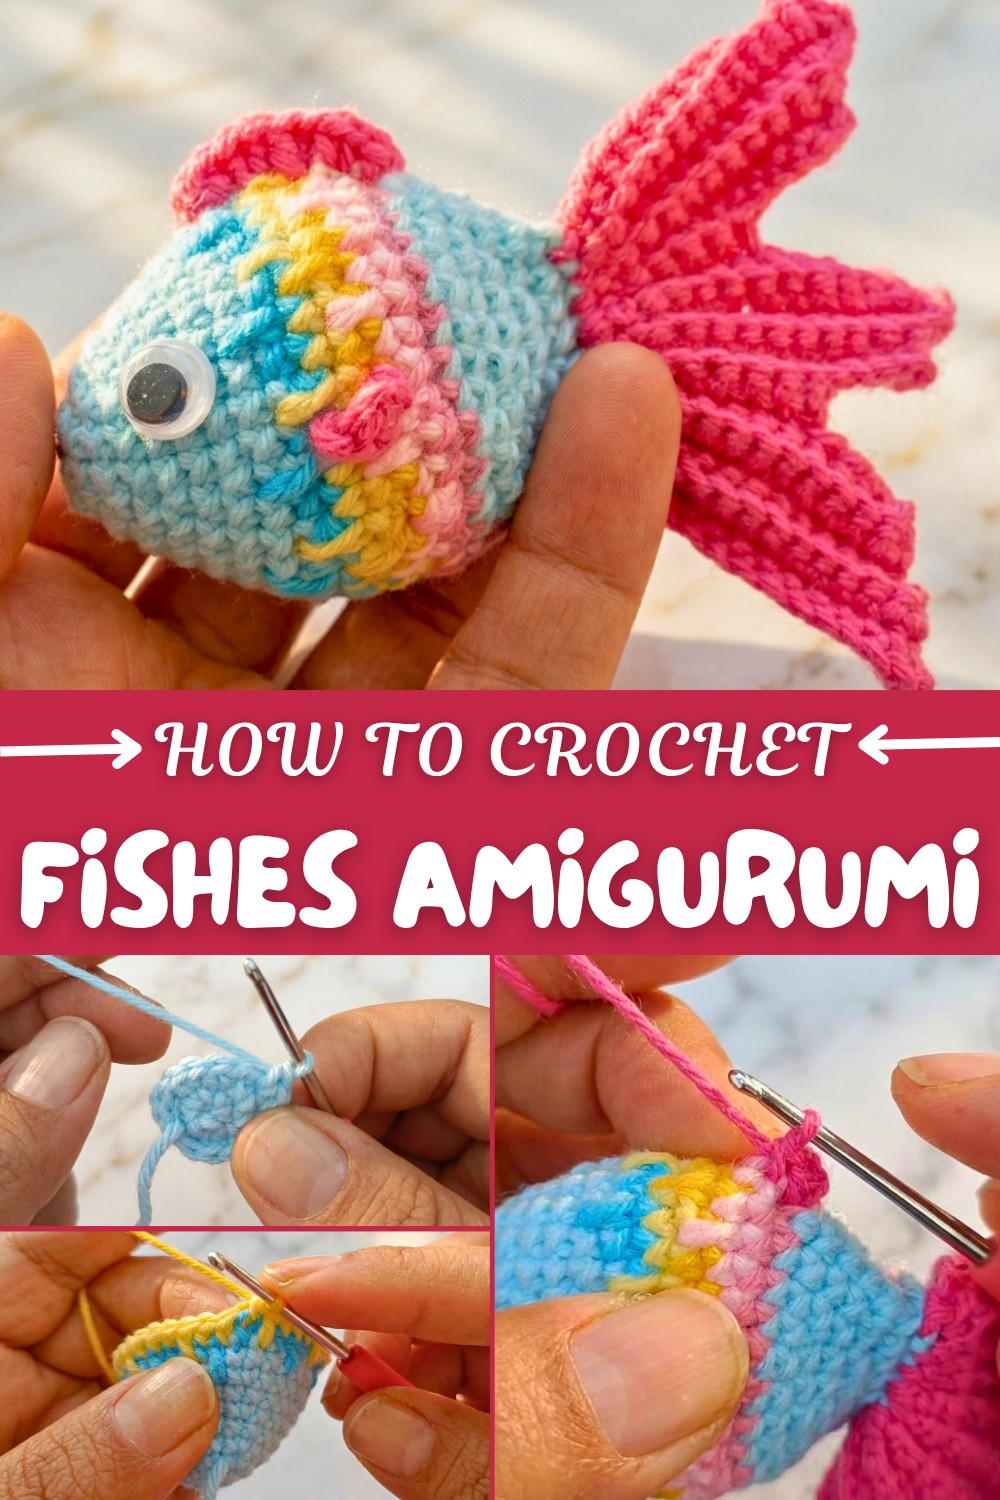
How to Free Crochet Fish Amigurumi Pattern for Underwater Fun
Effortlessly add whimsical aquatic charm using a Free Crochet Fish Amigurumi Pattern for easy gifting or unique home accents.
Creating small, colorful creatures with yarn is a wonderful way to add a touch of whimsy and personality to your home or gifts. This delightful project brings a little fish to life using soft acrylic yarns in vibrant shades like turquoise, fuchsia, yellow, and lilac. The pattern uses single crochet stitches and precise increases, which build up the rounded body shape while giving the fish a charming and smooth form. These stitches are simple yet effective, perfect for beginners who want to enjoy making something both cute and practical.
Free and Tiny Crochet Fish Amigurumi Pattern for Ocean Lovers
The fish’s body is formed by working in rounds starting with a magic ring and increasing stitches carefully to give it a nice, even shape. As the project progresses, you switch colors to make the fish colorful and bright—this adds personality without needing complicated techniques. After finishing, sewing small safety eyes and adding silicone glue makes the fish look lively, and stuffing it gently gives it a soft, squeezable feel. This little fish can be used as a charming decoration inside a glass pot or fishbowl filled with colorful stones and seashells, making a perfect centerpiece or gift. It can also be turned into a keychain by attaching a ring, which makes it a fun accessory to carry around.
The project teaches valuable skills like working in continuous rounds, managing color changes, and assembling small parts—all important for any beginner’s crochet toolkit. The techniques in this pattern are very versatile. Using the same single crochet and increase stitches, you could make other small animals or amigurumi figures like turtles, whales, or birds. The body shaping and colorwork open up creative possibilities for crocheting a variety of adorable and personalized toys or decorations. This pattern is a great way to practice stitches while making something playful and full of life.
Crochet Pattern: Amigurumi Little Fish
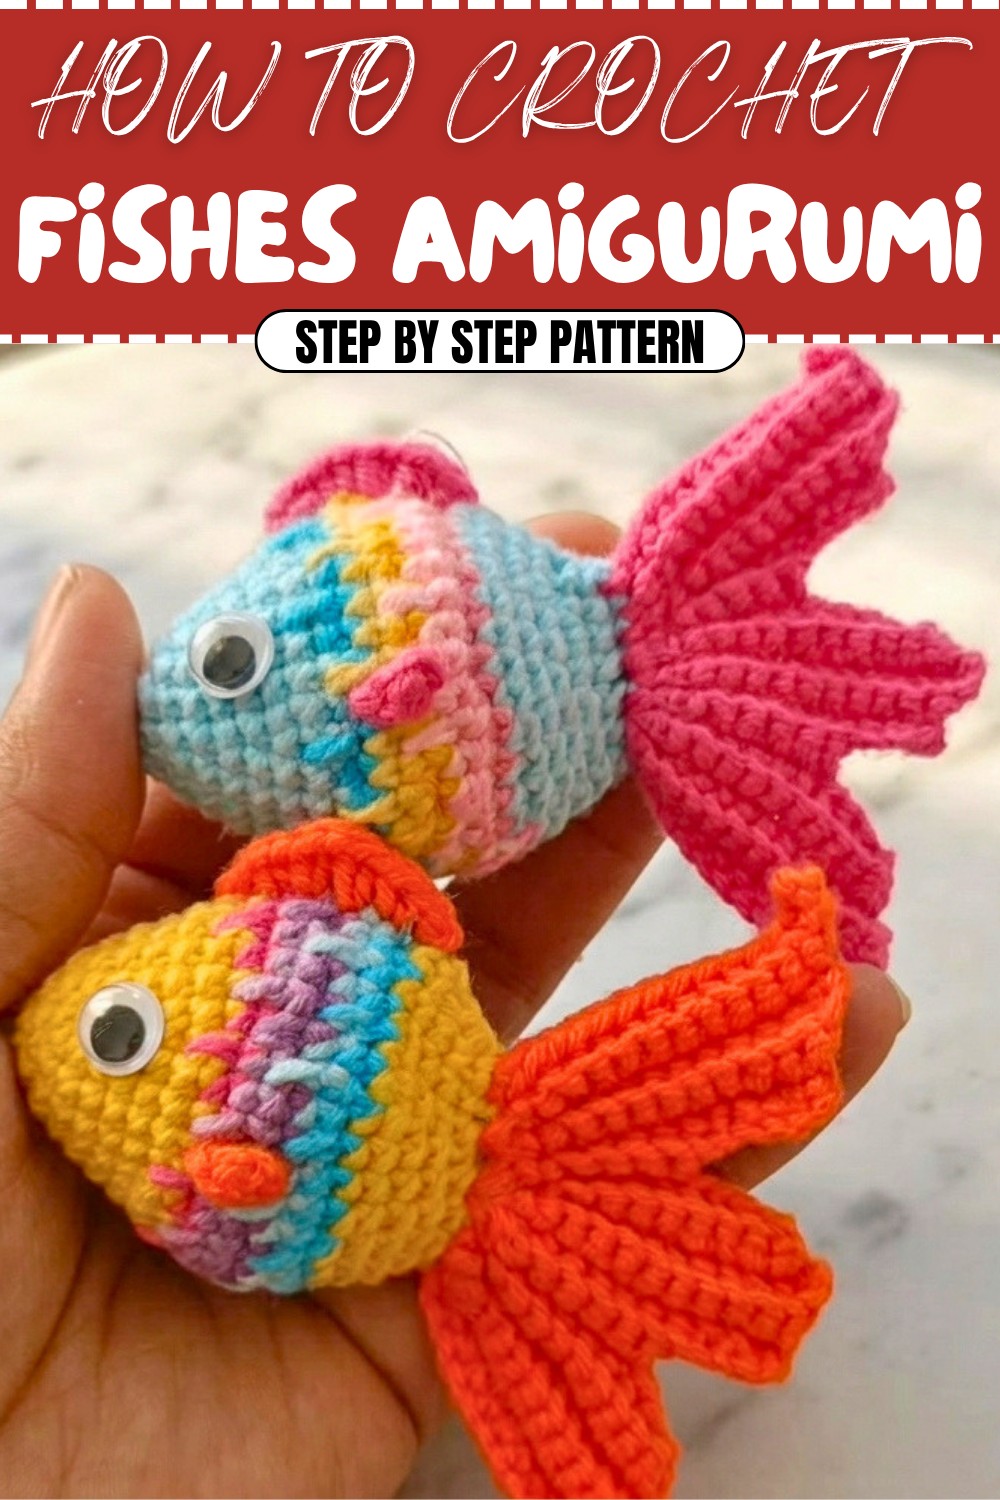
This fun and colorful crochet pattern teaches you how to create adorable amigurumi fish that can be used as keychains, decorations, or part of a charming fishbowl display. Perfect for beginners, this step-by-step pattern features all the instructions you need to crochet your very own little fish in a variety of vibrant colors.
Skill Level & Terminology
- Skill Level: Beginner
- Terminology: US crochet terms are used.
If you’re comfortable with basic stitches such as single crochet, increasing, and decreasing, this project will come together easily.
Materials & Tools
- Yarn: Acrylic yarn in multiple colors (e.g., light blue, turquoise, yellow, bright pink, orange).
- Suggested brand: Silv Gurumi or similar lightweight acrylic yarn for amigurumi.
- Hook: Size 3 mm recommended for light worsted/DK yarn.
- Notions:
- Wool needle for sewing or thread hiding.
- Scissors.
- Nylon thread or fishing line (for hanging the fish).
- Keyrings (if making keychains).
- Silicone glue (for eyes and attachments).
- Safety eyes or adhesive craft eyes (6 mm recommended).
- Optional: Glass pot or fishbowl, colorful pebbles and decorative items (seashells, mini plants, etc.).
Gauge
Gauge is not critical for this pattern, but using a 3 mm hook with light worsted/DK yarn should result in a small fish approximately 7–9 cm (3.5–4 inches) long.
Abbreviations
Below are the abbreviations used in this pattern:
- MR: Magic Ring
- ch: Chain
- sc: Single Crochet
- inc: Increase (2 sc in the same stitch)
- dec: Decrease (sc2tog – single crochet 2 stitches together)
- sl st: Slip Stitch
- sts: Stitches
- BLO: Back Loop Only
Special Stitch Instructions
Magic Ring (MR):
- Wrap yarn around two fingers to form a loop.
- Insert the hook under the loop, yarn over, and pull up a loop. Chain 1 to secure the ring.
- Work the required number of stitches into the ring and pull the tail tightly to close the ring completely.
Finished Size
Using a 3 mm hook and suggested yarn weight:
- Length: 7–9 cm (3.5–4 inches)
- Height: Approximately 4–5 cm (1.5–2 inches)
Adjust hook size or yarn thickness to change the final size.
What You’ll Learn & Why You’ll Love This
From this pattern, you’ll learn:
- How to construct amigurumi shapes like a rounded body and fins.
- Techniques for seamless color changes in amigurumi.
- Creative approaches to decorating and assembling handmade items.
This pattern is fun, customizable, and makes for delightful little gifts. The fish are quick to create, allowing you to experiment with countless color combinations and personalize your creations!
The Pattern Itself
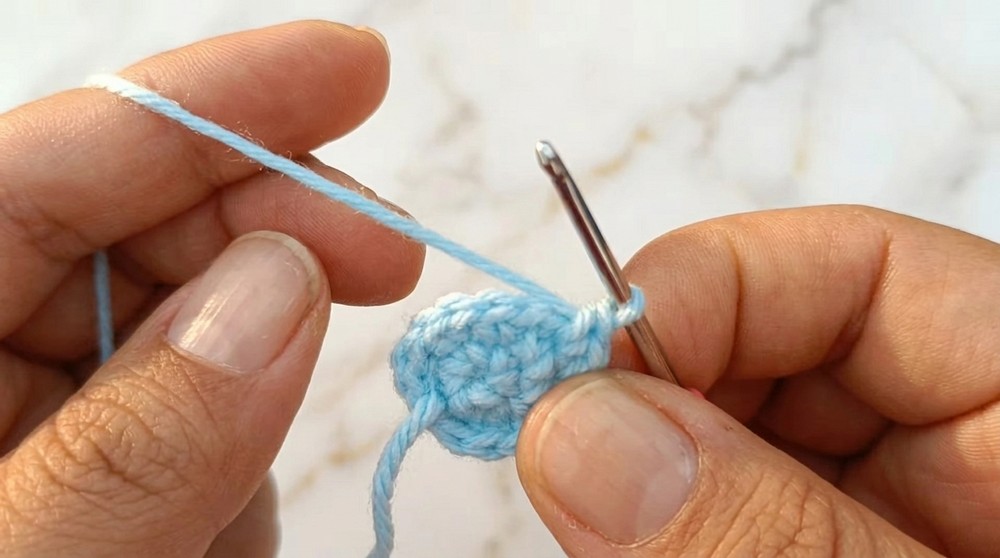
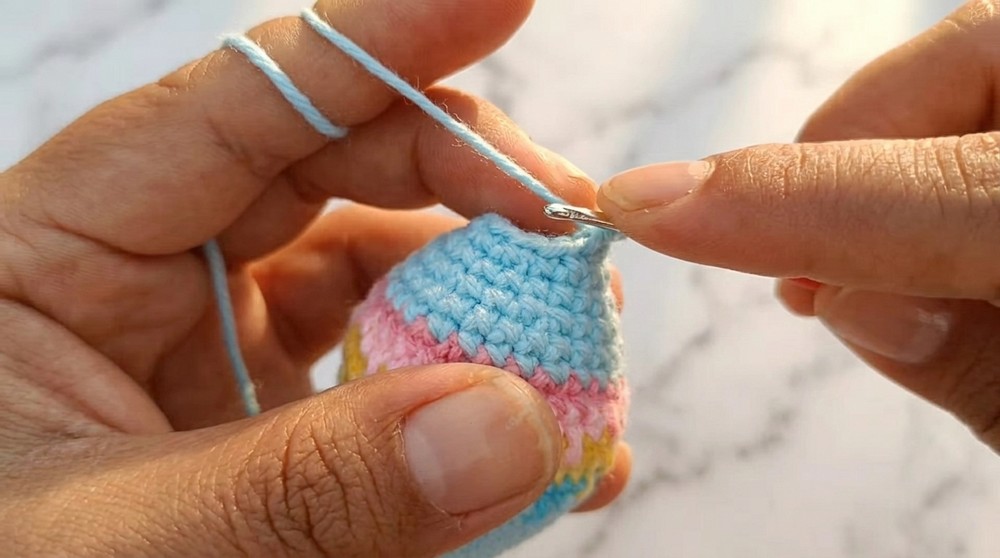
Step 1: Fish Body
Start with your first yarn color (e.g., light blue):
Round 1:
- Begin with a MR, 6 sc into ring, and pull tight to close. (6 sts)
Round 2:
- Inc in each stitch around. (12 sts)
Round 3:
- (1 sc, inc) around. (18 sts)
Round 4:
- Sc in each stitch around. (18 sts)
Round 5:
- (2 sc, inc) around. (24 sts)
Round 6:
- Sc in each stitch around. (24 sts)
Round 7:
- (3 sc, inc) around. (30 sts)
Round 8:
- Sc in first stitch, (14 sc, inc), repeat once, then 14 sc. (32 sts)
Change to your second yarn color (e.g., turquoise), leaving the previous yarn tail for securing/hiding later.
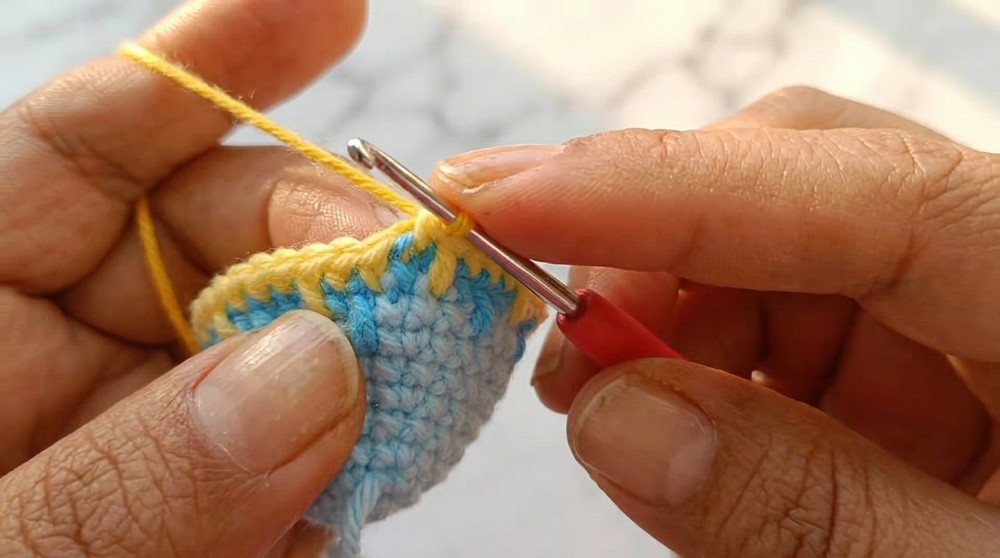
For those unfamiliar with patterns: Start with the magic ring and work in rounds to build the body of the fish using simple increases. You’ll change yarn colors after Round 8 for the completion of fish’s decorative stripes.
Step 2: Fish Tail
Start with your tail color (e.g., fuchsia):
- Attach yarn to the end of the fish’s body and begin by ch 15.
- Work back along the chain with 14 sc, one stitch per chain.
- Sl st into the next st on the fish body, then ch 1 to turn your work.
- Work 13 sc in BLO, then turn and 12 sc in BLO, repeating this motion to shape the tail.
- Continue reducing the number of stitches each row as you approach the point of the tail.
- Once completed, fasten off and weave in loose threads.
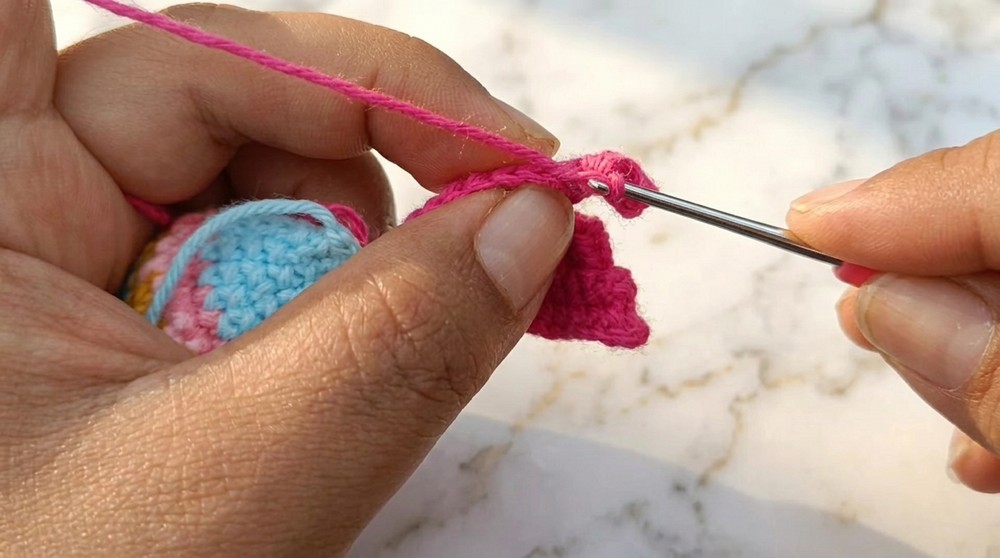
The tail is made using chains and single crochet stitches worked in the back loop only to give texture and shape. Slowly decreasing stitches will taper off the tail.
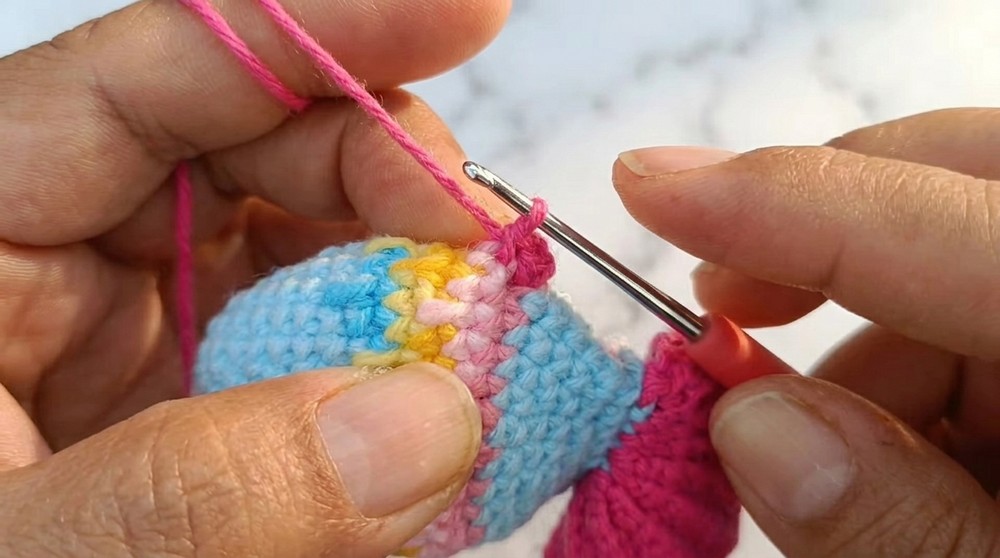
Step 3: Fish Fins
Top Fin (Bright Pink):
- Begin at Round 13 of the fish body near the tail. Attach yarn and ch 1.
- Work 3 sc across rounds 11, 12, and 13 of the body, placing stitches evenly to shape the top fin.
- Work some hdc (half double crochet) to widen the fin, alternating with sc.
- Finish with sl st, secure the yarn, and trim any loose threads.
Side Fins (Bright Pink):
Make 2 side fins, opposite each other at approximately Round 10 of the fish body.
- Attach yarn to the desired position and ch 2.
- Make one dc in the same stitch, followed by sl st into the same stitch.
- Fasten off, weave in all ends.
The fins are made with simple stitches, adding a playful touch to the fish. Let the tail and fins showcase a different color for visual contrast.
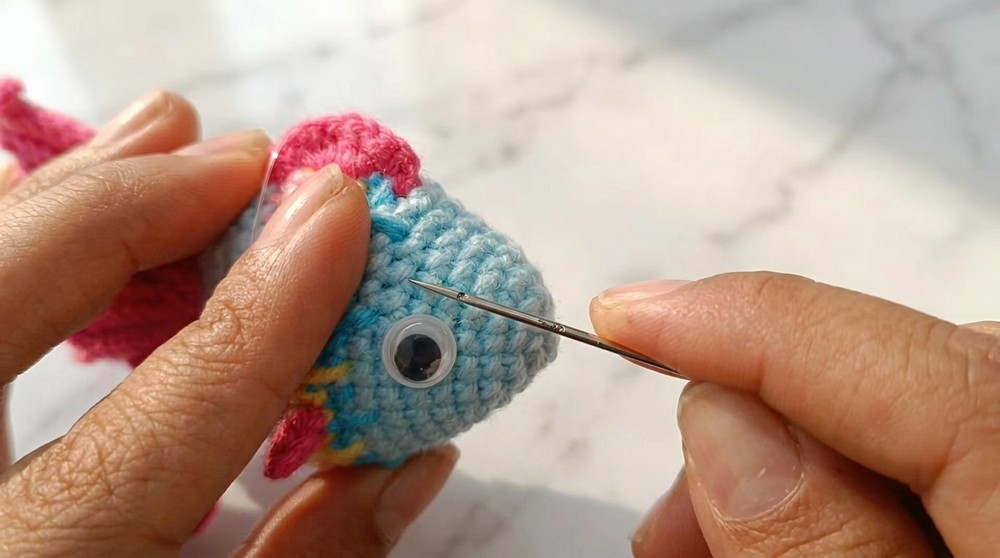
Step 4: Fish Eyes
- Attach safety eyes or glue small craft eyes onto Round 5 of the fish’s body. Eyes should be spaced 5 sts apart on each side.
- If you don’t have safety eyes, stick small beads or plastic eyes using silicone glue for a clean finish.
Step 5: Assembly & Hanging
Keychains:
- Use a loop or keyring and attach it to the top of the fish securely.
Decoration:
- Thread nylon string/fishing line through the top of the fish.
- Determine the desired length for hanging, then tie secure knots or glue the string.
- Decorate a glass pot or fishbowl with colorful pebbles, shells, and plants.
- Tie or glue your nylon string to the lid or sides of the container to suspend the fish.
Assembly & Finishing
- Secure loose ends: Use a yarn needle to hide all threads inside the body.
- Shape your fish: Massage it to even out the filling and bring your fish to life.
Why You'll Love This Pattern
This Little Fish Amigurumi is a whimsical, multifunctional creation that can be customized for any purpose—keychains, décor, kids’ gifts, or even a crochet aquascape piece. Its quick assembly, minimal degree of complexity, and ability to experiment with color make it a project you’ll want to make over and over again.