
Free Crochet Halloween Hat Pattern for Unique Handmade Looks
Solve your costume woes with the Free Crochet Halloween Hat Pattern, offering an easy way to crochet a bold, fun Halloween statement.
Halloween is one of those magical times when creativity truly shines, and what better way to celebrate the season than by crocheting a charming little Halloween hat? A tiny, handmade hat pattern that’s perfect for decorating amigurumi figures, setting up festive table displays, or even topping off stuffed pumpkins for extra flair. With this pattern, you can easily use fun autumn-inspired colors like deep orange, jet black, or spooky purples to bring out the Halloween spirit. The beauty of this pattern lies in its versatility and simplicity, making it suitable for novice and seasoned crocheters alike.
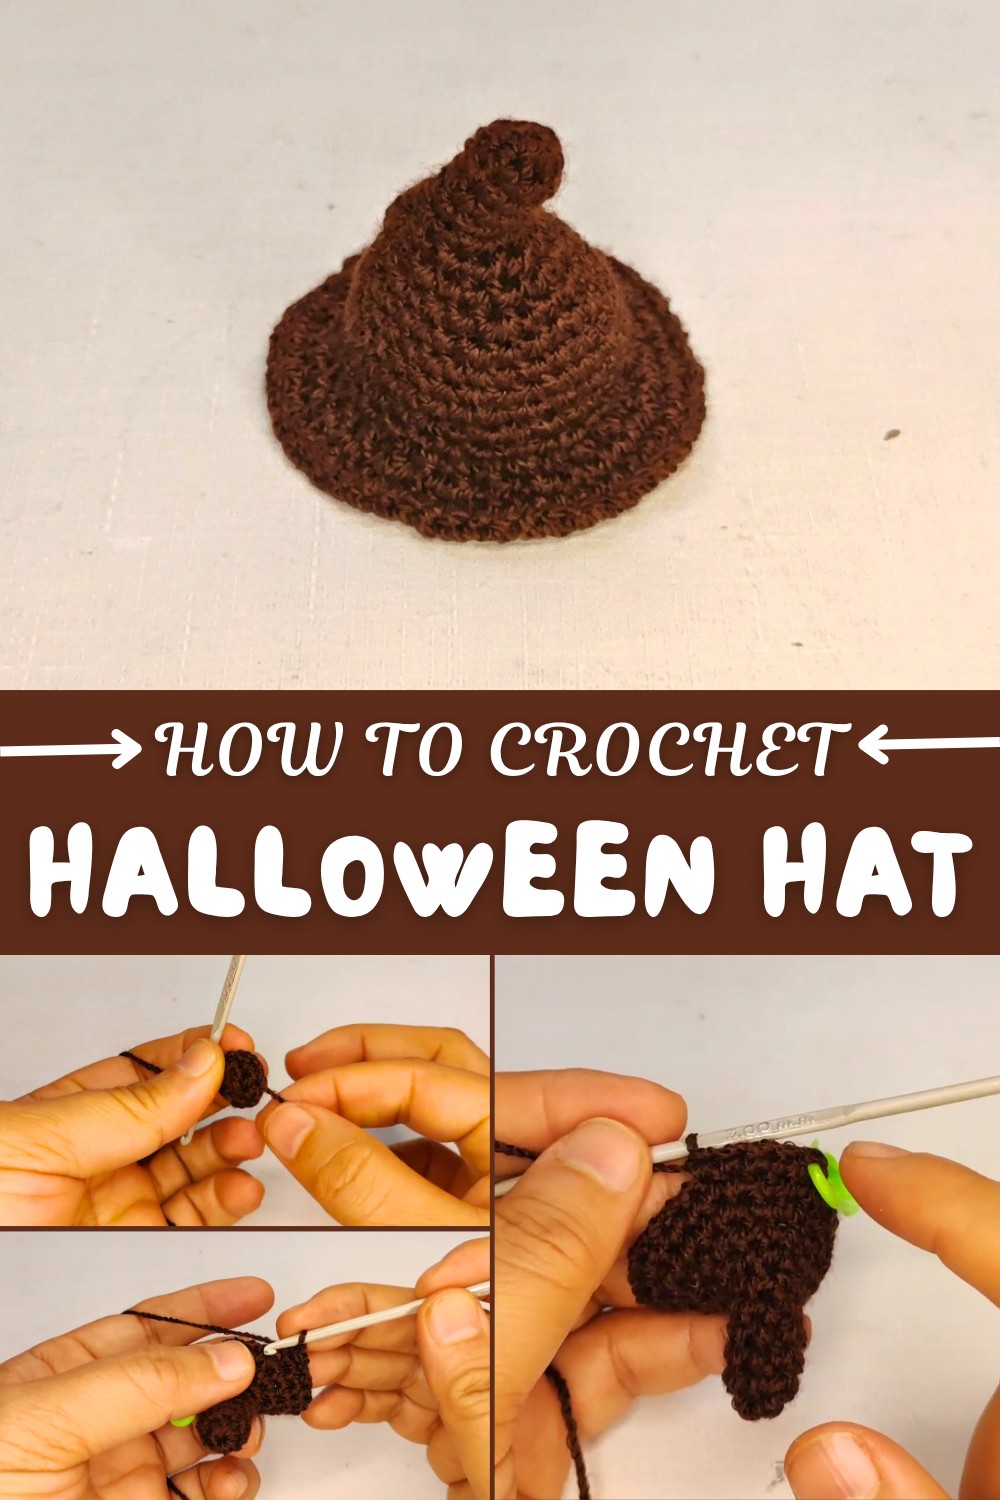
This pattern makes use of essential crochet stitches like the magic ring, single crochet, and pairs of increases for creating its shape. You’ll also work in rounds to build the base and structure while practicing techniques such as finishing touches and how to create clean edges. The result is a small yet sturdy hat that you can adapt to different sizes or uses depending on your yarn choice and hook size. Whether you choose muted tones for a rustic vibe or vibrant shades for a playful look, the possibilities are endless.
What Else You Can Create Using This Pattern
This adaptable hat pattern opens up opportunities for other fun creations:
- Mini hats and caps for dolls, amigurumi, and stuffed animals.
- Holiday-themed decorations, such as elf or Santa hats for Christmas.
- Small basket toppers or gift embellishments to add a handmade touch.
- Themed party favors simply by switching colors and adding details.
Why You’ll Love This Patter
- Easy to follow and beginner-friendly.
- Great for experimenting with colors and styles.
- Perfect for seasonal decor, creative gifts, or personal projects!
Whether you’re crocheting for fun or for festive flair, this Halloween hat pattern is guaranteed to bring joy and creativity into your crocheting journey.
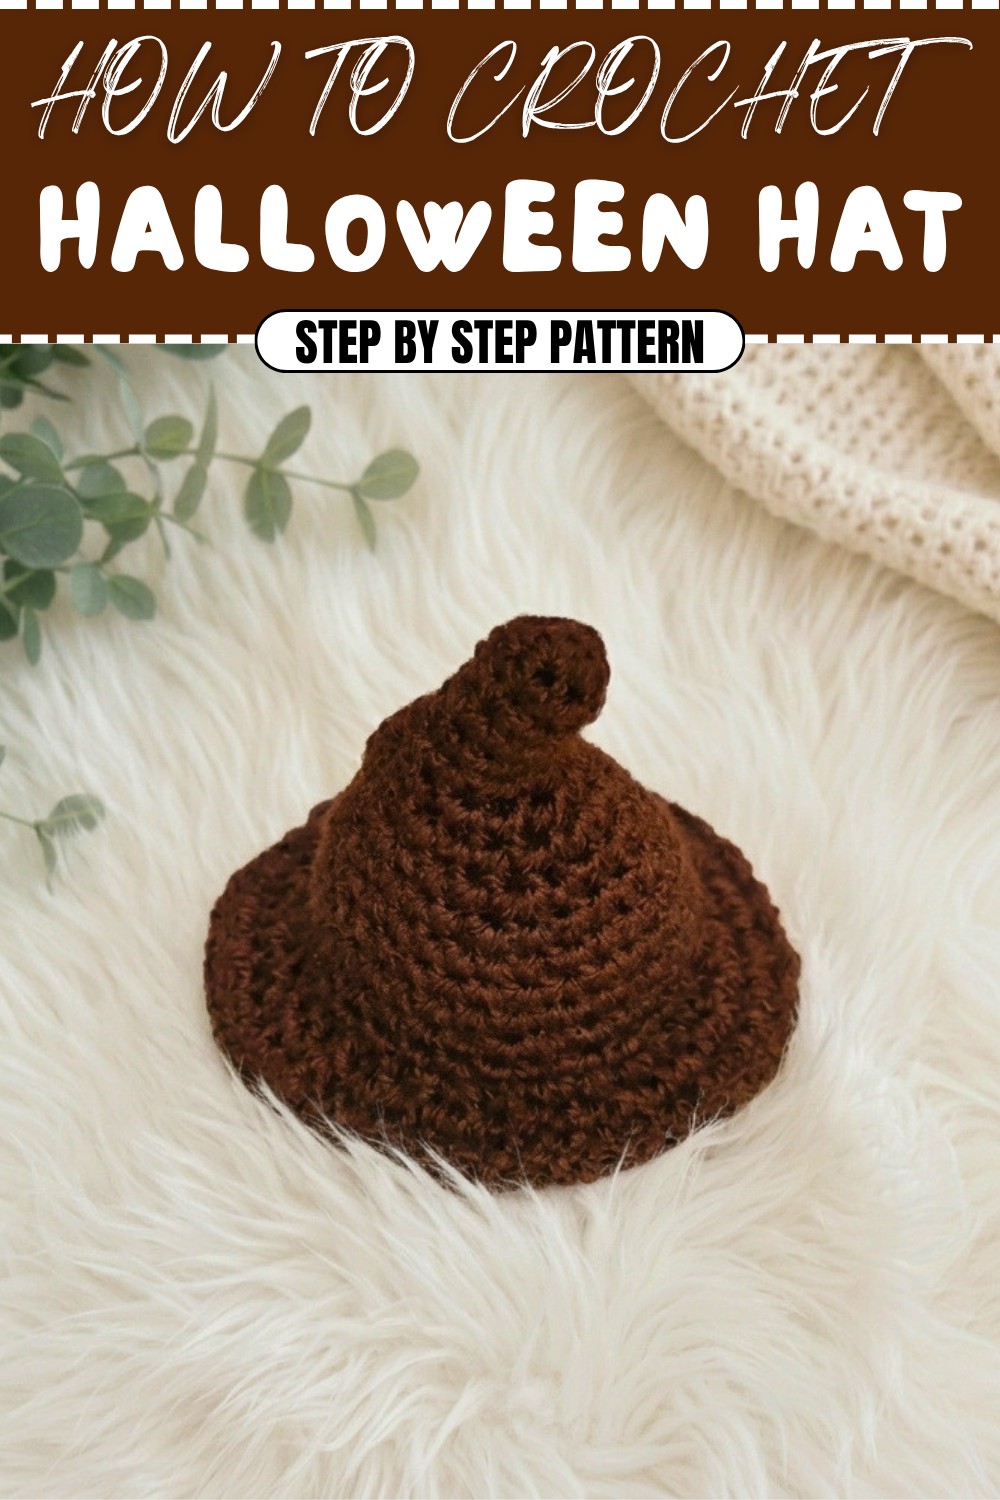
Crochet Tiny Hat Pattern
This adorable tiny hat can be used to decorate amigurumi, keychains, or other handmade projects. This pattern is beginner-friendly and introduces basic increases and working with magic rings. The finished hat is versatile, easy to adapt, and makes for a great stash-busting project.
Skill Level & Terminology
- Skill Level: Beginner
- Terminology: This pattern uses US crochet terms.
Materials & Tools
- Yarn:
- Thread/Yarn (2 mm in thickness; suggested brands: "Caress" or "Breeze")
- Hook Size: 3.0 mm crochet hook
- Additional Tools:
- Scissors
- Tapestry needle
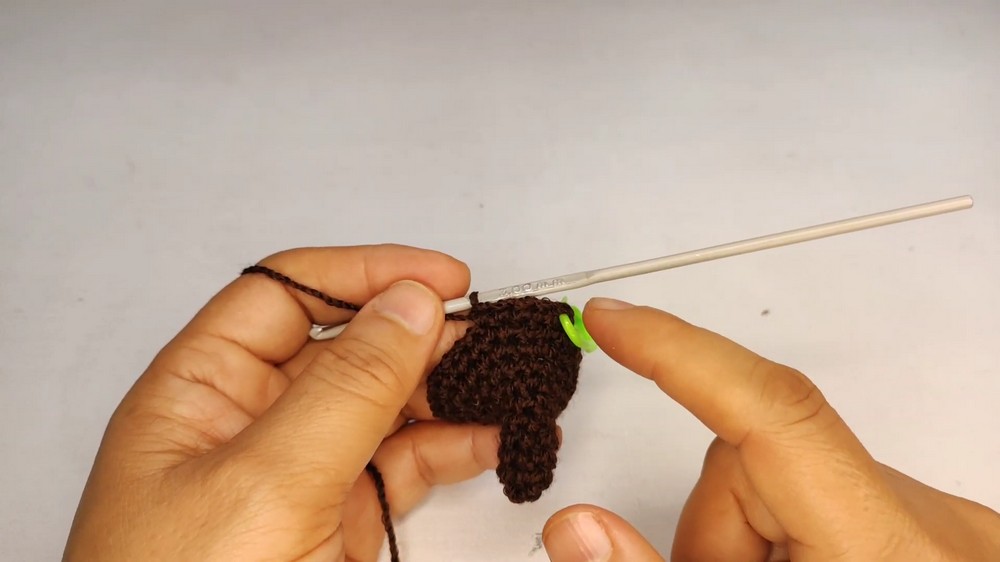
- Stitch markers or lap scoreboard (optional but suggested for marking rounds)
Gauge
Gauge is not critical for this project. However, ensure your stitches are even and firm for the hat to hold its shape. If you crochet loosely, downsize your hook to maintain structure.
Abbreviations List
- ch – Chain
- sc – Single Crochet
- sl st – Slip Stitch
- inc – Increase (2 sc in the same stitch)
- st – Stitch
- round(s) – Refers to rows worked in a circular manner
- magic ring – Adjustable loop used to start crochet in the round
Special Stitch Instructions
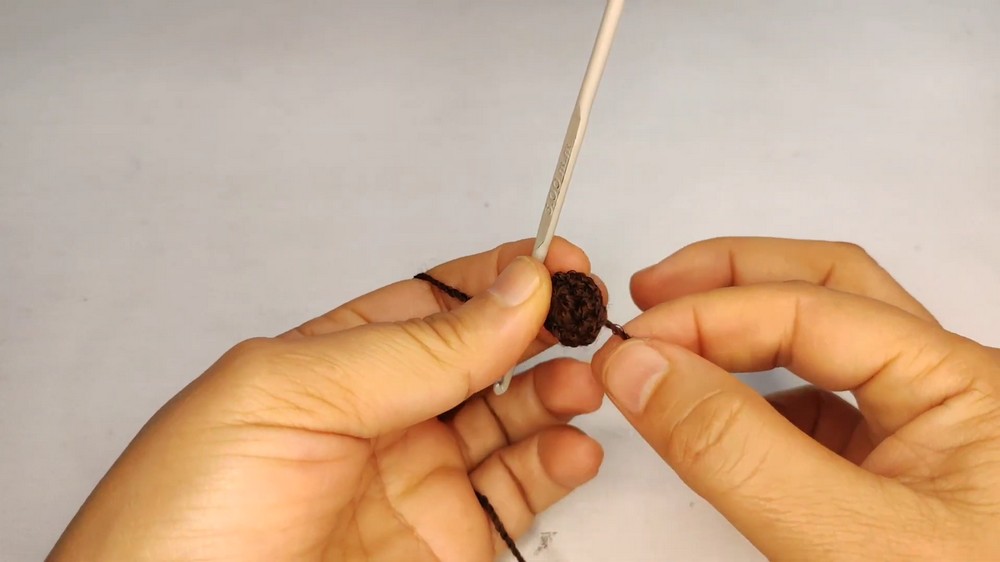
Magic Ring
- Create a small, adjustable loop with your yarn.
- Insert your hook into the loop, yarn over, and pull through to make the first chain.
- Crochet into the ring before pulling the tail to tighten.
Finished Size
This tiny hat measures approximately 2–3 inches in diameter (depending on your tension).
The Crochet Pattern
Follow the step-by-step instructions below to make your tiny hat.
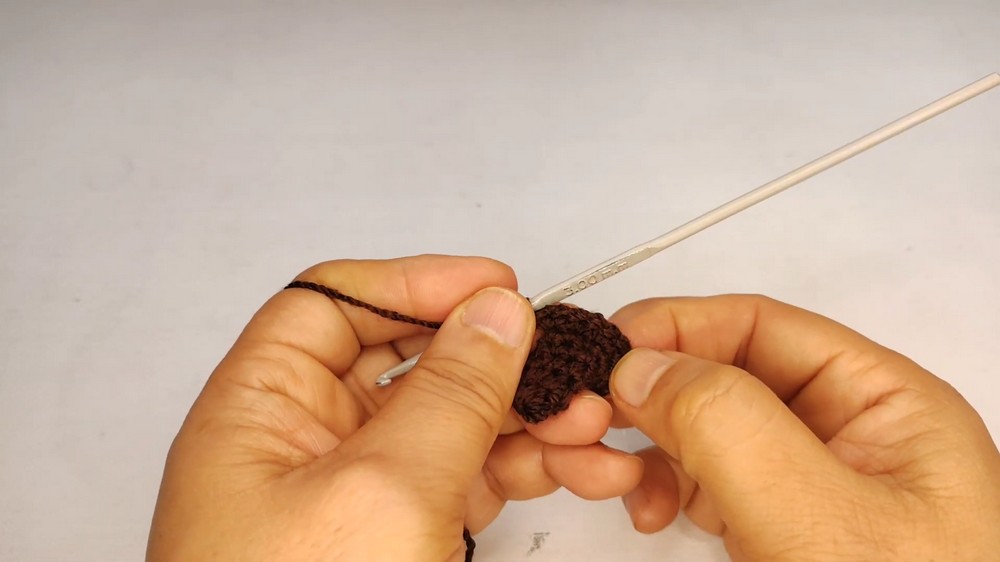
Hat Body (Rounds 1–17)
Round 1 (Foundation Round):
- Start with a magic ring.
- Work 6 sc into the ring.
- Pull the tail to close the ring tightly and join with a sl st to the first sc.
(The first round forms the foundation of the crown of the hat.)
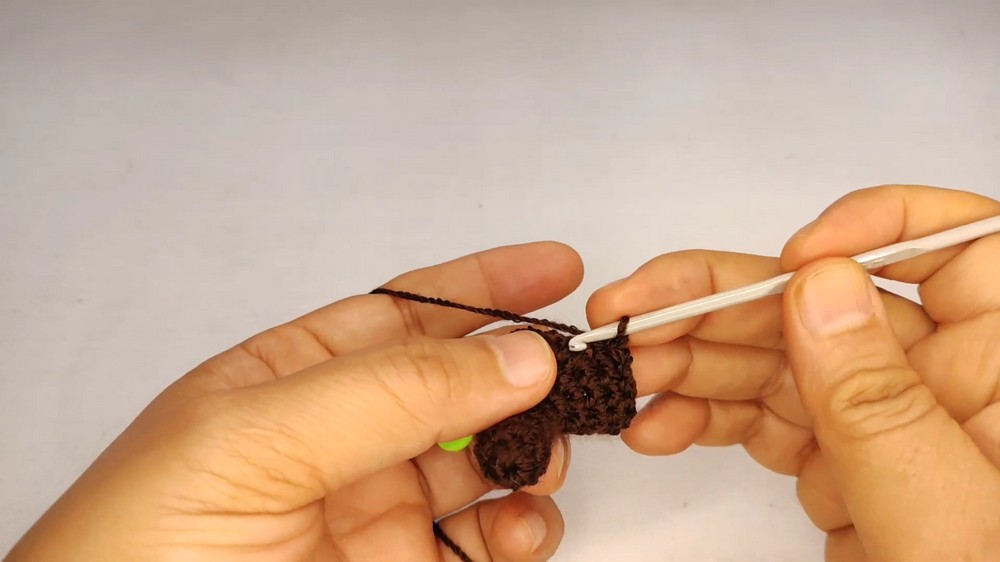
Rounds 2–5 (Building the Base):
- Ch 1, then work 1 sc in each st around (6 sc in total).
- Use a stitch marker to mark the start of each round as needed.
- Repeat for a total of 5 rounds, maintaining 6 sc per round.
(After five rounds, you should have a small cylinder shape, forming the top of the hat.)
Round 6 (Beginning Increases):
- Ch 1, work 2 sc in the same st (inc), then 1 sc in the next st.
- Repeat (2 sc, 1 sc) around for a total of 8 sc in the round.
(This round begins shaping the sides of the hat.)
Round 7:
- Ch 1, work 1 sc in each of the next 2 sts and then 2 sc in the next st (inc).
- Repeat (1 sc in the next 2 sts, inc) around.
- At the end of the round, you should have 12 sc in total.
(You’ll notice the sides of the hat flaring out slightly.)
Round 8:
- Ch 1, work 2 sc in the next st (inc), then 1 sc in each of the next 3 sts.
- Repeat (1 sc in the next 3 sts, inc) around.
- You should now have 16 sc.
(The hat continues to flare incrementally with each increase round.)
Round 9:
- Ch 1, and work 2 sc in the next st (inc), then 1 sc in each of the next 4 sts.
- Repeat (1 sc in the next 4 sts, inc) around.
- Final count: 20 sc.
(The hat’s cylindrical shape elongates as you add stitches.)
Round 10:
- Ch 1, and work 1 sc in each of the next 5 sts, then 2 sc in the next st (inc).
- Repeat (1 sc in the next 5 sts, inc) around.
- Total count: 24 sc.
(The upper portion of the hat is nearly complete after this round.)
Rounds 11–15:
- Ch 1, work 1 sc in each st around (no increases).
- Maintain 24 sc per round for these 5 rounds.
(These rounds allow for the cylindrical body of the hat to grow appropriately.)
Round 16 (Bottom Border Expansion):
- Switch to a back-loop-only technique for this round.
- Ch 1, work 2 sc in each st around for a total of 48 sc.
(This creates a wider brim for the hat.)
Rounds 17–18:
- Ch 1, work 1 sc in each st around (48 sc per round).
(These final rounds complete the brim of the hat neatly.)
Finishing the Hat
- After completing Round 18, fasten off and leave a long tail for sewing or decorative use.
- Weave any loose ends inside the hat using a tapestry needle.
- Use scissors to neatly trim excess yarn.
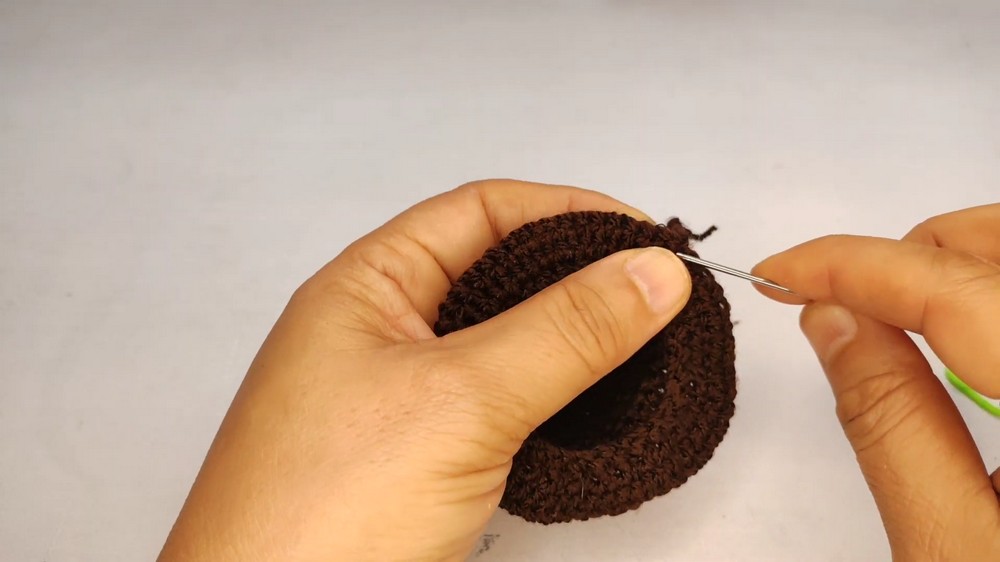
(Your hat is now ready for use!)
Assembly & Finishing:
- Use the hidden loose ends to attach the hat to an amigurumi, keychain, or display item.
- Adjust the final shape of the brim according to your preference. For example, roll the brim upward for a classic look.
- You can also stitch in additional details like pom-poms or decorative elements (if desired).
About This Pattern
This crochet tiny hat is a simple yet versatile accessory for adding a touch of personality to your crafts. The main stitches include single crochet and increases (2 sc in one stitch). The magic ring technique ensures a clean, seamless starting point. With minimal materials and straightforward instructions, even beginners can complete this project in under an hour.
It works beautifully for decorating amigurumi characters, enhancing seasonal decor, or even creating whimsical gifts for friends and family.
What You’ll Learn
With this crochet pattern, you’ll:
- Master the magic ring to create a seamless foundation.
- Learn how to increase evenly for a smooth, rounded shape.
- Work in rounds to build height and structure without visible seams.
- Hone your finishing skills by weaving in yarn ends and securing the shape.
Each step helps to develop your crochet confidence while teaching practical techniques.