
Graceful Crochet Cactus Earrings Pattern for Effortless Boho Vibes
Liven up your style and skip plain studs with a Free Crochet Cactus Earrings Pattern offering a fun, quirky twist to accessories.
When I first saw a tiny crochet cactus, I instantly fell in love with its charm and playful vibe. These little cacti earrings are not only adorable but also a fun way to bring a splash of the desert into your daily style. What I really enjoy about this pattern is its use of basic crochet stitches like single crochets and double crochets combined with clever color changes to shape the cactus beautifully. The magic ring helps start the project with a tight, neat center, and transitions between stitches create the subtle texture of a real cactus.
Guidance on Crochet Cactus Earrings Pattern for Everyday Fun
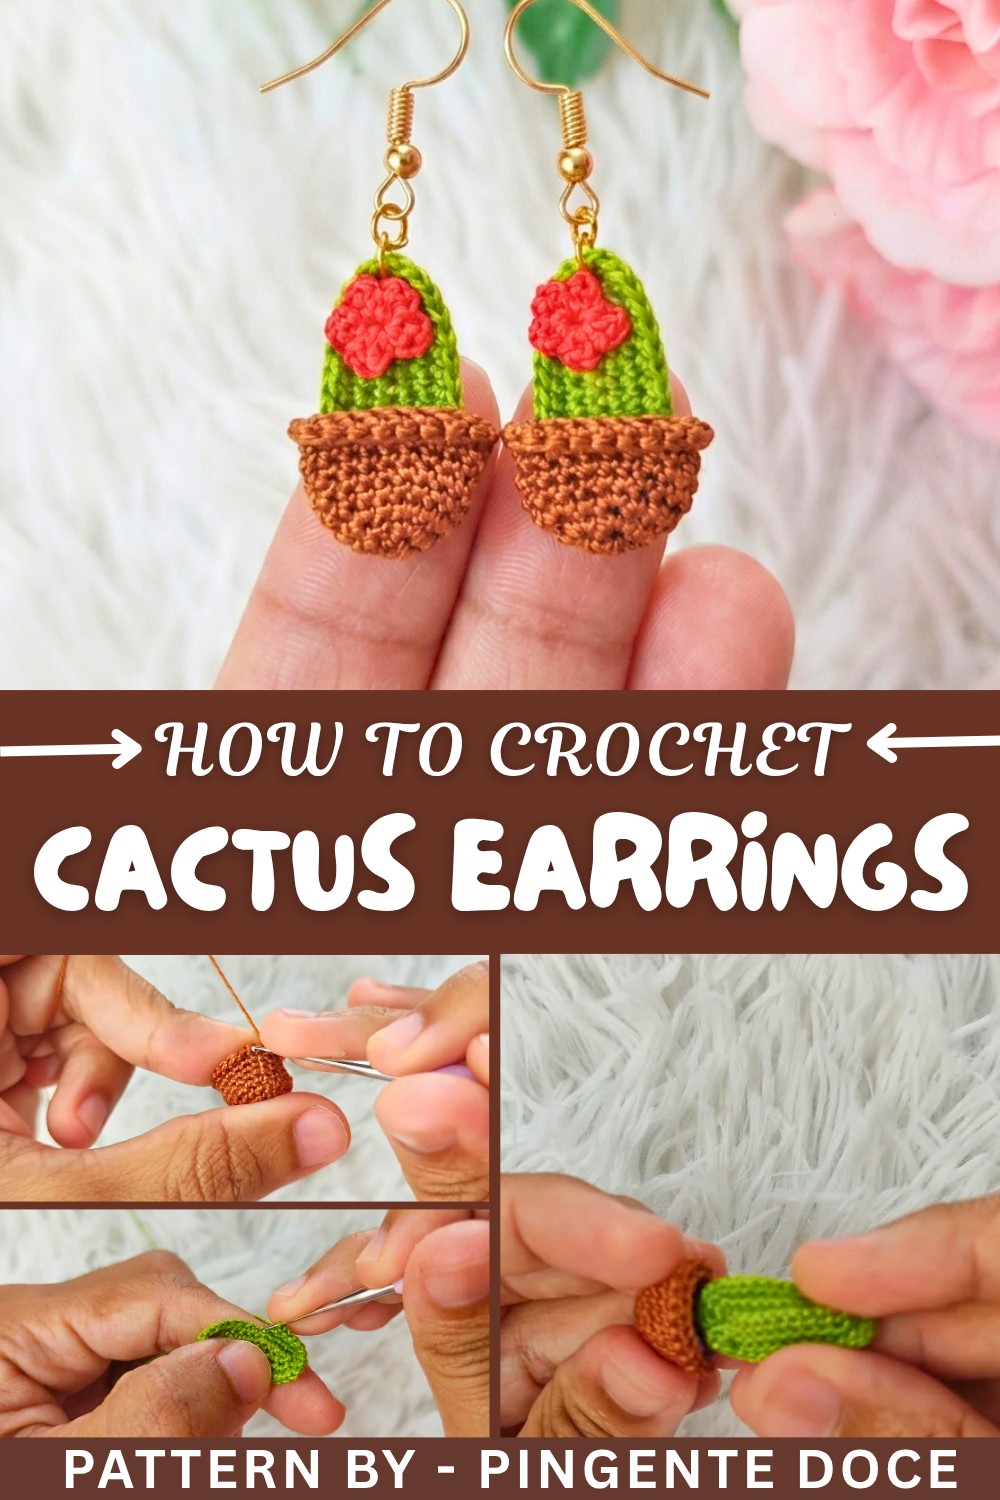
This project is wonderfully beginner-friendly and easy to follow. You start by making a magic ring and work rounds of single and double crochets to build the cactus shape. The pattern guides you step-by-step through increases and stitch placement, helping the piece take its charming form. Also, working with the outer loops in some rounds adds a subtle texture that really makes the cactus pop. The small flower on top is created using slip stitches and chains to add a fun decorative detail.
Expand Your Crochet Collection
After mastering this cactus pattern, you can create other exciting pieces like mini succulent brooches, keychains, or even add small crochet plants to home decor items. Exploring colors and stitching details allows you to customize your creations — a great way to keep your crochet projects fresh and full of personality!
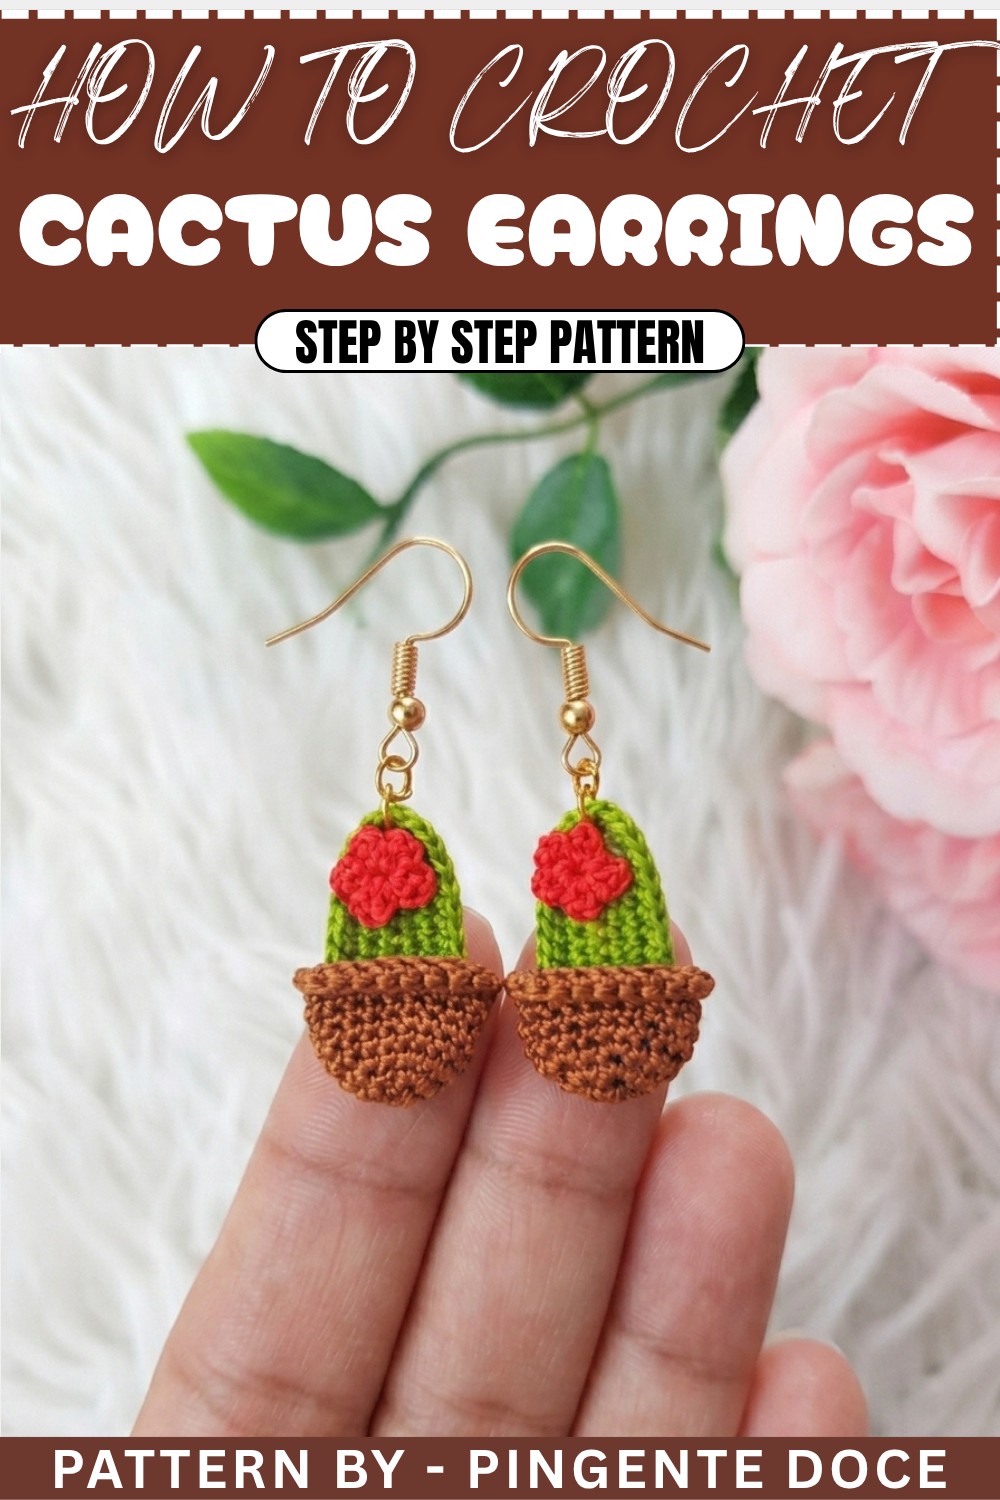
Crochet Cactus Earrings Pattern
Bring nature-inspired charm into your accessory collection with this crochet cactus earrings pattern! Featuring a small cactus inside a pot with a delicate flower accent, this project is perfect for both beginners and intermediate crocheters looking to explore 3D crochet techniques. Combining basic stitches, fun shaping details, and earring assembly, this is the ideal craft for showcasing your creativity.
Introduction
These crochet cactus earrings are lightweight, playful, and stylish, making them a great addition to your seasonal collection. Designed to be worked in multiple tiers, the pot, cactus, and flower element come together seamlessly, ensuring a stunning final product. Perfect as gifts, statement jewelry, or handmade business products, this cactus pattern is fun, customizable, and satisfying to create.
Uses of This Pattern:
- Fashion Accessories: Trendy earrings for any time of the year.
- Gifts: Give a handmade present to nature lovers or craft enthusiasts.
- Crochet Business: Add a unique product to your handmade collections.
Skill Level & Terminology
- Skill Level: Beginner to Intermediate
- Terminology: U.S. Crochet Terms
Materials & Tools
- Yarn:
- Brown Yarn: For the pot base.
- Green Yarn: For the cactus body.
- Red, Yellow, or Pink Yarn: For the flower.
- Tools:
- 1 mm crochet hook.
- Scissors.
- Sewing needle and thread.
- Cloth glue or fabric glue (optional, for hardening).
- Earring ring/hook for assembly.
- Pliers for attaching hardware.
Gauge
Gauge is not critical for this project due to its decorative purpose. However, aim to maintain even tension for proportional shaping.
Abbreviations List
- MR: Magic Ring
- ch: Chain
- sc: Single Crochet
- dc: Double Crochet
- inc: Increase (two stitches in one stitch)
- dec: Decrease (combine two stitches into one)
- sl st: Slip Stitch
- hdc: Half Double Crochet (medium stitch)
Special Stitch Instructions
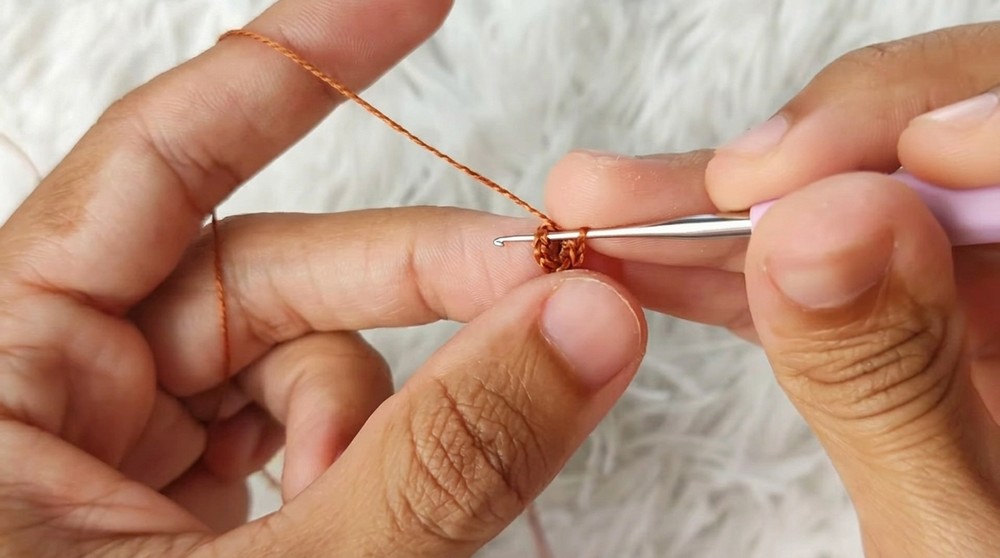
Magic Ring (MR):
- Loop the yarn around your fingers to create a circle.
- Insert the hook into the circle, pull a loop of yarn through, and ch 1 to secure the ring.
- Work your stitches into the ring and pull the tail tightly to close the center.
Invisible Decrease (dec):
To create seamless decreases:
- Insert hook into the front loop only of the first stitch and the next stitch.
- Yarn over and pull through both front loops.
- Yarn over again and pull through the remaining loops on the hook.
Finished Size
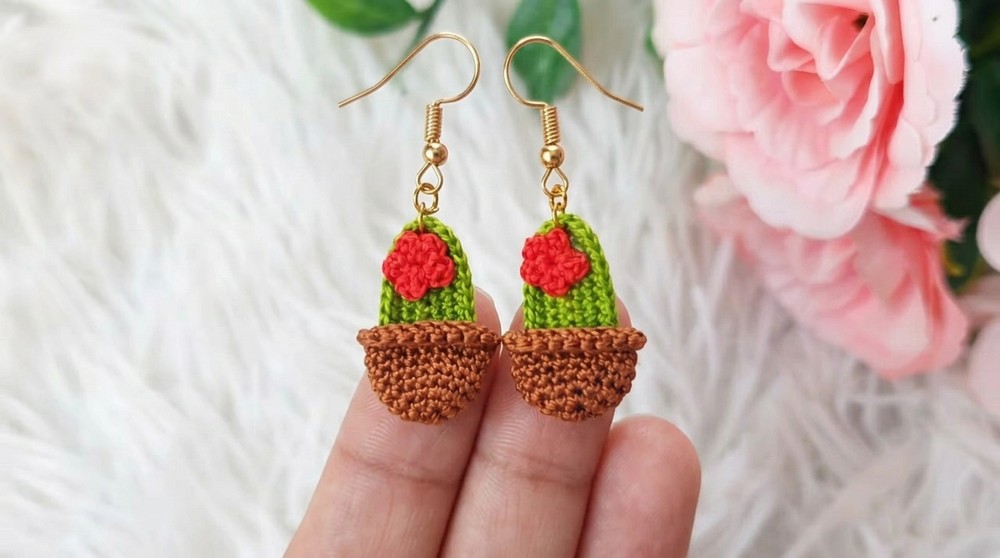
The completed cactus earrings measure approximately 2 inches tall and 1 inch wide, perfect for lightweight wear as an accessory.
Pattern Overview
The pattern consists of three main components: the pot (brown base), the cactus (green body), and the flower (top accent). Once each element is crocheted, they are assembled into an earring, using cloth glue and hardware to finalize their structure. This nature-inspired pattern can be customized with different colors for personalization.
Step-by-Step Pattern
Part 1: Crochet the Pot
- Foundation:
- Using brown yarn, create a MR.
- Work 6 single crochets (sc) into the ring.
- Row 2:
- Close the ring with a slip stitch in the first stitch.
- Ch 1, and crochet 2 sc into each base stitch. You should now have 12 stitches.
- Row 3:
- Slip stitch into the first stitch and ch 1.
- Work [1 sc, inc] around. Repeat this sequence until you have 18 stitches.
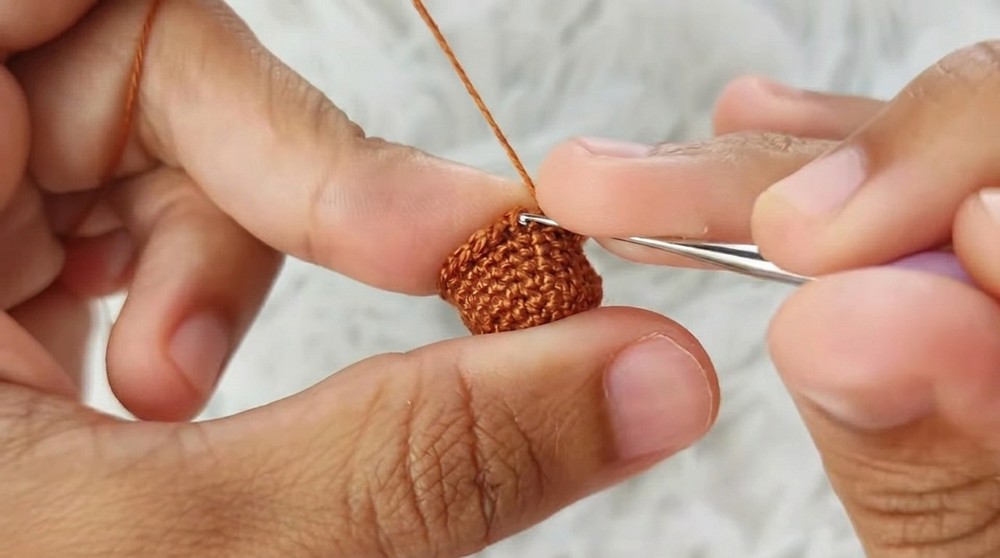
- Rows 4–7:
- Crochet 1 sc in each stitch for the next 4 rows. Close each round with a slip stitch, and begin with ch 1.
- Outer Loop-only Row:
- Work 1 sc in front loop only (flo) of each stitch around the last row. At the end, slip stitch into the first flo stitch and cut the yarn.
→ The pot structure is now complete! Hide yarn tails inside the base using a sewing needle.
- Work 1 sc in front loop only (flo) of each stitch around the last row. At the end, slip stitch into the first flo stitch and cut the yarn.
Part 2: Crochet the Cactus
- Foundation Chains:
- Use green yarn to make a slip knot and ch 11.
- Insert hook into the second chain from the hook and crochet 1 sc.
- Work Across Chains:
- Work 1 sc in each stitch across for 9 stitches.
- In the final chain, make 3 dc to increase and curve the cactus tip.
- Work Opposite Side of Chains:
- Turn the chain, insert into the other side of each loop, and crochet 8 sc.
- In the final stitch, make 2 sc to increase.
- Rows 2–4 (Increase and Shape):
- Continue shaping with 8 sc, and increase (2 sc) in 3 center stitches.
→ The cactus shape is now complete, rounded on top and curved slightly. Time to assemble it within the pot!
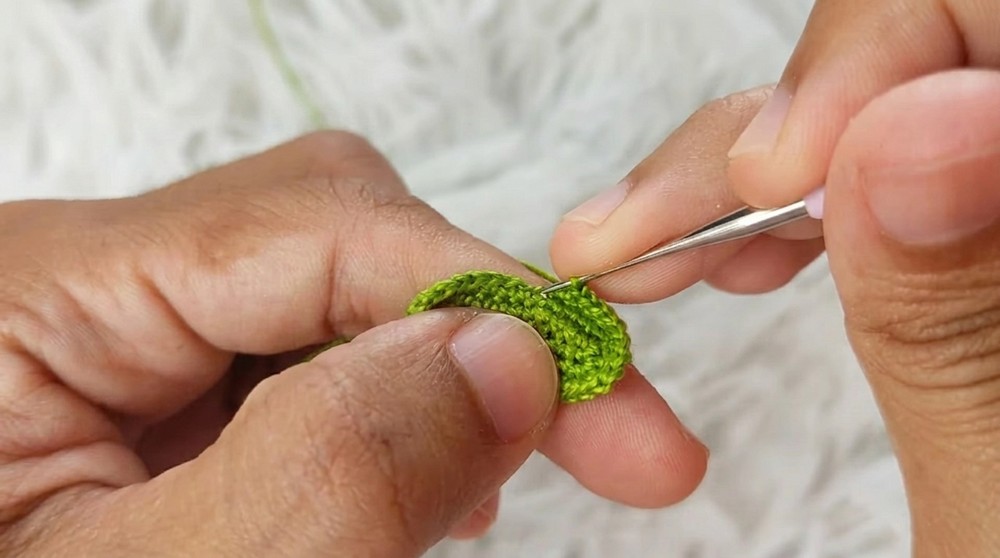
Part 3: Crochet the Flower
- Start with Magic Ring:
- Using red, yellow, or pink yarn, begin a MR.
- Inside the loop:
- Ch 1, work 1 hdc and 1 sl st into the ring. Repeat 5 times.
- Close the Ring:
- Pull the yarn tail to tighten the magic ring. Cut the yarn, and knot securely on the back side of the piece.
→ The flower adds color and charm to the design. It's small yet impactful!
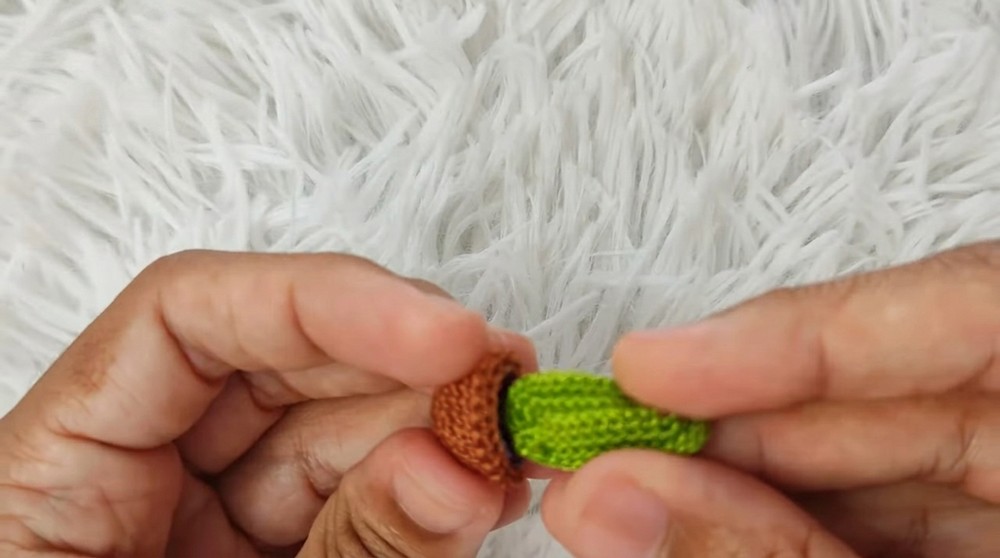
Part 4: Assembly and Finishing
- Glue the Pieces:
- Apply fabric glue to the interior of the pot. Place the cactus into the pot with the cactus seams aligned to the back.
- Position the flower onto the cactus top using glue.
- Apply fabric glue to the interior of the pot. Place the cactus into the pot with the cactus seams aligned to the back.
- Add Hardware:
- Attach the earring ring at the top of the cactus flower. Use pliers to ensure the earring hook is securely fastened.
- Final Touches:
- Trim excess yarn ends or embroidery threads. Ensure the pieces are firmly attached for durability.
→ Your adorable cactus earring is complete! Repeat the steps to create a matching pair.
- Trim excess yarn ends or embroidery threads. Ensure the pieces are firmly attached for durability.
What You’ll Learn
- Shaping Techniques: Learn how rounding and increasing create a 3D design.
- Component Joinery: Assemble separate crochet parts seamlessly.
- Customizing Designs: Adapt colors and shaping for variety.
Difficulties and Solutions
Common Challenges
- Loose Magic Ring:
- Loose initial rings can create gaps.
- Solution: Pull the yarn tail tightly and secure a knot to prevent loosening.
- Uneven Shaping:
- Inconsistent stitch tension may distort the cactus or pot shape.
- Solution: Practice keeping even tension, and block the finished product for symmetry.
- Incomplete Assembly:
- Misaligned parts can make the piece look sloppy.
- Solution: Test fit the cactus and flower within the pot before gluing them permanently.
Why You’ll Love This Pattern
This crochet cactus earrings pattern is not only a fun seasonal project but also beautifully customizable for year-round wear. The combination of nature-themed pattern and lightweight, stylish structure makes this a truly rewarding pattern. Whether you're gifting or keeping these adorable accessories, their colorful and miniature charm is sure to bring smiles.