
Free Crochet Laptop Sleeve Pattern for Dorm Desk Style
Find a simple and free laptop sleeve crochet pattern to protect your laptop in style and create something special with your own hands.
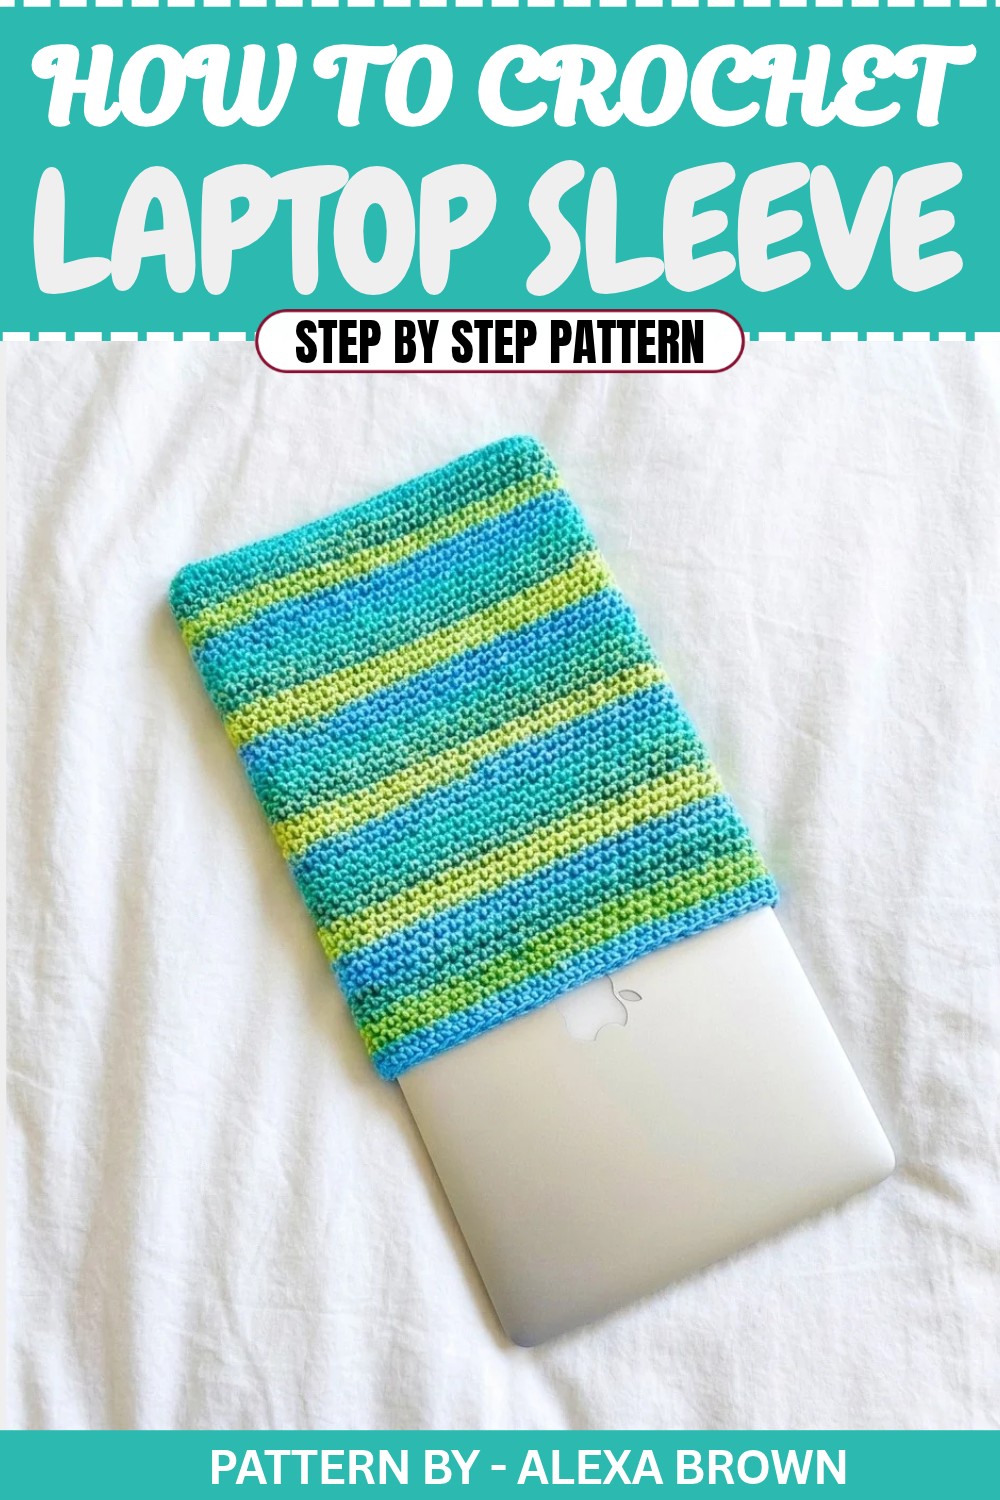
Keeping your tech safe doesn’t have to mean settling for a boring case, which is why I loved putting together this Free Crochet Laptop Sleeve Pattern. This project is all about combining functionality with style. The sleeve is sleek and snug, with a minimalist design that’s timeless. Its texture is beautifully simple, created with single crochet stitches that form a dense, durable fabric to protect your laptop from scratches and minor bumps. It has just the right amount of stretch to fit your device comfortably without any added bulk.
Featured By emilka
One of the best parts about this project is how customizable it is. Whether you’re crocheting for a compact tablet or a larger laptop, adjusting the initial foundation chain is as easy as measuring your device and adding or reducing stitches. This makes it a great project for students, freelancers, or anyone who wants to give their laptop a personal touch.
Free Crochet Laptop Sleeve Pattern to Tuck in a Briefcase
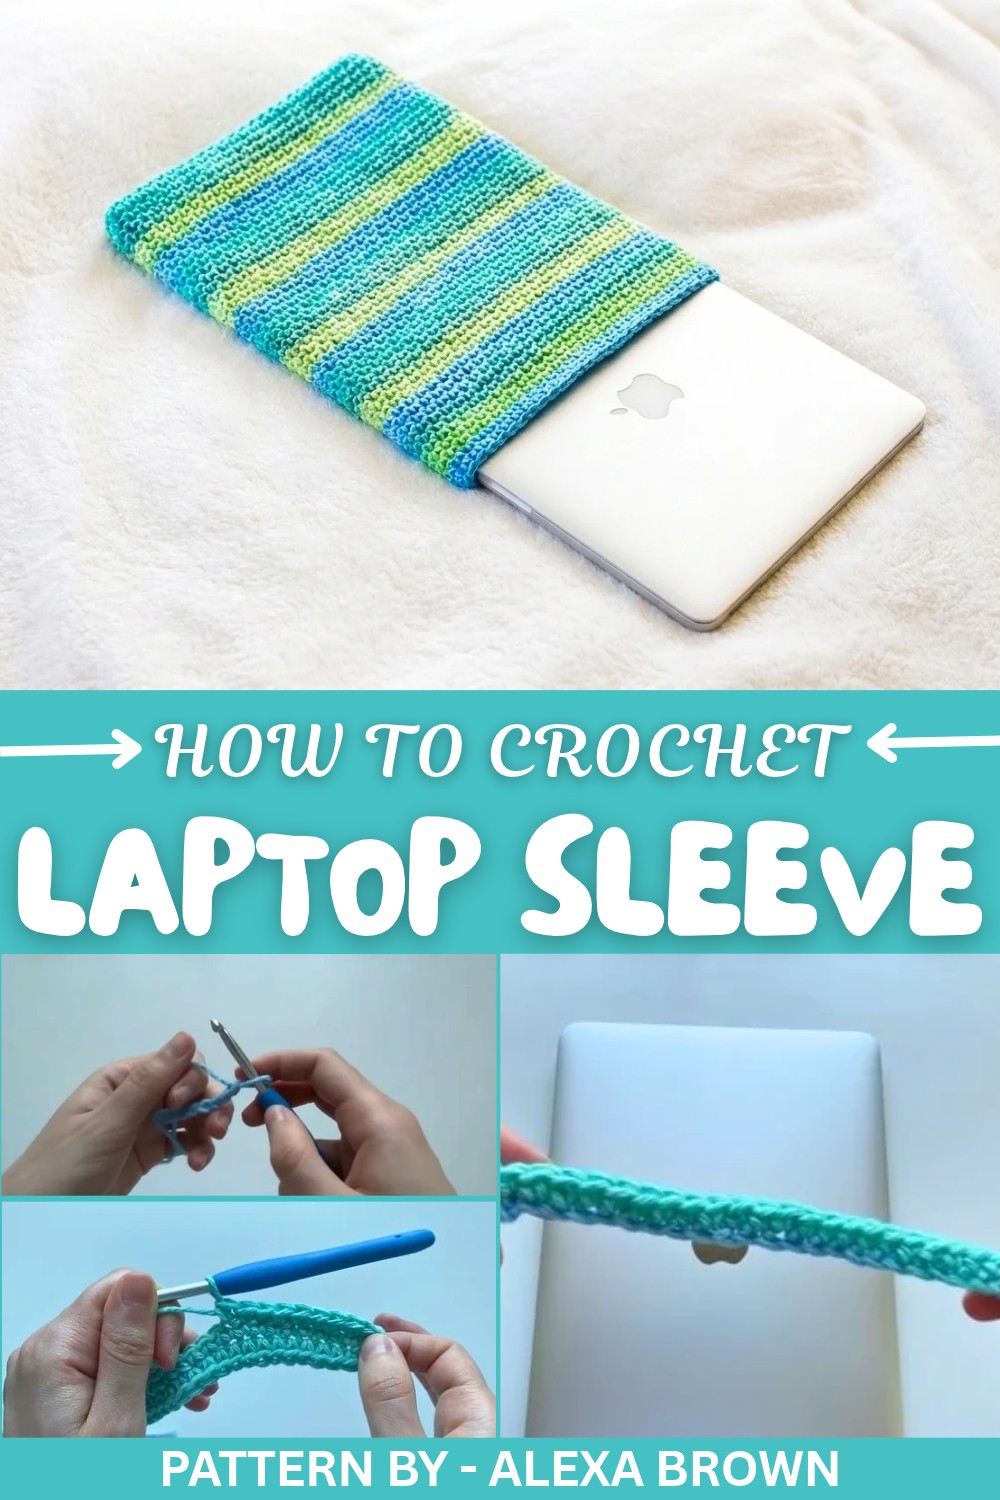
The sleeve is worked in one continuous piece, making it a straightforward pattern for both beginners and seasoned crocheters. Using a cotton or cotton blend yarn not only enhances the durability of the sleeve but also adds excellent stitch definition, making every row look neat and professional. Additionally, cotton’s natural properties make it easy to clean, which is always a bonus for everyday use items.
The inspiration for this design was a desire to ditch plain, store bought laptop covers and make something more unique and meaningful. It also makes for a thoughtful, handmade gift idea, especially when done in fun colors or stripes to match someone’s style. So, grab your favorite yarn and hook, and let’s make a cozy sleeve that will keep your laptop safe and stylish. You’ll love how quick and satisfying it is to complete.
Crochet Laptop Sleeve Pattern
This friendly and easy laptop sleeve pattern will allow you to create a snug and stylish cover for your device. By using simple stitches like single crochet, this project is perfect for beginners. Let’s jump into the details.
Quick Overview Of Pattern
- Foundation: Start with a chain that matches your laptop's width.
- Main Body: Work single crochets back and forth in rows.
- Shape the Sleeve: Transition from rows to rounds to form the sleeve.
- Finishing: Fasten off at the corner and weave in loose ends.
Notes
- The foundation chain must match the length of your laptop.
- If the sleeve seems too tight or too loose during the early stages, adjust by restarting with a longer or shorter chain.
- Work a few rows before testing the fit with your laptop.
Skill Level
Beginner
Materials
- Yarn: Medium weight yarn (e.g., Lily Sugar’n Cream 100% cotton yarn in Country Stripes).
- Hook: 5mm crochet hook.
- Tapestry Needle: For sewing in loose ends.
- Scissors: For cutting yarn.
Measurements / Sizing
The sleeve will be customized to fit your laptop. Adjust the foundation chain and height accordingly.
Gauge
Gauge is not critical, but aim for comfortable, consistent single crochet stitches to ensure an even fit.
Stitch Abbreviations
- CH: Chain
- SC: Single Crochet
- SS: Slip Stitch
The Crochet Pattern
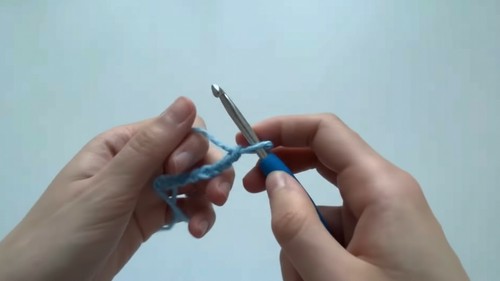
Step 1: Create the Foundation Chain
- Make a Slip Knot: Loop the yarn and tighten it onto your hook.
- Chain Stitches:
- Work 30 CH stitches or enough to match your laptop's width.
- Ensure the chain is slightly shorter than the width, as the project will stretch.
- Add Turning Chain: Chain 1 extra stitch for turning.
Step 2: Work the First Row of Single Crochets
- Skip First Chain: Skip the very first CH closest to the hook (this acts as the turning chain).
- Insert Hook in Second Chain:
- Insert the hook into the second CH from the hook.
- Yarn over and pull through the loop.
- Yarn over again and pull through both loops on the hook. This completes 1 SC.
- Repeat Across the Row: Work 1 SC in each CH until you reach the end of the row.
- Flip Work: Flip your work to begin the next row.
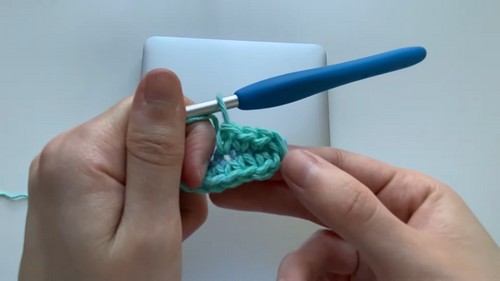
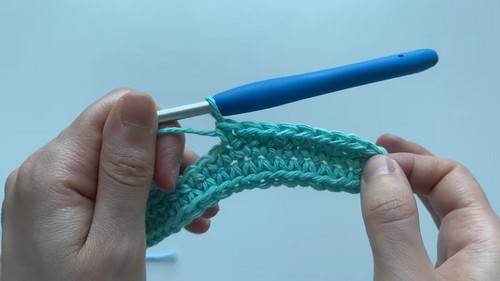
Step 3: Build the Body of the Sleeve
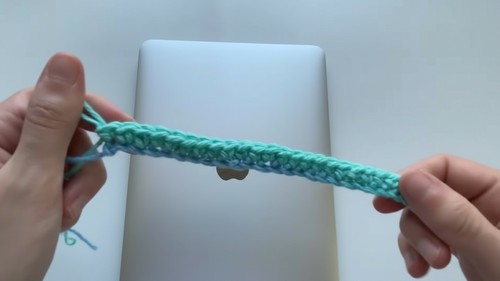
Row 2 and Onward: Work Single Crochets Across
- Work into Single Crochet “Holes”:
- Locate the visible “hole” at the top of each stitch in the row below.
- Insert your hook into the hole, yarn over, and complete the SC as before.
- Work Across the Row: Finish 1 SC in each hole across the row.
- Flip Work and Repeat: At the end of each row, flip your work and keep crocheting SC stitches into the top of each stitch in subsequent rows until your piece starts to build.
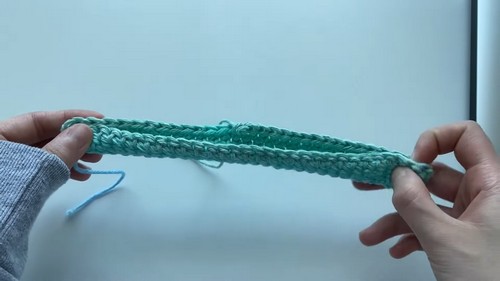
Step 4: Transition to Working in the Round
- Join the Ends Together: Once your piece is long enough to wrap around your laptop, fold it in half and start working in the round.
- Work SC stitches into both layers' edges to join the bottom together.
- Continue working in rounds rather than rows.
- Continuous Rounds:
- Instead of working back and forth, crochet in a continuous spiral:
- Work 1 SC in each stitch all the way around the joined sides and edges.
- Ensure consistency and avoid skipping stitches.
- No Turning: Unlike rows, you won't chain 1 or turn your work in rounds.
- Instead of working back and forth, crochet in a continuous spiral:
- Check the Fit: Periodically insert your laptop into the sleeve to confirm the fit is snug but not too tight.
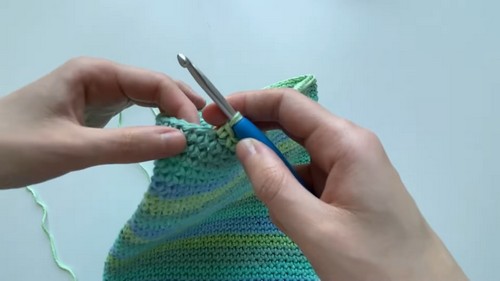
Step 5: Final Rounds and Fastening Off
- Finish the Height: Continue crocheting in rounds until the sleeve covers the full height of your laptop.
- Fasten Off at a Corner:
- Once you reach the end of a round and approach a corner, stop crocheting.
- Work 1 SS into the next stitch to secure the last round.
- Chain 1 and pull the yarn through the last loop to fasten off.
- Weave in Loose Ends:
- Use a tapestry needle to sew in the loose yarn ends.
- Trim any excess yarn with scissors.
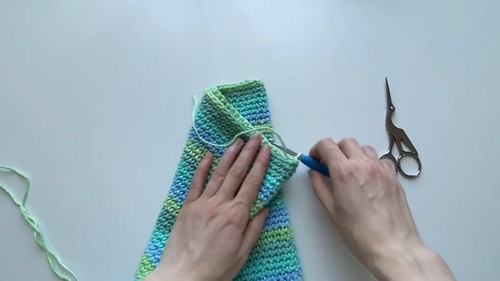
Assembly & Finished Size
Final Steps:
- After fastening off, shape the sleeve by gently pulling on the edges to ensure it’s even.
- The sleeve should snugly fit your laptop’s width and height.
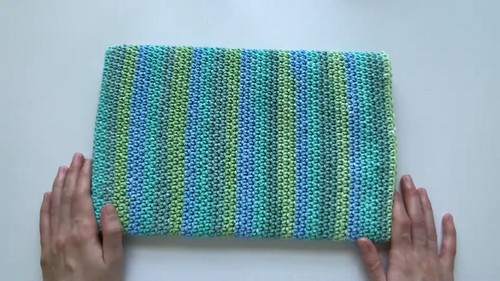
Finished Size:
The exact dimensions will depend on your laptop measurements and the tightness of your stitching. Measure as needed to ensure it fits properly.
Conclusion
Congratulations, You’ve just finished crocheting a customized laptop sleeve that's perfect for protecting your device with style. Simple stitches and continuous rounds make this project both fun and easy for beginners. Adjust the size, colors, and yarn choices to match your unique preferences.