
Free Crochet Corrine Peplum Top Pattern That Looks Absolutely Stunning
Use this crochet pattern to create a stylish Korean peplum top, complete with simple instructions for adjustable sizing and decorative finishing touches.
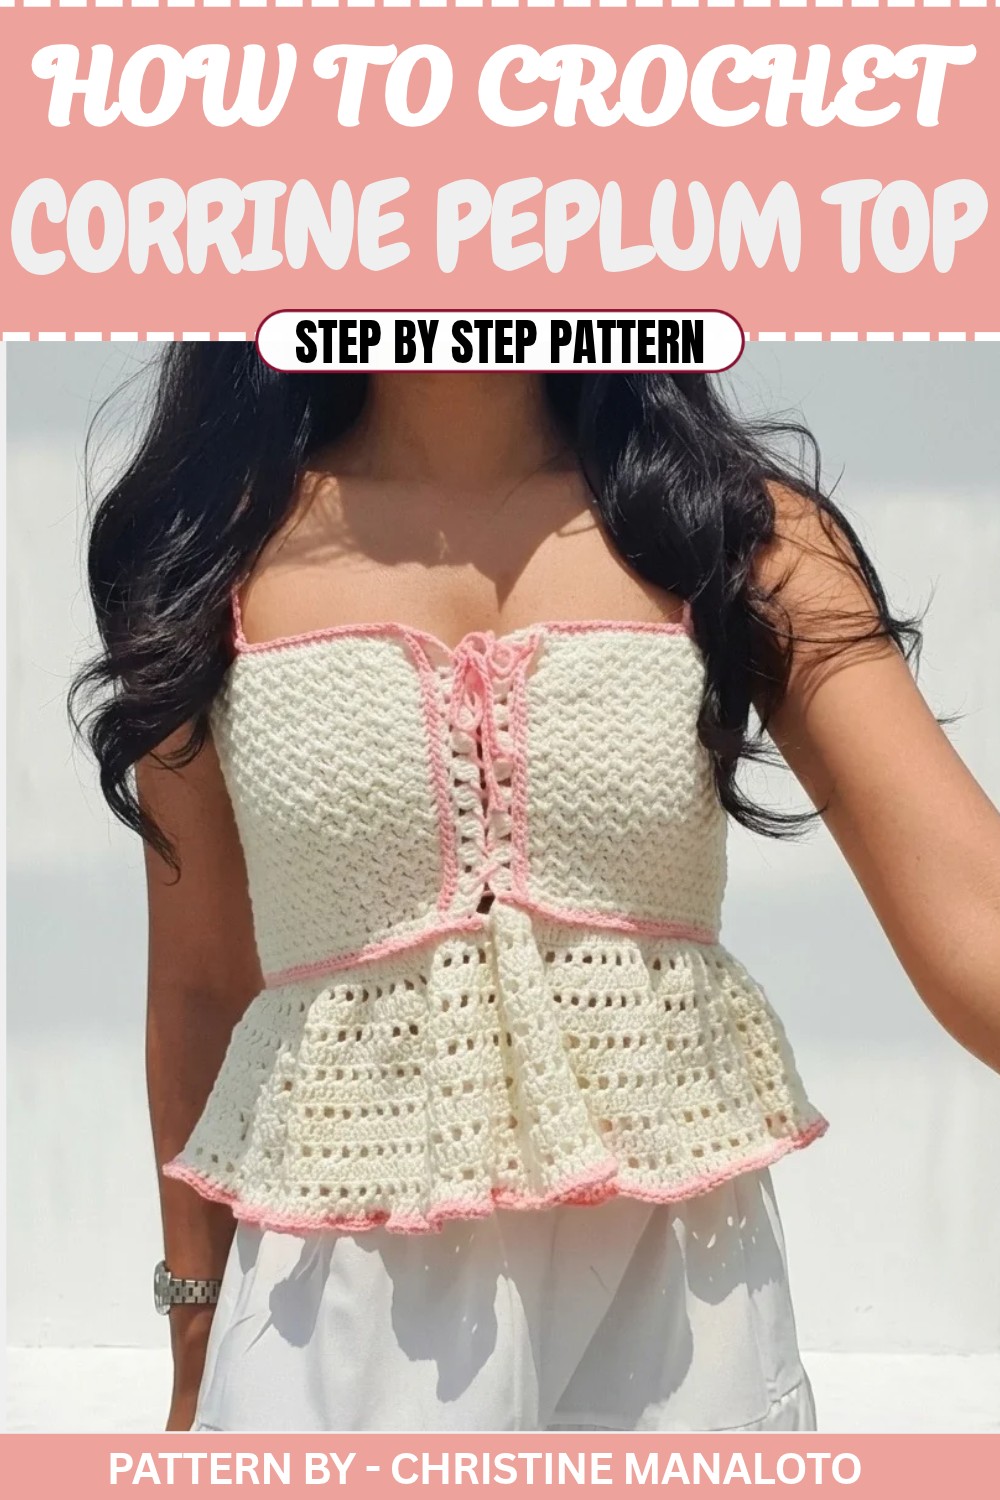
Sunshine days and breezy evenings were the first things on my mind when I dreamed up the Free Crochet Corrine Peplum Top. This wearable project is a light, flirty peplum tee with a gentle A line flare that hugs the bust and waist, then fans out in a soft ruffle. The texture is clean and slightly textured without being too busy, so it works with both simple outfits and bold accessories.
Pattern By Christine Manaloto
The Corrine Peplum Top has a soft, feminine shape with a fitted upper body and a playful peplum hem that sits just at or slightly below the hip, depending on your preference. Simple straps and a neat neckline keep it airy and flattering, while the peplum adds that little swish of movement. It suits teens and adults who enjoy a casual yet pretty look and can be worked in sizes from XS through plus sizes by adjusting stitch counts and length.
Learn How to Crochet a Beautiful Corrine Peplum Top
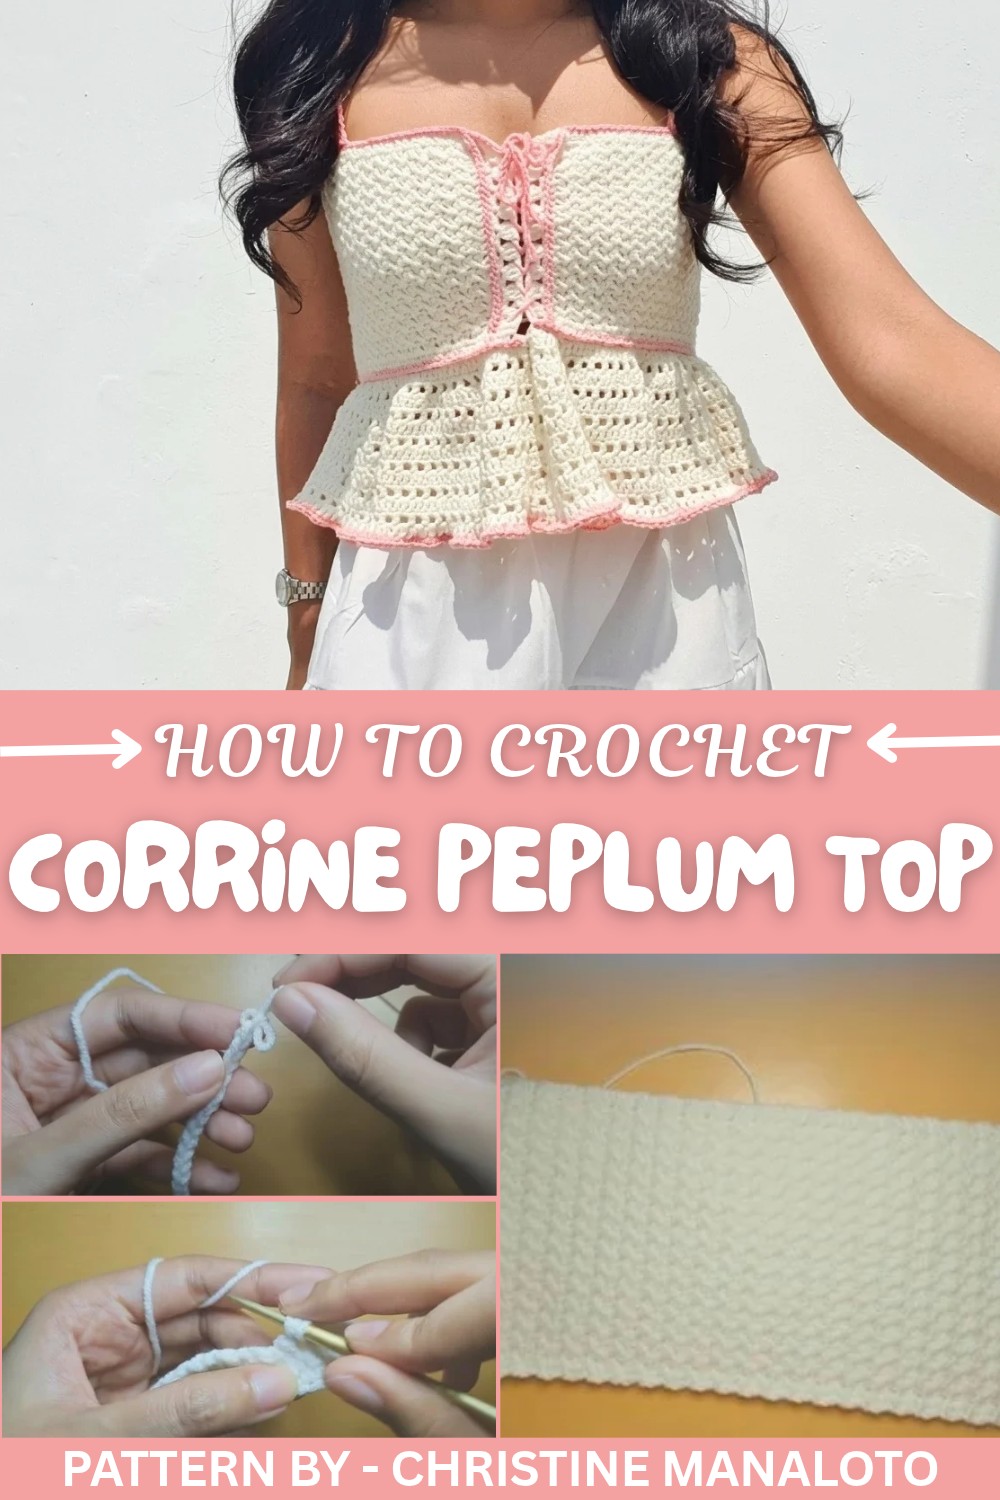
Construction is worked from the top down so you can easily try it on as you go. The body uses easy, repeatable stitches for a smooth fabric with just enough texture to stay interesting, and the peplum is shaped with gentle increases to give that soft flare. A light to medium weight cotton or bamboo yarn shines here, because it offers good stitch definition and a lovely drape that lets the ruffle hang naturally instead of puffing out.
This top makes a sweet gift for a friend, a sister, or anyone who loves handmade wardrobe pieces, and it works for picnics, coffee dates, or summer holidays. Play with stripes, color blocking, or a solid neutral and make it your own. A hook, some yarn, and a bit of patience are all you need to turn the Corrine Peplum into a closet favorite.
Crochet Corrine Peplum Top Pattern
Quick Overview Of Pattern
- Chest Area: Begin with a foundation chain and work in rows to create the chest portion, adjusting the fit to wrap around your chest.
- Bottom Ruffled Edge: Once the chest is complete, work ruffles using double crochet and single crochet stitches for texture.
- Details: Add decorative elements using front and back loops.
- Straps: Add straps at the end by crocheting long chains and attaching them securely to the top.
Notes
- Adjustable size: You can customize the fit for your chest by adding more rows to the chest area.
- Pay attention to stitch placement, especially when switching between single crochet (SC), double crochet (DC), and half double crochet (HDC).
- Ensure your stitches are even for a clean, polished look.
Skill Level
Intermediate
Materials
- Yarn: Medium-weight yarn in your colors of choice (main color + pink for accents).
- Hook: 4mm crochet hook.
- Scissors: For cutting yarn.
- Tapestry Needle: To sew in loose ends.
- Stitch Markers: Optional, to mark strap placement.
Measurements / Sizing
The sizing of this top is adjustable. Add or reduce rows in the chest area to match your body measurements.
Gauge
Gauge is not strictly required for this project, but aim for consistent tension with single crochet stitches for the chest measurement.
Stitch Abbreviations
- CH: Chain
- SC: Single Crochet
- HDC: Half Double Crochet
- DC: Double Crochet
- SS: Slip Stitch
Special Stitches
- Single Crochet in Back Loop: Insert hook into the back loop of the stitch instead of both loops, yarn over, and complete the SC.
- Double Crochet in Back Loop: Insert hook into the back loop of the stitch only, yarn over, pull through, and complete a DC.
Crochet Pattern
Chest Part
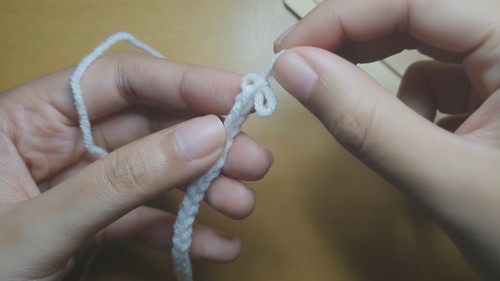
- Foundation Chain:
- Start with a slip knot.
- Chain 31 CH.
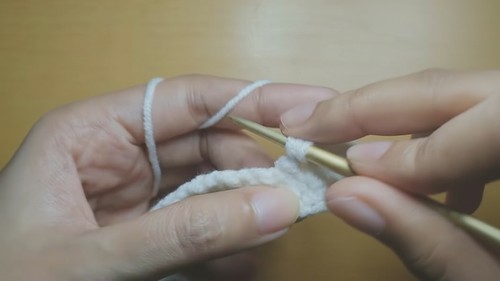
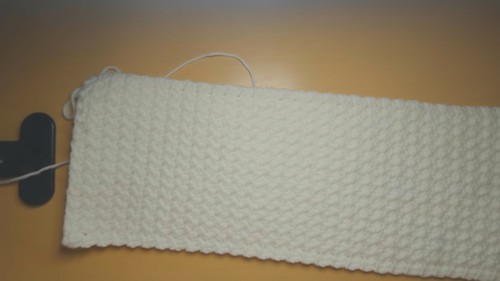
- Row 1:
- Work 1 SC in the back bumps of every stitch across the chain.
- At the end of the row, chain 1 CH, turn your work.
- Row 2 Onward:
- Skip 1 stitch, work 1 SC and 1 DC in the same stitch.
- Skip 1 stitch, repeat the pattern of SC + DC in the next stitch.
- Continue this pattern across the row, ending with 1 HDC in the very last stitch.
- Chain 1 CH, turn your work.
- Repeat Rows 2 for a total of 125 rows, or until the chest part wraps around your chest without stretching.
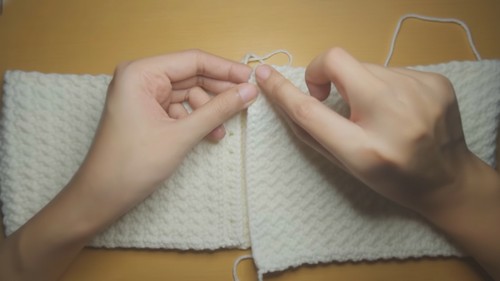
- Adding Rows on Both Sides:
- Chain 1 CH, turn, and make 1 SC on every stitch across.
- For the next row, chain 1 CH, turn, and work SC in the back loops only across the row.
- Continue adding rows to both sides as needed, following the same process.
Bottom Ruffled Part
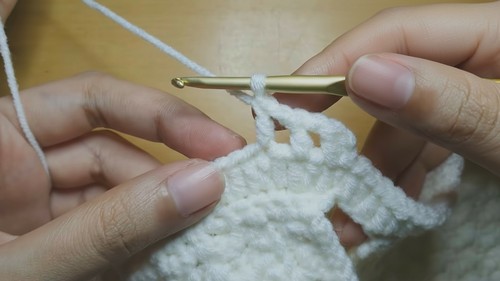
- Foundation for Ruffle:
- Attach yarn to the bottom edge of the chest part.
- Work 1 SC into every row along the edge.
- Row 1:
- Chain 2 CH, turn, and make 1 DC in the first stitch.
- Skip 2 stitches, then work 3 DC into the next stitch.
- Repeat across, ending with 1 DC in the last stitch.
- Row 2:
- Chain 2 CH, turn, and make 1 DC into the first stitch.
- Make 2 DC into the next chain space.
- Work 1 DC on top of the previous row’s DC stitch.
- Continue the set pattern: 2 DC in chain space, 1 DC on top of DC, all the way to the end of the row.
- Slip stitch into the starting chain to join the round.
- Row 3:
- Chain 3 CH (counts as 1 DC and chain space) and skip 1 stitch.
- Work 1 DC into the next stitch, chain 1 CH, skip 1 stitch, and repeat the pattern around.
- At the end of the row, slip stitch into the second chain of the starting CH.
- Row 4:
- Chain 2 CH, make 1 DC into the same stitch.
- Work 1 DC into the chain space and 1 DC on top of the previous row’s DC stitch.
- Continue this pattern around, alternating between chain spaces and double crochets.
- Repeat Until Desired Length:
- Repeat the patterns from Rows 2-4 until the ruffled bottom is as long as you desire.
- Finish the last round with a slip stitch, chain 1 CH, and cut the yarn.
Additional Details
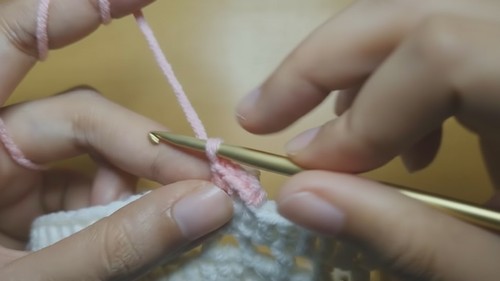
- Decorating Edges:
- Attach pink yarn to the front loops.
- Chain 1 CH, work 1 SC into every front loop around.
- Slip stitch to join at the end of the row, then cut and weave in the yarn ends.
- Repeat for All Edges:
- Repeat this process for remaining front loops along the bottom and side edges to add decorative pink borders.
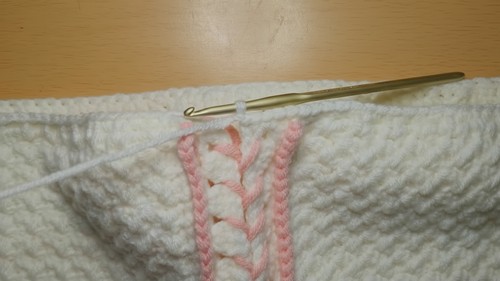
Adding Straps
- Foundation for Straps:
- Wear the top and mark positions for straps using stitch markers.
- Attach pink yarn at the marked points.
- Creating Straps:
- Chain 100 CH for each strap (adjust the length if you want longer straps).
- Work slip stitches across the chain, starting from the second chain from the hook.
- Slip stitch all the way back to the starting point.
- Attach Straps:
- Slip stitch the strap to the marked stitches securely.
- Chain 1 CH, cut the yarn, and weave in the ends.
- Repeat this process for all straps.
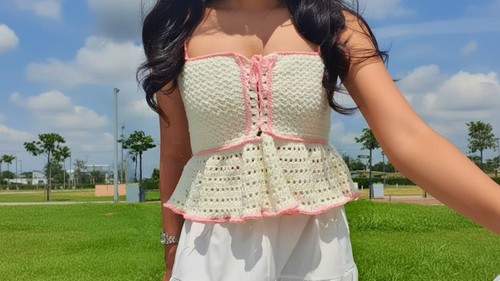
Assembly & Finished Size
Once completed, the chest part should snugly wrap around your body, and the ruffled bottom should give a flared look. Ensure all ends are tucked away for a polished finish.
Conclusion
Congratulations on finishing your very own Korean peplum top! This top is a chic addition to your wardrobe and pairs beautifully with skirts or jeans. The ruffled bottom and textured chest make it a unique, eye-catching piece.