
Tiny Crochet Popsicle Amigurumi Free Pattern in Fun Colors
Have fun crocheting vibrant, playful popsicle amigurumi that will add excitement and smiles to any space or project you dream of.
One summer, my little cousin came to visit, and she kept pointing out how much she loved popsicles. Inspired by her sweet tooth and love for cute things, I decided to create a fun and tiny crochet popsicle just for her. That’s when I discovered the joy of making a crochet popsicle amigurumi, a fun and creative project that’s perfect for beginners. Who wouldn’t love these adorable popsicles that you can use as keychains, bag charms, or even as tiny decorations?
Featured By MaryJ Handmade
Using basic stitches like single crochet (sc) and learning a special invisible decrease stitch, you’ll create a lovely little dessert that brings smiles to anyone. The pattern is worked in a spiral, which gives the popsicle its seamless and professional look. With just yarn, a crochet hook, some stuffing, and a stitch marker, you’ll transform a few simple materials into something unique and creative.
Popsicle Amigurumi Crochet Free Pattern for Vibrant Keychain
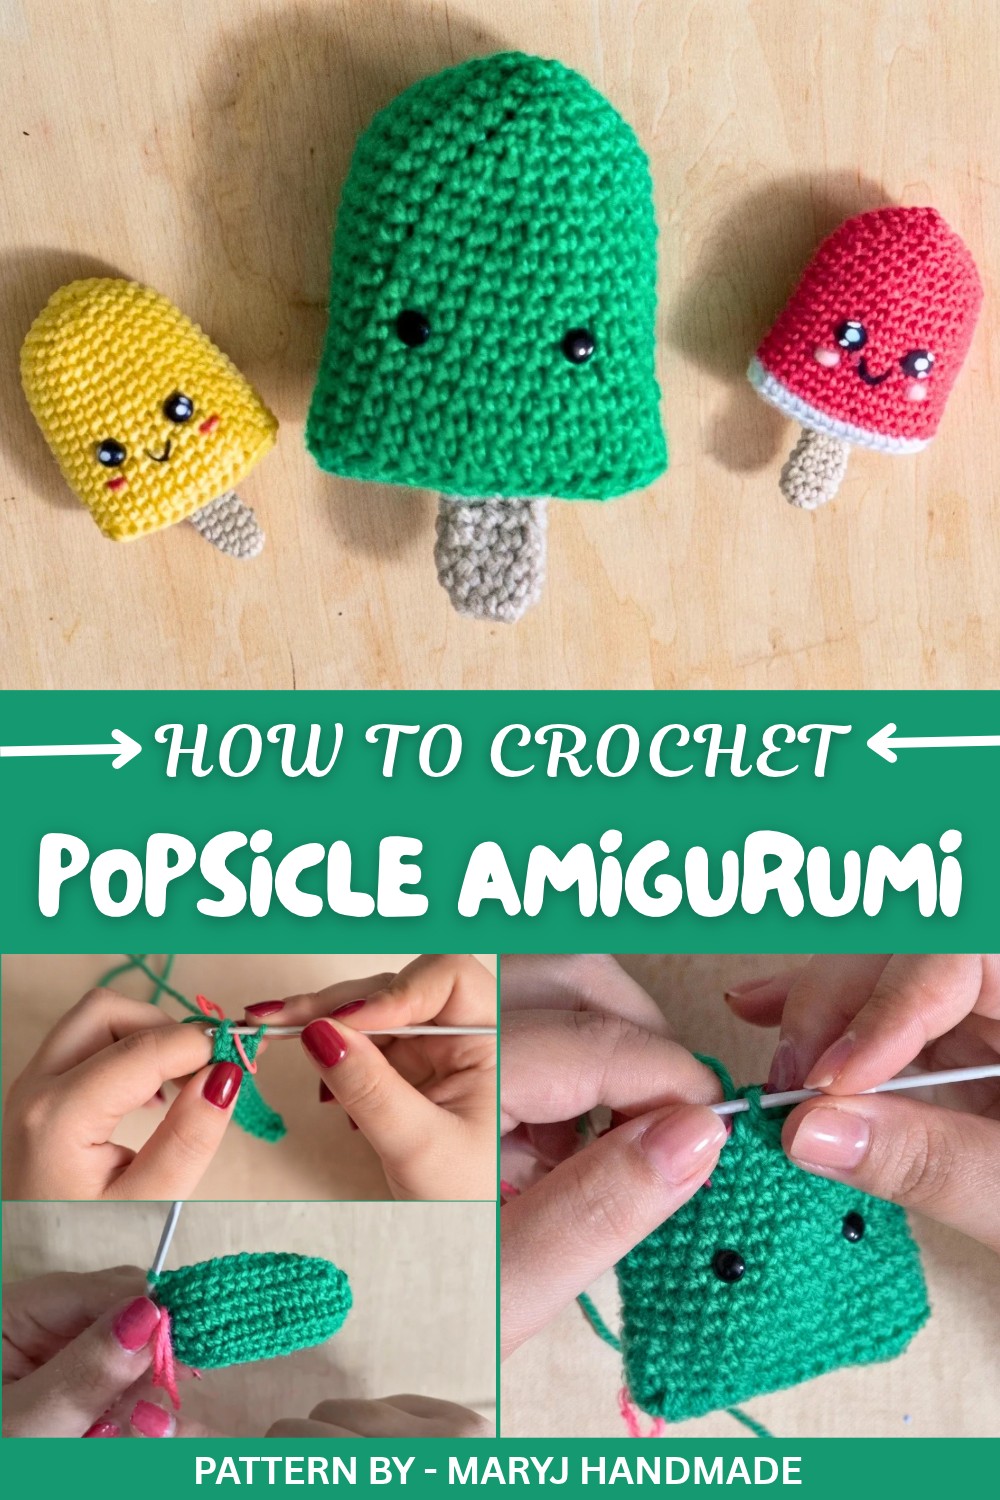
From this pattern, you’ll learn the basics of working in continuous rounds, shaping an oval, and creating a smooth transition with decreases to form the adorable popsicle. The invisible decrease technique is a handy skill you can use in many amigurumi patterns, whether it’s making small animals, fruits, or other fun food designs. As for the popsicle stick at the bottom, it's a fun and quick addition that gives the project an extra dose of cuteness and personality.
The best part is that you can use the same learning process to create similar projects. Instead of a popsicle, you could make crochet ice cream cones, small cupcakes, or even little plush candies. By playing with colors, you can turn the popsicle into chocolate, mango, or any flavor you love. These tiny creations make lovely handmade gifts and can add a touch of whimsy to your everyday life.
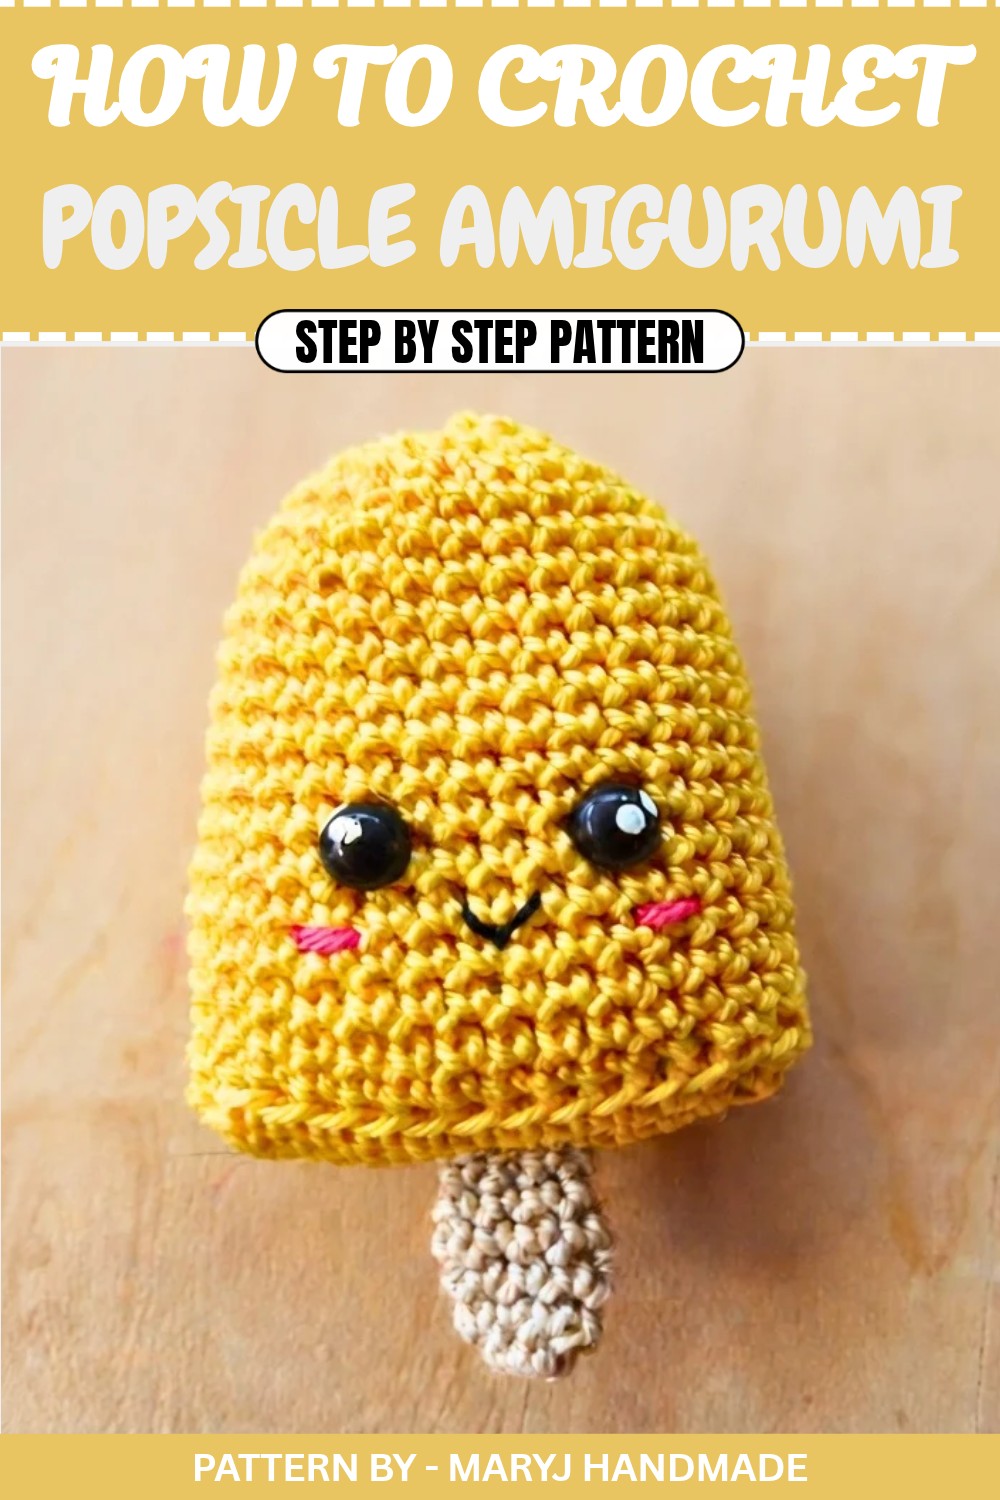
Adorable Crochet Popsicle Pattern
Quick Overview of Pattern
- Create a cute popsicle with a fun stick attachment.
- Crafted using single crochet, invisible decreases, and a magic loop.
- Worked in a spiral for seamless finishing.
- Customizable in size and color based on yarn and hook used.
Notes
- Work in Spiral: The popsicle is worked in a continuous spiral, so no slip stitch or chain is needed at the end of each round.
- Customization: Use a thinner thread for smaller popsicles or a thicker yarn for larger ones.
- Stuffing: Be careful not to overstuff the popsicle to maintain its shape.
- Safety Eyes Placement: If adding decorative safety eyes, they can be placed between rows 6 and 7.
Skill Level
Beginner to intermediate, suitable for those who are familiar with basic crochet techniques like single crochet, working in rounds, and using a magic loop.
Materials
- Yarn: Acrylic yarn for a standard size popsicle. You can also use cotton thread for smaller pops.
- Crochet Hook: 2.5 mm (used for medium sized popsicle). Change hook size based on desired popsicle size.
- Stuffing: Fiberfill or material of your choice to stuff the popsicle.
- Scissors: For cutting yarn.
- Tapestry Needle: For sewing and weaving in ends.
- Stitch Marker: To mark the beginning of each round.
Measurements / Sizing
- Standard Popsicle Size: Approximately 8 cm long using 2.5 mm hook and acrylic yarn.
- Smaller Options: Use 1.5 mm hook and cotton thread size 5 for miniature popsicles.
Gauge
Not critical for this project. Adjust your hook and yarn size based on your desired popsicle dimensions.
Stitch Abbreviations
- ch - Chain
- sc - Single Crochet
- sl st - Slip Stitch
- inv dec - Invisible Decrease (single crochet two together invisibly)
Special Stitches
Invisible Decrease (inv dec)
- Insert your hook into the front loop of the first stitch.
- Insert your hook into the front loop of the next stitch.
- Yarn over and pull through the front loops of the two stitches.
- Yarn over and pull through the remaining loops on your hook.
The Crochet Pattern
Popsicle Body
- Make a slip knot and chain 13.
- Skip the first chain from the hook. Work 2 sc into the same stitch.
- Sc in the next 10 stitches.
- Work 3 sc in the last chain on the row.
- Turn your work to the other side of the foundation chain. Sc in the next 11 stitches. This completes Row 1.
- Row 2 (Spiral crochet begins): Work 3 sc in the first stitch. Then, work 12 sc in the next stitches. After that, work 3 sc in a single stitch on the next side. Finish by making 12 sc on the other side of the round. At the end of this row, you will have 30 stitches.
- Row 3: Insert the hook in the back loop only of each stitch and work 30 sc around.
- Rows 4 to 15: Work 1 sc in each stitch (30 stitches per row). This will create the body of the popsicle.
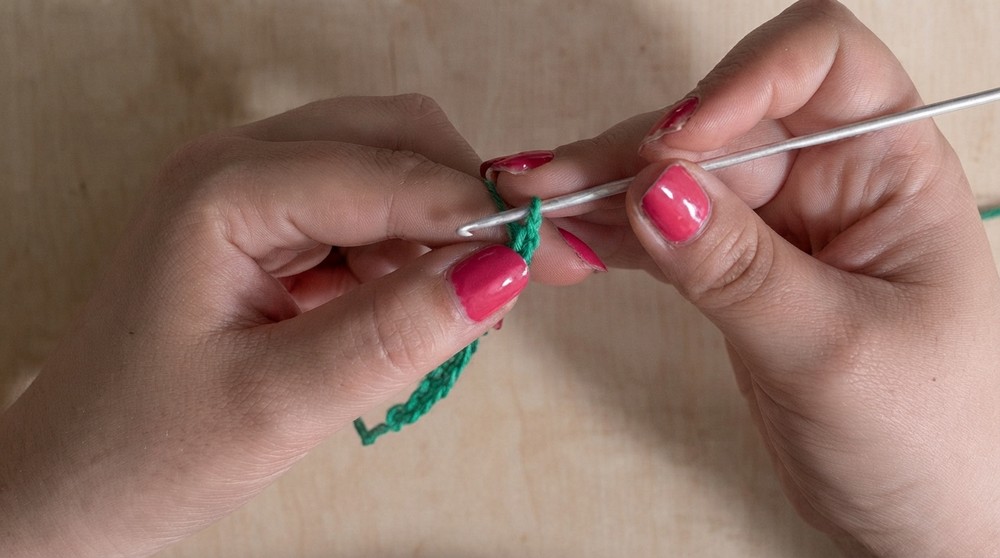
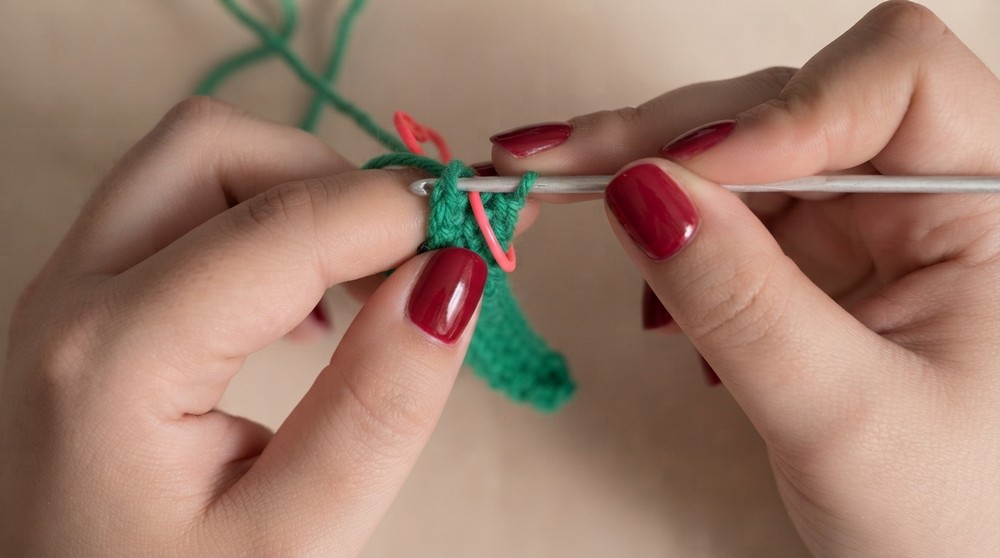
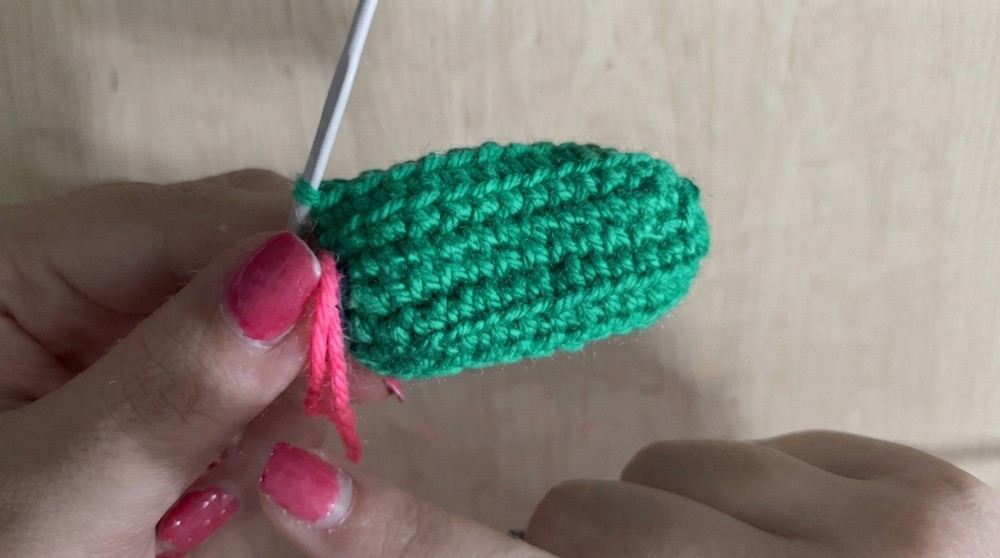
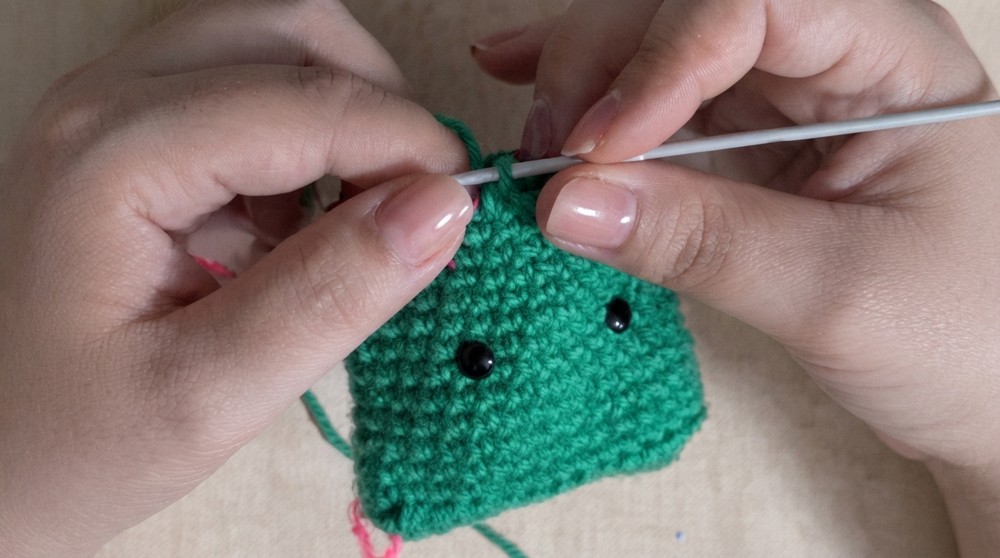
Optional: If you wish to attach safety eyes, place them between rows 6 and 7.
Start Decreasing
- Row 16: Work 13 sc, then inv dec (1 decrease). Repeat this sequence one more time (13 sc + 1 inv dec). At the end of the row, you’ll have 28 stitches.
- Row 17: Work the sequence 5 sc + 1 inv dec four times. You now have 24 stitches.
- Row 18: Work the sequence 4 sc + 1 inv dec four times, leaving 20 stitches.
- Row 19: Work the sequence 3 sc + 1 inv dec four times, leaving 16 stitches.
- Start Stuffing: Lightly stuff the popsicle. Avoid overstuffing to maintain the shape.
- Row 20: Work the sequence 2 sc + 1 inv dec four times, leaving 12 stitches.
- Row 21: Work the sequence 1 sc + 1 inv dec four times, leaving 8 stitches.
- Finish: Slip stitch to close the round. Fasten off by leaving a long tail of yarn. Use the tail to weave through the last eight stitches and pull tight to close any remaining hole.
Popsicle Stick
- Create a magic loop. Work 8 sc into the loop.
- Pull the loop tight.
- Rows 2 to 6: Work 1 sc in each stitch (8 stitches per row).
- At the end of Row 6, slip stitch and fasten off, leaving a long tail for sewing.
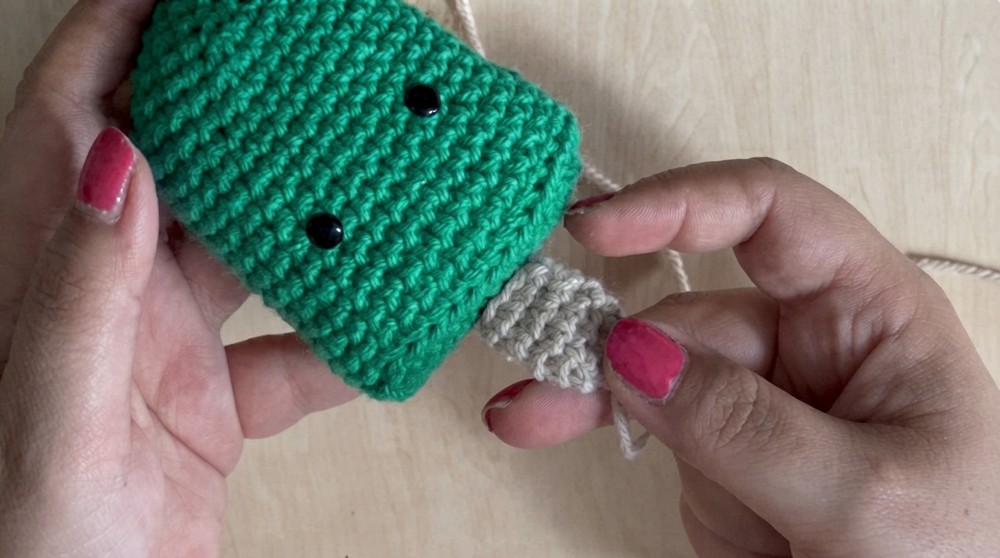
- Flatten the popsicle stick and do not stuff it. Use the yarn tail to sew the popsicle stick to the bottom center of the popsicle body.
Assembly & Finished Size
- Stuff the popsicle until it’s firm and holds its shape. Do not overstuff to avoid an overly round appearance.
- Sew the popsicle stick securely to the bottom of the body using a tapestry needle and the yarn tail.
- Weave in all ends and trim excess yarn for a clean finish.
Finished Size:
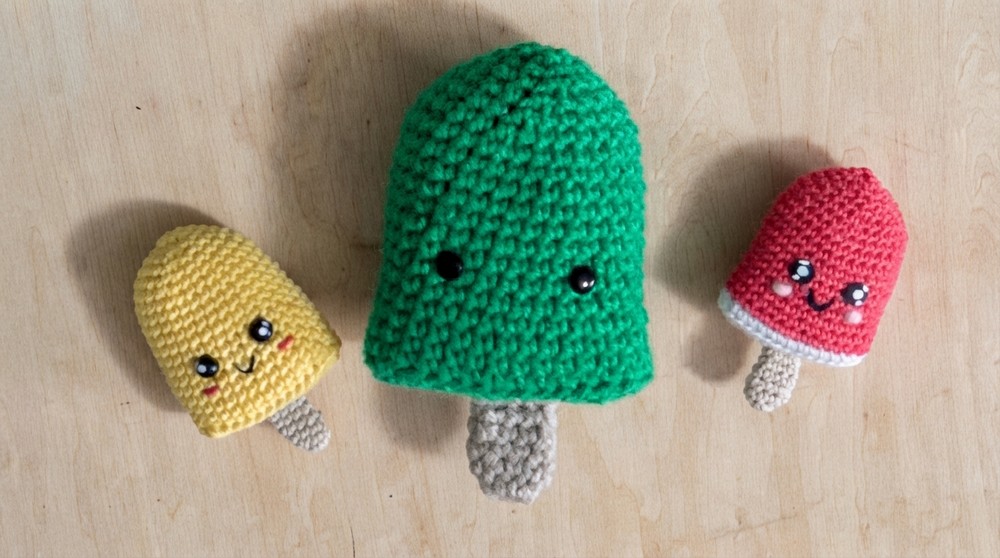
The popsicle will measure approximately 8 to 10 cm depending on yarn thickness and hook size.
Conclusion and Ending Words
Your delightful crochet popsicle is all done and ready to brighten up your keychain, bag, or even a gift for someone special. This quick and easy project is perfect for beginners and a fun way to experiment with colors and yarn weights. You can make an entire collection of popsicles to suit every season or occasion.