
Free Crochet Dog Keychain Pattern to use for bag charms
Turn simple yarn into the cutest dog keychain ever with this fun free crochet pattern that every puppy lover will absolutely enjoy making.
Pattern By Beyzalle CRAFT
Who doesn’t love an adorable little dog dangling on their keys or bag? It’s like carrying a tiny buddy with you wherever you go. The charm of these miniature pups lies not only in their cuteness but also in how they add a playful touch to everyday items. Whether you want an eye catching accessory, a fun gift, or a cheerful decoration for your bag or backpack, this crochet dog keychain fits the bill perfectly. Plus, the process of making it turns into a relaxing and rewarding pastime.
Free crochet dog pattern for cute keychains
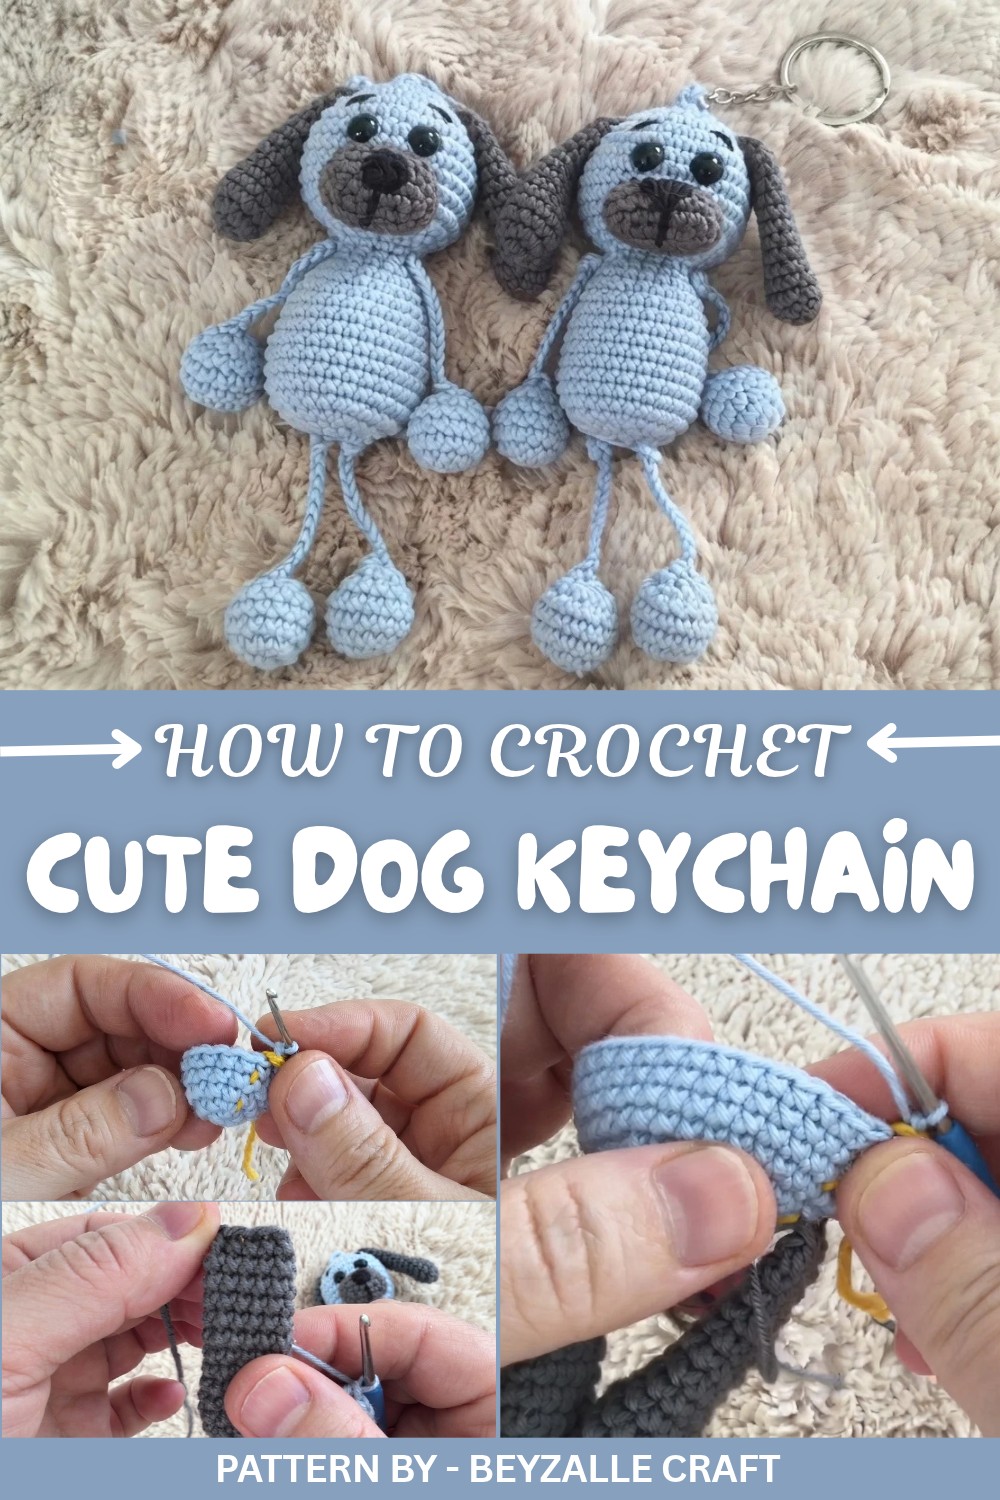
What’s really special about this project is that it gives a chance to work with techniques like the magic ring and invisible decreases, two stitches that form the backbone of many crochet projects. These easy to learn stitches open the door to making other small treasures like cats, bears, bunnies, or even your favorite imaginary animals. And for beginners, it’s a terrific introduction to shaping small parts like ears, noses, and tiny limbs.
Along the way, you’ll gain confidence to work in rounds, practice stuffing and shaping different parts, and explore the charm of assembling these tiny creatures without sewing everything together. Learning these foundational skills expands your crochet toolkit and makes it easier to experiment with more advanced ideas later.
But why stop at dogs? With the same steps and stitches, you can easily adapt this guide to make other items like cute keychains of various animals, mini ornaments, or even small decorations for a child’s room. Play with colors, add accessories like scarves, hats, or bows, and you’ll have a whole collection of delightful miniatures to brighten anyone’s day.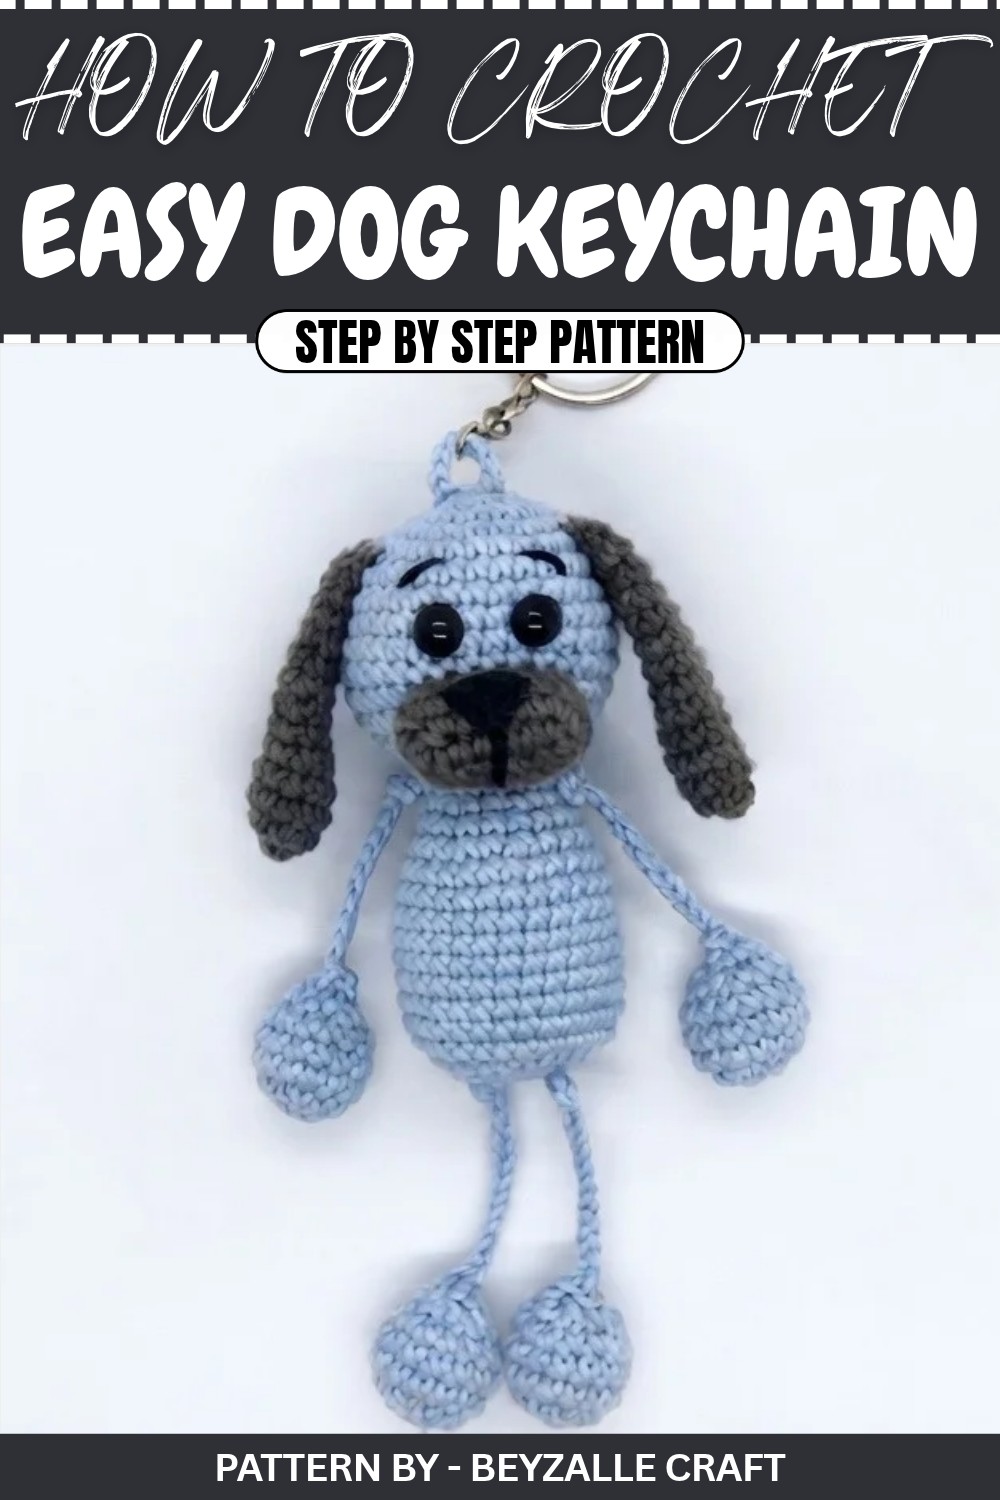
Seamless Amigurumi Puppy Keychain Crochet Pattern
This pattern will guide you to create a seamless, no sew amigurumi puppy, perfect as a keychain, toy, or decorative charm. All parts, including limbs, ears, and snout, are crocheted directly into the body, ensuring a clean and effortless assembly.
Stitch Abbreviations
- MR = Magic Ring
- sc = Single Crochet
- inc = Increase (2 sc in one stitch)
- dec = Decrease (single crochet two stitches together)
- sl st = Slip Stitch
- ch = Chain
Pattern Instructions
1. Legs and Arms (Make 4)
Step-by-Step Instructions for Each Piece:
- Round 1 (R1): Work 7 sc in Magic Ring (7).
- Round 2 (R2): Inc in every stitch (14).
- Round 3–5 (R3-R5): Work sc in each stitch (14 per round).
- Stuff lightly as you go.
- Round 6 (R6): Work 7 decreases (7).
- Round 7 (R7): Dec once, and close the opening by working sl st across. Fasten off.
- Chain Extension: After closing, chain 12. Work 2 sc in the second chain from hook, fasten off. These chains will be used to attach the arms and legs to the body.
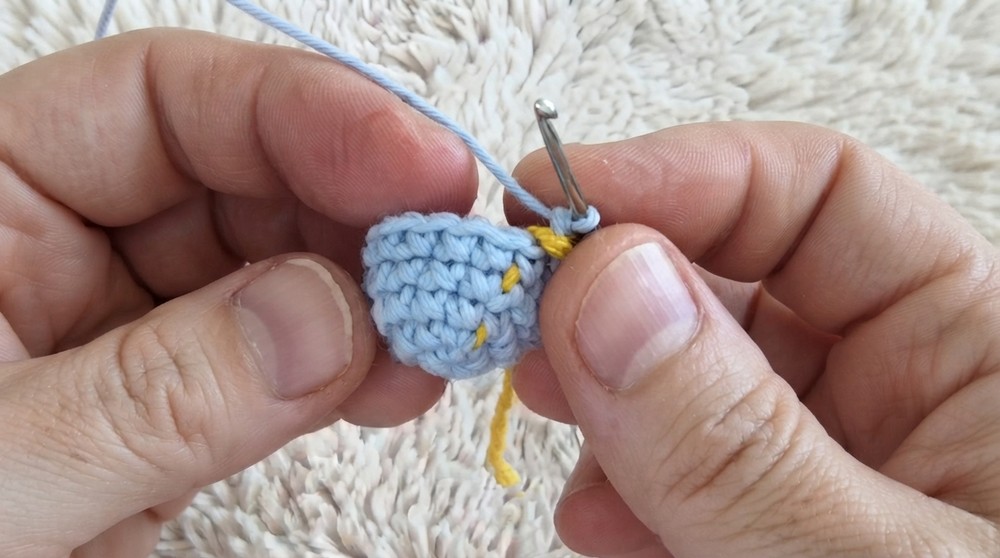
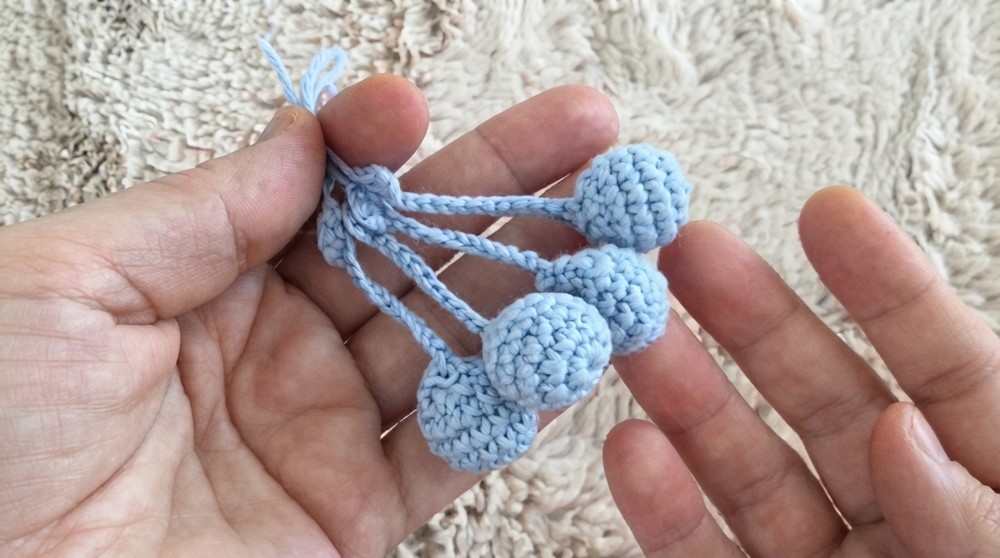
Repeat the above steps to make a total of 2 arms and 2 legs.
2. Ears (Make 2)
Step-by-Step Instructions for Each Ear:
- Round 1 (R1): Work 6 sc in Magic Ring (6).
- Round 2 (R2): Inc in every stitch (12).
- Round 3–4 (R3-R4): Work sc around (12 per round).
- Round 5 (R5): 4 sc, 1 dec, repeat twice (10).
- Round 6–13 (R6-R13): Sc around (10 per round).
- Round 14 (R14): Fold the ear flat and use 4 sc across the opening to close. Fasten off, leaving a long tail if you plan to sew it later.
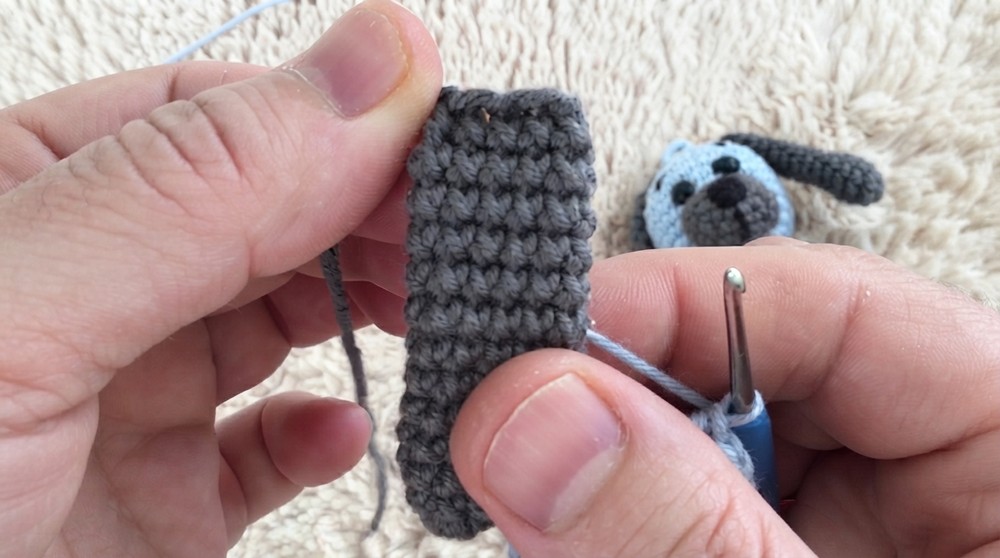
Repeat to make 2 ears.
3. Snout
Step-by-Step Instructions:
- R1: Ch 6, then work 2 sc in 2nd chain from hook, 3 sc, work 3 sc in the last chain, turn, and work 3 sc into the other side of the chain, then finally 1 sc in the last chain. (12 stitches in total).
- R2: 2 inc, 3 sc, 3 inc, 3 sc, 1 inc. Join with a sl st (18).
- R3-R4: Sc around (18 per round).
- Fasten off and leave a long tail for sewing or crochet it directly onto the head based on instructions below.
4. Head and Body (Worked as One Piece)
Head
- R1: Work 7 sc in Magic Ring (7).
- R2: Inc in every stitch (14).
- R3: (1 sc, 1 inc) x7 (21).
- R4: (2 sc, 1 inc) x3, attach the first ear by working 5 sc through the ear and head together, (2 sc, 1 inc) x3, attach the second ear in the same way using 5 sc through the ear and head together (28).
- R5: (3 sc, 1 inc) x7 (35).
- R6-R9: Sc around (35).
- R10: Work 3 sc, attach snout by working 7 sc through the snout and head together, 25 sc (35).
- R11: Work 3 sc, 5 sc into front loops of snout, 27 sc (35).
- R12: (3 sc, 1 dec) x7 (28).
- R13: (2 sc, 1 dec) x7 (21).
- R14: (1 sc, 1 dec) x7 (14).
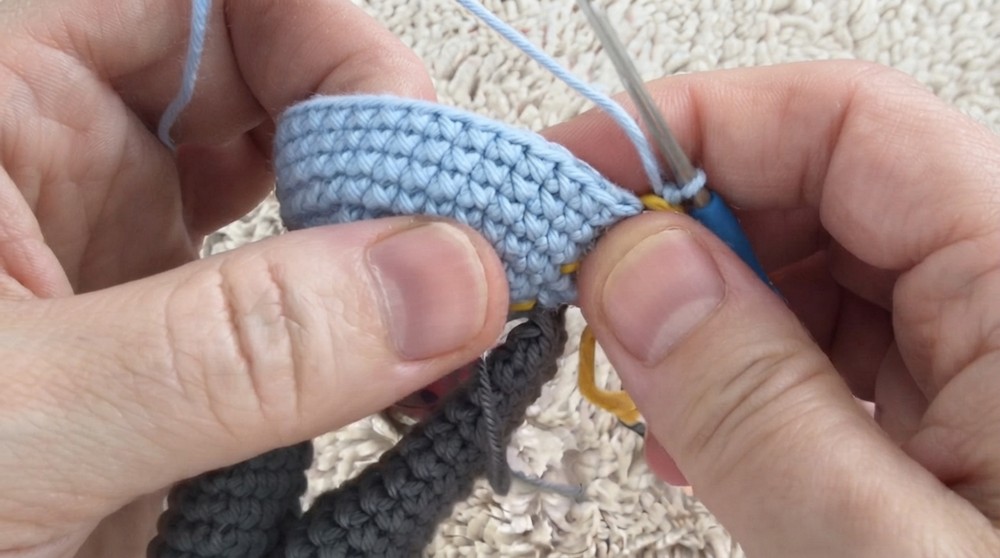
Add stuffing to the head as you near the opening.
Body
- Begin attaching the arms by using their prepared chain segments:
- Insert the first arm’s chain into the body. Work sc around, incorporating the arm stitches into the round as you go (total: 14 sc after incorporating both arms).
- R15: Sc around (14).
- R16: (1 sc, 1 inc) x7 (21).
- R17: Sc around (21).
- R18: (2 sc, 1 inc) x7 (28).
- R19-R27: Sc around (28).
- Add stuffing to the body periodically. Keep it firm but not tight.
- R28: (2 sc, 1 dec) x7 (21).
- R29: (1 sc, 1 dec) x7 (14).
- R30: Close the opening using a needle for a seamless finish.
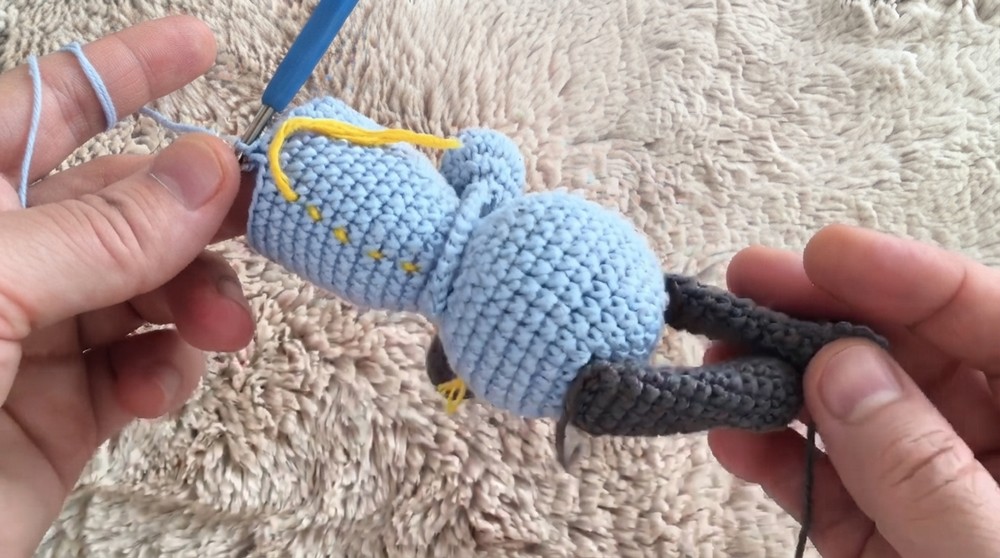
Assembly Instructions
- Use long yarn tails to secure ears tightly against the body. One stitch on either side of the ears should be enough to fix their position and prevent flopping.
- Insert eyes: From the 8th round of the head, place safety eyes at even spaces. Insert the locking washers from the back. You can also burn the locks with a lighter for added security. Space the eyes 3 sc apart for symmetry.
- Embroider the eyebrows and the triangular nose with black embroidery floss. Position the nose at the center of the snout and add optional whiskers.
Optional: Keychain Loop
- At the center top of the head, secure your yarn and ch 6–7 depending on the length of your keychain loop.
- Join the chain into the base of the stitch using sl st.
- Insert a keychain ring through the loop, knot the yarn ends, and secure firmly. Hide thread tails inside the dog.
Conclusion
Your super cute, no-sew amigurumi puppy keychain is ready. This seamless design ensures a sturdy and polished finish without the hassle of sewing. Perfect as a gift, car décor, or a playful keychain. Customize the colors and add personal touches to make each one unique.