
Top Rated Free Crochet Kitten Earrings Pattern for Adorable Gifts
Reinvent your accessory style and skip ordinary looks with a Free Crochet Kitten Earrings Pattern purring with playful personality.
Sometimes searching a fun and simple project to brighten up your accessory collection can be a challenge, but making these cute kitten earrings is a wonderful way to add a playful touch to any outfit. The pattern is shaped like little kittens, featuring soft curves and delicate details that bring a charming personality to your look. To achieve this, the pattern uses double and triple crochet stitches, combined with picot stitches that add tiny decorative points, giving ears and features a lovely finish. These stitches work together to form the kitten’s sweet face and soft edges, making the pattern stand out without being too tricky for beginners.
Trending Crochet Kitten Earrings Pattern for Cat Lovers
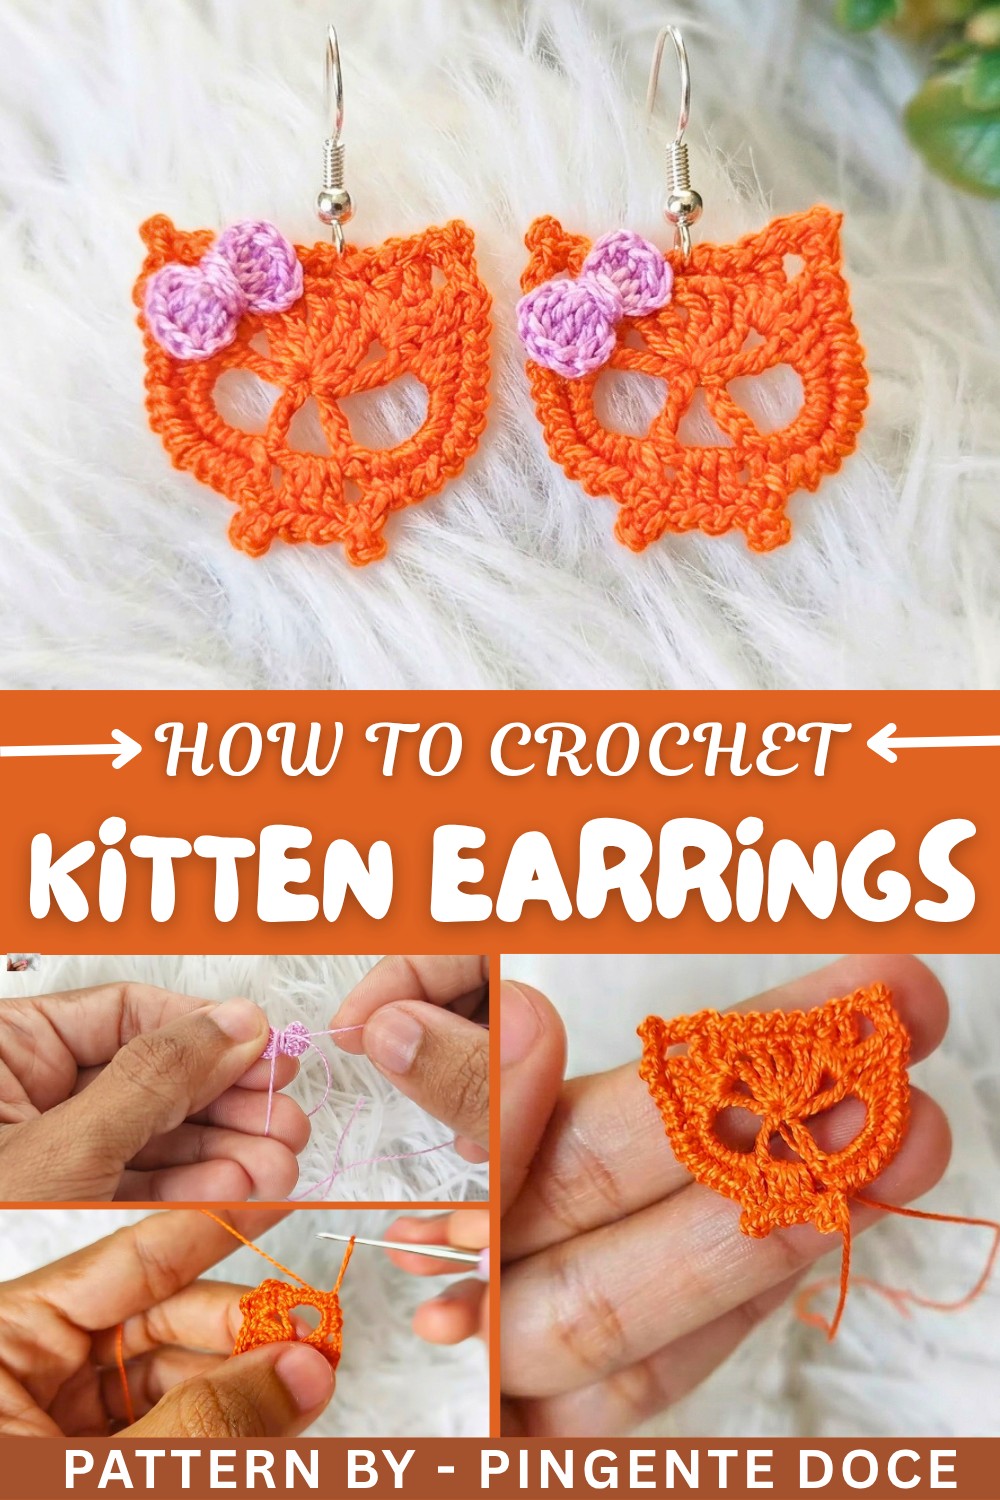
Starting with a magic ring, the kitten shape builds through rounds of carefully worked double and triple crochet stitches, giving a smooth, rounded form. Picot stitches act like playful accents on the ears and other parts of the kitten, adding texture and a delicate flair. A small bow can also be crocheted to decorate the earring and make it even cuter. Once finished, a little fabric glue helps the piece keep its shape while keeping it lightweight — perfect for earrings! A hoop or hook attaches the kitten to create an accessory that's charming, lightweight, and easy to wear.
Other Creative Uses for This Pattern
Beyond earrings, this kitten crochet pattern makes great additions to many other projects. You could create brooches, keychains, or charms to hang on bags and backpacks. Larger versions could become fun appliqués for hats or scarves, or even cute decorations for kids’ rooms. The stitches and shaping provide lots of room to personalize and craft adorable gifts or decor with a feline touch.
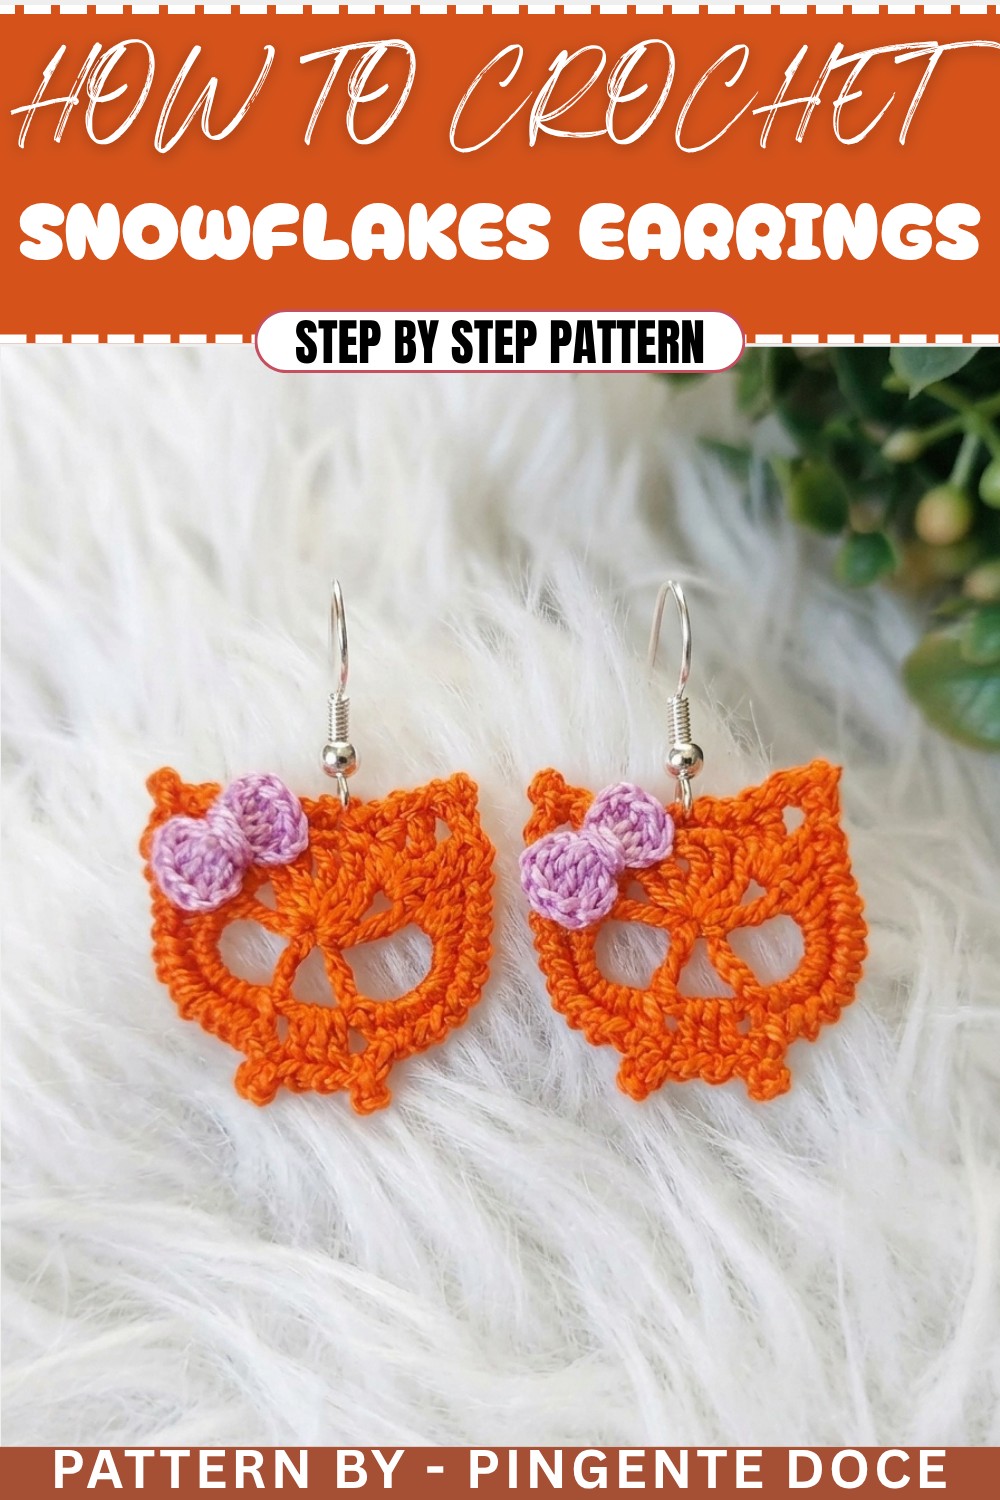
Crochet Skull Kitten Earring Pattern
Celebrate spooky season in style with this Crochet Skull Kitten Earrings Pattern! Perfect for Halloween or anytime you want to showcase edgy handmade accessories, this pattern combines skull design elements with a playful cat flair. Lightweight and comfortable, this earring pattern uses basic and decorative stitches to create a unique item that’s both cute and eerie!
Uses of This Pattern
- Halloween Accessory: A standout addition to your costume or everyday outfits.
- Gift Idea: Unique handmade Halloween-themed gifts for friends and family.
- Customizable: Add embellishments, colors, or even embroidery details to make the design truly yours.
Skill Level & Terminology
- Skill Level: Intermediate (includes techniques like magic ring, double crochet, triple crochet, and picot stitches).
- Terminology: U.S. Crochet Terms
Materials & Tools
- Yarn/Thread:
- Ancor embroidery thread, No. 8 (or a similar fine crochet thread). Suggested colors: black, white, or grey for the skull kitten; red for the optional bow.
- Tools:
- Crochet hook: 1 mm or size appropriate for the thread you choose.
- Scissors for trimming thread ends.
- Pliers for attaching earring hooks and hoops.
- Sewing/tapestry needle for fine finishing.
- Fabric glue (optional) for stiffening the final piece.
- Jewelry findings: Earring hooks, jump rings, decorative beads (optional).
Gauge
Gauge is not critical for this project, but consistent tension is essential for creating balanced shapes and symmetry in the project.
Abbreviations List
- MR: Magic Ring
- ch: Chain
- sc: Single Crochet
- dc: Double Crochet
- sl st: Slip Stitch
- tc: Triple Crochet
Special Stitch Instructions
Magic Ring (MR):
- Wrap the yarn around your finger twice to create a loop.
- Insert your hook into the loop, yarn over, and pull through the loop.
- Chain 1 to secure the ring and begin working inside it.
Finished Size
Each completed earring measures approximately 2 inches (5 cm) in length and 1.5 inches wide (4 cm) without the bow.
The Pattern Itself
Part 1: Create the Skull Kitten Base
1. Magic Ring
- Start with a magic ring (MR).
- Crochet 9 chains (ch), including the first chain from the magic ring.
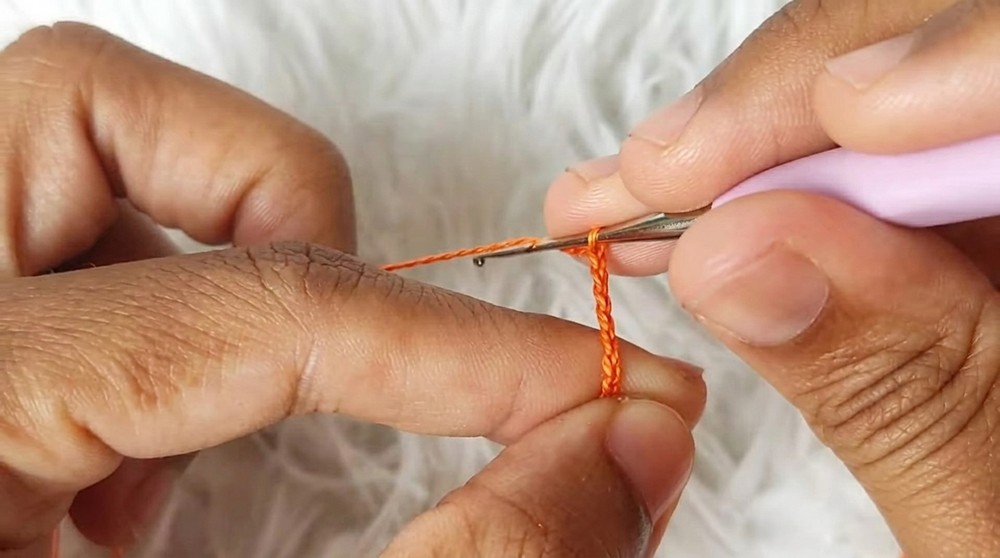
2. First Row (Skull Base):
- Yarn over twice and work 1 double crochet (dc) into the magic ring. Remove two loops at a time for three rounds until only one loop remains on the hook.
- Chain 1 to separate, and work another dc into the ring, repeating the process until you have 7 dc separated by 1 chain each.
- After completing the row, chain 5 and close the magic ring tightly.
This completes the basic stitches for creating the skull base. The structure is an open-ring outline of separated double crochets.
3. Form the Lower Jaw:
- Inside the same ring, work a dc, followed by 3 chains (ch).
- Close the ring and insert the hook into the 4th chain (from row 1).
- Work a sl st in this chain to finish the row.
At this stage, the rounded top of the skull is complete, offering a base to build the details of the kitten's features.
Part 2: Add Details to the Skull
4. Work Double and Triple Crochets:
- Start the second round by chaining 1.
- Into the chain space created from the previous round, work 8 dc.
- Chain 1, and repeat this stitch combination within other chain spaces from row 1.
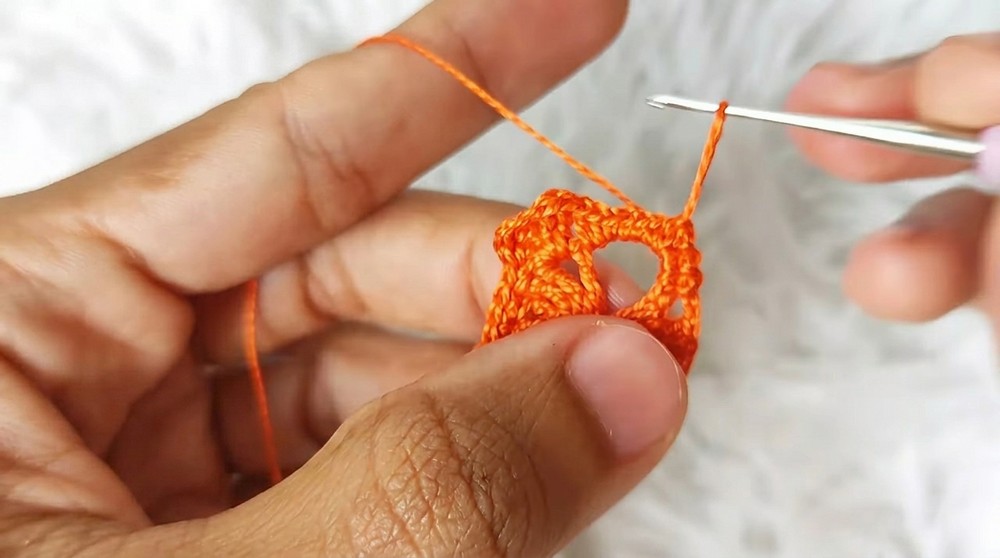
This step shapes the skull into a fuller face form. The repetitive stitches give the skull its depth.
5. Cat Ears and Picot Stitches:
- Row 3 & Row 4: Work clusters of detailed stitches into the chain spaces to create texture and shape for the cat ears.
- Form a picot stitch at the top of each ear by crocheting 2 chains, inserting the hook into the last stitch, and working a slip stitch (sl st).
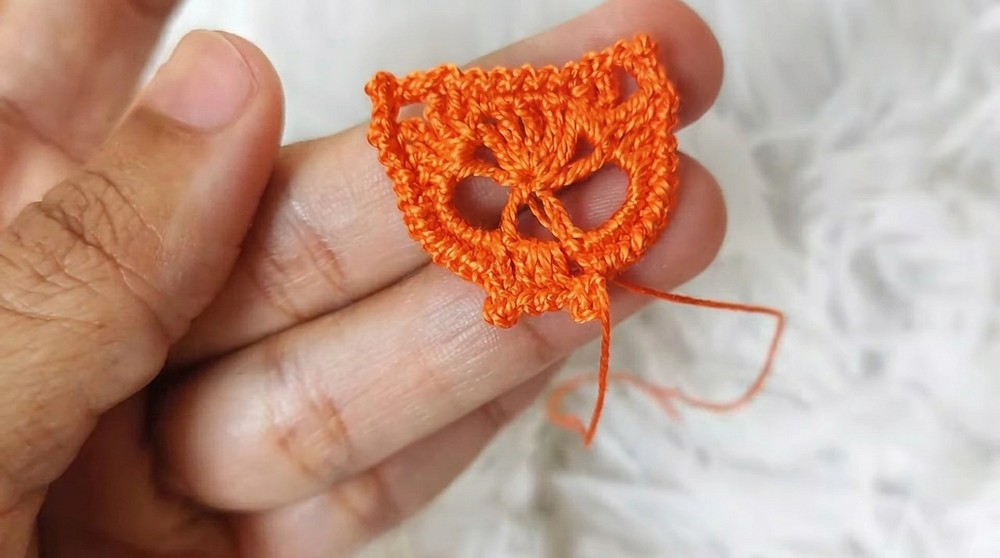
The picot stitch forms the pointed tips of the kitten's ears, defining the Halloween look.
Part 3: Bow (Optional)
6. Create Bow with a Magic Ring:
- Make a magic ring (MR) using the desired color (e.g., red or orange).
- Inside the ring, work:
- 3 chains (ch).
- 3 double crochets (dc).
- 3 chains (ch).
- End with a slip stitch (sl st).
7. Repeat:
- Turn your piece and repeat the same sequence to form the second bow loop: 3 ch, 3 dc, 3 ch, sl st into the magic ring.
8. Closing the Bow Center:
- Leave extra thread when you cut the bow piece, as you will use it to wrap the center for a polished bow effect.
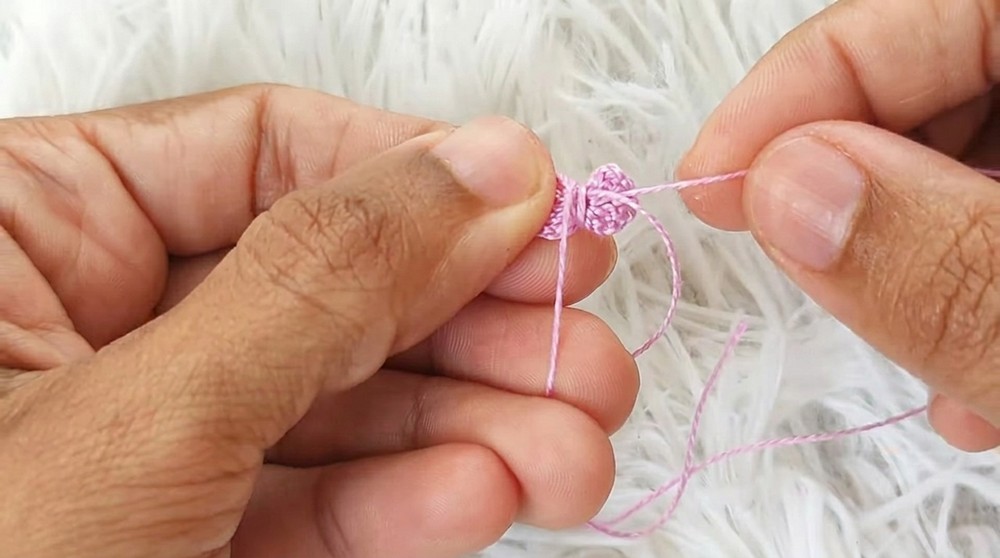
The optional bow adds a charming touch to your skull kitten earrings while giving them a pop of color!
Part 4: Assembly
9. Harden the Pieces:
- Mix fabric glue with water, and apply it to the back side of the skull and bow for extra stiffness.
- Let dry completely before continuing with assembly.
10. Attach the Bow to the Skull:
- Use the sewing needle or glue to secure the bow in between the kitten ears.
11. Final Jewelry Assembly:
- Attach earring hoops to the top of the kitten skull using a small jump ring and pliers.
- Optionally, add beads or other decorative elements to enhance the design.
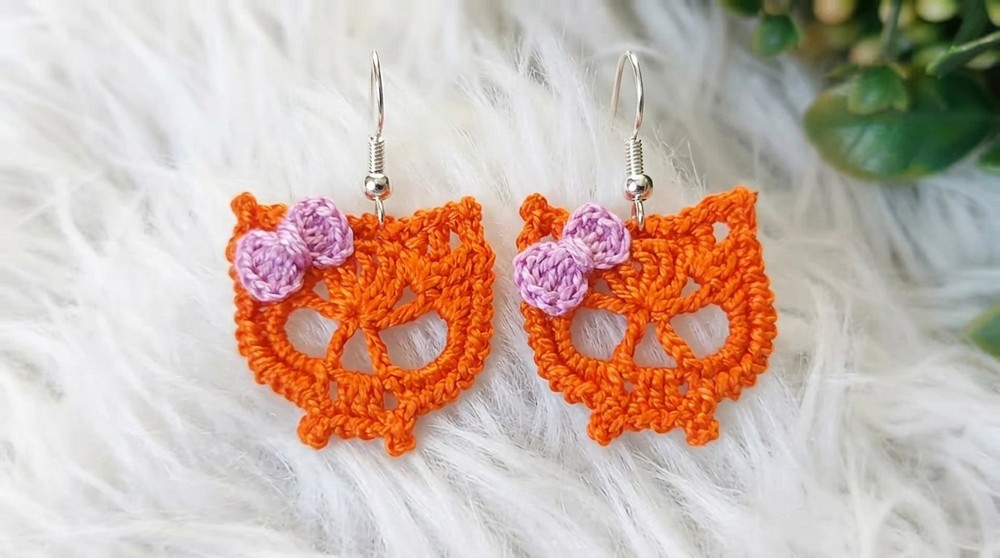
The earring is now ready to showcase your crafty skills and spooky holiday spirit!
What You’ll Learn
- Magic Ring Mastery: Create a solid foundation for intricate designs.
- Clustered Crochet Techniques: Learn double crochets, triple crochets, and picot stitches for detailed patterns.
- Assembly Skills: Experiment with glue, sewing, and jewelry attachment techniques.
Difficulties & Their Solutions
Key Challenges
- Loose Magic Ring:
- The ring may unravel or form unevenly.
- Solution: Ensure you pull the loose thread tightly to close the ring and secure it with a knot.
- Picot Stitch Misalignment:
- Picot stitches can shift or become uneven.
- Solution: Practice making picot stitches on scrap yarn to perfect alignment and tension before adding them to the earring.
- Glue Issues:
- Using too much glue can make the piece stiff or discolored.
- Solution: Apply fabric glue lightly and evenly, ensuring it does not interfere with visible details.
Why You’ll Love This Pattern
This Crochet Skull Kitten Earring Pattern combines spooky Halloween charm with adorable kitten details to make an accessory that stands out in the crowd. The pattern is both creative and fun to make, allowing the crocheter to practice their crochet skills while producing a stylish and festive holiday accessory. With the option for added embellishments like beads and bows, you can personalize the final look to suit your style.