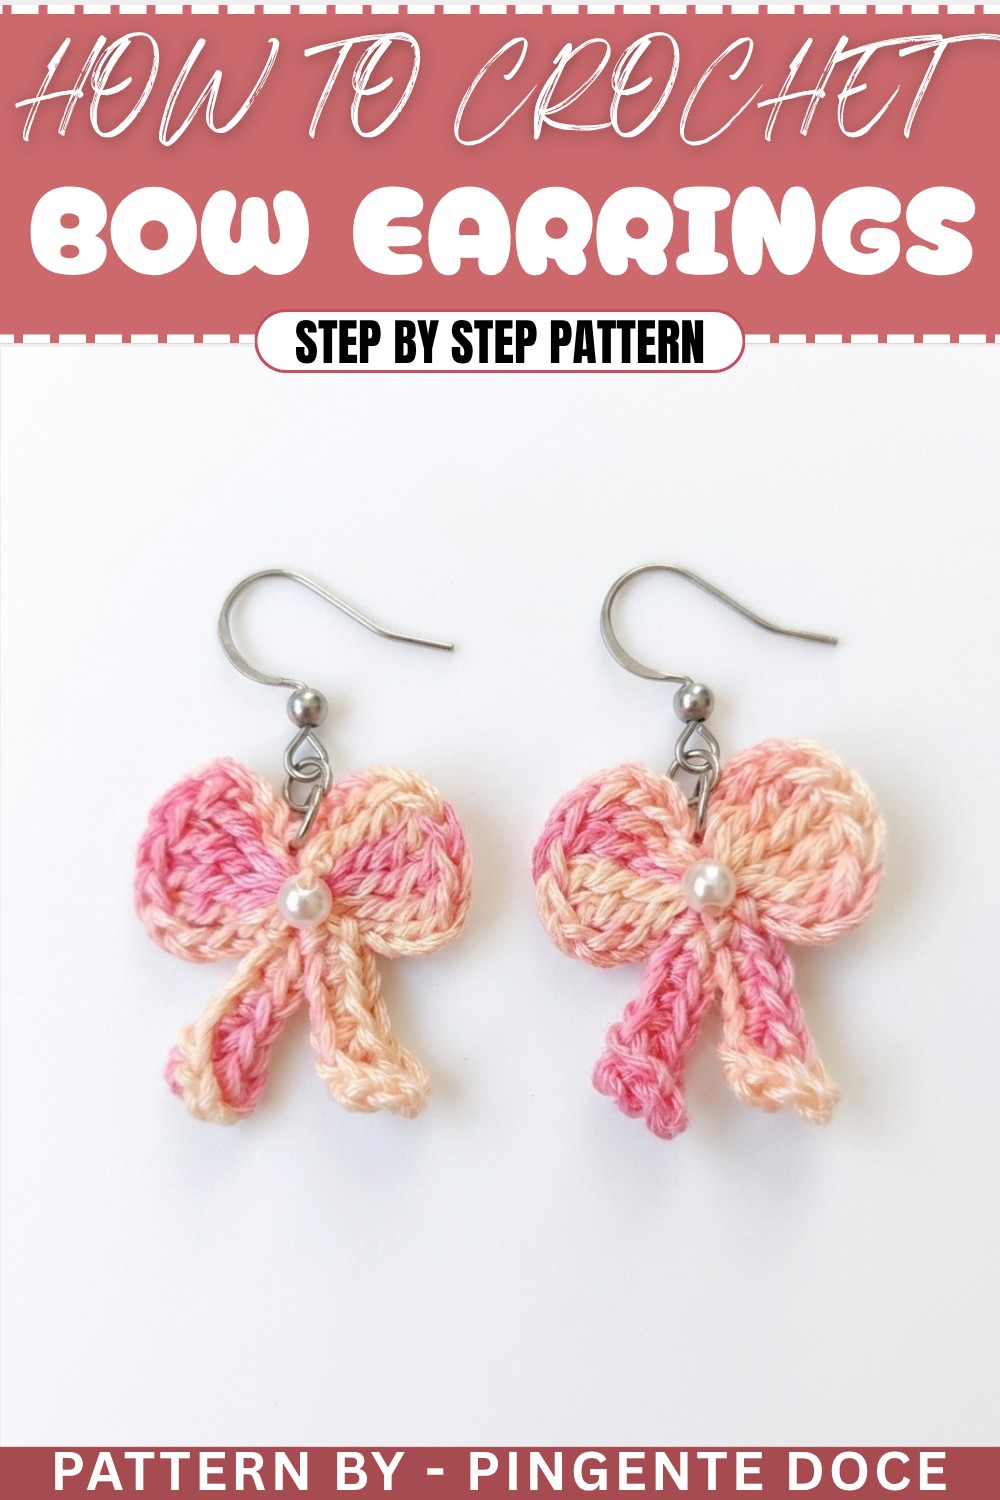
Pretty Crochet Bow Earrings Pattern For Instantly Cute Looks
Clever inspiration reveals a free crochet bow earrings pattern for adding fresh, feminine charm to your accessory collection.
Adding a delicate touch of handmade charm to your accessories can be so rewarding, especially with something as sweet and simple as crochet bow earrings. These little beauties bring a stylish, crafty feel to your look while being light and super comfortable to wear. What makes this pattern special is the use of double crochet stitches worked in a magic ring, which creates a neat, rounded shape that beautifully mimics a bow. The technique is straightforward, making it friendly for beginners and quick to complete, yet the final product looks elegant and thoughtfully handmade.
The earrings start with forming a magic ring and working a series of double crochets, interspersed with chains to build that classic bow shape. A small bead placed at the center adds a subtle sparkle and finishing touch. Attaching simple earring rings and hooks completes this wearable art. Because it uses thin embroidery thread and a small 1.25 mm needle, the piece is lightweight but sturdy. The lovely texture and precise stitch work give these earrings a delicate lace-like appeal, perfect for casual outings or gifting to friends who appreciate handmade fashion.
This project is perfect for anyone eager to try crocheting jewelry for the first time, blending simple stitches with creative design. It’s a satisfying way to practice tension control and working in the round while producing a charming accessory you can wear with pride or share with loved ones.
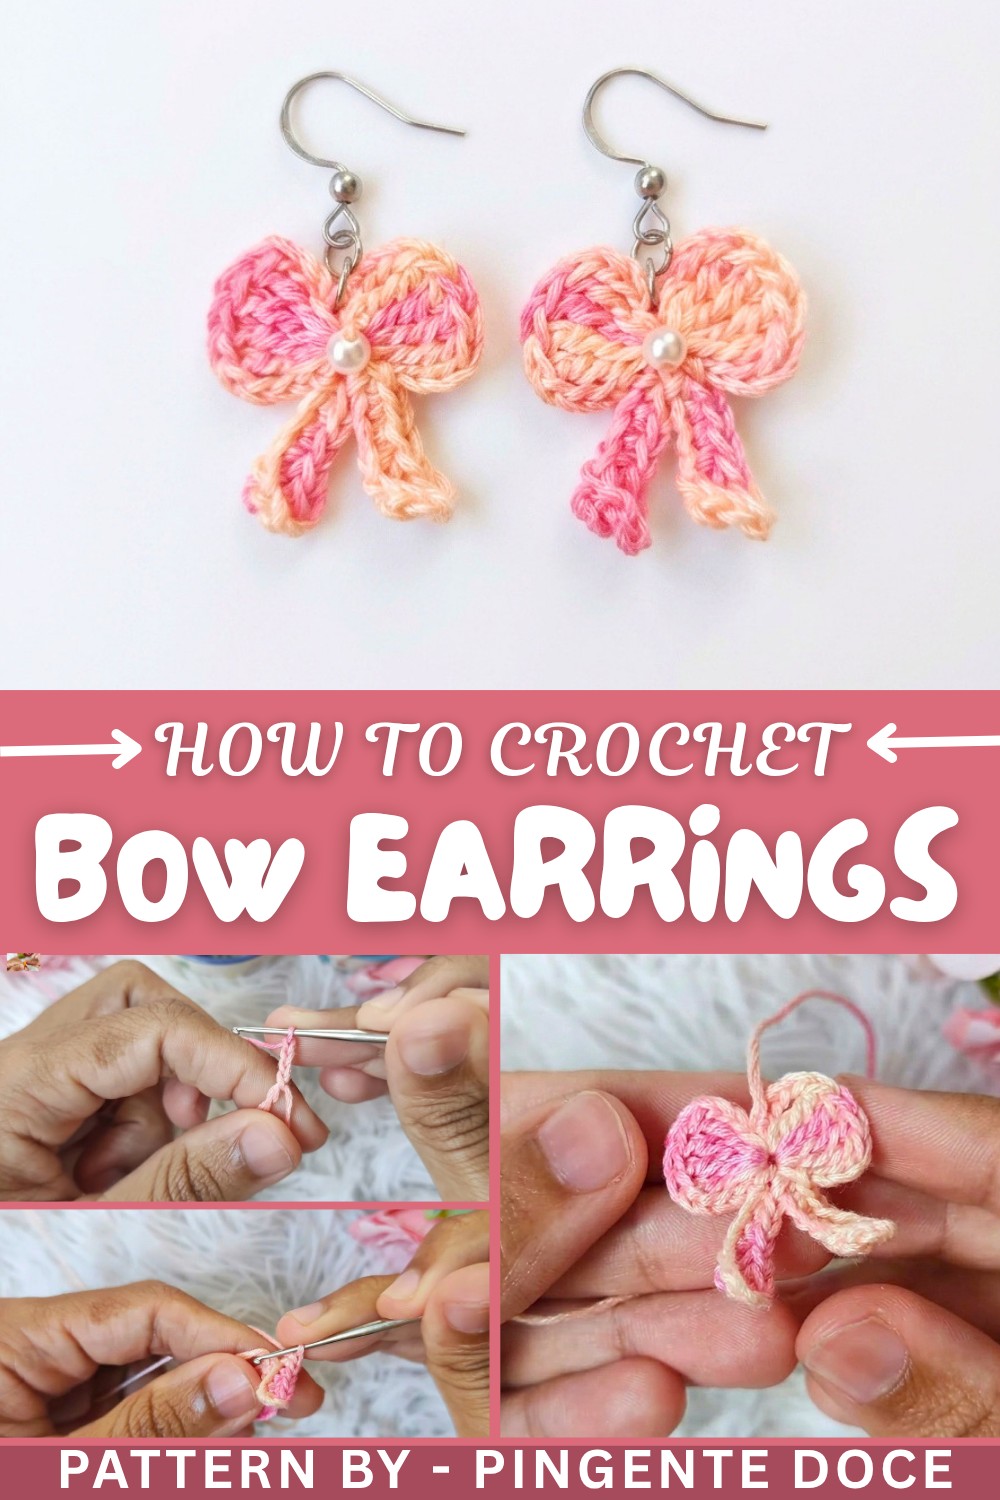
More Creative Ideas Inspired by This Pattern
Once you’ve got the hang of this bow shape, you can easily adapt the pattern to create other tiny accessories like hair clips, brooches, or decorative charms for bags and collars. By experimenting with colors, thread thickness, or adding beads and buttons, you’ll open up endless possibilities to personalize your crochet creations and add delightful handmade accents to your style.
Learn To Crochet Bow Earrings Free Pattern For Your Jewelry Collection
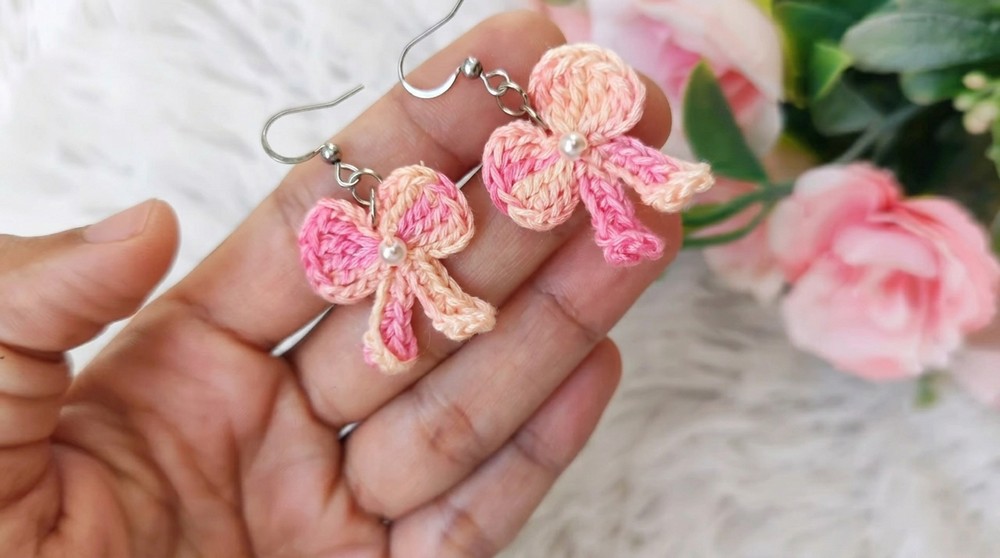
Crochet Pattern: Bow-Shaped Earrings
Introduction
Welcome to this easy and elegant crochet pattern for creating gorgeous bow-shaped earrings. Lightweight, stylish, and customizable, these earrings make a perfect accessory or handmade gift. The pattern is beginner-friendly and introduces simple techniques such as working with a magic ring, making chains, and incorporating beads and findings to create a polished final product.
Uses of This Pattern
- Chic Accessories: Complete any look with these dainty and stylish earrings.
- Handmade Gifts: Perfect for gifting loved ones on special occasions.
- Craft Fairs: A compact and quick project to add to your handmade inventory.
Skill Level & Terminology
- Skill Level: Beginner. This project focuses on basic double crochet and slip stitch techniques.
- Terminology: The pattern follows US crochet terms.
Materials & Tools
Here’s what you need to create the bow-shaped earrings:
- Crochet Hook: 1.25 mm hook.
- Thread: Mixed embroidery thread or any other thread suitable for fine crochet work.
- Sewing Needle: A fine needle for sewing and adding beads.
- Scissors: To trim threads neatly.
- Earring Findings: Earring hooks and jump rings for assembly.
- Optional Beads: A small bead for the center decoration of the bow.
- Pliers: To attach earring hooks and close jump rings.
- Glue: A mixture of cloth glue and water for stiffening the finished piece.
Gauge
Gauge is not critical for this project because the earrings are decorative; however, tight stitches are recommended for a firm and neat appearance.
Abbreviations List
Here are the abbreviations used in this pattern for quick reference:
- ch: Chain
- dc: Double Crochet
- sl st: Slip Stitch
- MR: Magic Ring
Special Stitch Instructions
Magic Ring (MR):
The magic ring creates a tight, adjustable loop for crocheting in rounds. Wrap the thread around your fingers to form a loop, then pull through with your hook to start working directly into the ring.
Double Crochet (dc):
Yarn over, insert the hook into the stitch, yarn over again, and draw up a loop (you’ll have 3 loops on your hook). Yarn over, pull through the first two loops, yarn over again, and pull through the last two loops.
Finished Size
Once complete, each bow earring measures approximately 1.5 inches in width and 1 inch in height.
The Pattern
Step 1: Magic Ring and Central Bow
- Create a Magic Ring (MR):
- Wrap the embroidery thread around your fingers to form a loop. Insert the hook into the loop, yarn over, and pull through.
- Chain 4:
- Work 4 chains, which will count as the first double crochet.
- Work 4 Double Crochets:
- Loop the thread twice and insert the crochet hook into the magic ring.
- Yarn over and pull through two loops at a time until 4 double crochets are completed.
- Chain 4 and Slip Stitch:
- Work 4 chains and close this section with a sl st into the magic ring.
For Beginners: You have now created one half of the bow. The magic ring allows you to adjust the tension and create a seamless circular center.
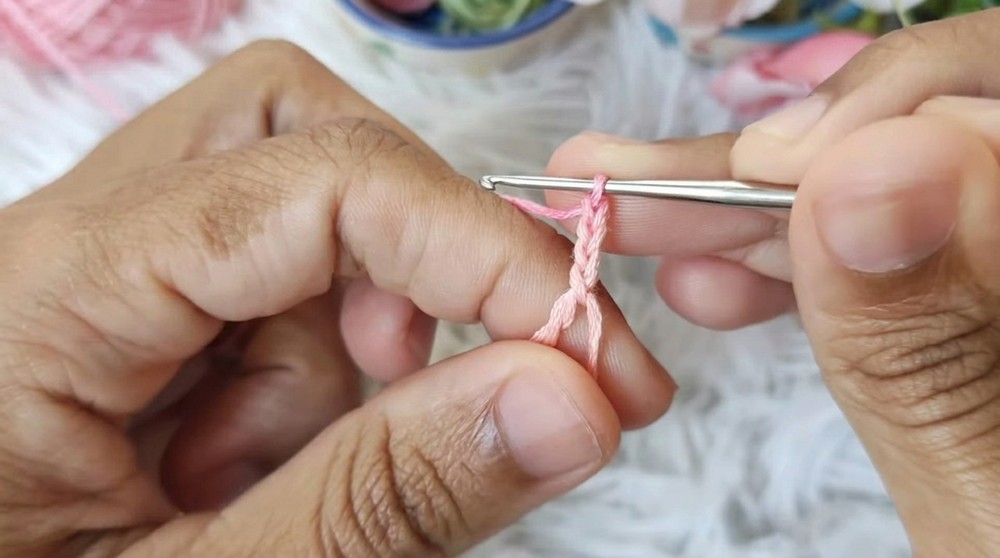
Step 2: Creating the Loops of the Bow
- Chain 8 for First Loop:
- After the slip stitch, work 8 chains.
- Work into the Chains:
- Yarn over and insert the hook into the 4th chain from the hook. Work a double crochet (dc).
- In the next chain, work a half double crochet (hdc) (yarn over and pull through all three loops at once).
- Continue by working 1 dc in each of the next 3 chains.
- Slip Stitch:
- After completing the double crochets, slip stitch into the magic ring.
- Repeat for the Second Loop:
- Work another set of 8 chains. Repeat Steps 6–7 to create the second loop.
For Beginners: At this point, your bow should have two complete loops attached to the center. The symmetry makes it visually appealing.
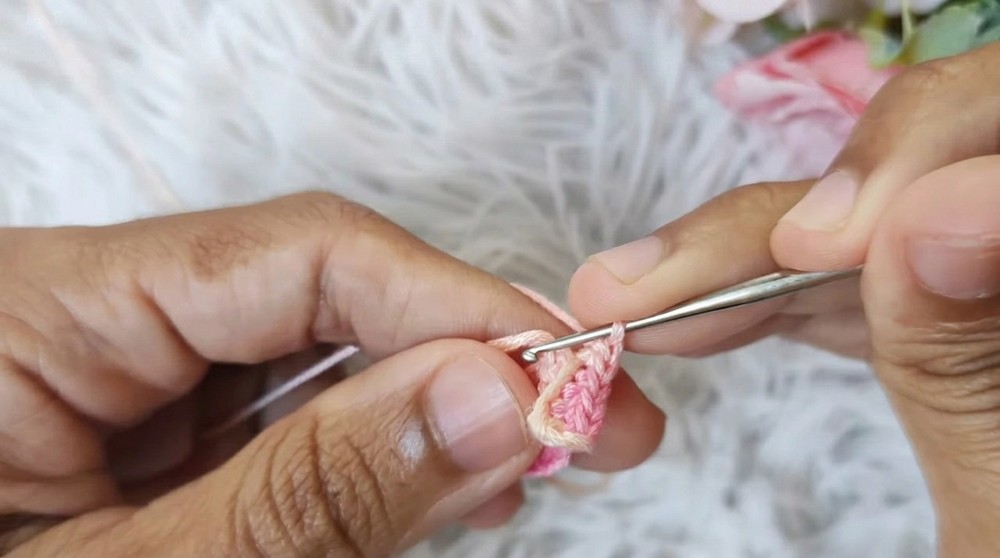
Step 3: Second Half of the Bow
- Chain 4 and Repeat Double Crochets:
- After completing the loops, ch 4 and work 4 dc into the magic ring, similar to Step 1.
- Chain 4 and Finish:
- Work 4 chains again and close the entire bow with a sl st into the magic ring.
- Pull through and leave a long tail (approximately 6–8 inches) for assembly.
- Tighten the Magic Ring:
- Pull the tail of the magic ring to cinch the center of the bow tightly. This will bring all parts of the bow together beautifully.
For Beginners: You have now finished crocheting the bow for your earring. The shape should include a center and two loops on either side.
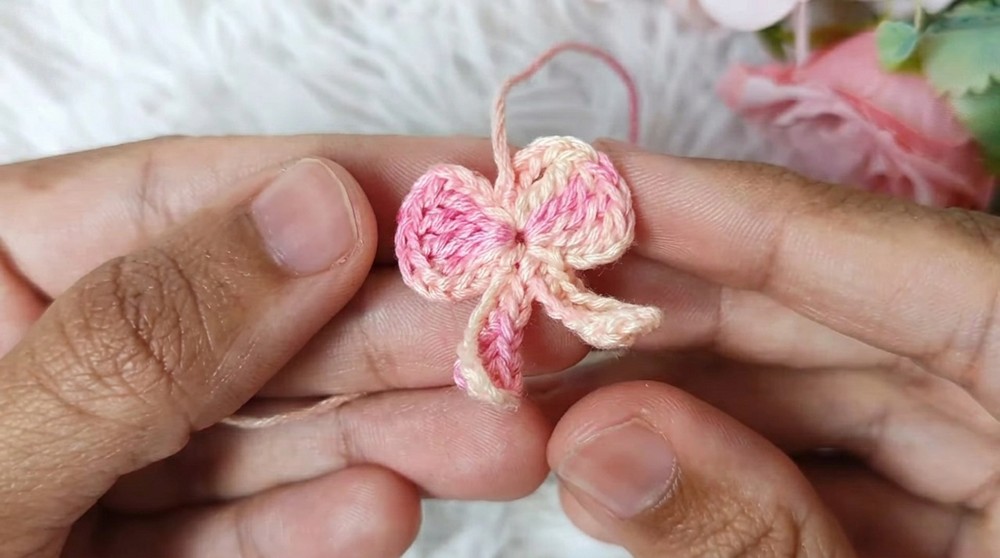
Step 4: Adding a Bead
- Thread Your Needle:
- Use the tail end of the thread and a sewing needle to attach a small bead to the center of the bow.
- Secure the Thread:
- Once the bead is placed, secure the thread with a small knot at the back of the bow and trim the excess thread.
Tip: Adding a bead to the center enhances the aesthetic appeal of the bow and provides a professional, finished look.
Step 5: Stiffening the Bow
- For extra firmness, dip the bow lightly in a mixture of cloth glue and water. Gently squeeze out any excess moisture and shape the bow by hand.
- Let the bow air-dry completely on a flat surface, ensuring it keeps its shape.
For Beginners: This step is optional but ensures that your earring holds its delicate shape over time.
Step 6: Attaching the Earring Hooks
- Attach Jump Rings and Hooks:
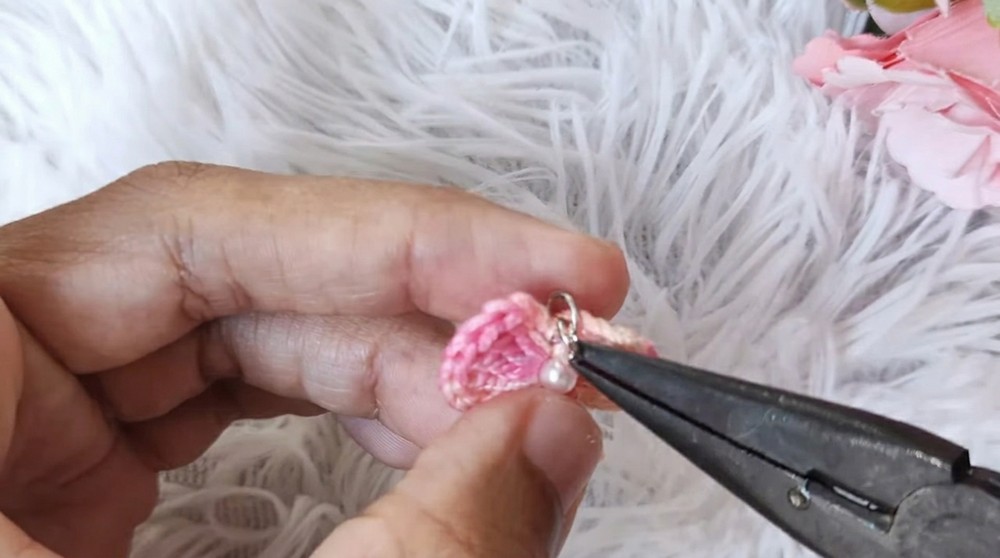
- Use pliers to attach two small jump rings to the top of the bow—one ring connects the bow, and the other connects the earring hook. Close the rings securely.
- Repeat this assembly on the second earring (if creating a pair).
Final Touch: Your bow earrings are now complete! Make sure the findings are securely in place before wearing or gifting your handmade jewelry.
What You’ll Learn From This Pattern
- Magic Ring Technique: The magic ring is a valuable technique for creating clean, tightly closed centers in circular crochet projects.
- Stitch Placement: Practice identifying chains and working into them accurately.
- Color Transitions and Embellishment: Learn to add small decorative elements such as beads for a professional touch.
- Jewelry Assembly: Master the basics of assembling crochet pieces with metal findings for wearable items.
This project not only enhances your fine crochet skills but also introduces you to the world of crochet jewelry—opening up a versatile new avenue in your crafting journey!
Difficulties You May Encounter
Difficulty: Tight Magic Ring
Some may struggle to control the tension when pulling the magic ring closed.
- Solution: Practice wrapping the thread around your fingers loosely. Take your time to adjust the ring without rushing.
Difficulty: Identifying Stitches in the Chain Rows
It can be tricky to identify the correct chains, especially in the center of the bow.
- Solution: Count your stitches carefully and use stitch markers if needed to avoid confusion.
Difficulty: Attaching Findings
Handling small earring findings can be delicate work.
- Solution: Use fine-tipped pliers and a steady hand to attach jump rings and hooks securely.
Final Notes: Why You’ll Love This Pattern
This bow-shaped crochet earring pattern is not only a fun and creative project but also an excellent way to dive into the world of fine crochet and jewelry-making. It allows you to craft beautiful, lightweight accessories that make perfect gifts or personal accessories. By mastering the techniques in this guide, you’ll be on your way to crocheting intricate yet beginner-friendly designs.