
How to Crochet Bow Neck Warmer Pattern for Winter Outfits
Wrap yourself in warmth and style with this free crochet bow neck warmer pattern, perfect for adding an elegant touch to cold days.
There’s something so comforting about wearing a handmade accessory that wraps you in warmth and style. This neck warmer pattern stands out because of its simple yet elegant design that creates a beautiful bow shape, adding a touch of charm to your winter wardrobe. The key to this pattern is the use of slip stitches worked only in the back loops, which produces a stretchy, ribbed fabric that feels soft and flexible around your neck.
Guidance on Free Crochet a Bow Neck Warmer Pattern for Perfect Winter Chic
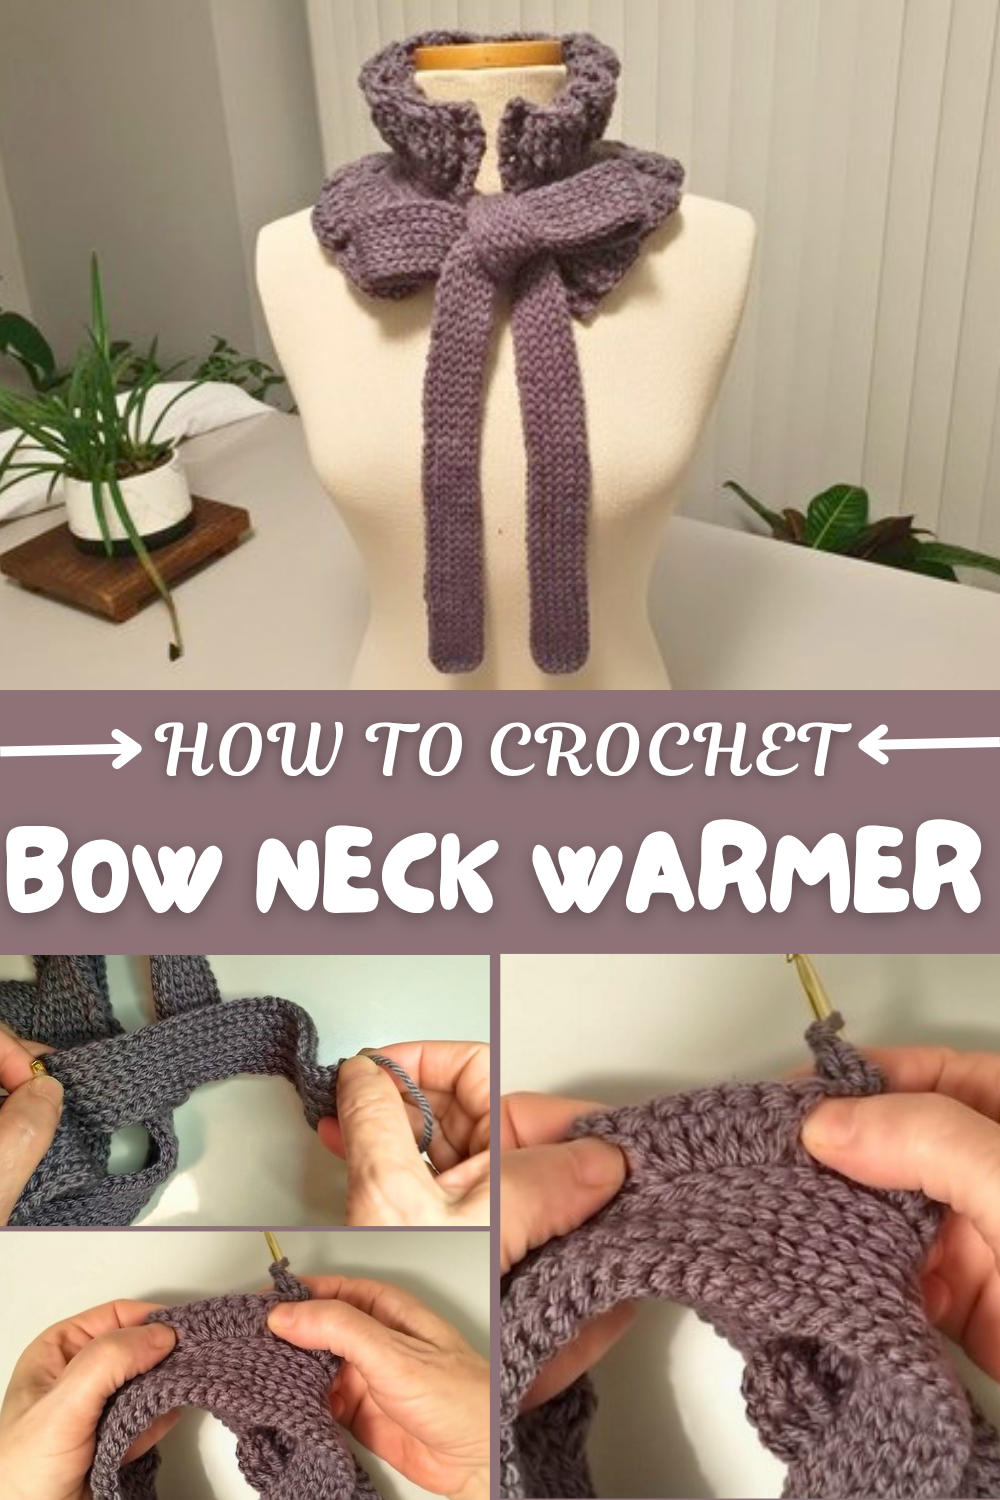
What makes this project so enjoyable is how accessible it is for beginners while still offering creative stitch work that keeps experienced crocheters engaged. Working in the back loops only helps develop tension control and stitch placement skills, while the posts bring in fun texture techniques. The bow detail is a delightful bonus that makes this accessory unique and stylish.
This pattern isn’t just for neck warmers. By adjusting length and width, you can create headbands, wrist cuffs, or even cozy ear warmers using the same ribbed, stretchy fabric technique. The versatility of the stitch pattern allows you to explore many cozy projects that combine warmth with eye-catching texture. It’s a perfect way to practice multiple crochet skills while making useful, beautiful accessories for yourself or as thoughtful handmade gifts.
Crochet Pattern: Ball Neck Warmer
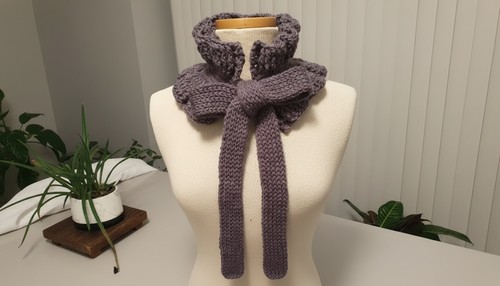
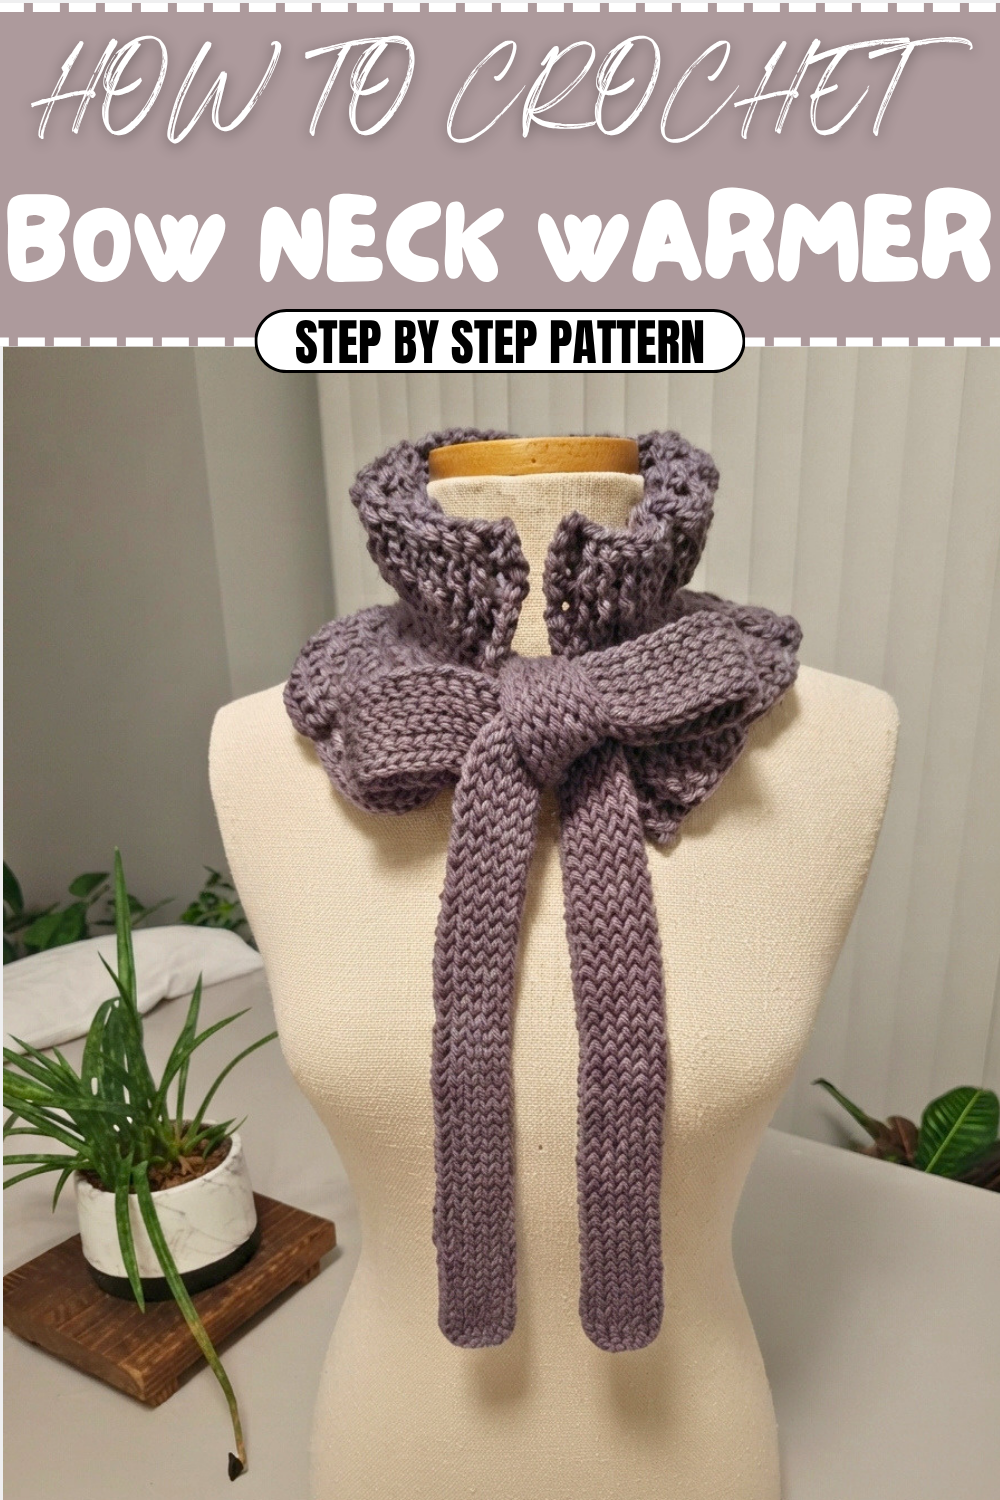
The Ball Neck Warmer combines texture and warmth in a stylish form, perfect for cold days. This easy pattern features slip stitches for a ribbed strap and post stitches for the neck section, making it both comfortable and visually striking. Let's create this practical and unique crochet accessory!
This pattern is a beginner-friendly project that uses basic and post stitches to create a cozy, snug neck warmer with high elasticity and texture. Ideal for gifting, this neck warmer wraps around comfortably and doubles as a fashion statement.
Skill Level & Terminology
- Skill Level: Beginner
- Terminology: The pattern uses US crochet terms.
If you’re familiar with slip stitches, double crochet, and post stitches, you’ll find this pattern fun and straightforward.
Materials & Tools
- Yarn: Medium weight yarn (Worsted, Size-4) such as Bernat Premium.
- Hook: 5 mm crochet hook.
- Notions:
- Scissors.
- Stitch markers (to track specific points).
Gauge
Gauge is not necessary for this project, as the strap is measured directly, and neck measurements can be adjusted for any size.
Abbreviations
Here is a quick reference for the abbreviations used in this pattern:
- ch: Chain
- sl st: Slip Stitch
- sc: Single Crochet
- dc: Double Crochet
- fpdc: Front Post Double Crochet
- bpdc: Back Post Double Crochet
- st(s): Stitch(es)
Special Stitch Instructions
Back Loop Only (BLO):
Insert your hook only into the back loop of the stitch (the loop farthest away from you) and work the stitch as normal. This creates the ribbed texture for the strap.
Front Post Double Crochet (fpdc):
- Yarn over (YO), insert the hook around the front of the post of the stitch (from right to left).
- YO and pull up a loop, YO and pull through the first two loops, YO and pull through the remaining two loops.
Back Post Double Crochet (bpdc):
- YO, insert the hook around the back of the post of the stitch (from right to left).
- YO and pull up a loop, YO and pull through the first two loops, YO and pull through the remaining two loops.
Finished Size
- Strap Length: 78 inches.
- Strap Width: 1.55 inches (4 cm).
- Neck Section Height: Approx. 6 inches.
What You’ll Learn & Why You’ll Love This Pattern
From this pattern, you’ll learn:
- How to create a ribbed texture using slip stitches in the back loop.
- Post stitches to add texture.
- How to seamlessly transition between strap and neck portions.
This versatile neck warmer blends elegance with practicality and can be customized in length, width, and color scheme. The sophisticated design works beautifully for stylish outings on chilly days.
The Pattern Itself
Step 1: Create the Strap
Foundation Chain:
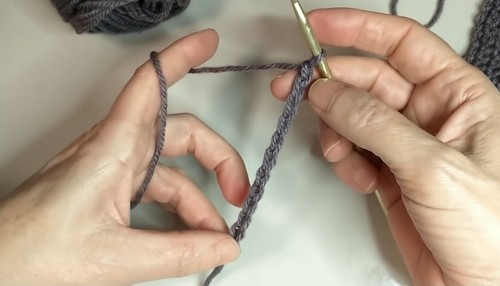
- Chain 279 (or adjust for your desired length). Then chain 1 extra for turning.
Row 1:
- Starting from the second chain from the hook, work sl st into each chain across the row.
- Ch 1, turn your work.
Row 2:
- Skip the turning chain and work sl st into the back loop of each stitch across the row.
- Ch 1, turn your work.
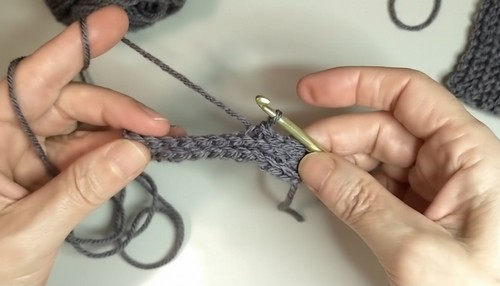
Repeat Row 2 for 10 rows in total.
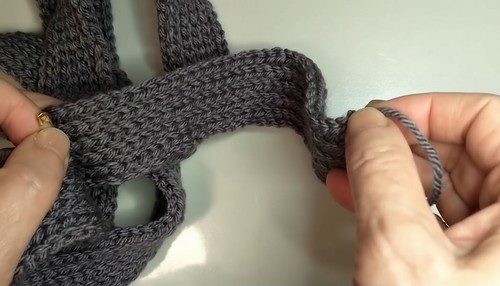
At this stage, you’ll have a long ribbed strap measuring 78 inches in length and 4 cm in width.
Step 2: Preparing for the Neck Section
- Fold and mark the strap:
- Fold the strap in half, ensuring both sides align evenly.
- The strap should measure 39 inches when folded.
- Count and place stitch markers:
- From one end, count 108 stitches and place a marker.
- From the marker, count 63 stitches and place another marker.
- You’ll now have 108 stitches on each side of the middle section for the neck.
At this stage, the section between the markers is where the neck part will be worked.
Step 3: Neck Section – First Row
- Join yarn at the first stitch marker.
- Ch 3 (counts as the first double crochet), work dc in the next 2 stitches (3 dc total).
- In the next 3 stitches, work 2 dc in each stitch.
- Follow with 1 dc in each of the next 3 stitches.
- In the next 3 stitches, work 2 dc in each stitch.
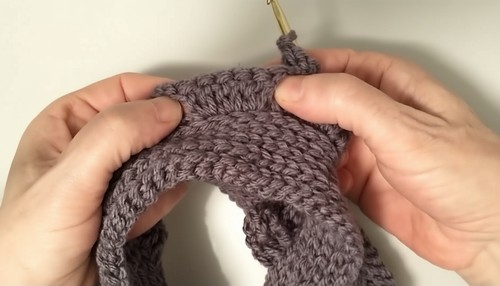
Repeat this alternating pattern all the way to the second stitch marker:
- 3 dc in separate stitches.
- 2 dc in each of the next 3 stitches.
Finish the row and ch 3 to start the next row.
At the end of the first row, you’ll notice an increased number of stitches, creating volume for the neck section.
Step 4: Neck Section – Adding Texture
- Row 2: After the chain-3, work the pattern as follows:
- fpdc in the next 3 stitches.
- bpdc in the next 6 stitches.
- fpdc in the next 3 stitches.
- bpdc in the next 6 stitches.
Repeat this pattern (3 fpdc, 6 bpdc) until the end of the row.
- On subsequent rows (Rows 3 and 4):
- Alternate fpdc and bpdc stitches from the previous rows.
This creates a ribbed texture on the neck section that contrasts beautifully with the strap.
Step 5: Finishing the Neck Section
Continue alternating the fpdc and bpdc pattern for four rows total.
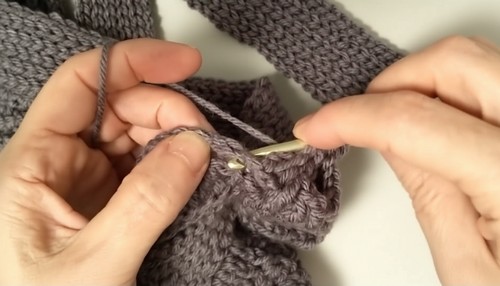
The neck section will now be completed, and the doubled post stitches give extra warmth and structure to the piece.
Step 6: Mirror the Neck Section on the Other Side
Repeat Steps 3–5 on the other side of the strap.
- Align the starting point with the remaining stitch markers.
- Follow the same instructions (dc increases and post stitches) to ensure symmetry.
Once complete, your neck warmer should have textured neck sections on both sides with the ribbed strap connecting them.
Assembly & Finishing
- Secure loose threads: Use a yarn needle to weave in all yarn ends securely, ensuring no loose ends are visible or cause fraying.
- Shape the neck warmer: Adjust the strap and neck sections to sit well around your neck.
Why You’ll Love This Pattern
This Ball Neck Warmer Pattern is elegant, comfortable, and practical. The textured ribbing gives it a tailored look, while the post stitches create a warm cushion for your neck. The design is customizable, allowing you to experiment with colors and dimensions to meet your preferences. Whether you keep it long or add decorative adjustments, it’s a perfect cold-weather accessory that’s both stylish and functional.