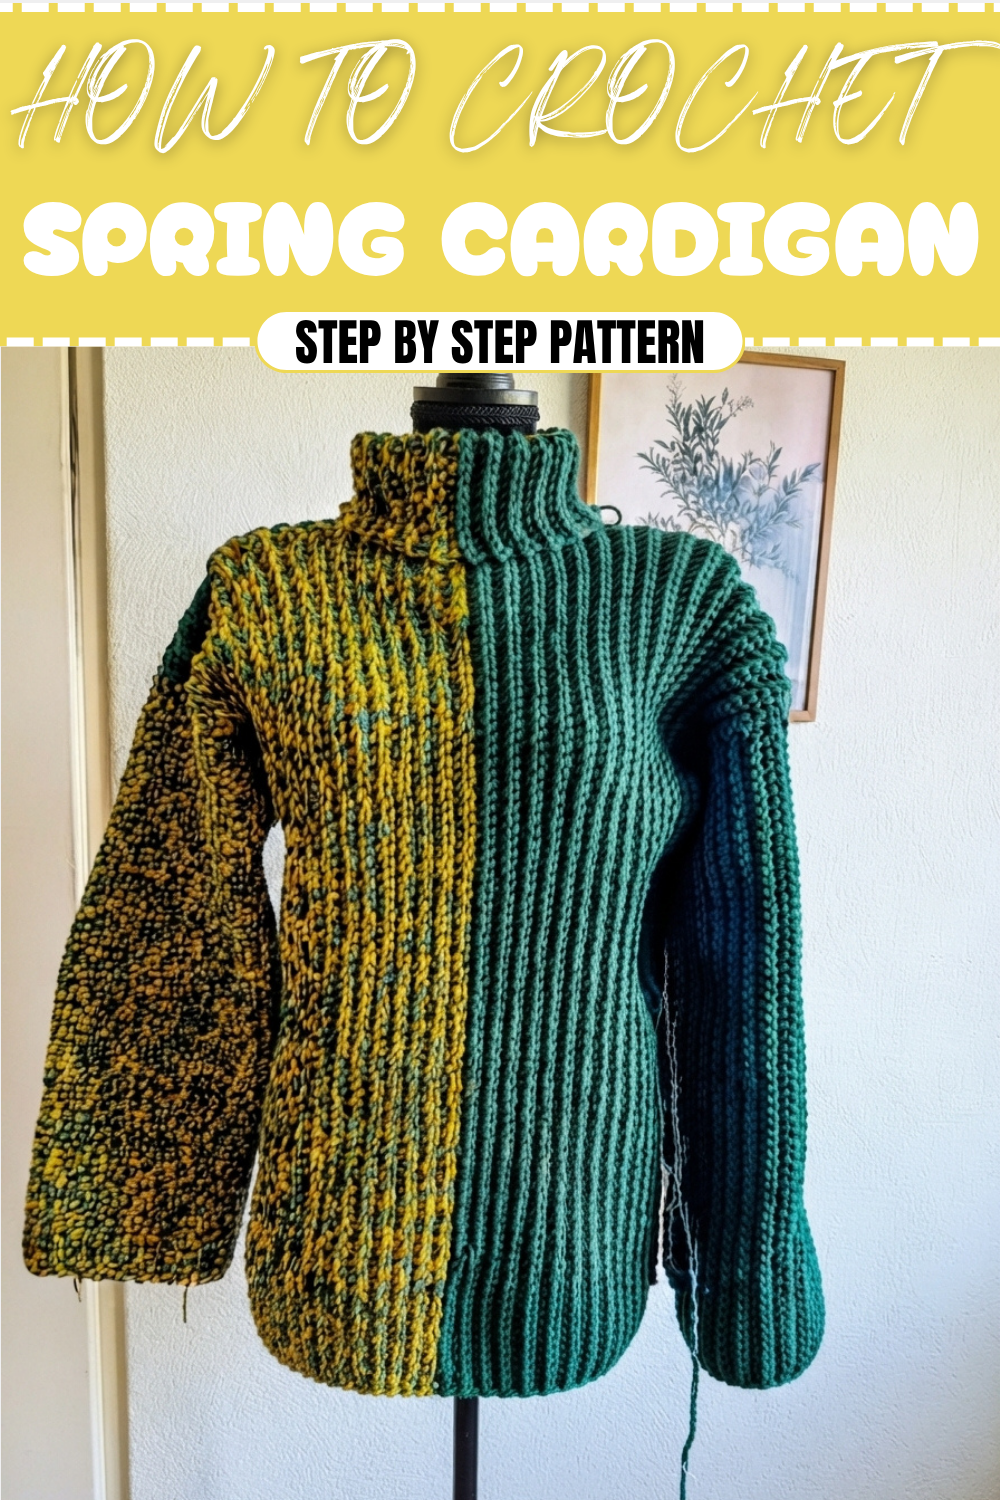
How to Crochet Spring Cardigan Pattern to Upgrade Your Style
Quick Crochet Spring Cardigan Pattern Secrets for a Stylish Outcome
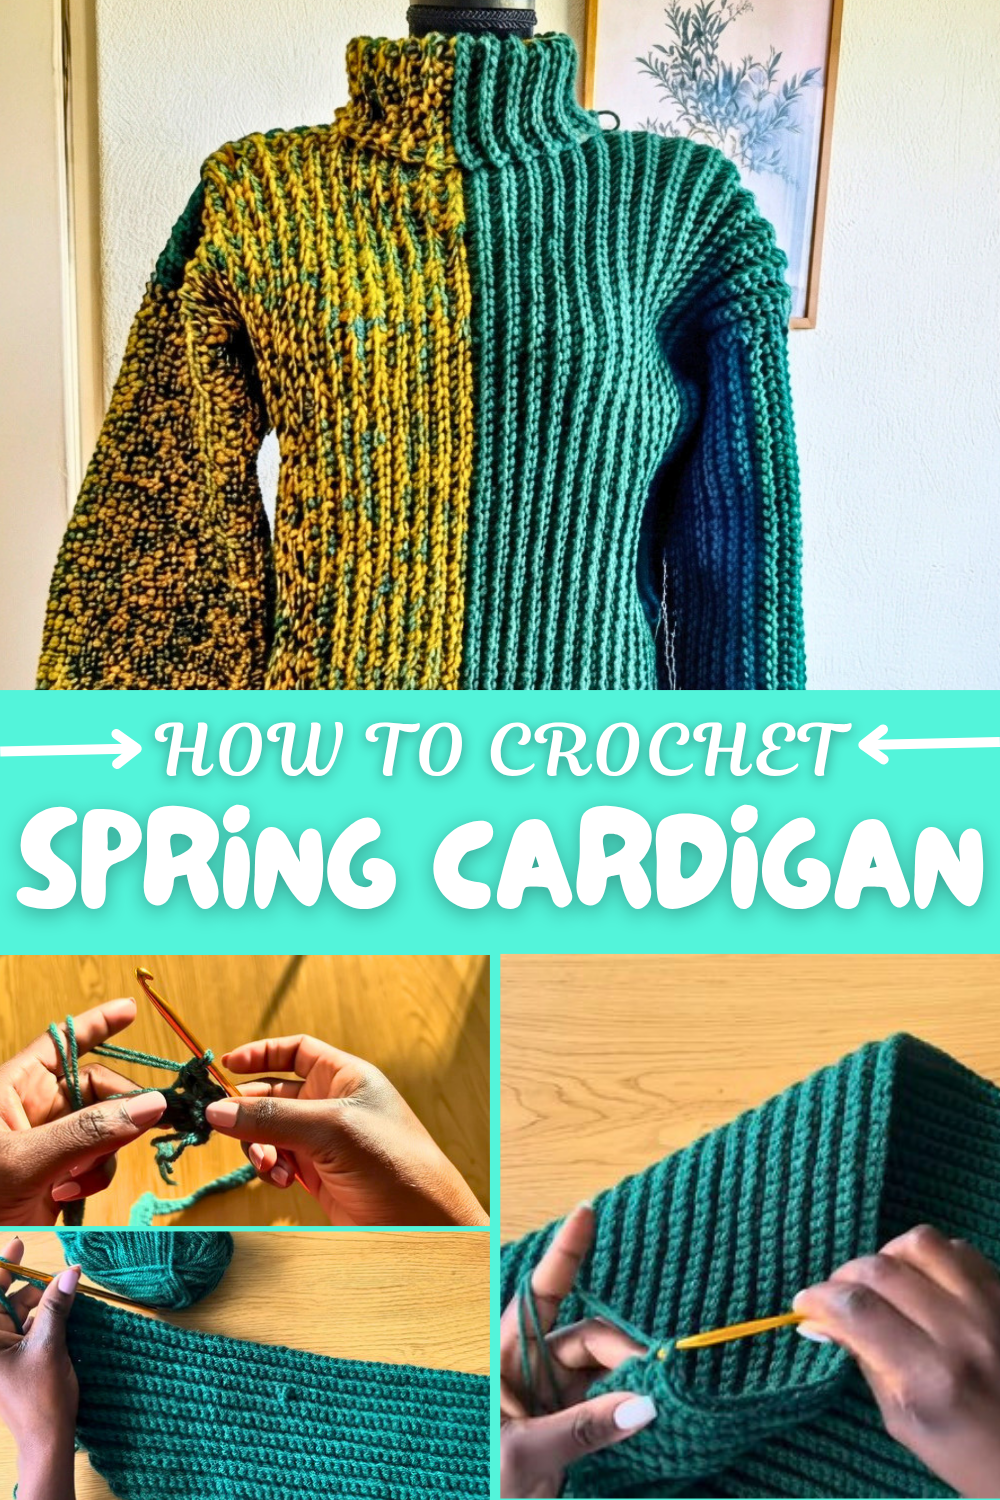
To start, you measure yourself so the cardigan fits comfortably across the shoulders. Then, by chaining the right length and working across in single crochet rows, you build the body piece by piece. The clever method of attaching the turtleneck directly while crocheting prevents gaps and saves time, making the project smoother and faster. Assembly is done simply with a tapestry needle or slip stitch, helping everything come together neatly. The pattern’s clear steps make it easy for beginners and enjoyable for those who love quick, stylish projects.
Turtleneck Winter/Spring Cardigan Crochet Pattern
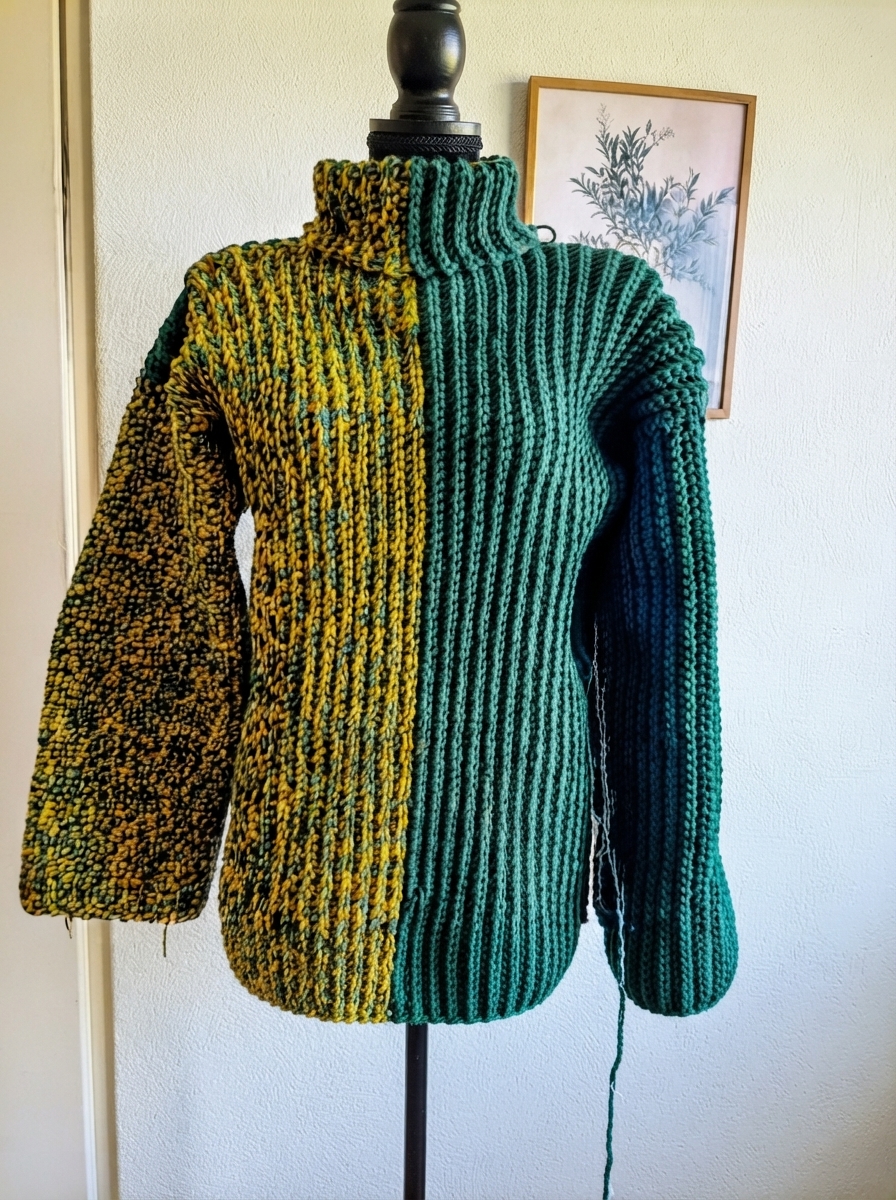
In this step-by-step crochet pattern, you will learn how to crochet a cozy and stylish Turtleneck Winter/Spring Cardigan. This versatile cardigan pattern is ideal for chilly weather and can be customized to fit your size and style preferences. Whether you're working with solid or mixed colors, the simplicity of this pattern combined with the ribbed texture gives your cardigan a polished and modern appearance.
Uses of This Pattern
- Winter Wear: Adds extra warmth to your layered outfits.
- Seasonal Transition: A perfect piece for spring or fall.
- Gift Idea: A thoughtful handmade cardigan for loved ones.
Skill Level & Terminology
- Skill Level: Beginner
- This pattern uses simple single crochet stitches and techniques, making it accessible to beginners who are comfortable with the basics.
- Terminology: US Crochet Terms
Materials & Tools
Here’s what you’ll need for the project:
- Yarn:
- Tanya Yarn: 100g, 100% acrylic (or any Chunky yarn). You may double DK or worsted weight yarn for thickness.
- Crochet Hook:
- 6 mm crochet hook (adjust as needed for your tension).
- Additional Tools:
- Tapestry needle (for joining pieces).
- Scissors.
- Stitch markers (optional for arm separation).
Gauge
- Gauge: 8 rows x 12 stitches (in single crochet worked in back loops) = 10 cm x 10 cm.
- Always work a swatch to ensure your gauge matches the pattern. Adjust your hook size if necessary.
Finished Size
The example cardigan has a shoulder-to-shoulder width of 50 cm, and the length can be adjusted to your preference. Measurements are customizable based on your body size.
Abbreviations
| Abbreviation | Meaning |
|---|---|
| ch | Chain |
| sc | Single Crochet |
| sl st | Slip Stitch |
| BLO | Back Loop Only |
Special Stitch Instructions
Back Loop Single Crochet (BLO):
Instead of inserting your hook under both loops of the stitch, insert it under the back loop only. This technique gives the fabric a ribbed texture, which is used throughout the cardigan.
What You’ll Learn From This Pattern
- How to create a ribbed texture using back loop single crochet.
- Professional joining techniques for heavier or layered fabrics.
- How to create seamless sleeves directly attached to the body.
The Pattern
Step 1: Body Panels
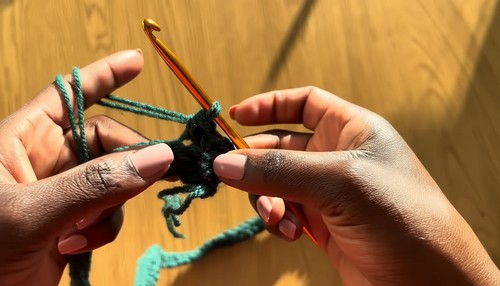
Foundation Chain:
- With doubled yarn, create a slip knot.
- Chain (ch) a foundation chain to match your shoulder-to-shoulder measurement. For example, ch 50 cm long.
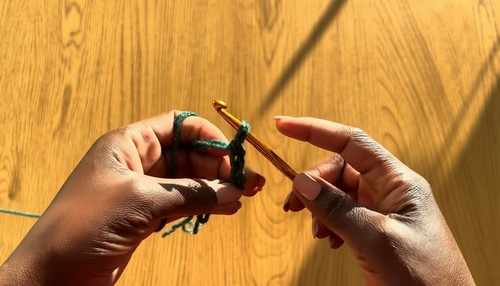
Row 1: Single Crochet Foundation
- Ch 1, skip the first chain nearest the hook.
- Work 1 sc into each chain across the row.
- At the end of the row, ch 1, turn.
Row 2–20: Working with BLO
- Insert the hook into the back loop only (BLO) of the first stitch.
- Sc in all stitches across the row.
- At the end of the row, ch 1, turn.
Repeat these steps for a total of 20 rows.
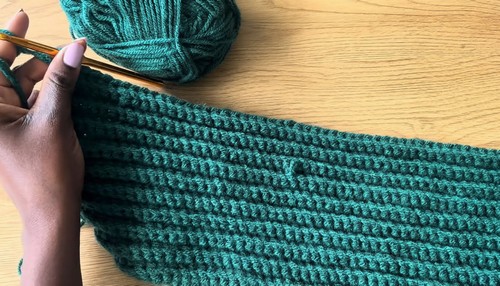
Tip for Beginners: The BLO technique creates a ribbed texture ideal for cozy designs. If you’re new to BLO, take it slow in the beginning to ensure consistency.
Step 2: Turtleneck Add-On
- Once your main body panel is ready, chain 21 stitches to extend the turtleneck directly.
- Row 1: Sc in the second chain from the hook and continue working 1 sc into each chain back to the body. Use the BLO technique as before.
- Row 2: Turn, sc in BLO across the row.
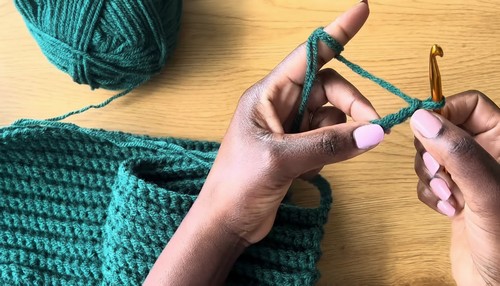
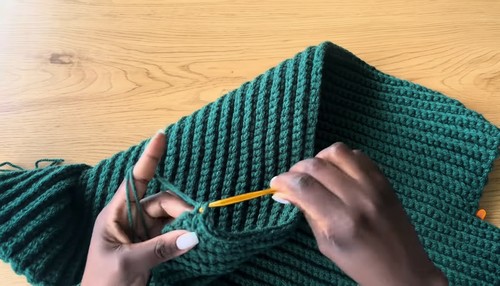
Continue for 22–24 rows, ensuring the turtleneck fits comfortably over your head.
Step 3: Second Panel
- Use the same steps above to create a second panel.
- Optional: Mix colors or use leftover yarn for a creative touch. Be sure to match the measurements of both pieces.
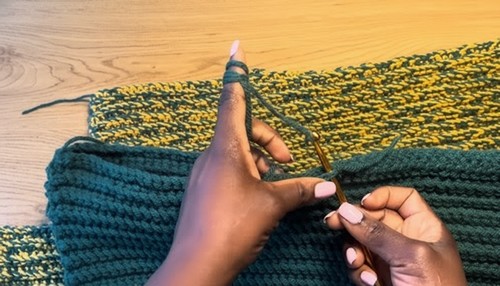
Assembly
Joining Body Panels
- Use a tapestry needle to stitch along the sides (row to row) of the body panels. You can also use a slip stitch for joining if preferred.
- Join the panels up to the armhole, leaving the top section open for sleeves.
Tip: Make sure to align the rows evenly for a neat, symmetrical join.
Step 4: Arm Separation
- Mark the armholes: Use stitch markers or pins to mark the separation for the arms.
- Join the sides up to the armhole using a tapestry needle or slip stitch.
- Ensure the armholes are symmetrical on both panels.
Step 5: Sleeves
Foundation Chain for Sleeves:
- With the same yarn, chain 60 stitches for the sleeve length. Adjust the chain based on your preference.
Working the Sleeve Rows:
- Row 1: Sc in 2nd ch from hook, then sc in each chain across. Ch 1, turn.
- Row 2: Sc in BLO across the row. Ch 1, turn.
Repeat rows until the sleeve reaches your desired width.
Joining Sleeves to Body:
- Attach the sleeve under the arm using a slip stitch or tapestry needle.
- Work around the armhole, ensuring the sleeve is evenly attached for a seamless look.
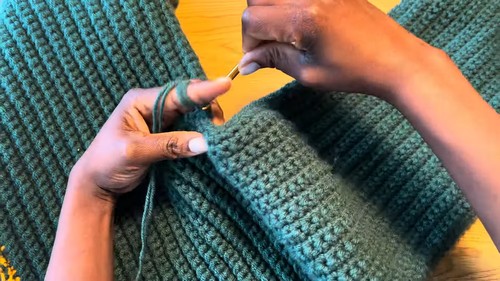
Tip: If you prefer, you can create the sleeves separately and attach them afterward.
Step 6: Final Assembly
- Seam the Openings: Once all parts of the cardigan are attached, carefully stitch any remaining openings, such as the underarms, for a polished finish.
- Weave in Ends: Use a tapestry needle to hide any loose yarn ends.
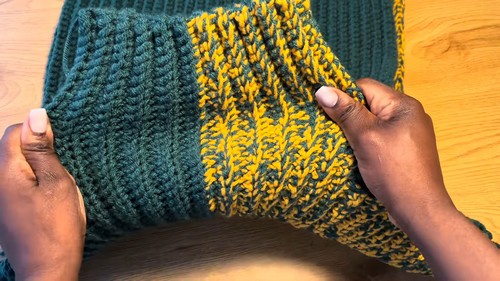
Assembly & Finishing
- Once the sleeves are securely attached, double-check all seams for evenness.
- Block the cardigan if needed to smooth out stitches and achieve a uniform look.
Tutor’s Suggestions
- For extra thickness during winter, double your yarn if you don’t have chunky yarn available.
- If doubling the yarn isn’t preferred, opt for a thicker yarn to achieve the same warm effect.
- Use a stitch marker to mark measurements and boundaries, preventing you from going beyond the required dimensions.
- To save time, work directly onto the piece wherever possible (e.g., integrating the turtleneck without sewing it on separately).
Why You’ll Love This Pattern
The Turtleneck Winter Cardigan is a versatile, stylish, and beginner-friendly project that is both warm and fashionable. The ribbed texture adds coziness, while the turtleneck saves you from the cold. With its adaptable design, you’ll have fun customizing it to your liking.