
Free Crochet Skull Amigurumi Pattern for Quick Festive Creations
Check out a free crochet skull amigurumi pattern and make a playful skull decoration that’s perfect for Halloween or just for some extra fun.
Halloween vibes bring an opportunity to make something both spooky and sweet, like this adorable skull amigurumi. The pattern uses simple crochet techniques such as single crochet, increases, and decreases to shape a plump, rounded skull that’s soft and squeezable. Starting with a magic circle helps keep the center tight and tidy, giving your project a clean, professional look right from the first stitch. The beauty of this skull lies in its details. The eyes and nose can be crocheted or made with felt, allowing you to customize its personality easily. Adding embroidered lines for the mouth gives it character and a charming finish. The pattern balances simplicity with thoughtful shaping, keeping it beginner-friendly while still rewarding.
Learn to Crochet Skull Amigurumi Pattern Free for Your Spooky Décor
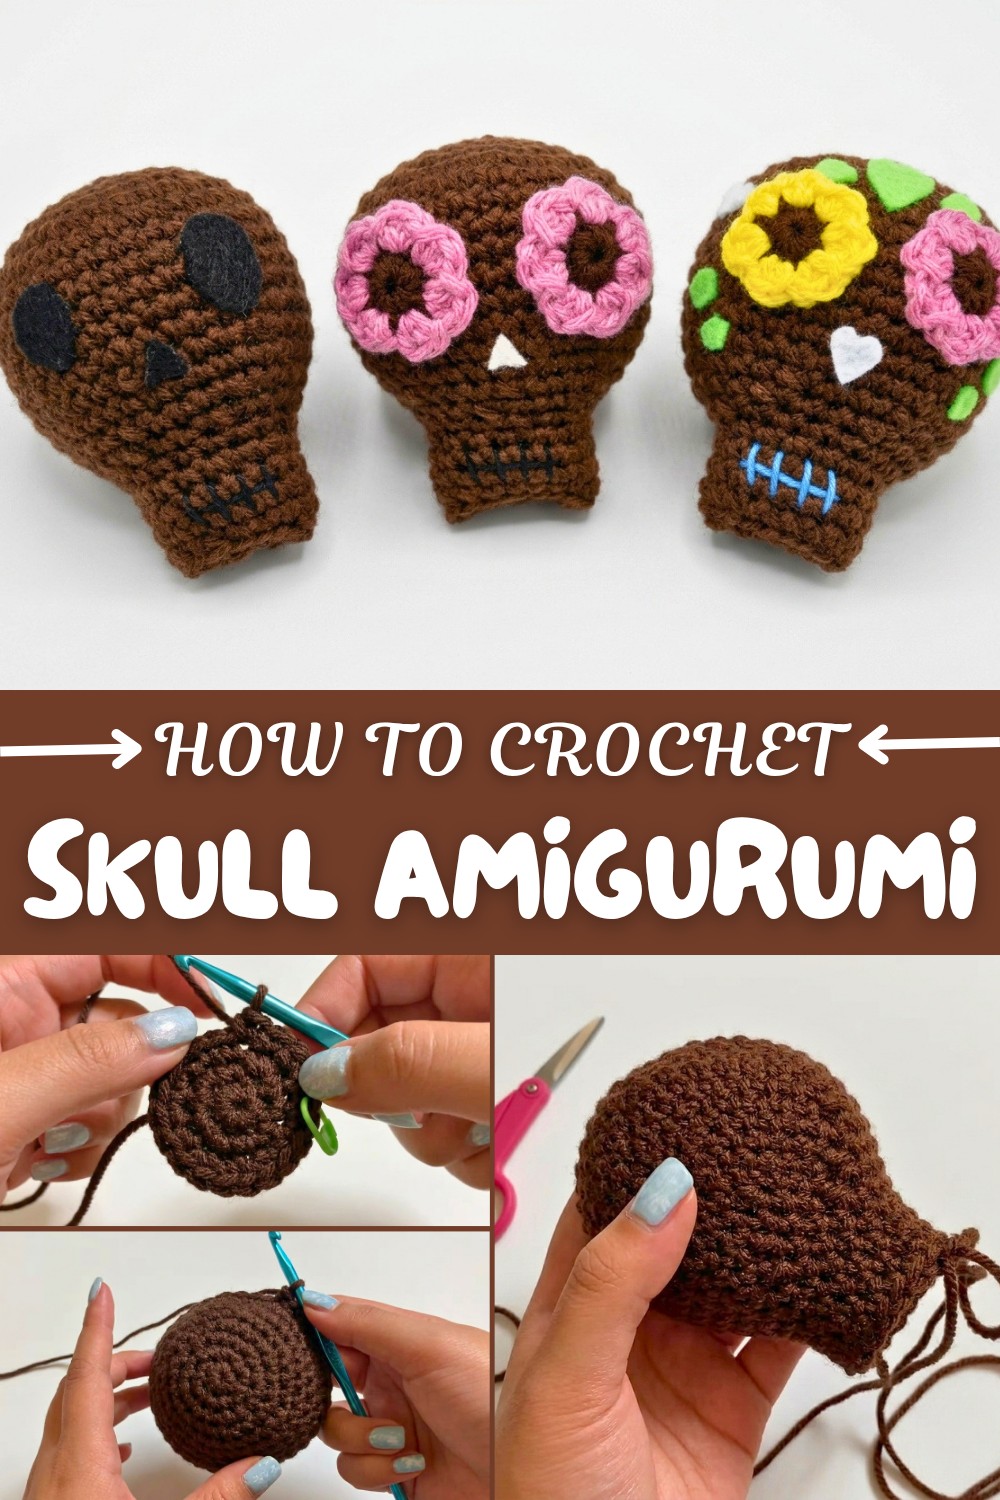
Crocheting this skull pattern offers a fun way to practice important crochet skills and results in a versatile piece perfect for seasonal décor, a calming sensory toy, or a playful gift. Its soft, rounded form invites lots of squeezes and makes it an inviting crochet to have around during the Halloween season.
More Projects Inspired by This Pattern
The same shaping techniques and magic circle start can be used for a variety of other amigurumi designs. You can adapt the basics to crochet pumpkins, ghosts, or little critters with similar cuddly appeal. This pattern sets a foundation for creating many imaginative and textured crochet projects suited for festive celebrations or everyday fun.
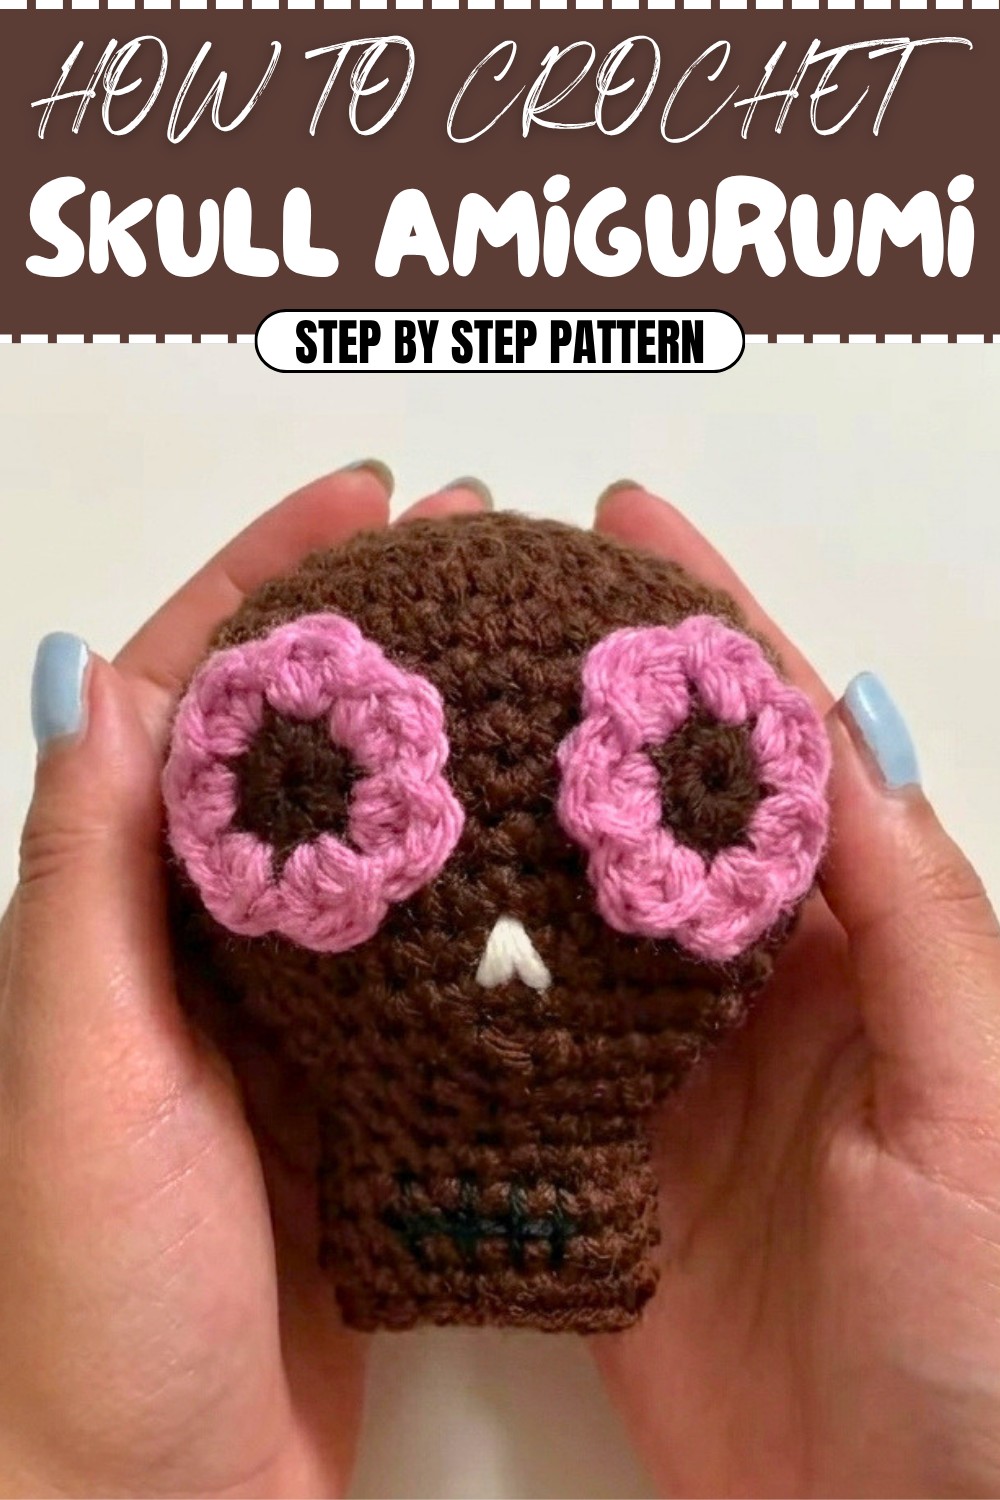
Crochet Pattern: Halloween Amigurumi Skull
Introduction
Get ready to create a spooky yet adorable Halloween skull that is perfect for decoration, gifts, or even a stress-relieving toy! This crochet skull pattern uses simple techniques like single crochet, increases, decreases, and magic circle to shape the round design. The pattern is beginner-friendly but offers just enough detail to keep intermediate crocheters engaged. Whether you customize it with embroidery or felt decorations, this unique project brings plenty of Halloween spirit!
What You'll Learn from This Pattern
- How to work in continuous rounds using basic stitches.
- The technique for creating increases and decreases to shape 3D amigurumi-like objects.
- How to use felt and simple embroidery to enhance crochet designs.
Skill Level & Terminology
- Skill Level: Advanced Beginner
- Terminology: US Crochet Terms
Materials & Tools
- Yarn:
- Worsted weight yarn (Size 4) in desired colors.
- Base color for the skull (e.g., Dark Brown).
- Contrasting colors for additional details (e.g., pink, black for eyes, nose, and floral accents).
- Worsted weight yarn (Size 4) in desired colors.
- Hooks:
- 5 mm crochet hook for the main skull.
- 4.5 mm crochet hook for smaller details, such as floral eyes.
- Other Tools:
- Black felt (for eyes, nose, or decorative details).
- Scissors.
- Yarn/tapestry needle (for weaving ends and sewing parts).
- Stuffing (polyester fiberfill or scrap yarn).
- Hot glue gun for attaching felt elements.
Gauge
Gauge is not crucial for this project since it’s amigurumi. However, ensure that your stitches are tight enough to prevent stuffing from showing through the fabric.
Abbreviations
- MC – Magic Circle
- ch – Chain
- sc – Single Crochet
- inc – Increase (2 sc in the same stitch)
- dec – Decrease (single crochet 2 stitches together)
- sl st – Slip Stitch
Special Stitch Instructions
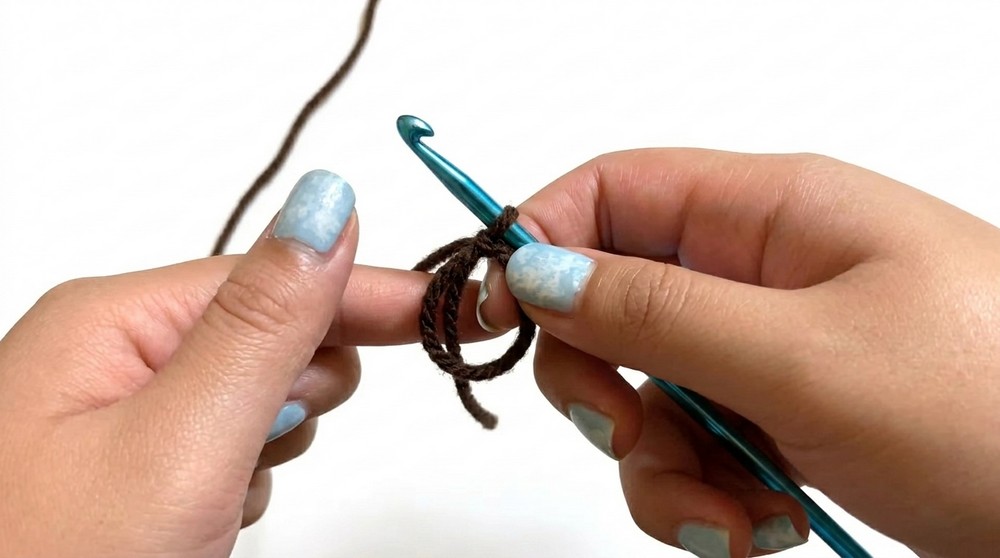
Magic Circle (MC):
- Wrap the yarn around your fingers to create a loop ("X" shape).
- Insert the crochet hook into the loop, yarn over, and pull up a loop.
- Yarn over again and pull through the loop on the hook to form a slip knot.
- Proceed with the required number of stitches into the circle.
If the Magic Circle method feels challenging, the Chain 2 method can be substituted:
- Ch 2.
- Work the required number of stitches into the second chain from the hook.
The magic circle creates a fully adjustable center, making it ideal for amigurumi designs.
Finished Size
Approximately 4 inches tall and 3 inches wide, depending on hook size and yarn tension.
How to Start
The skull is worked in continuous rounds (do not join or turn). Use a stitch marker to track the first stitch of each round. After completing the skull base, you can add custom decorations, such as felt eyes, floral eyes, and a stitched-mouth design.
The Pattern
Skull Base
Round 1:
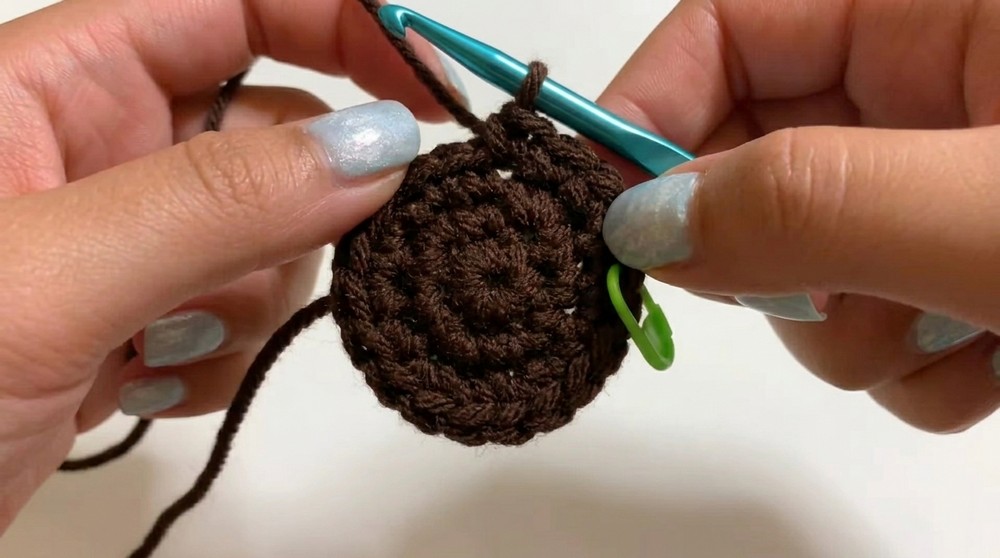
- Start with MC; sc 6 into the circle.
- Pull the tail to close the circle. Place a stitch marker in the last sc. (6 stitches)
This creates the top of the skull.
Round 2:
- Inc in each stitch around. (12 stitches)
You are doubling the stitch count in this round.
Round 3:
- (Sc in next st, inc in next st) – repeat around. (18 stitches)
Round 4:
- (Sc in next 2 sts, inc in next st) – repeat around. (24 stitches)
Round 5:
- (Sc in next 3 sts, inc in next st) – repeat around. (30 stitches)
Round 6:
- (Sc in next 4 sts, inc in next st) – repeat around. (36 stitches)
Rounds 7–12:
- Sc in each stitch around. (36 stitches per round)
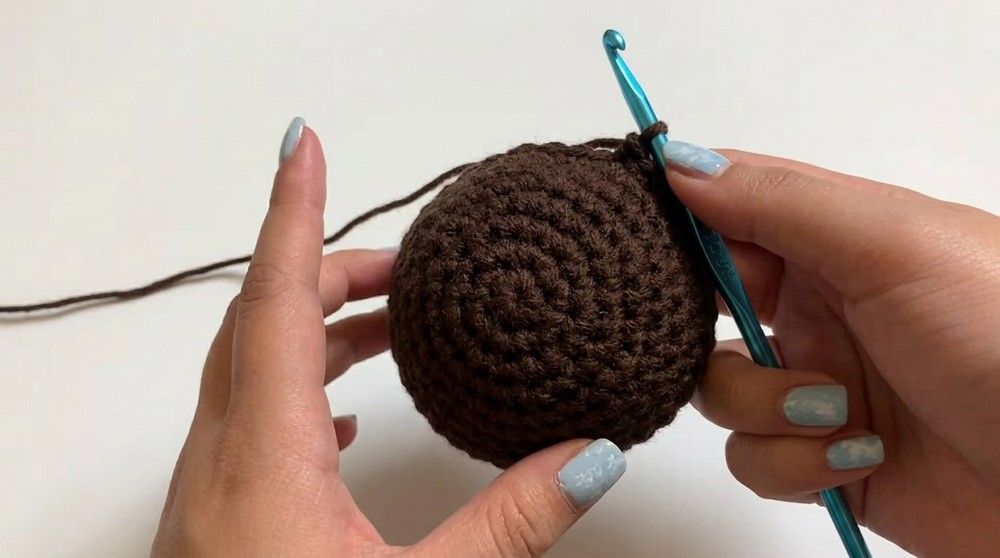
This section adds height and rounds out the shape of the skull.
Round 13:
- (Sc in next 4 sts, dec in next st) – repeat around. (30 stitches)
Round 14:
- Sc in each stitch around. (30 stitches)
Round 15:
- (Sc in next 3 sts, dec in next st) – repeat around. (24 stitches)
Round 16:
- Sc in each stitch around. (24 stitches)
Round 17:
- Attach safety eyes here, or leave spaces open for felt eyes.
- (Sc in next 2 sts, dec in next st) – repeat around. (18 stitches)
Round 18:
- (Sc in next st, dec in next st) – repeat around. (12 stitches)
Round 19:
- Dec in each stitch around. (6 stitches)
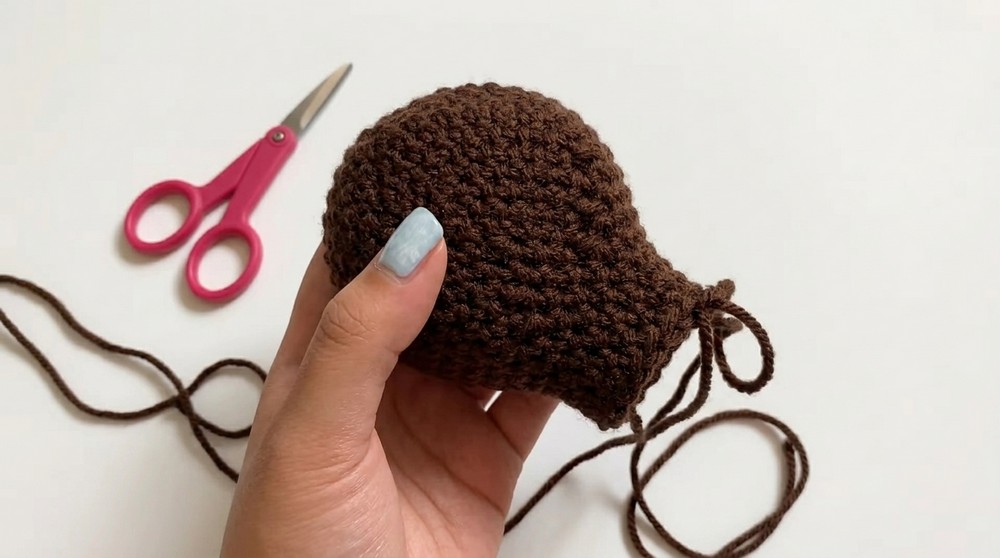
Cut the yarn, leaving a long tail, and use a yarn needle to weave through the front loops of the remaining 6 stitches. Pull tightly to close the skull and secure.
Floral Eyes (Optional)
Round 1 (Center):
- With dark brown yarn:
- MC; sc 6 into circle. Slip stitch into the first sc to join. (6 stitches)
- Cut yarn, leaving a small tail.
Round 2 (Petals):
- With petal color (e.g., pink):
- Attach pink yarn to any stitch in Round 1.
- In the same stitch: (hdc, dc, sl st).
- Repeat step 2 in each stitch around to create petals. (6 petals total)
- Fasten off and leave a long tail for sewing.
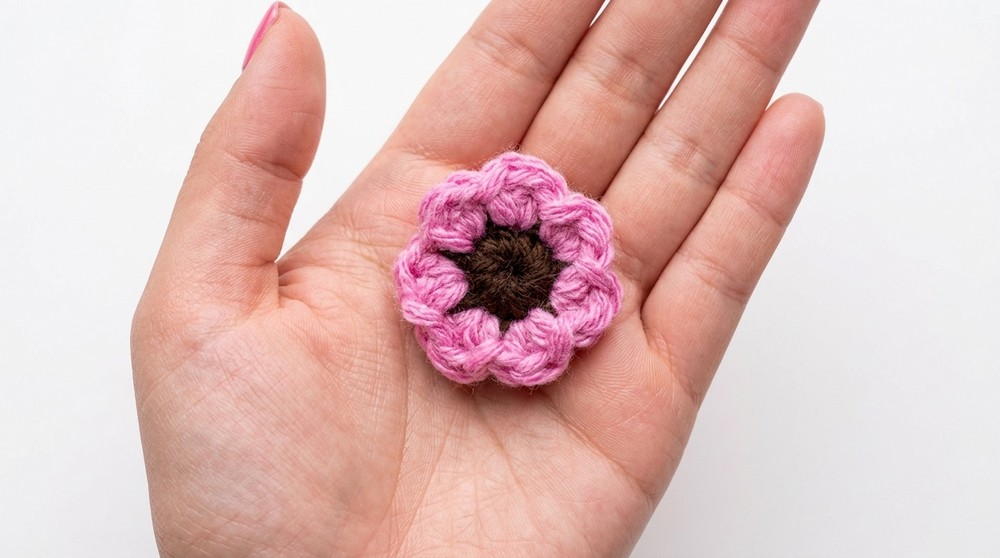
These cheery floral eyes can then be sewn onto the skull’s face for a festive “sugar skull” look.
Felt Decorations
- Eyes: Cut two large black circles for the eyes.
- Nose: Cut a triangle or heart shape for the nose.
- Mouth: Embroider a simple stitched line for the mouth using black yarn or embroidery thread.
- Attach the felt decorations using a hot glue gun or sew them in place with matching thread.
Assembly & Finishing
- Stuffing: Stuff the skull carefully before closing the bottom as instructed in Round 19. Add a bit more stuffing, ensuring the shape looks round and firm.
- Attaching Decorations: Use hot glue to attach felt decorations or sew on floral eyes with excess yarn.
- Final Customizations: Use additional felt, embroidery thread, or fabric paint to add creative touches like sugar skull patterns, lips, or teeth.
Pattern Difficulties and Solutions
Difficulties:
- Trouble with the magic circle: Beginners often struggle with this step.
- Maintaining even tension: Uneven stitches can affect the round shape.
- Decorating the skull: Adding small details can be tricky for some.
Solutions:
- Alternate method: Use the chain two method if a magic circle isn’t doable.
- Practice with a swatch: Create a small sample to test your tension before beginning.
- Use felt designs: Felt simplifies decorating and provides clean, sharp designs.
Why You’ll Love This Pattern
This Halloween skull is not only easy to make but highly customizable. It’s perfect for stress relief, unique Halloween decorations, or even thoughtful gifts for loved ones. The combination of amigurumi techniques and decorative options will allow you to add your own personality to every piece you make.