
Crochet Pumpkin Amigurumi Pattern for Effortless Festive Gifts
Change your space with the Free Crochet Pumpkin Amigurumi Pattern for playful pumpkins that brighten any day.
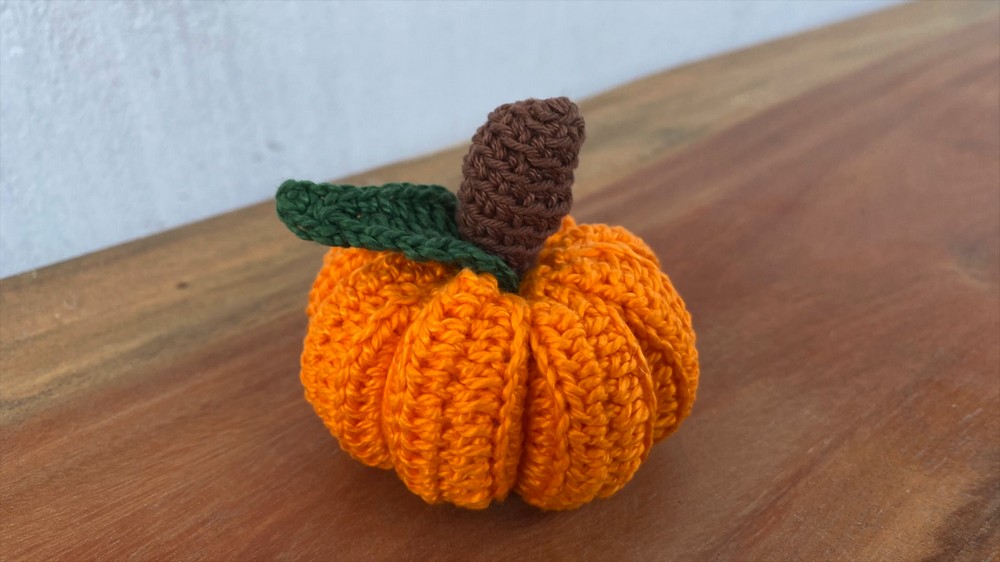
A cozy touch of fall can brighten up any space, especially when it’s handmade with care. This pumpkin amigurumi pattern uses simple crochet stitches to create a soft, plump pumpkin that’s just right for Halloween or autumn decorations. The main body is made using half double crochet (hdc) worked in the back loops only, giving a neat ribbed texture that adds depth and charm. This stitch is beginner-friendly and provides a flexible fabric that’s perfect for shaping.
Free Crochet Pumpkin Amigurumi Pattern for Playful Autumn Smiles
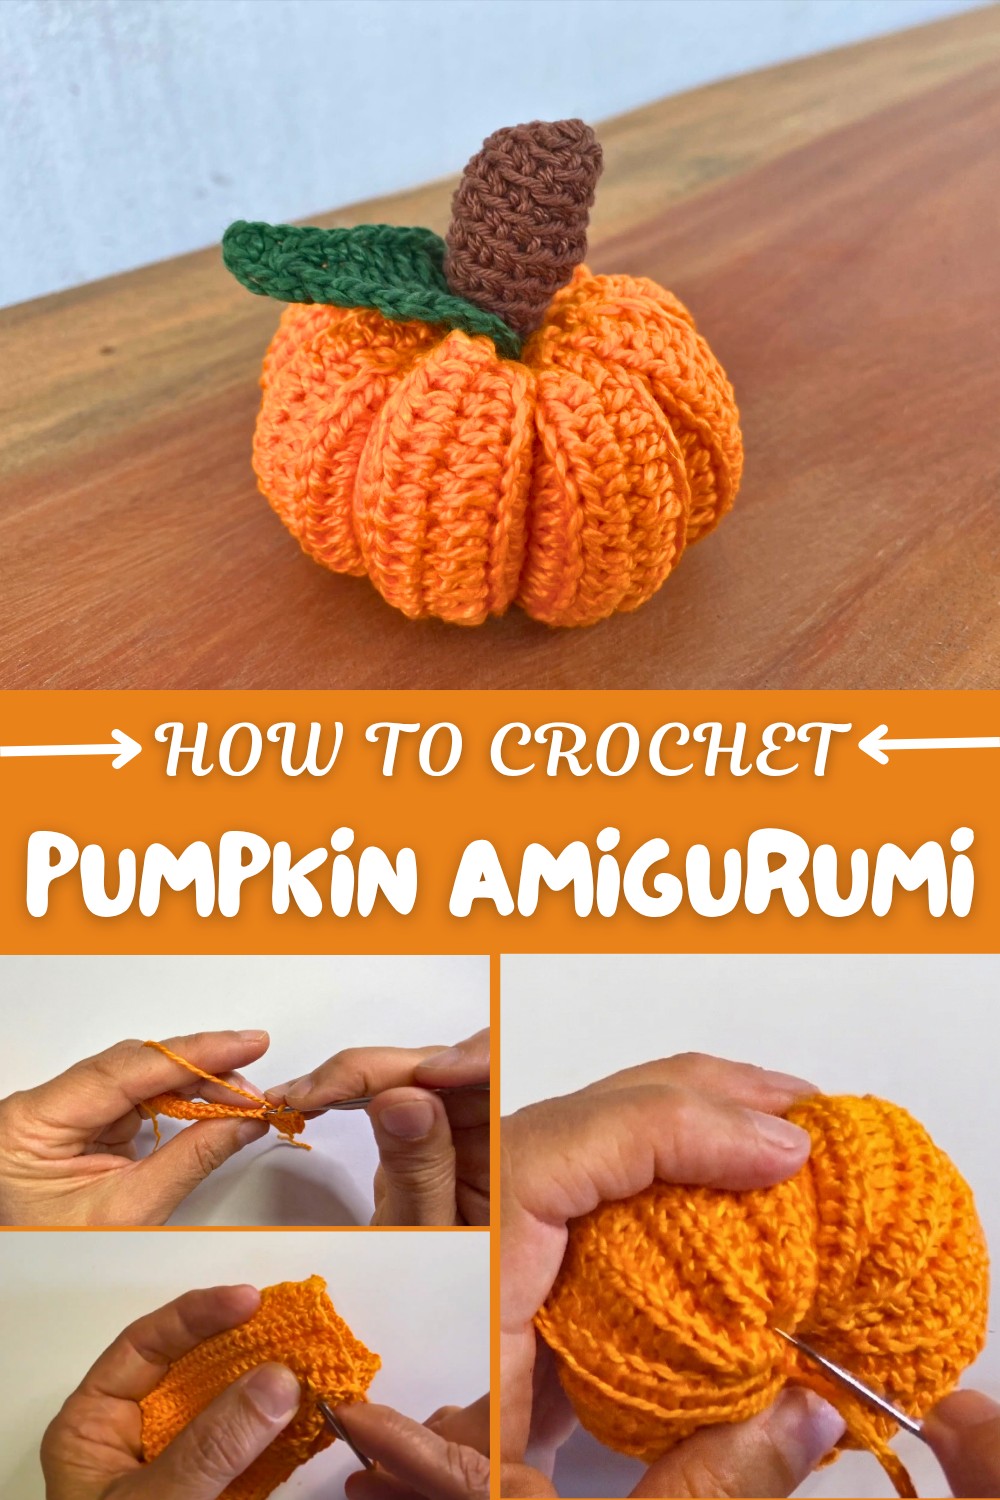
Working in rows and then folding to close the pumpkin shape makes the pattern straightforward. A long yarn tail is used to sew the pumpkin closed and create the distinctive pumpkin slices, which add character with gentle folds. The pattern also includes directions to crochet a delicate leaf and a sturdy stalk using stitches like single crochet (sc), double crochet (dc), and treble crochet (tr). These details bring the pumpkin to life with realistic textures and charming accents.
Stuffing the pumpkin layer by layer helps it keep its form and makes it soft to the touch. You’ll find the step-by-step process easy to follow, and the small size means you’ll have a finished decoration quickly. Whether displayed on a shelf, as a table centerpiece, or as part of a fall-themed garland, this crochet patterv adds a warm, handmade vibe to your home.
More ideas from this pattern
The techniques used here can be applied to create other seasonal amigurumi items like apples, pears, or small gourds. The back loop half double crochet stitch works well for making ribbed textures on hats, scarves, or cozy blankets. The method of folding and sewing with a long tail is also handy when shaping stuffed toys or cushions. Adding leaves and stems is a fun way to personalize your projects and try out more stitches, expanding your crochet skills with pretty and practical designs.
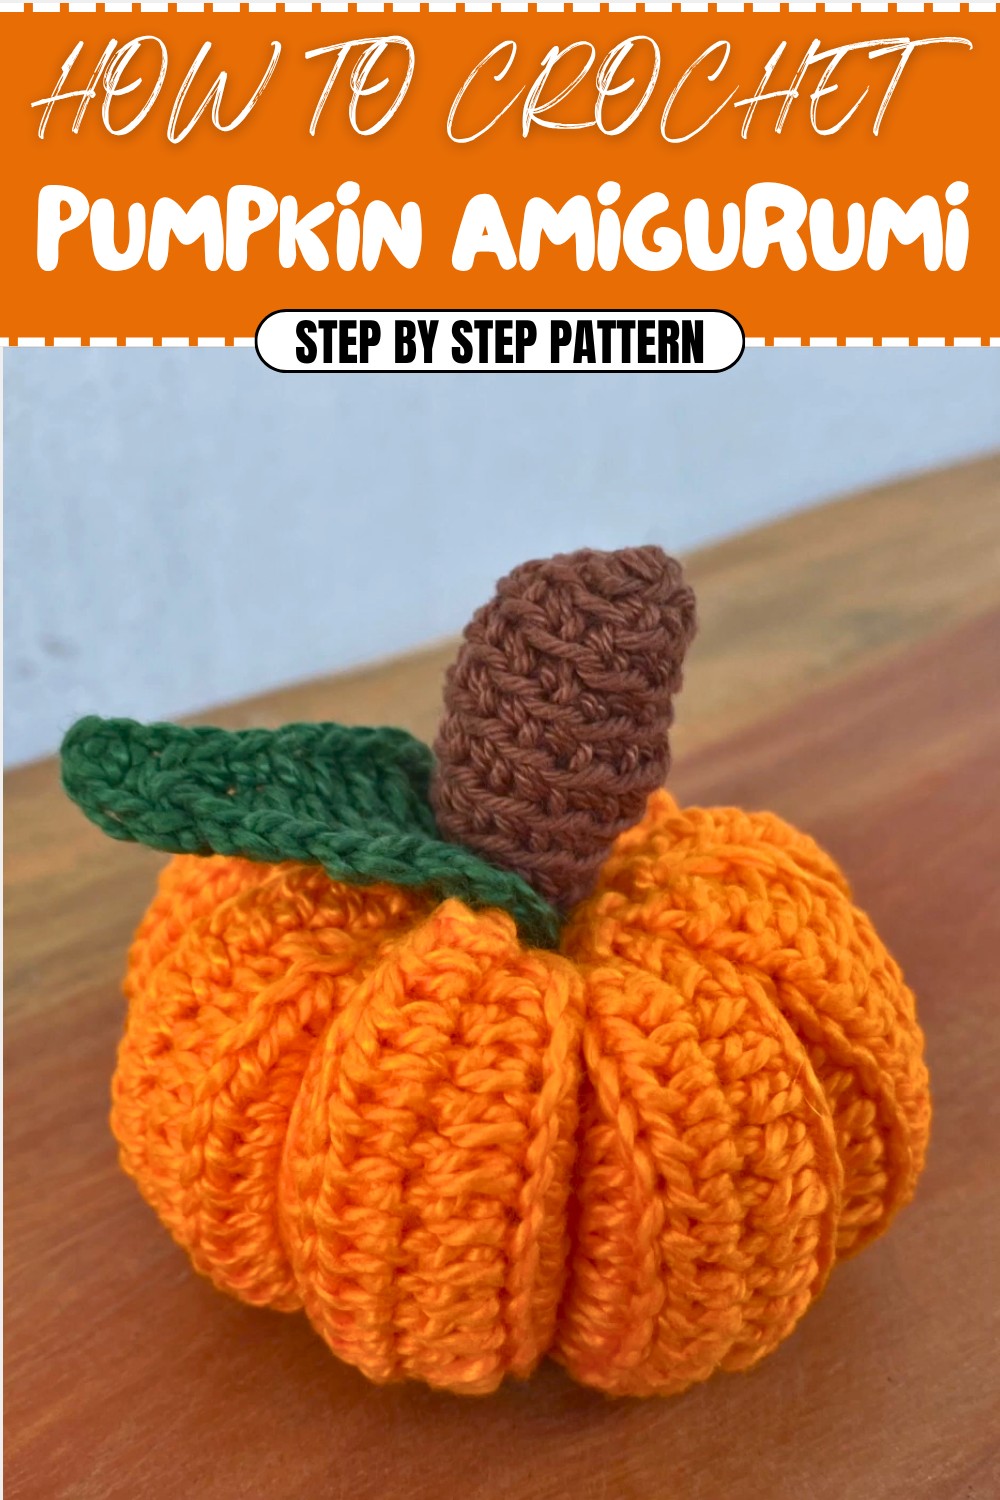
Crochet Pattern: Cute Pumpkin for Halloween
Add an adorable and handmade touch to your Halloween or autumn home decor with this Crochet Pumpkin Amigurumi Pattern! Perfect for beginners and experienced crocheters alike, this pattern introduces foundational skills while creating a finished product that's perfect for seasonal celebrations.
Featuring soft textures, simple stitches, and charming details, this crochet pumpkin can be customized with different colors, leaves, and stalks. Whether you're creating it as a table centerpiece, a gift, or part of your fall-themed decorations, this pumpkin project is easy to follow and quick to complete.
What You'll Learn from This Pattern
- Techniques to create textured fabric using crochet back loop only stitches.
- How to shape a crochet piece into a 3D form using stuffing and sewing techniques.
- Detailed stitch patterns to create decorative elements like leaves and stalks.
- Combining multiple parts into one cohesive amigurumi design.
Skill Level & Terminology
- Skill Level: Beginner
- Terminology: US Crochet Terms
This pattern uses half double crochet (hdc), slip stitch (sl st), single crochet (sc), and triple crochet (tr), with techniques like working in the back loop only for added texture, making it beginner-friendly but visually impactful.
Materials & Tools
- Yarn:
- Orange (or any desired pumpkin color)
- Green (for the leaf)
- Brown (or green for the stalk)
- Hook: 3 mm crochet hook
- Other Tools:
- Scissors
- Stitch marker (to track rounds)
- Tapestry needle (for sewing and weaving ends)
- Cotton or polyfill stuffing
Gauge
Exact gauge is not necessary for this project, but tight stitches will help hold the stuffing inside securely and create a defined shape.
Abbreviations List
| Abbreviation | Meaning |
|---|---|
| ch | Chain |
| hdc | Half Double Crochet |
| tr | Triple Crochet |
| sc | Single Crochet |
| sl st | Slip Stitch |
| BLO | Back Loop Only |
Special Stitch Instructions
Back Loop Only (BLO):
Instead of working through both loops of a stitch, insert your hook into the back loop only (leaving the front loop unworked). This creates a textured, ribbed effect that is perfect for the pumpkin’s body.
Finished Size
The completed pumpkin measures approximately 8–10 cm (3–4 inches) tall, depending on the yarn used and tension during crocheting.
What Stitches Are Used in This Pattern?
This project predominantly uses hdc stitches and incorporates techniques like working in the back loop only for texture as well as foundational shaping with sc, tr, and sl st. It is primarily worked in rows for the body and rounds for the stalk.
The Pattern Itself
Step 1: Pumpkin Body
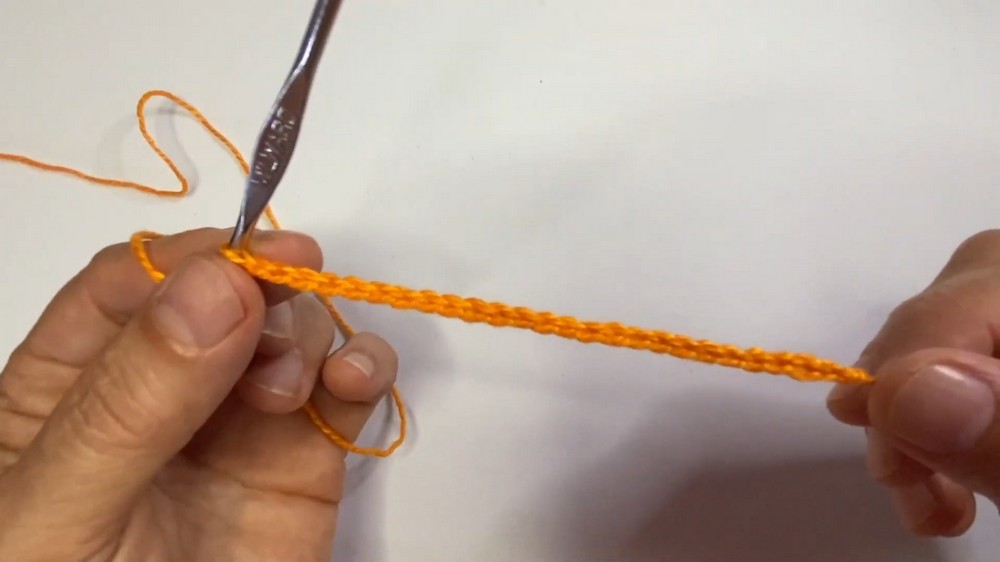
- Foundation Chain:
- Start with a slipknot and make ch 25.
- Row 1:
- Skip the first stitch and work 1 hdc in each ch across.
This initial row provides the foundational width for the pumpkin.
- Row 2:
- Ch 2, turn your work, and work 1 hdc in each st (BLO) across.
- Rows 3–30:
- Ch 2, turn, and continue working 1 hdc (BLO) across each row. (30 rows total)
Working in the back loop creates ridges that give the pumpkin a realistic, ribbed texture.
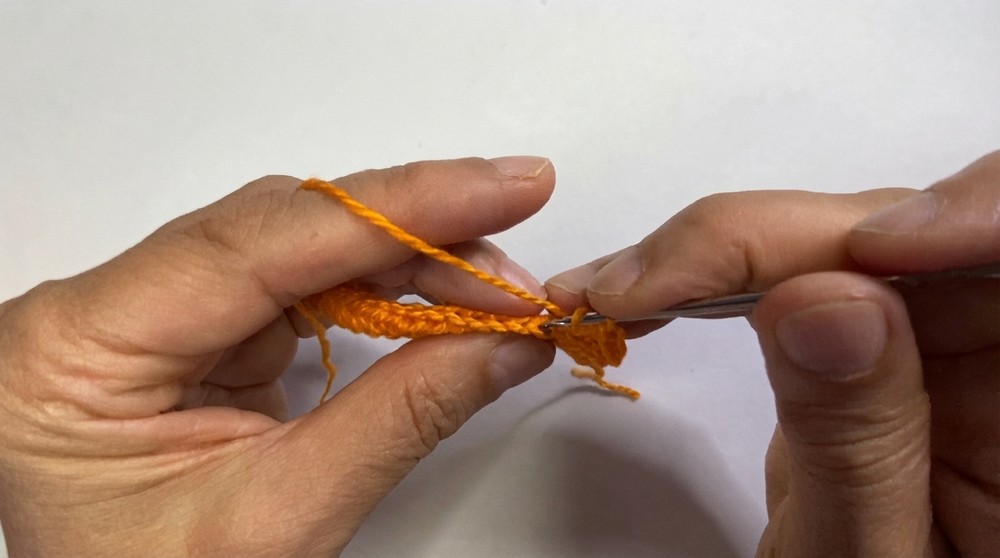
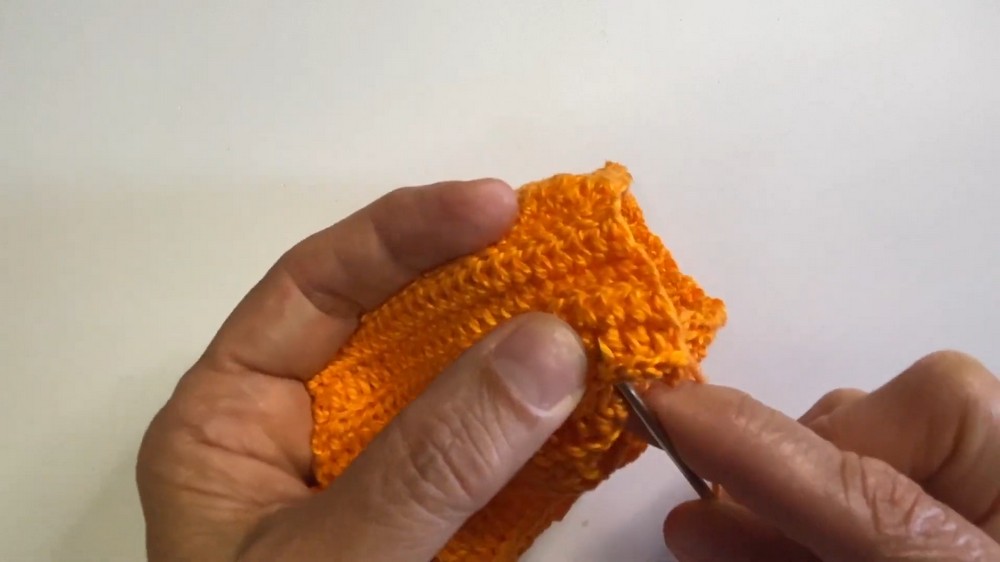
- Assembly:
- Fold your rectangle in half lengthwise, aligning the edges.
- Join both edges with sl st in each stitch across to close the pumpkin’s body.
- Pull and cut the yarn, leaving a long tail, and weave in ends.
This piece now forms the pumpkin’s cylindrical body. You’ll cinch the top and bottom soon!
Step 2: Shaping the Pumpkin
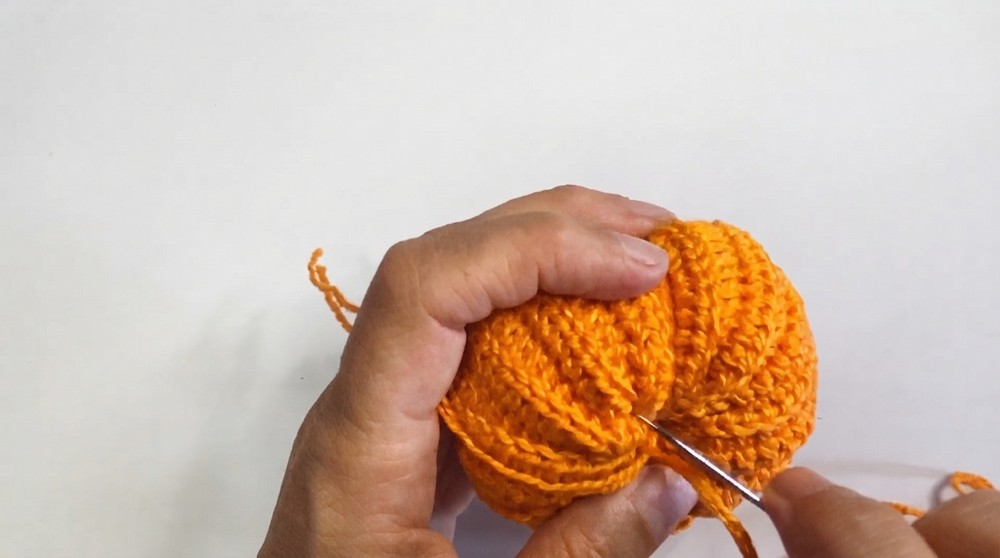
- Using a long tail of yarn threaded onto a tapestry needle, sew a running stitch around the edges of one opening.
- Pull the yarn tight to cinch the opening closed. Secure the closure with a few stitches to ensure stability.
- Flip the pumpkin right-side out, and start stuffing it with cotton/polyfill, layer by layer, until it is evenly firm.
- Repeat the same process to cinch and close the top opening.
Cinch closures give the pumpkin its rounded shape. Stuffing it evenly prevents lumps.
- Create pumpkin slices by wrapping a long tail of yarn vertically around the body multiple times (tie each wrap at the top and base to create segments).
Step 3: The Leaf
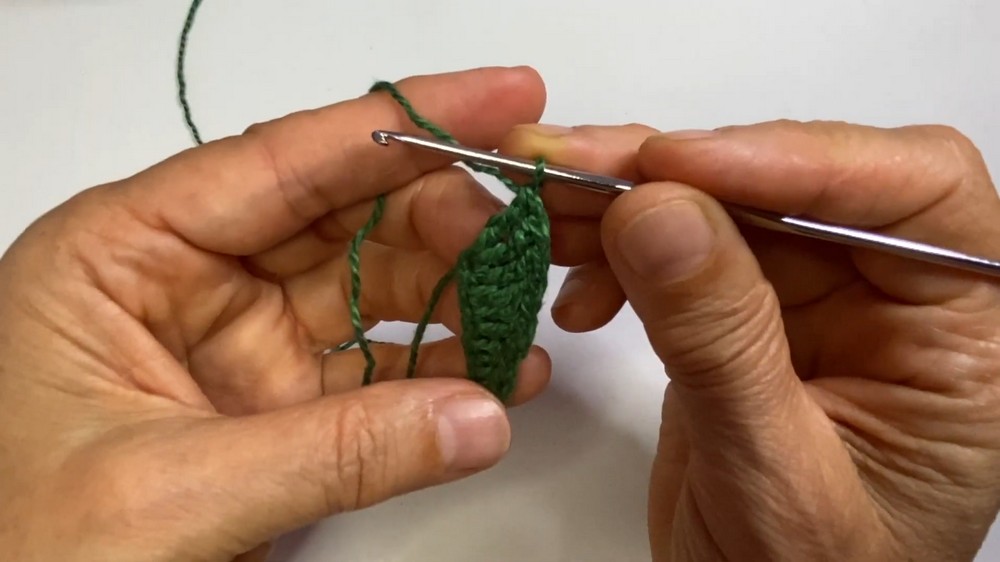
- Foundation Chain:
- Begin with a slipknot and make ch 10.
- Row 1:
- Work the following into the chain:
- 1 sc in the 2nd and 3rd ch.
- 1 hdc in the next 2 ch.
- 1 dc in the next 3 ch.
- 1 tr in the last chain.
- Work the following into the chain:
- Edging:
- Ch 5, then skip 1 stitch and work 1 sl st in the next 4 ch to form a small stem.
- Work 1 sl st in the middle of the last tr.
- Return Side:
- Repeat the original pattern as you work down the opposite side of the foundation chain:
- 3 tr, 1 dc, 1 dc, 1 hdc, 1 hdc, 1 sc, 1 sc.
- Repeat the original pattern as you work down the opposite side of the foundation chain:
- Finish:
- Ch 3, work 1 sc in the 2nd and 3rd ch, and finish with sl st into the first sc from the previous round.
- Pull and cut the yarn, then weave the tails.
The leaf adds character to the pumpkin and can be made in various shades of green or autumn colors.
Step 4: The Stalk
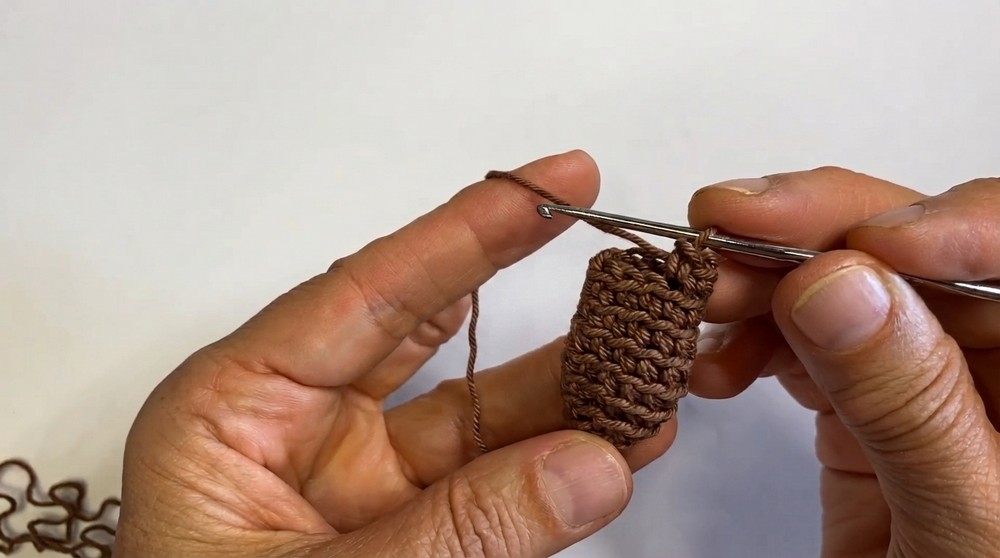
- Round 1:
- Begin with a slipknot, ch 4, and join into a ring using a sl st.
- Ch 1, then work 6 sc into the ring.
- Round 2:
- Continue with 1 sc in each st, marking the first stitch with a stitch marker for accuracy.
- Round 3–4:
- Work 2 sc in one stitch, 1 sc in the next (increase pattern). Repeat twice.
- Rounds 5–6:
- Work 1 sc in each stitch (BLO) around.
- Finish:
- Continue 1 sc in each st for 6 total rounds.
- Fasten off with a sl st, pull and cut the yarn.
The stalk gives the pumpkin a finishing touch that’s simple yet realistic.
Step 5: Attach the Leaf and Stalk
- Sew the leaf to the top center of the pumpkin using a tapestry needle and leftover yarn. Secure it tightly.
- Sew the stalk on top of the leaf. Ensure it’s attached firmly to the pumpkin.
Positioning the leaf and stalk correctly enhances the pumpkin’s realistic, decorative look.
Assembly & Finishing
After attaching the components, fluff the pumpkin and make sure all pieces are secured. Trim any excess yarn strands and adjust the leaf and stalk as desired.
Why I Love This Pattern
This Cute Crochet Pumpkin Amigurumi Pattern is the essence of autumn! It’s such a versatile design that can easily be customized to suit your home decor style. I love how quick this project is to make, yet the textured body and details like the leaf and stalk add depth and personality to the final result. It’s perfect for gifting or decorating your space in preparation for Halloween and Thanksgiving!