
Free Crochet Celtic Weave Headband Pattern to Try
Every project starts with a single stitch, and the Free Crochet Celtic Weave Headband Pattern is a beautiful way to turn your creativity into something you can proudly wear and share. This pattern empowers crafters of all skill levels to transform ordinary yarn into a striking accessory that radiates both confidence and warmth. Whether you’re picking up your hook for the first time or seeking a new technique to master, the intricate texture of the Celtic weave invites you to challenge yourself and celebrate your progress with every row.
Timeless Celtic Weave Headband – Free Crochet Guide
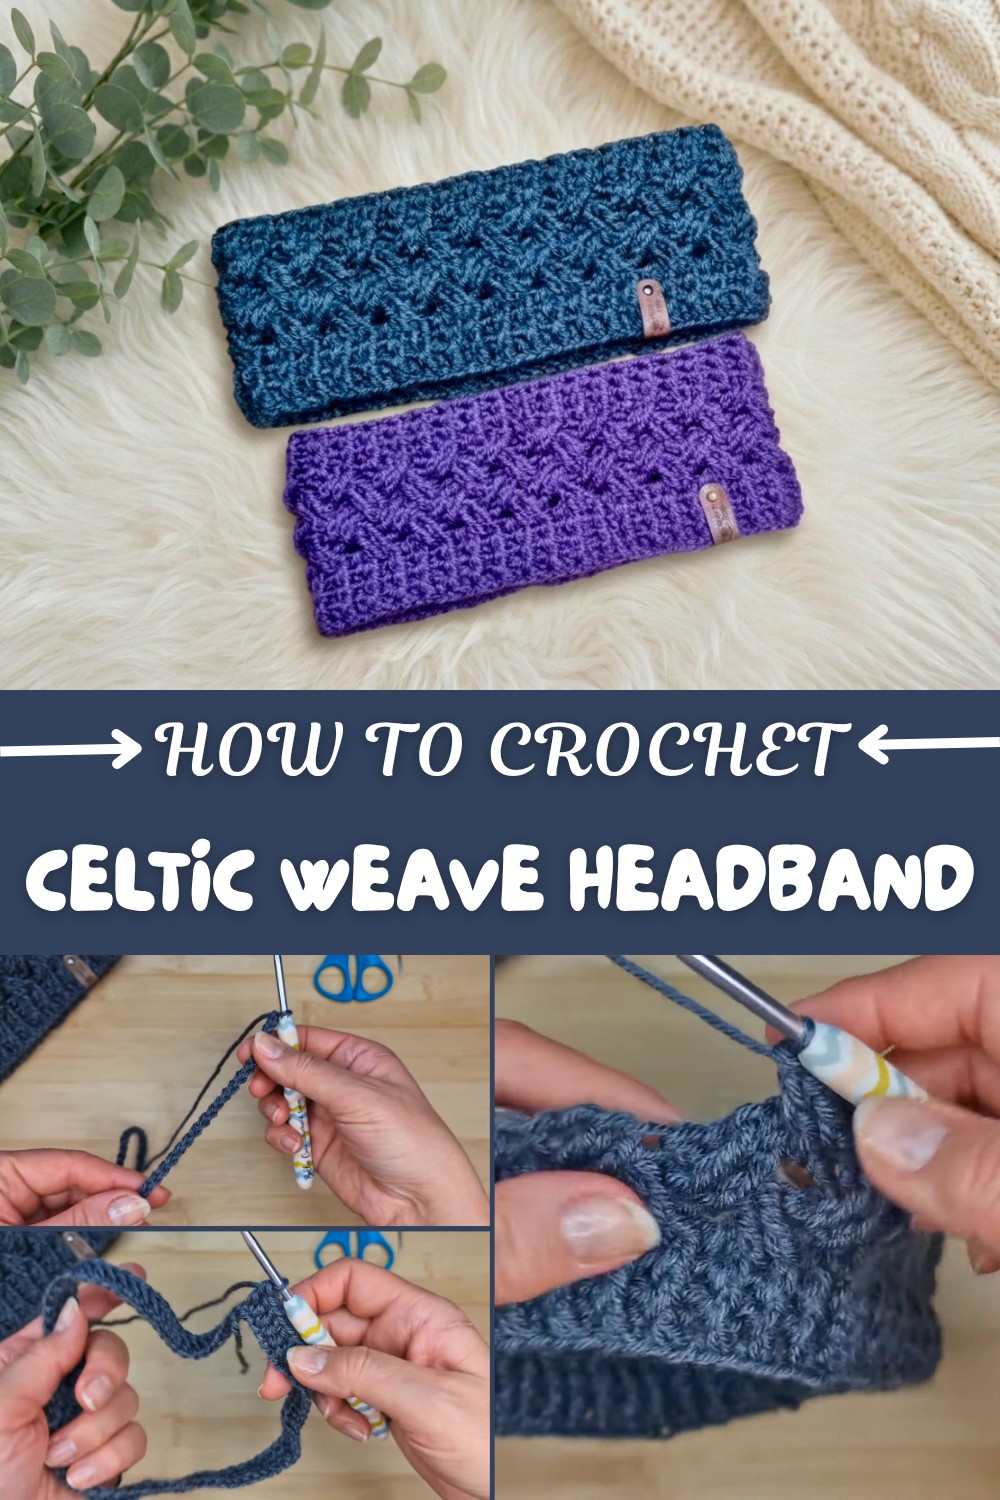
The Celtic weave headband isn’t just a stylish accessory—it’s a testament to your commitment to learning, growing, and creating. Its interlocking, crisscrossed stitches capture a sense of movement, resilience, and artistry, making every completed headband a small triumph. As you work through each front post treble crochet (FPtr)—the special stitch at the heart of this design—watch as the pattern unfolds into a tapestry of elegant, interwoven beauty. The ribbed edging at the base frames your creation and adds an adjustable, comfortable finish, ensuring it will fit snugly and stay in place.
Personalize your headband with your favorite colors, from soft neutrals to bold, energizing hues that boost your mood and make a statement. Whether you’re preparing for a crisp morning walk or aiming to add a pop of texture to your daily outfit, this design perfectly pairs functionality with flair. The adaptable nature of the pattern means you can easily adjust the width and length for gifts or create matching sets for friends and family, spreading inspiration and encouragement with each stitch.
Let this project remind you of your creative capability. With every turn and twist of the Celtic weave, you’re building not just a headband, but confidence and joy. Embrace the process and watch your skills flourish as you bring this beautiful vision to life.
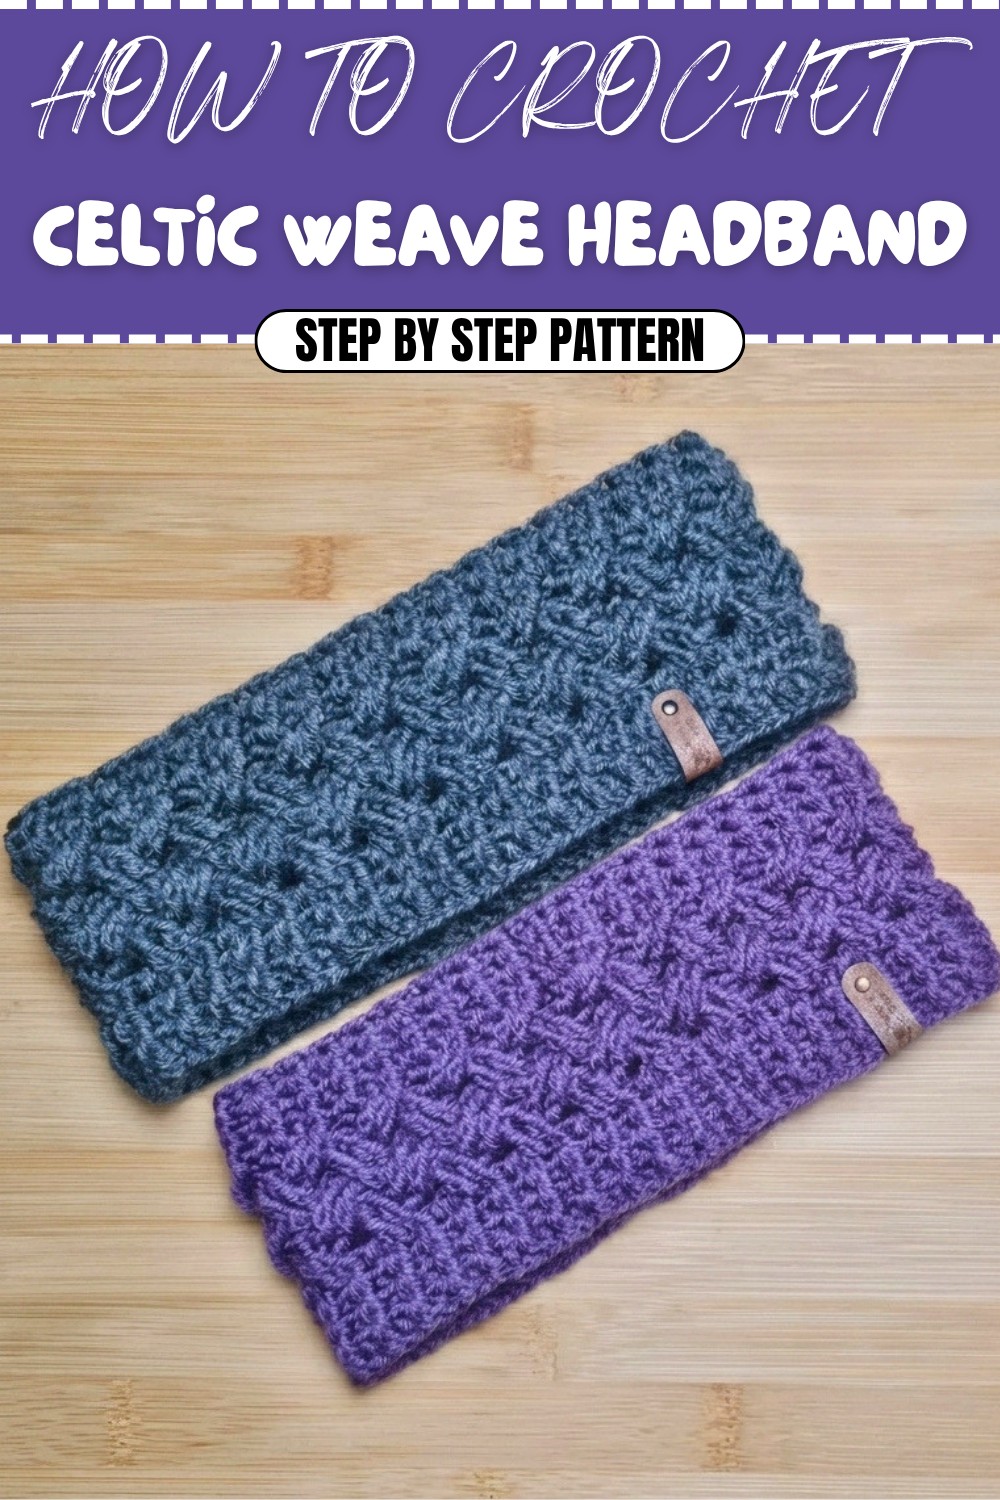
Celtic Weave Headband | Ear Warmer Crochet Pattern
Discover the beauty and warmth of the Celtic weave headband, featuring a richly textured lattice design bordered with ribbed edging. This classic accessory is perfect for keeping your ears cozy while showcasing intricate crochet craftsmanship. The pattern is suitable for intermediate to advanced crocheters and is presented in clear US terminology.
Skill Level
Intermediate–Advanced
Familiarity with front and back post stitches, working in the round, and the treble crochet increases success.
Materials
- Yarn:
- Aran Weight Yarn (Heavy Worsted/4), such as Women’s Institute Soft & Smooth Aran (100% acrylic)
- 1 ball, or approx. 90–120 yards (83–110 m)
- Alternative: DK yarn (requires more chains; adjust accordingly)
- Hook:
- 4.5 mm (US G-7)
- Notions:
- Yarn needle (for weaving ends)
- Scissors
- Optional: stitch marker
Abbreviations
| Abbreviation | Definition |
|---|---|
| ch | chain |
| sl st | slip stitch |
| dc | double crochet |
| fpdc | front post double crochet |
| bpdc | back post double crochet |
| tr | treble crochet |
| fptr | front post treble crochet |
Special Notes
- Pattern is worked in the round. Join each round with a slip stitch unless otherwise indicated.
- The headband’s foundation chain must be a multiple of 8. (Pattern describes a standard size: 80 chains.)
- Adjust length for children or wider adults by increasing/decreasing chains in multiples of 8.
- The Celtic weave is created by crossing front post treble crochets behind and in front of each other.
Finished Size
- Width: Approx. 3–3.5” (8–9 cm)
- Circumference: Approx. 20–21” (51–53 cm)
- Size is easily adjustable.
Gauge
- 80 chains = Approx. 21” before joining
- Row height: 3 rounds of ribbing = approx. 1” (2.5 cm)
Pattern
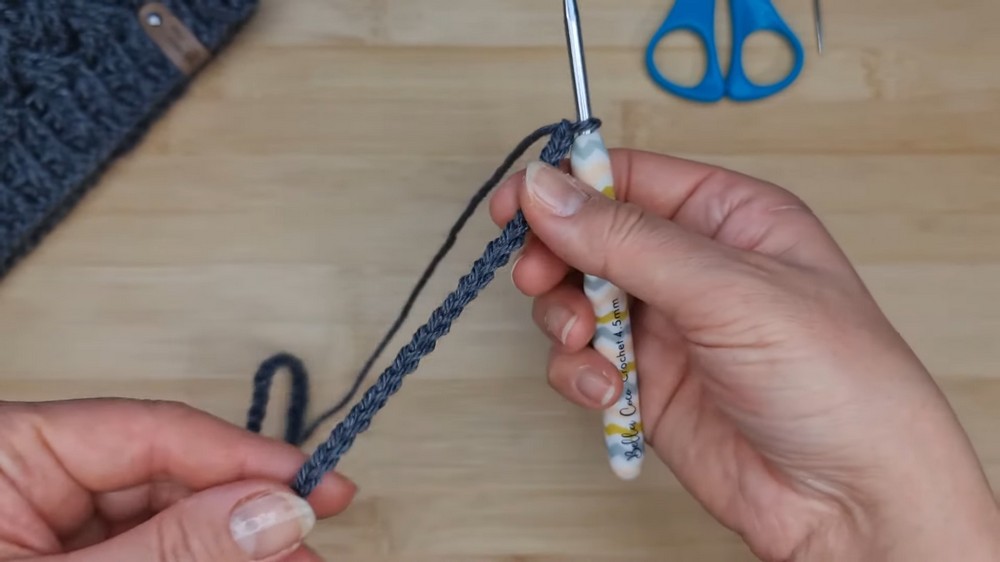
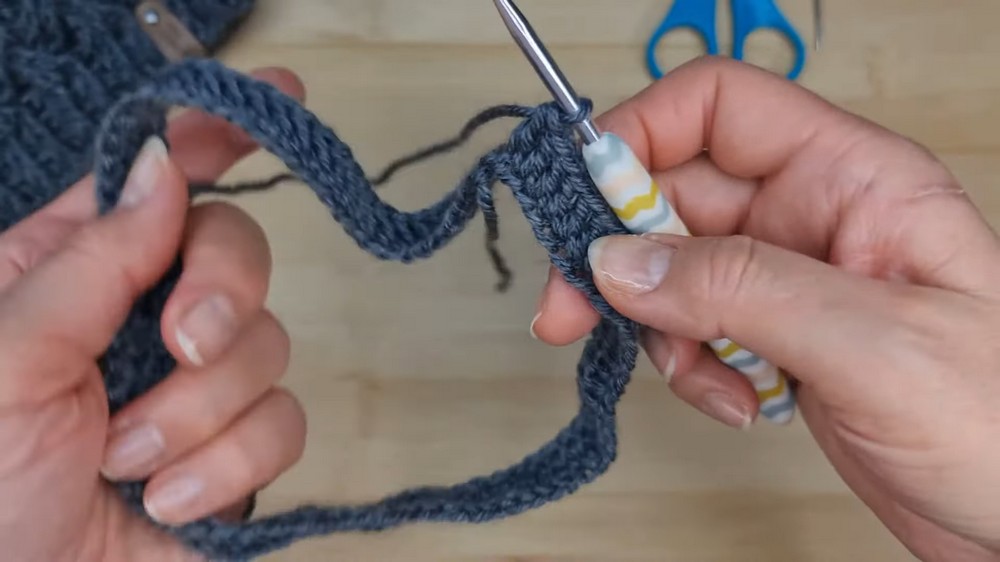
1. Foundation & First Round
Make a foundation chain:
- Ch 80 (or desired length, multiple of 8).
- Join with a sl st in the first ch, being careful not to twist.
Set up round:
- Ch 2 (counts as first dc),
- Dc in each ch around (total: 80 dc).
- Join with sl st to top of first dc (not chain 2).
Make a long chain, join it into a circle, and crochet one round of double crochets. This forms the basic headband ring.
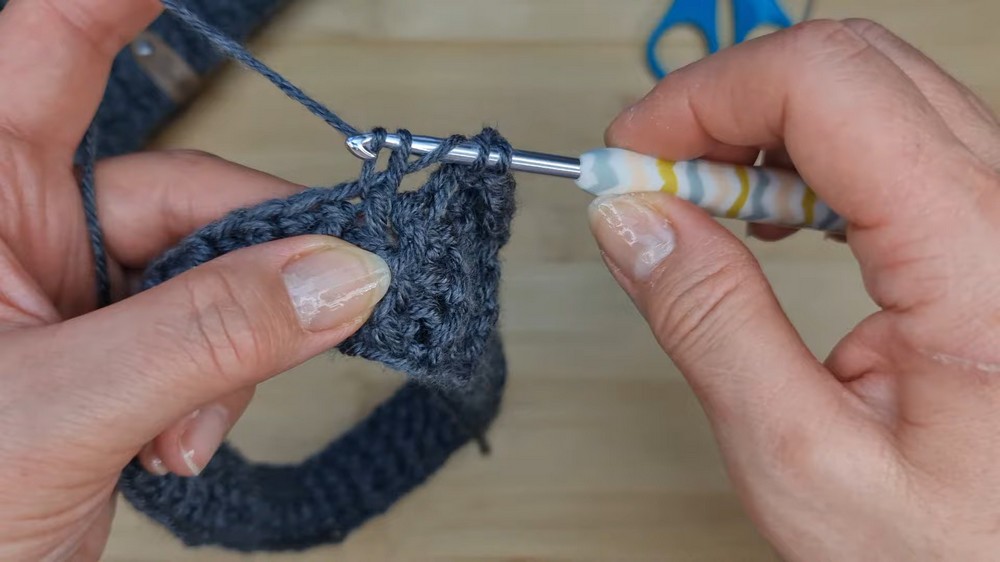
2. Ribbed Border (Rounds 2–4)
For both starting and ending borders:
- Ch 2
- Alternating stitches:
- Front Post Double Crochet (fpdc) in next st (insert hook around post from front to back).
- Back Post Double Crochet (bpdc) in next st (insert hook around post from back to front).
- Repeat fpdc, bpdc around.
- Join with sl st to top of first fpdc.
- Repeat for a total of 3 rounds.
Start the ribbed edge by alternating front and back post double crochets for three full rounds, which builds a stretchy and neat border.
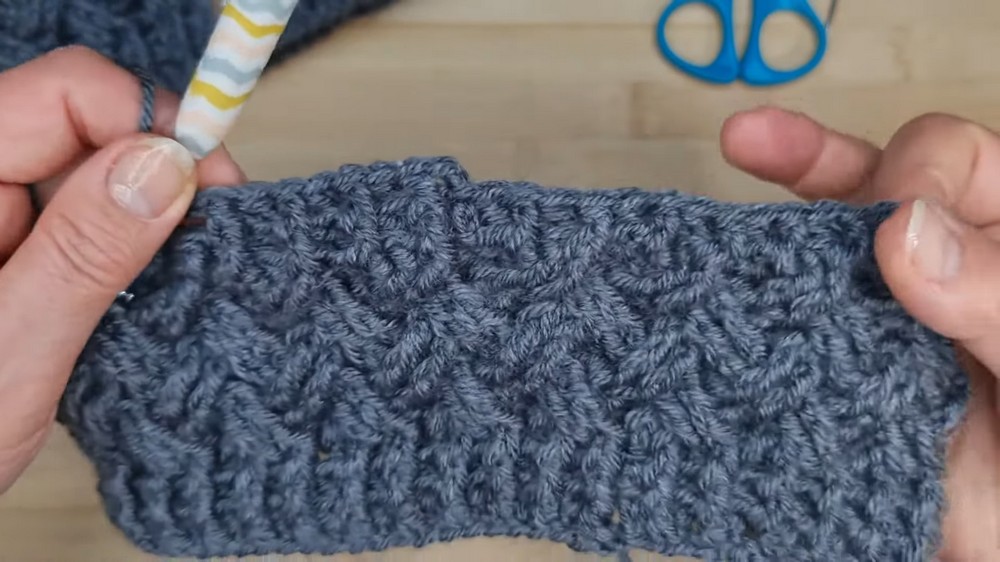
3. Celtic Weave Section (Rounds 5–8)
Celtic Weave is worked over 4 rounds:
Round 1 (First Cross):
- Ch 2
- Repeat the following across:
- Skip next 2 stitches,
- Fptr in next st,
- Fptr in following st,
- Go back and Fptr in each of the 2 skipped sts (insert hook from the front and reach across).
- Continue around.
- On final cross, work the last two skipped stitches as described.
- Join with sl st to top of first fptr.
Round 2 (Cross from Behind):
- Ch 2
- Repeat the following:
- Skip next cluster (4 sts of previous X cross),
- Fptr in the two “hidden” stitches behind the X (from the previous round),
- Work into skipped stitches (front posts from cluster) by Fptr from behind, pulling the stitch through the gap.
- Continue in this crossing manner around.
- Join as above.
Rounds 3 & 4:
- Repeat Round 2, always working into the “hidden” stitches for the next cross, alternating the direction of your crossing.
- Join each round with sl st.
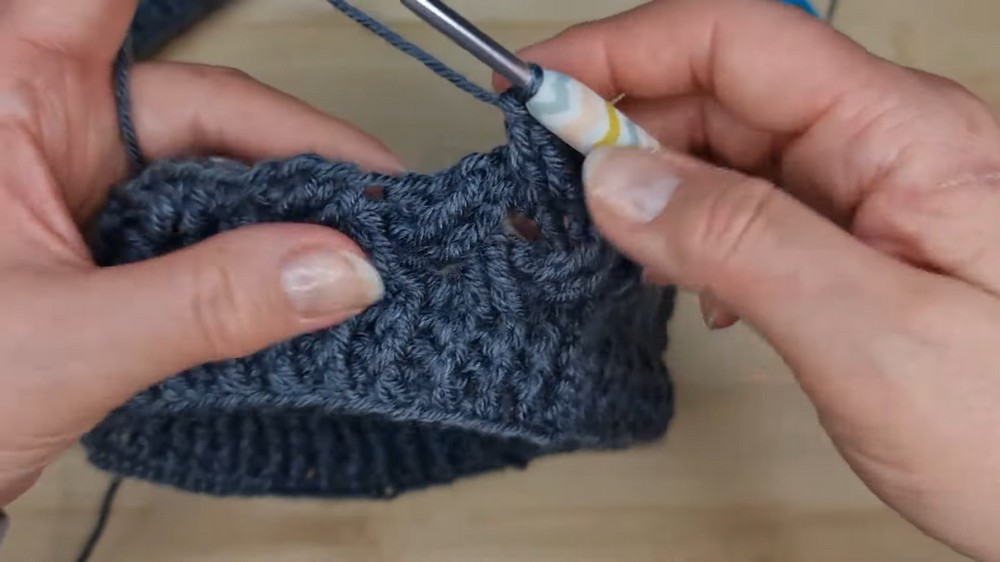
For four rounds, work big crossed front post treble crochets: skip two stitches, work into the next two, then cross back and catch the skipped ones. Alternate from the front and behind to create the lattice pattern.
4. Ribbed Border (Ending Edge: Rounds 9–11)
- Ch 2
- Alternating stitches:
- Fpdc in next st.
- Bpdc in next st.
- Repeat fpdc, bpdc around.
- Join each round with sl st.
- Make 3 rounds total.
Finish the headband with three rounds of alternating front and back post double crochets for the ribbed edge.
5. Finishing
- Fasten off yarn.
- Use an invisible join for a neater finish:
- Cut yarn, pull through last loop.
- Thread needle, sew through top of first fpdc and down through adjacent V, pull snug.
- Weave all ends securely with yarn needle.
- Block gently for tidier stitches if desired.
Cut your yarn and sew the ends in at both the start and end. Use the invisible join method for a professional finish and weave in all tails neatly.
Conclusion
You have now completed your Celtic weave headband/ear warmer. The intersecting treble crochet stitches create the beautiful lattice effect, while ribbed edging gives the band a structured look and offers stretch. Personalize with yarn tags or buttons if desired; experiment with color and width for further variations.
Pattern Corrections & Tips
- Ensure your foundation chain is not twisted before joining.
- The Celtic weave section can be tricky: work slowly, keep track of skipped stitches, and use a stitch marker if needed.
- Always skip clusters as described for each crossing round; this keeps the weave consistent.
- For children or wider bands, add/subtract in multiples of 8 to your starting chain.
- Block the headband after finishing for a more refined texture and shape.
- If you struggle finding “hidden” stitches for crosses, fold your work to expose them.