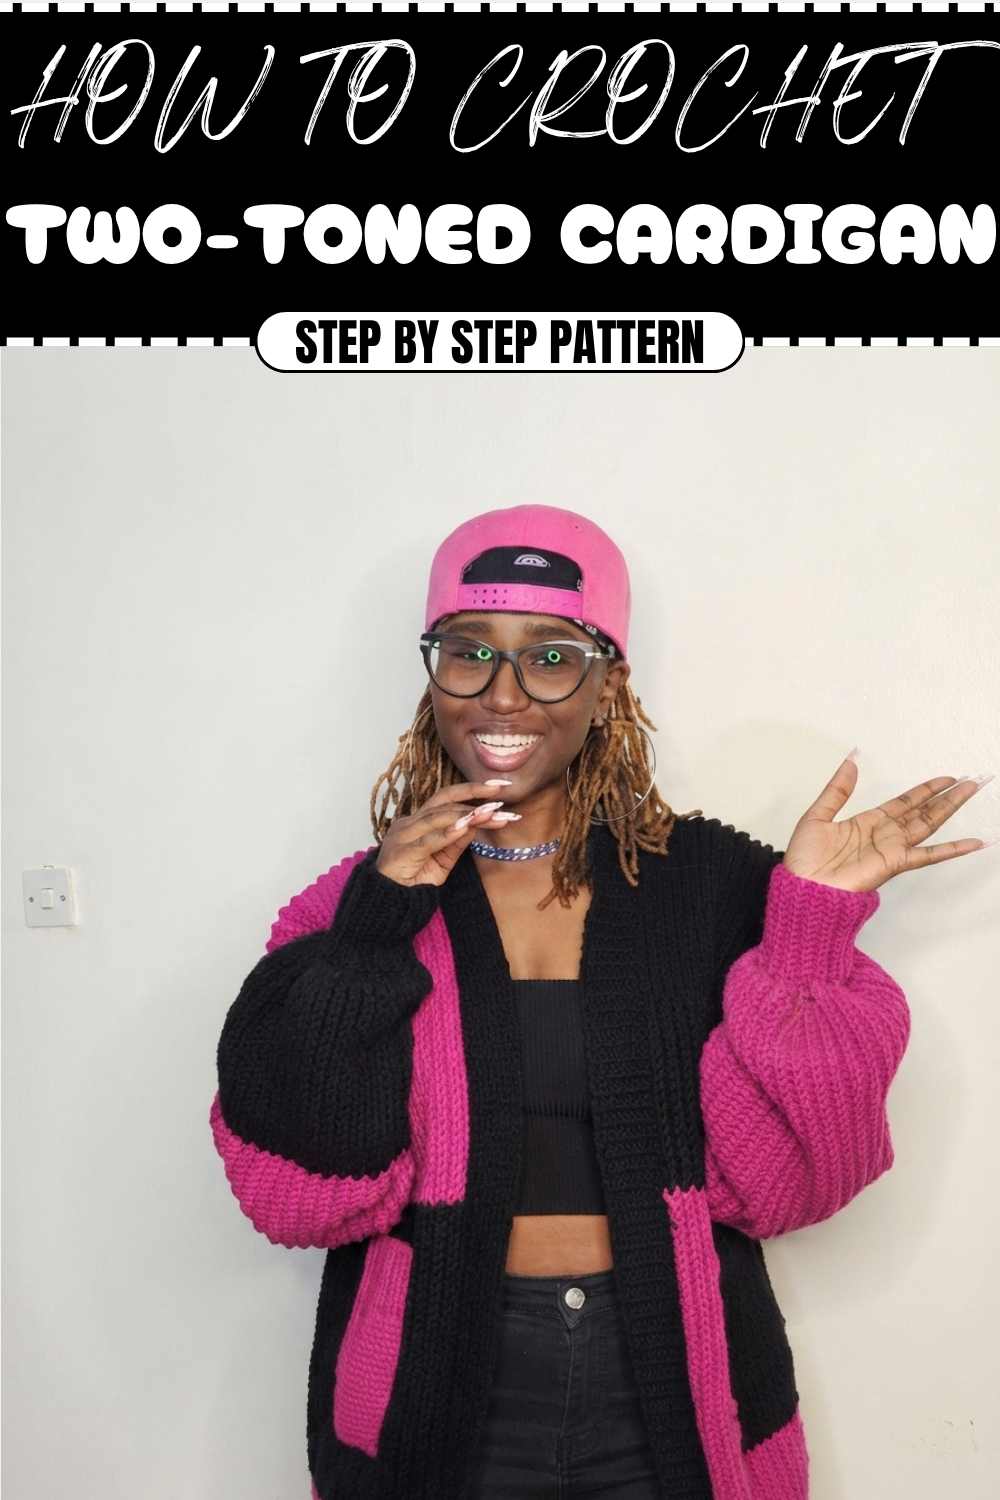
Enjoy Crochet Two-toned Cardigan Pattern That Stands Out in Style
Transform your wardrobe with the Crochet Two-Toned Cardigan Pattern, a vibrant and cozy design that brings color, warmth, and charm to any outfit.
Looking for a cozy yet stylish layer that instantly upgrades your outfit? This cardigan is the perfect choice. Its striking two-toned design adds depth and charm, while the soft crochet texture keeps it lightweight, warm, and comfortable. The Crochet Two-toned Cardigan Pattern is fully customizable, letting you play with colors, yarn types, and sleeve lengths to match your personal style or seasonal trends.
Enhance Crochet Two-toned Cardigan Pattern With Cozy Charm
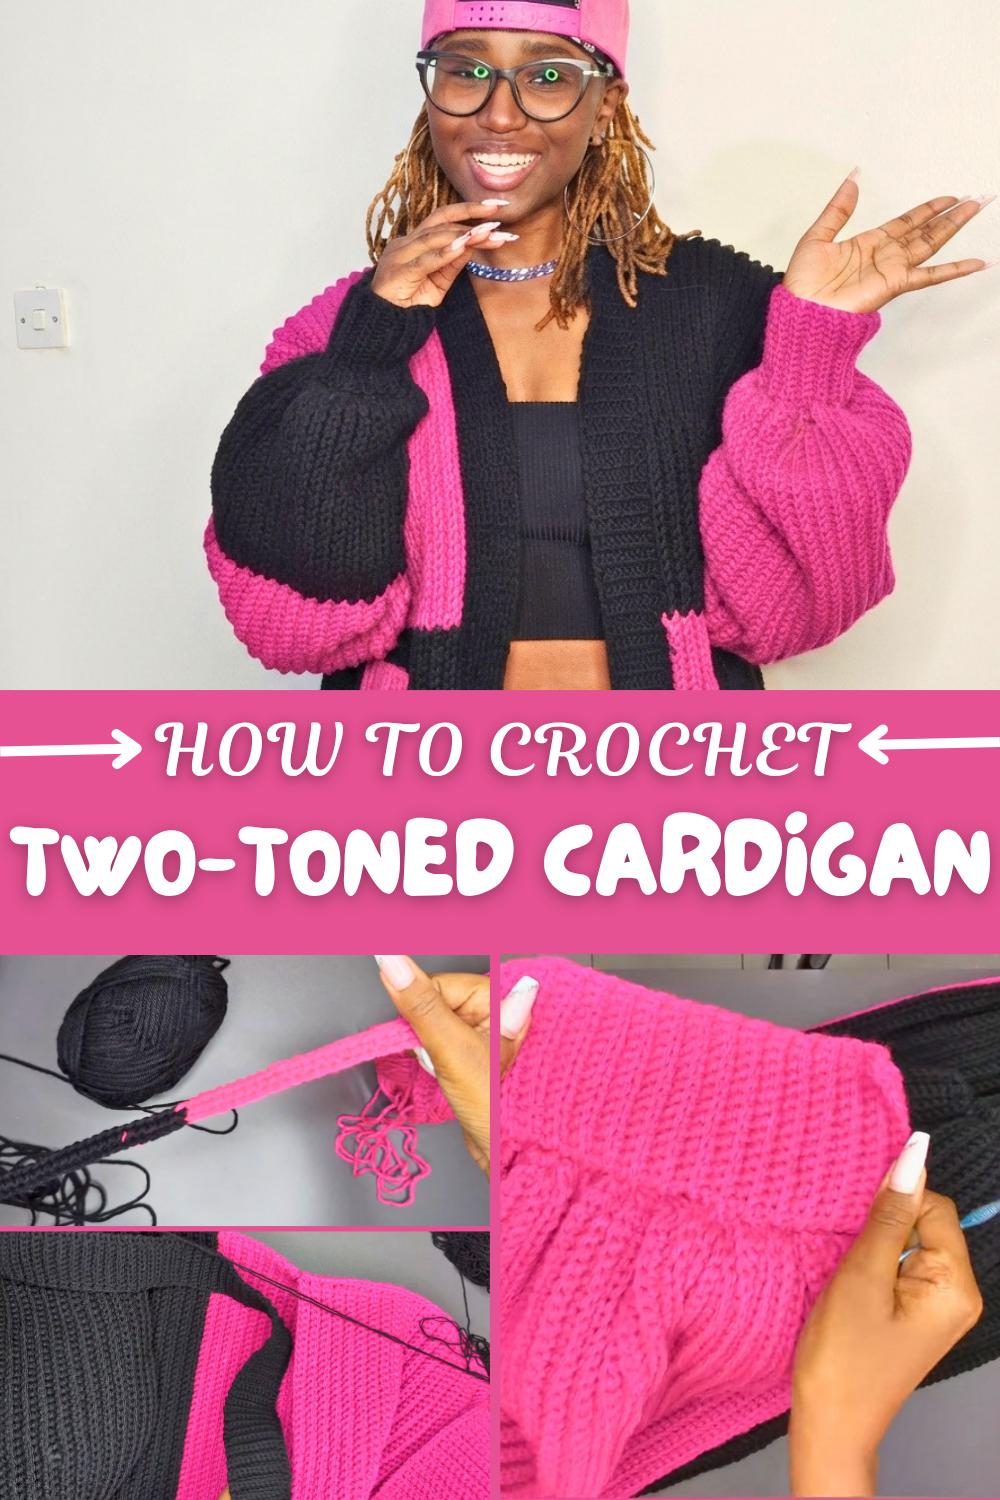
It works beautifully for casual outings, evening strolls, weekend coffee dates, or even as a chic indoor layer. Beyond its visual appeal, the pattern is beginner-friendly, offering a satisfying crocheting experience while producing a functional wardrobe piece. Combining comfort, elegance, and versatility, this cardigan is not just an accessory it’s a creative statement that blends fashion with practicality, making it a must-have for any wardrobe.
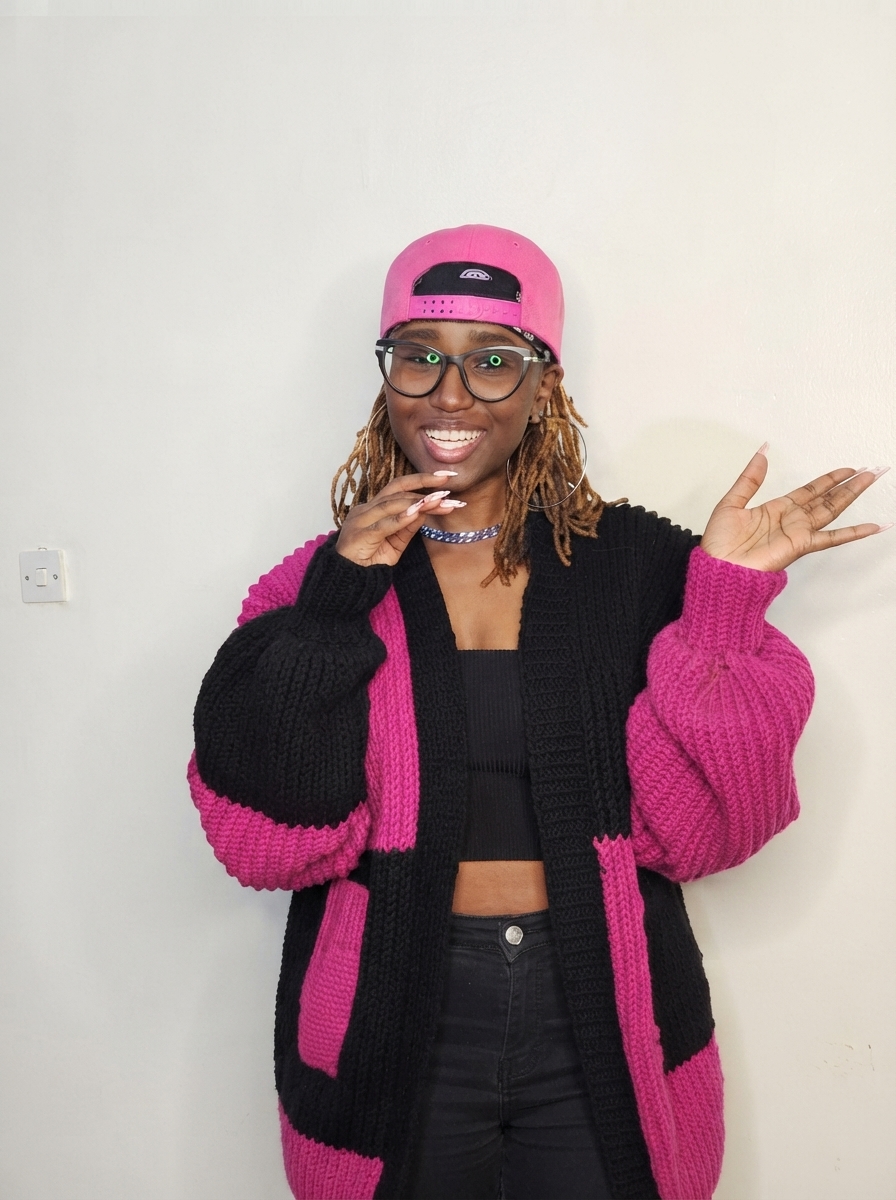
Crochet Ribbed Cardigan Pattern
Materials Needed
- Yarn: Chunky yarn (e.g., Butterfly Chunky Yarn, 4-ply). You’ll need 20 yarn balls total, split evenly if using 2 colors (10 balls of black and 10 balls of pink).
- Crochet Hooks:
- 4.5 mm hook: For the main cardigan body.
- 4.0 mm hook: For ribbing and cuffs (optional but provides more definition).
- Stitch Markers: To identify key points during assembly.
- Scissors: For cutting yarn ends.
- Tapestry Needle: For sewing ends neatly.
Step-by-Step Instructions
Step 1: Create the Foundation Chain
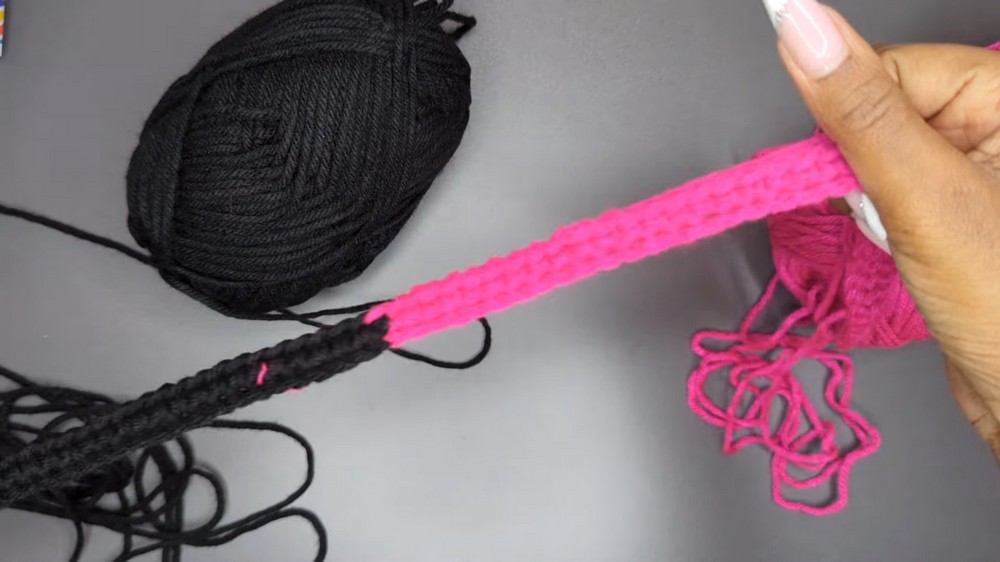
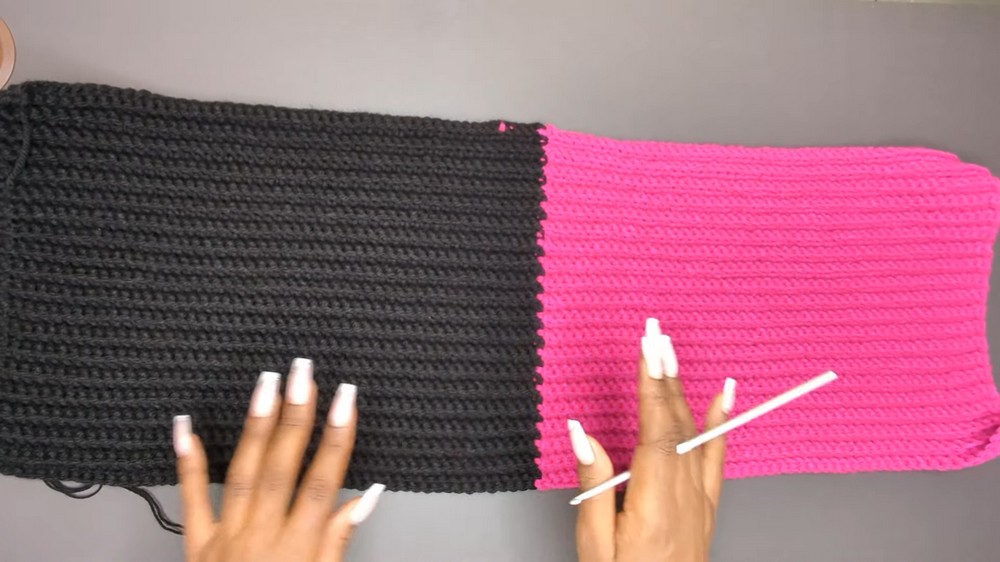
- Begin with a slip knot and create 50 chains using one yarn color (e.g., black).
- Attach the second yarn color (e.g., pink) at the final chain by pulling it through the last black loop and tightening it.
- Crochet 50 chains with the pink yarn, ensuring your foundation chain totals 100 chains.
Step 2: Work the First Row (Single Crochet)
- Begin with single crochets across the foundation chain:
- Skip the first chain and insert your crochet hook into the second chain.
- Yarn over and pull through, leaving two loops on the hook.
- Yarn over again and pull through both loops.
- Continue single crochets across all chains.
- To switch colors, complete the last stitch of the row with the new yarn color and sew in the loose tail end for neatness.
Step 3: Create the Ribbing Pattern
- At the end of the first row, chain two and turn your work.
- Start the ribbing stitch:
- On the first and last stitch of each row, work a normal single crochet into both loops for neat edges.
- For all other stitches, work single crochet back loop only:
- Insert your hook into the loop farthest from you (back loop) and complete a single crochet as usual.
- Alternate color changes between black and pink when finishing a section, ensuring seamless transitions.
- Repeat the ribbing stitch until you complete enough rows to fit your back panel.
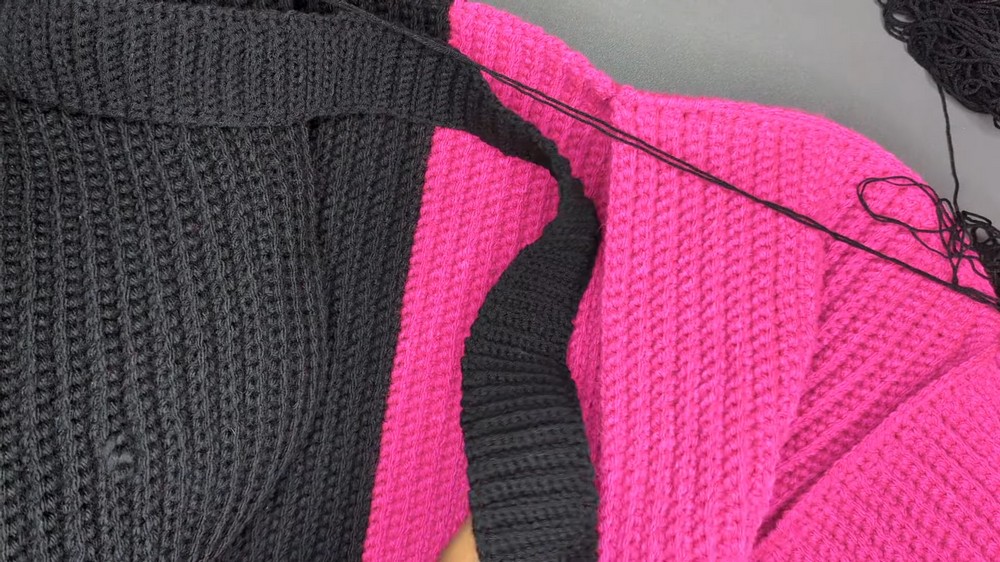
Step 4: Make the Front Panels
- Repeat the same process as the back panel, but make two smaller front panel rectangles.
- Add ribbing to the bottom edges of the panels:
- Use a smaller crochet hook for defined ribbing.
- Attach yarn and crochet double crochets along the edge.
- For the second row, alternate front post double crochets and back post double crochets to create texture.
- Repeat this process for both front panels.
Step 5: Create the Sleeves
- Crochet rectangles for sleeves using the ribbing stitch in the same way as the body panels.
- Customize sleeve colors (e.g., 75% black and 25% pink) to your preference.
- Fold the rectangle and seam the edges to form the sleeve.
Add Ribbing for Cuffs:
- Begin with a slip knot and create 15 chains (or adjust based on wrist size).
- Work single crochets for the first row.
- Chain two and continue back loop single crochets to form a ribbing texture.
- Once it's wide enough to fit your wrist, sew the cuff to the sleeve edge.
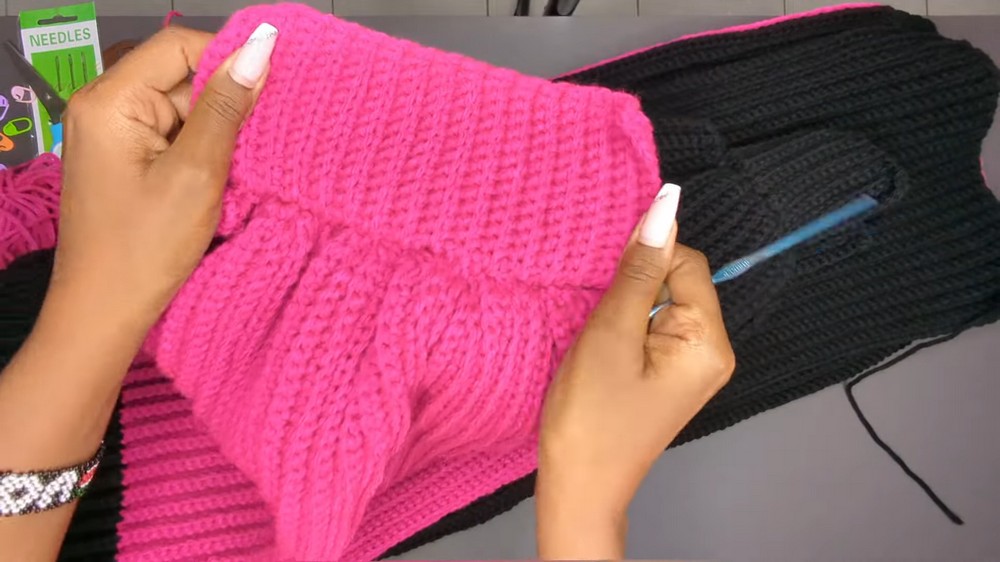
Step 6: Assemble the Cardigan
- Attach Front Panels to Back Panel:
- Place the wrong side of the fabric facing outward.
- Join panels along the edges using single crochets or a darning needle. Work from the bottom edge up to the top shoulders where the front panels end.
- Join the Sleeves:
- Fold the sleeves and use a stitch marker to identify the center.
- Attach the sleeve center to the shoulder seam of the cardigan and secure.
- Use single crochets to seam the sleeves to the body panel.
- Add Ribbing to Cardigan Opening:
- Attach the ribbing strip (created separately) around the bottom edge, front panels, and neck area of the cardigan.
- Use single crochets to secure the ribbing to the cardigan edges.
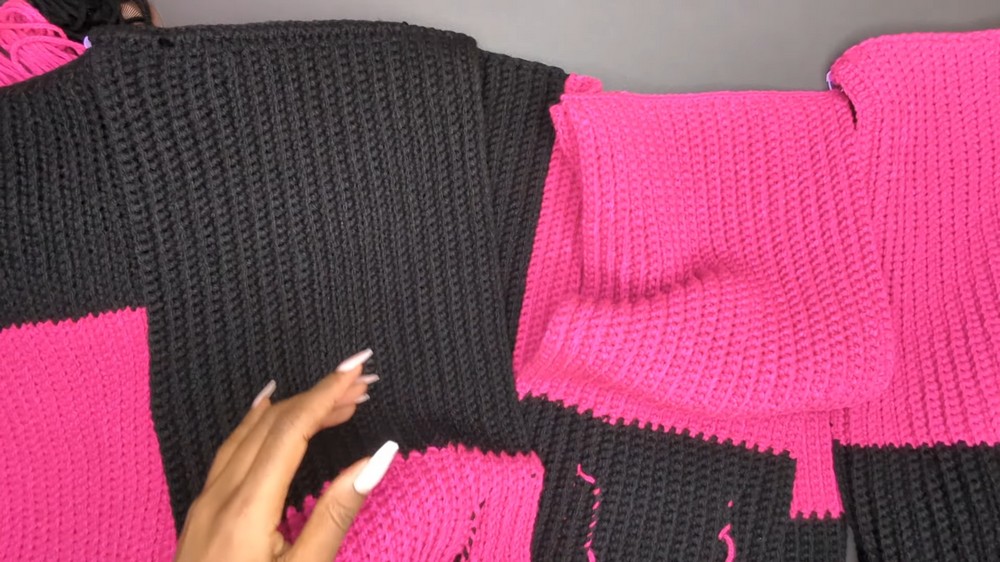
Step 7: Final Touches
- Add Pockets:
- Crochet squares using single crochets and attach them to the front panels (optional).
- Weave in Loose Ends:
- Use a tapestry needle to weave in all loose yarn ends for a clean finish.
Special Features
- Simple Ribbing Effect: Achieved by using single crochet back loop only stitches for consistent texture.
- Color Blocking: Alternating colors create a striking and modern design.
- Customizable Fit: Adjust panel dimensions based on your body measurements.
- Comfort: Using chunky yarn ensures warmth and softness while maintaining breathability.
Level of Difficulty
The project is designed for absolute beginners and uses only single crochet techniques. If you’re familiar with single crochet, chain stitches, and slip knots, this cardigan will be easy to follow. However, patience is required for assembly and ensuring neat ribbing work.
Tutor’s Suggestions
- Beginner Focus: Stick to the tutorial’s simple instructions for single crochet back loop stitching to keep the project manageable.
- Consistent Color Switching: Transition colors carefully to avoid messy results.
- Measure Frequently: Regularly check your panels’ sizing to avoid mismatched dimensions during assembly.
Uses of the Crochet Cardigan
- Fashionable Statement Piece: A handmade cardigan for casual or semi-formal outfits.
- Seasonal Wear: Perfect for fall, winter, or breezy spring days.
- Gift Item: Personalize colors for a thoughtful gift.
Pro Tip
Block your panels before assembling the cardigan. Blocking helps even out tension and ensures your fabric is smooth and professional-looking.
Conclusion
This crochet ribbed cardigan tutorial is a perfect introduction to wearable crochet projects. Its simple stitch pattern, easy assembly process, and stunning ribbing effect make it a standout addition to any wardrobe. Whether you’re an absolute beginner or an intermediate crocheter, this cardigan is both rewarding and practical. Follow this guide carefully, stay consistent with your stitching, and enjoy every moment of crafting your very own handmade cardigan.