
Free Crochet Daisy Granny Bucket Hat Pattern for Your Next Adventure
Create a colorful daisy granny bucket hat using this free crochet pattern that’s simple, exciting, and great for adding Glamour to your outfits.
On warm days when the sun shines bright, what could be better than a bucket hat that blends practicality with charm? This daisy granny bucket hat is an ideal companion for those who love playful accessories with an artistic touch. Shared by Focus x Luisa on YouTube, this project provides a delightful way to turn everyday yarn into something cheerful, colorful, and full of personality. With Luisa’s easy to follow guidance, anyone can transform a few colorful yarns into a gorgeous hat that’s sure to catch attention.
Free Crochet Daisy Granny Bucket Hat Pattern You'll Be Excited to Make
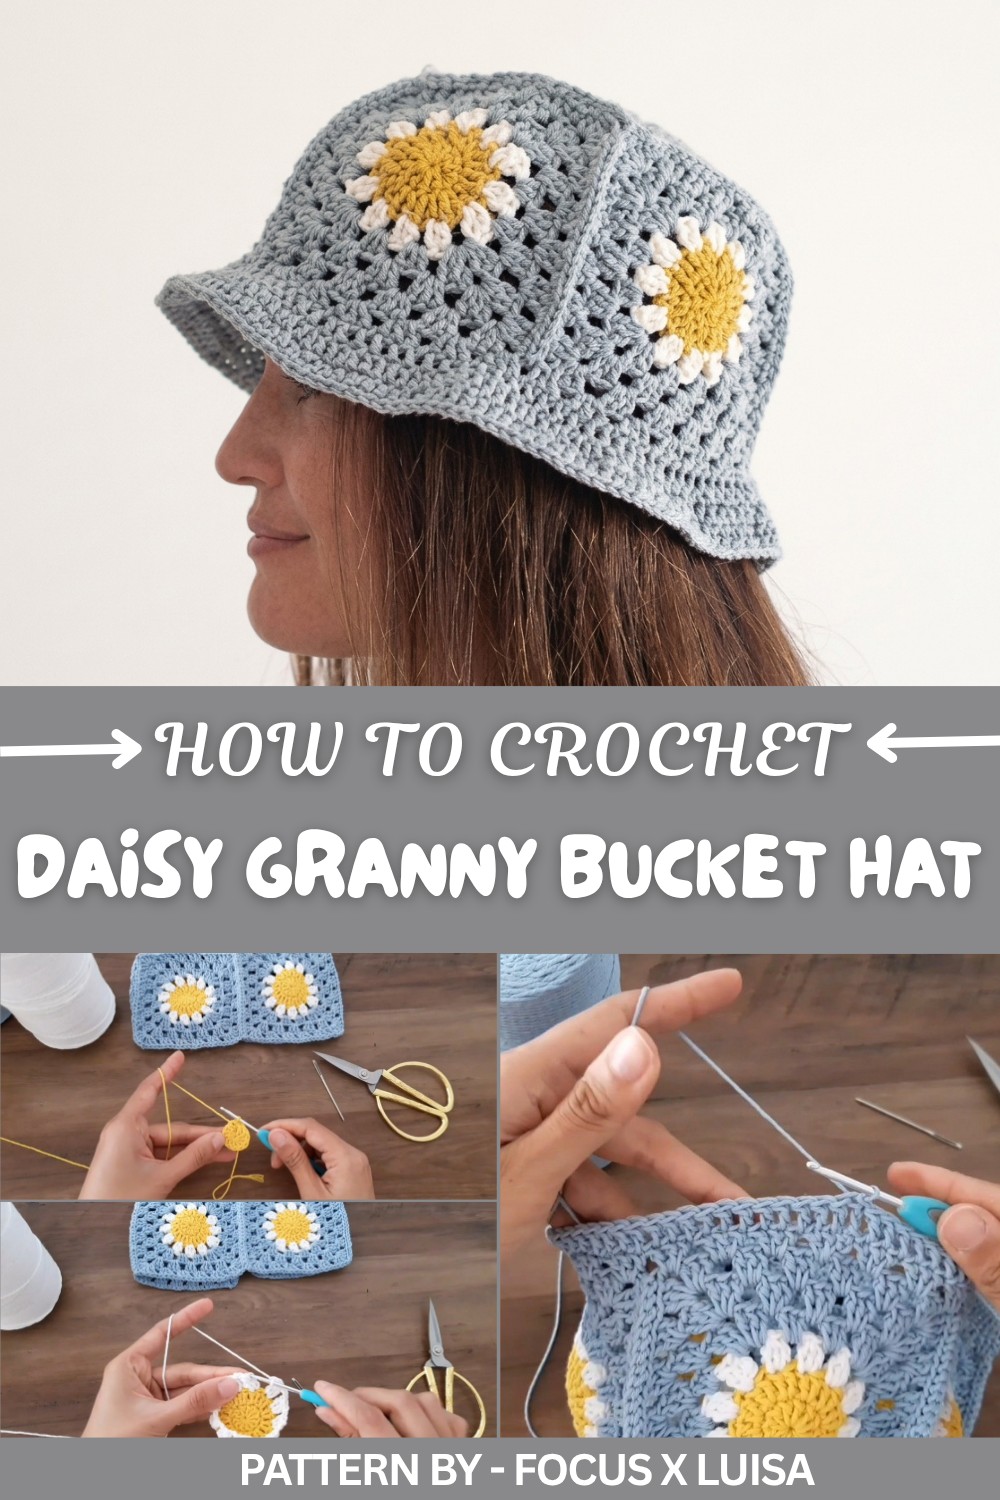
The standout feature of this hat is its daisy inspired design. The daisy motifs, framed by soft granny square borders, add a vintage flair, while the pentagon shaped crown finish gives a slight modern twist. The curved brim not only enhances its look but also adds practicality, providing some shade on sunny days. Beyond being stylish, it’s a functional accessory for casual events, outdoor adventures, or even as a thoughtful handmade gift.
In terms of the process, the hat is built in sections, starting with floral motifs. Techniques such as magic rings, double crochets, and cluster stitching come together seamlessly to form individual daisies, which are later enhanced with a granny square frame. These are joined to create the hat’s structure, topped with a pentagon that allows for a snug yet flexible fit. The brim is added with thoughtfully placed stitches to flare just enough for a beautiful finish.
This project isn’t just about making a hat, it’s about stitching warmth and joy into every piece of yarn. Whether you’re a beginner or an expert, this hat is a charming addition to your collection.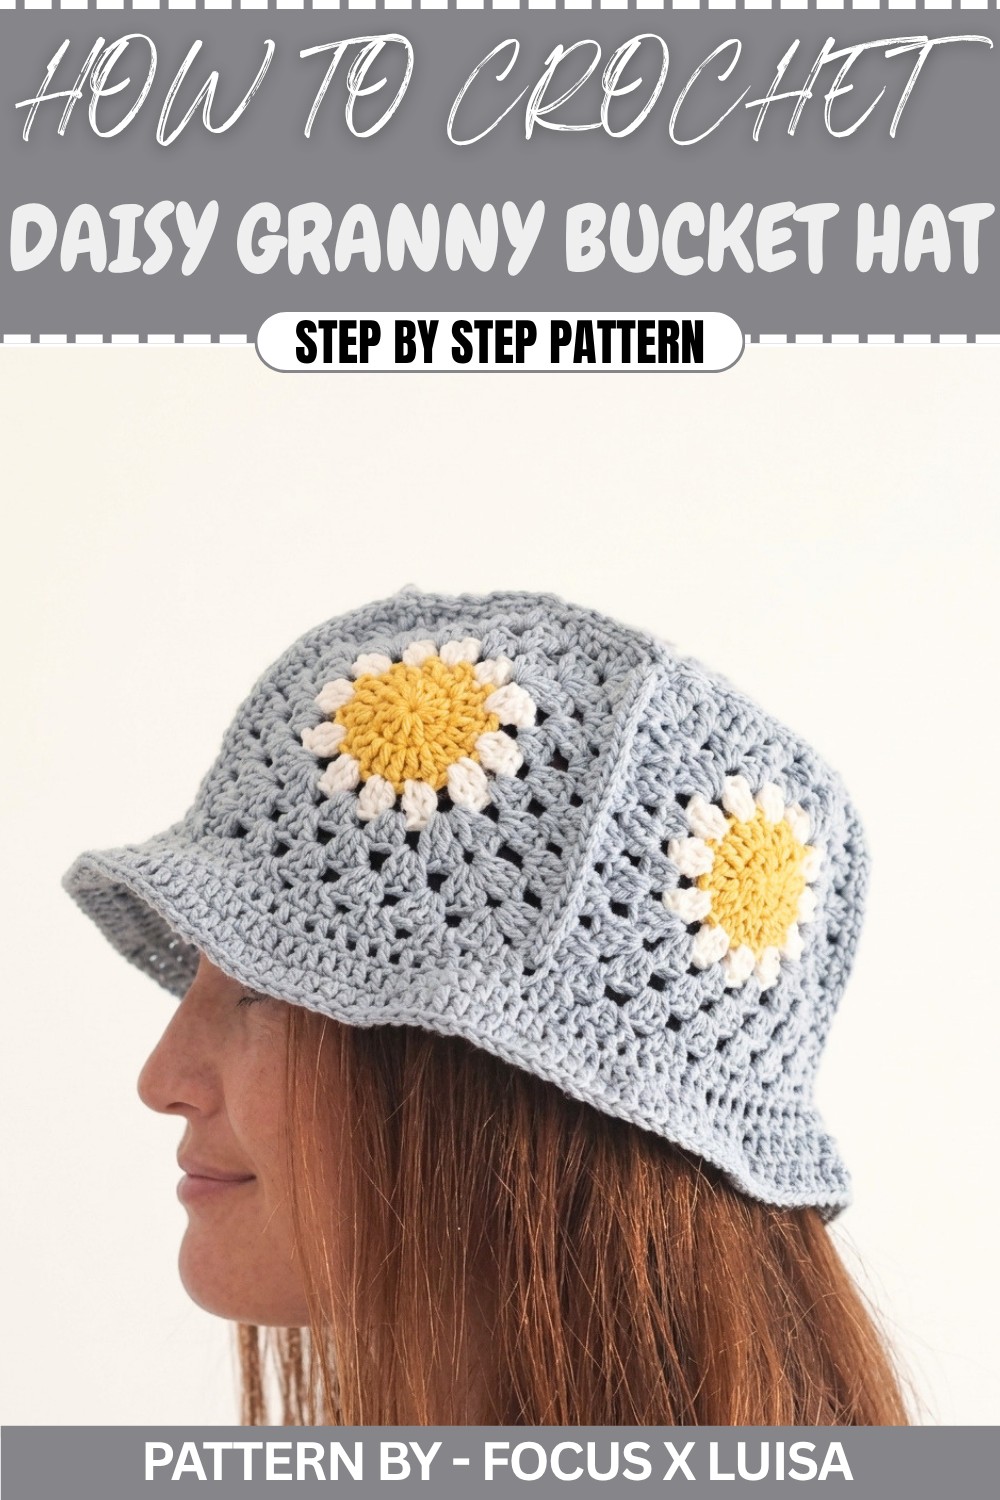
Crochet Daisy Bucket Hat Pattern
This delightful Daisy Bucket Hat features intricate daisies and granny squares, all beautifully assembled into a chic hat perfect for adults or children. Using vibrant threads, this design offers a touch of nature inspired flair.
Quick Overview of Pattern
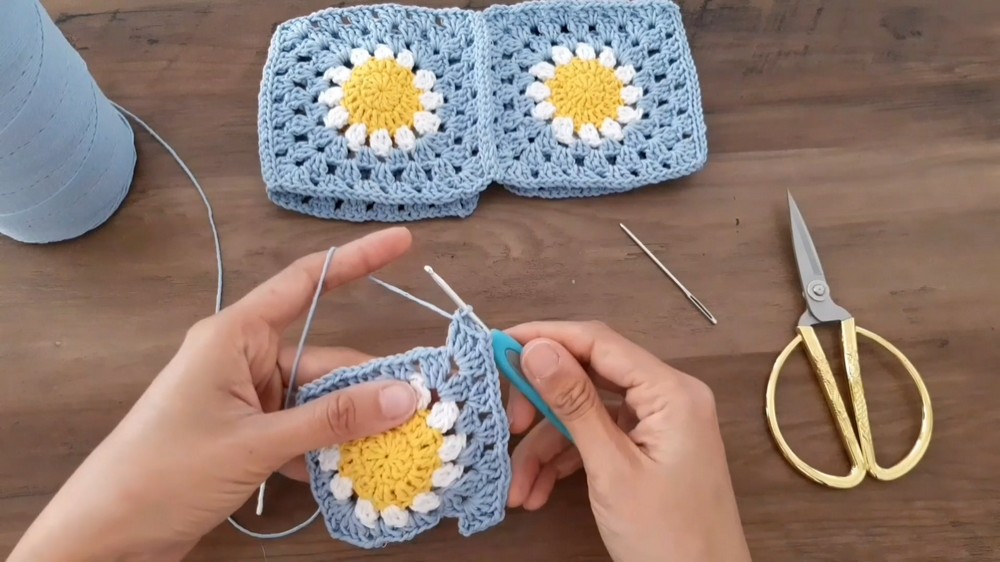
- Crochet 5 daisy granny squares for the hat sides.
- Create a pentagon granny with daisy petals for the top.
- Assemble all granny squares using slip stitches.
- Crochet the brim in rounds to finish the bucket hat.
Notes
- Ensure accurate stitch counts to maintain symmetry while joining grannies.
- Work tightly to avoid gaps in the daisies and grannies.
- Adjust sizing by adding/removing granny rows or brim rows for children or adults.
Skill Level
Intermediate – Combines techniques such as magic rings, granny squares, slip stitches, increases, and working in spirals.
Materials
- Yarn: 3 threads in contrasting colors (yellow, white, pastel blue for this tutorial). Choose colors for the daisies and brim.
- Crochet Hook: 3mm.
- Wool Needle: For weaving in ends.
- Scissors.
Measurements / Sizing
- Adult Size: Approximately 22–23 inches circumference.
- Child Size: Reduce rows on grannies and pentagons accordingly.
Gauge
- Gauge is not critical for this pattern, but adjust hook size or stitches based on desired hat size.
Stitch Abbreviations
- Ch: Chain
- Sl St: Slip Stitch
- SC: Single Crochet
- HDC: Half Double Crochet
- DC: Double Crochet
Special Stitches
- Magic Ring: Create a loop by wrapping yarn around fingers. Insert hook into the loop, yarn over, and pull through, forming the circle to work into.
- Double Crochet: Yarn over, insert hook into stitch, yarn over, pull through (3 loops on hook), yarn over, pull through first 2 loops, yarn over, pull through final 2 loops.
- Half Double Crochet: Yarn over, insert hook, yarn over, pull through (3 loops on hook), yarn over, pull through all loops.
The Crochet Pattern
Step 1: Daisy Center
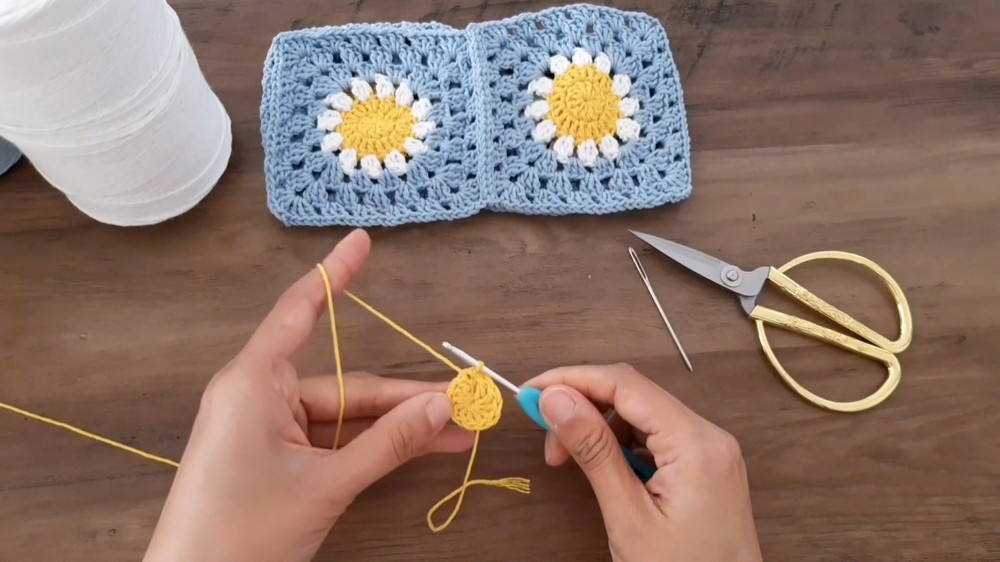
- Begin with yellow thread: Create a magic ring.
- Work 3 chains as the first DC.
- Crochet 11 DCs inside the magic ring for a total of 12 stitches.
- Pull the loose yarn to tighten the ring completely.
- Close the circle with a Sl St in the 3rd chain of the initial Ch 3.
Step 2: Daisy Petals
- Switch to white yarn for petals.
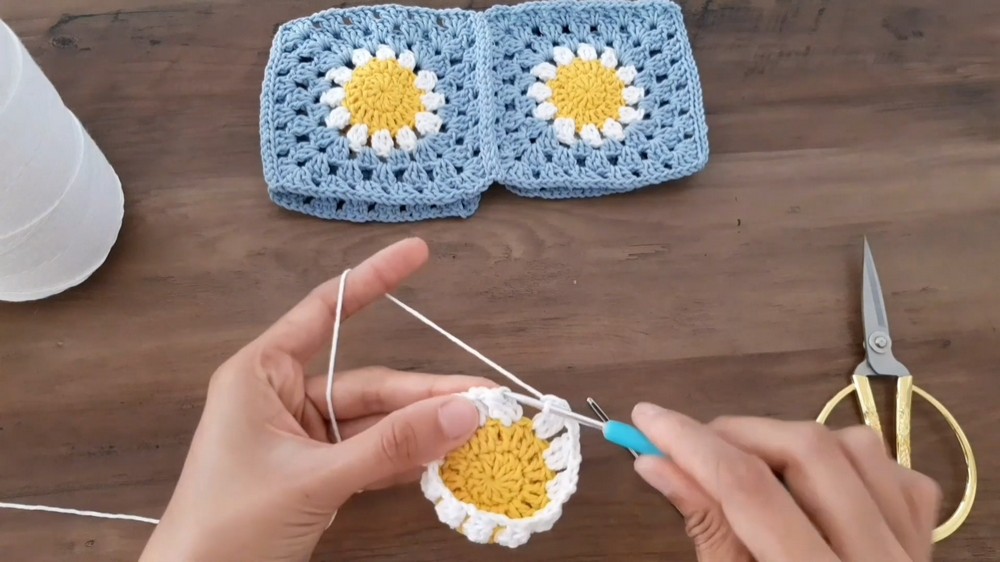
- Insert your hook into any stitch of the yellow center and pull up a loop.
- Ch 3.
- Into the same stitch:
- Work 3 half DC stitches, stopping halfway through each stitch (leave loops on hook).
- Yarn over and pull through all loops on the hook, forming the petal.
- Make 2 chains to separate petals. Skip 1 stitch from the center and crochet the next petal in the following stitch.
- Continue this pattern (petal + 2 chains) until you have 12 petals.
- Close with a Sl St in the stitch following the initial Ch-3.
Step 3: Granny Squares
- Switch to pastel blue yarn.
- Insert hook into any of the Ch 2 gaps between petals to begin shaping the granny.
- Ch 3 (counts as 1 DC), then work 2 DCs into the same gap.
- Ch 2, and work 3 DCs into the same gap for the first corner. This forms the initial side of the granny square.
- In the next Ch 2 gap, work 3 HDC, then Ch 1 as a spacer.
- In the next Ch 2 gap, work another 3 HDC, followed by Ch 1.
- In the next Ch 2 gap, make another corner by working: 3 DCs, Ch 2, 3 DCs.
- Repeat this sequence (2 side groups of HDC stitches, 1 corner with DCs) until you complete the square.
- Join back to the first corner with a Sl St.
- Crochet 3 rows for adult size, following the same corner and side stitching pattern. Only 2 rows are required for children’s sizes.
Step 4: Pentagon Granny
- Create another daisy center using yellow yarn (12 DCs in magic ring).
- Add white petals using the same method as before, but now create 15 petals (use every stitch of the yellow center evenly).
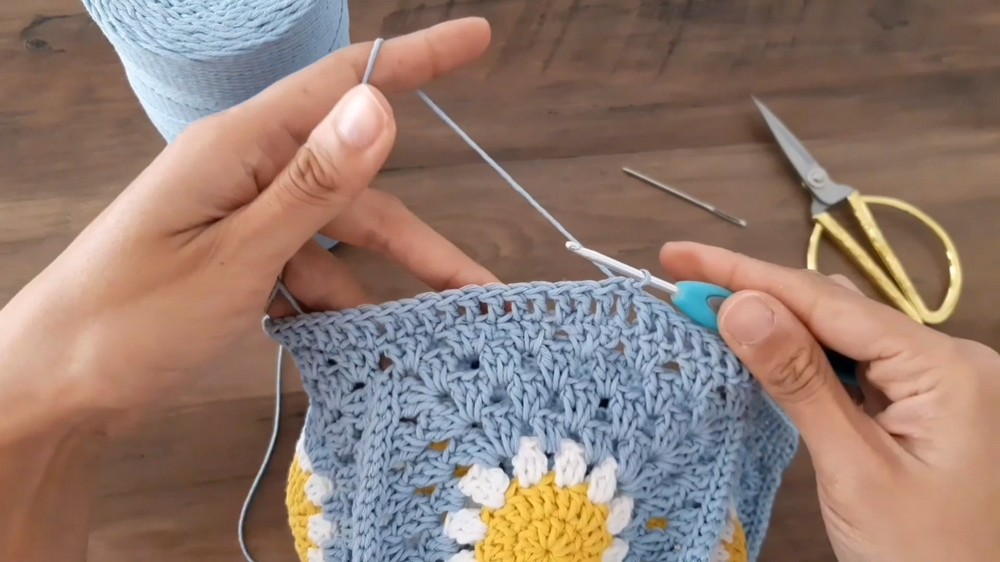
- Switch to pastel blue. Instead of forming a square, work into the Ch 2 gaps to make a pentagon:
- Each corner: 3 DCs, Ch 2, 3 DCs.
- Sides: 3 HDCs, Ch 1.
- Continue working for 3 rows per pentagon for adult size. Only 2 rows are required for youth sizes.
Step 5: Assembly
Joining Granny Squares
- Lay out your 5 granny squares and pentagon.
- Use slip stitches to join granny squares along edges. Align each corner with precision as you stitch.
- Once joined into a circular shape, attach the pentagon to the top by joining sides similarly with Sl St.
Step 6: Brim
Row 1:
- Insert yarn into any remaining Ch 2 gap of the hat’s base.
- Ch 3 to form the first DC.
- Work 3 DCs into each chain gap, moving continuously around the circular edge.
- Close the row with a Sl St in the 3rd chain of the initial Ch 3.
Row 2:
- Work 1 DC into every stitch around the brim, without any chain spacers.
- Close the row with a Sl St.
Row 3:
- Begin increasing:
- Work 2 DCs into the first stitch, followed by 1 DC in the next stitch.
- Alternate [increase, 1 DC] all around.
- Close the row with a Sl St.
Row 4:
- Work simple DCs into every stitch without additional increases.
- Close and fasten off with a tight Sl St, then weave in the ends.
Assembly and Finished Size
- Adult Size: 22–23 inches circumference with a sturdy brim.
- Youth Size: Reduced rows for both grannies and brim make for a snug fit.

Conclusion
Congratulations on completing your Daisy Bucket Hat. This charming piece is perfect for sunny days, gifting, or adding a playful touch to any outfit.