
Free Crochet Small Bag Pattern to Take on Your Vacation
Kick off a sweet crochet adventure with this free small bag pattern, featuring easy to follow steps that guide you in creating a charming bag perfect gift giving.
On a quiet afternoon, I decided to use some leftover yarn to make something small yet useful. That’s when the idea of a crochet bag popped into my mind, a lightweight and compact piece that’s perfect for carrying around little essentials. Whether you need a makeup pouch, a small organizer for your stationery, or even a cute bag for tiny treasures, this project fits the bill perfectly.
Pattern By Amena Crochet Bags
The main stitch used for this project is the half double crochet worked in the back loop only. It’s easy to learn and creates a neat and textured surface that looks beautiful and feels sturdy. Along with that, you’ll be using chains and single crochet stitches, making it beginner friendly and fun for all skill levels. Plus, the step by step process helps build concentration and patience, making it a wonderful activity for anyone, from school kids to adults.
Free Crochet Small Bag Pattern That Looks So Stylish

This bag is not just limited to one use, With a little adjustment, you can turn the same process into a pencil pouch, coin purse, or even small accessory bags. Add decorative buttons or zippers to make it more functional and stylish. You can also experiment with colors to match your preferences, making every piece unique.
It’s a wonderfully satisfying way to turn ordinary yarn into something practical and charming. You’ll not only enjoy making it but also find yourself using it every day for storing small, handy items. Pick your yarn and hook, and you’ll have a delightful piece to treasure in no time.
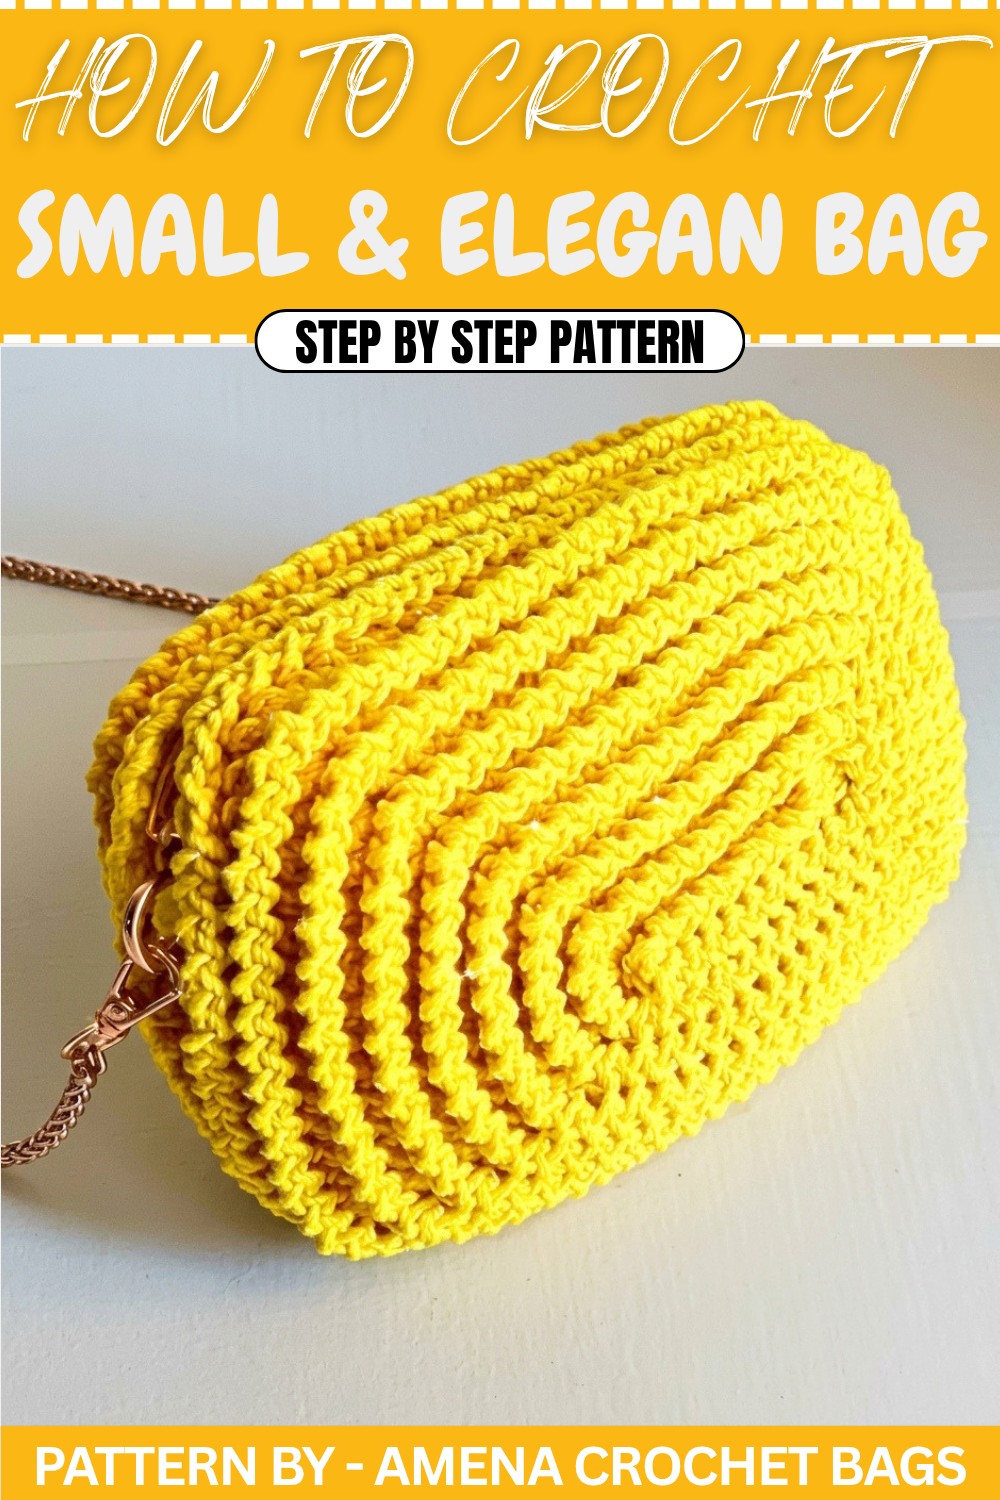
Crochet Small Bag Pattern
In today’s Pattern, we will crochet a beautiful small bag that balances practicality and lightweight charm. Made with cotton macramé thread, this bag features half double crochet stitches worked in the back loop and a sleek zipper closure, making it both functional and stylish. Follow this guide to crochet your own delightful accessory.
Quick Overview of Pattern
- Bag Type: Small bag
- Thread: Cotton macramé thread (2.5 mm thick)
- Hook: 4 mm crochet hook
- Stitches Used: Half double crochet (Hdc), chain (Ch), slip stitch (Sl st), single crochet (Sc)
- Features: Zipper finish, compact yet roomy, simple circular pattern with increases in corners for shape.
Notes
- Work continuously in rounds without closing each row (use a stitch marker to mark the first stitch if needed).
- The pattern relies on increases at the corner chains for shaping.
- The edges rise and curve naturally as you work.
- Create two identical panels to form the bag, then join them using single crochet stitches inside out.
Skill Level
Intermediate
Requires knowledge of basic crochet stitches and techniques, with attention to detail during the corner increases and assembly.
Materials
- Cotton macramé thread (2.5 mm thick)
- 4 mm crochet hook
- Stitch markers (optional)
- Zipper (approximately same length as the bag opening)
- Clips for securing the zipper during assembly
- Scissors and sewing needle
Measurements
The finished bag size is small but spacious enough for essential items. Adjust rows and stitches to modify the size according to your needs.
Gauge
- Approximately 8 half double crochets per inch.
- Gauge isn’t critical for this pattern but can be checked if you aim for specific dimensions.
Stitch Abbreviations
- Hdc: Half double crochet
- Ch: Chain
- Sl st: Slip stitch
- Sc: Single crochet
Special Stitches
- Hdc in back loop only: Insert the hook into the back loop of the stitch instead of both loops.
- Corner increase: In corner chains, work [Hdc, Ch, 3 Hdc, Ch, Hdc] in the back loop to shape.
The Crochet Pattern
Step 1: Creating the Foundation
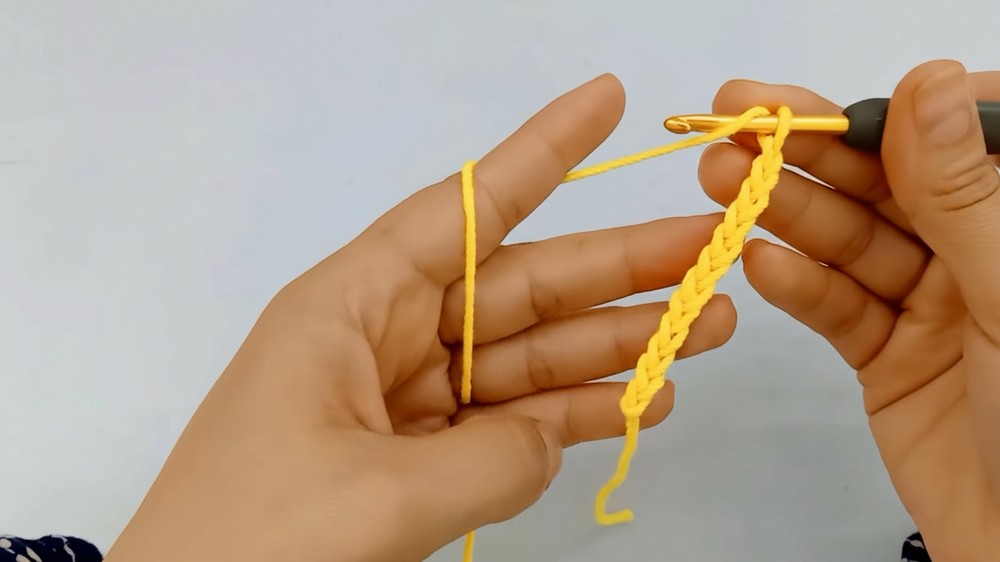
- Make a slip knot and create a foundation chain of 11 chains (Ch 11).
- From the third chain from the hook, work:
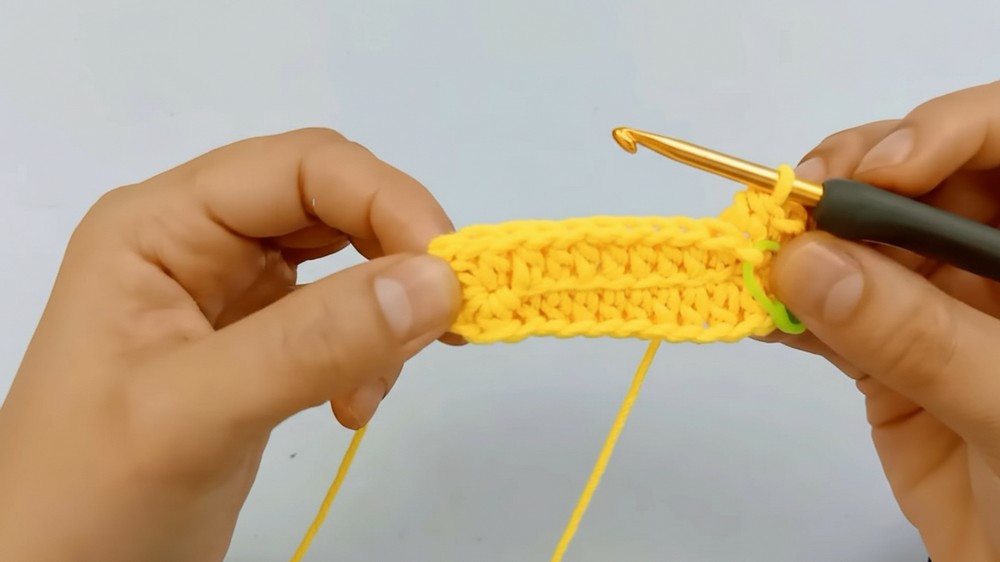
- Hdc in the back loop for the next 7 chains.
- Work corner increase in the last chain: [Hdc, Ch, 3 Hdc, Ch, Hdc].
- Turn to the opposite side and work:
- Hdc in the back loop for the next 7 chains on the other side of the foundation chain.
- In the first chain from the foundation row, work:
- Corner increase: [Hdc, Ch, 3 Hdc, Ch, Hdc].
- Total stitches at the end of this round: 30 stitches. (This includes 26 Hdc and 4 chains.)
Step 2: Working Additional Rows
- Start Row 2: Work continuously without joining. (No slip stitch to close rounds.)
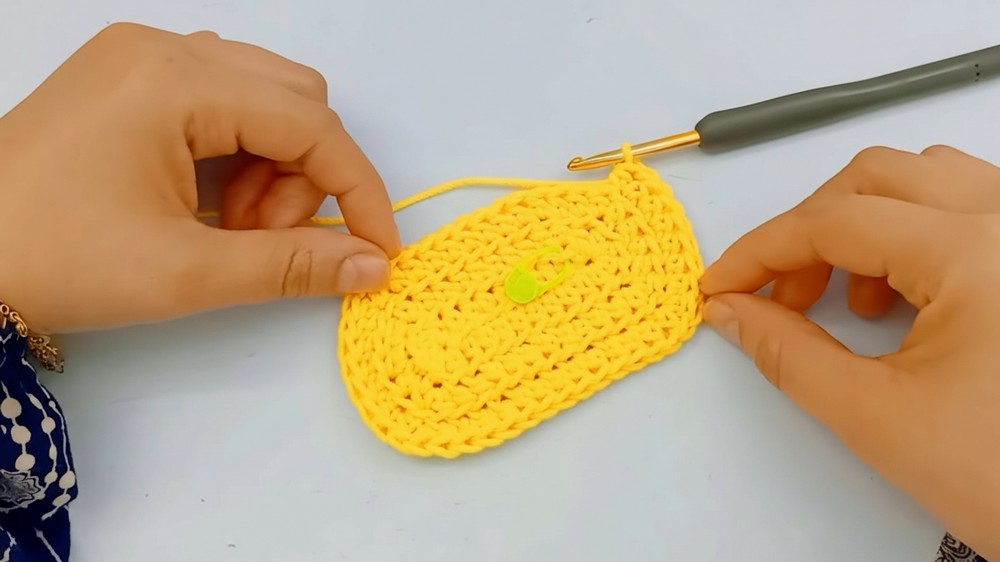
- Work Hdc in the back loop only for each of the 26 Hdc stitches from the previous row.
- At every corner chain, work:
- [Hdc, Ch, Hdc] in the back loop of the chain.
- Finish the row by repeating the increases at each corner as described above. Ensure the stitch count increases by 8 stitches for each row.
- Total stitches at the end of this row: 38 stitches.
Repeat Row 2:
- Rows 3 to 8: Continue working in rounds following this pattern:
- Hdc into the back loop of each previous Hdc stitch.
- Perform a corner increase [Hdc, Ch, Hdc] in the back loops of the chain spaces at each corner.
- Each row adds 8 stitches. Adjust rows depending on the size you want. By the end of Row 7, you should have 78 stitches.
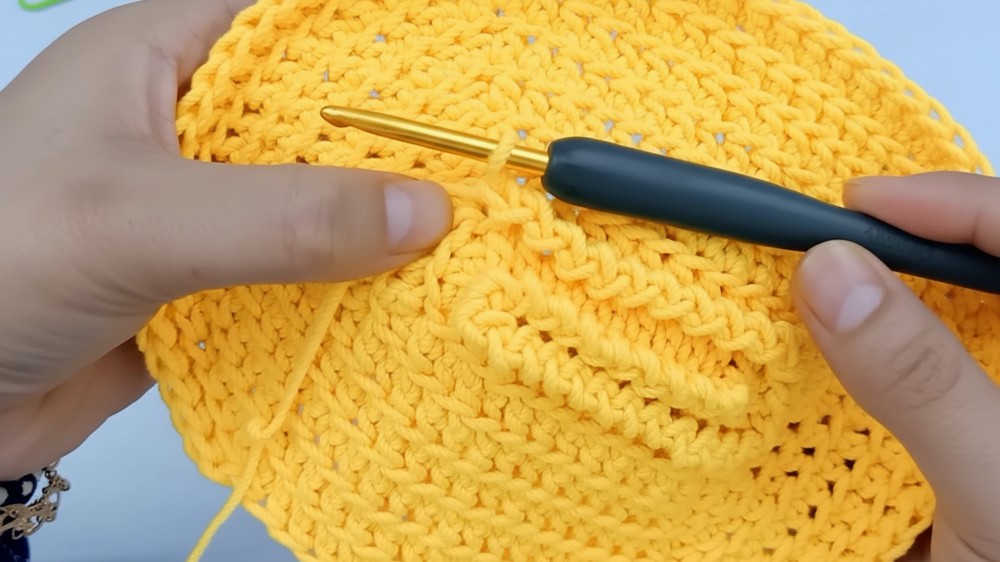
Step 3: Final (Steady) Row
- On the last row, DO NOT increase. Simply work:
- Hdc into each stitch (in the back loop only).
- In the corner chain spaces, work 1 Hdc only (no increases).
- Total stitch count in this row remains 78 stitches.
- Finish off by slip stitching into the first stitch after cutting the thread.
Step 4: Working the Base Loops
- Attach the thread at the loops of the starting chains (foundation row).
- Work over the front loops of the original chains as follows:
- Sl st into the front loop.
- Ch 1, then Sl st into the next front loop.
- Repeat this sequence around the loops without skipping any stitch.

Step 5: Repeat for the Second Panel
- Follow Steps 1 through 4 to create a second panel identical to the first one.
- Ensure both panels match in size and stitch count.
Step 6: Assembly
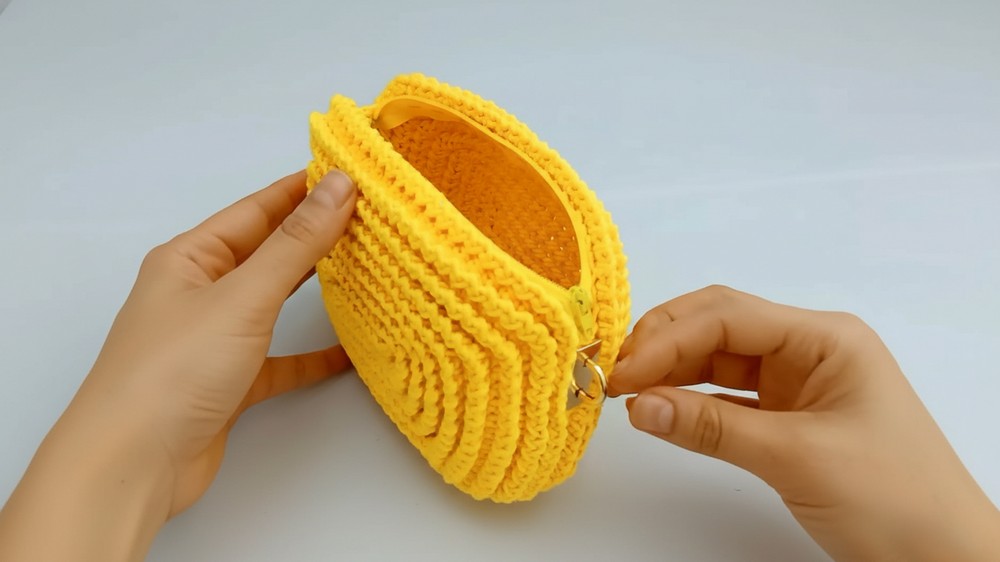
- Attach the zipper: Use clips to secure the zipper along one edge of a panel. Sew the zipper carefully.
- Joining panels: Turn both panels inside out. Align them and use a crochet hook to work:
- Sc into the back loops of the final row from each panel to join them together.
- Work all the way around the edges for a clean and sturdy join.
- Attach the other side of the zipper: Use clips to secure and sew the zipper onto the second panel. This completes the closure.
Finished Size
The bag is lightweight yet spacious, perfect for storing essential items.
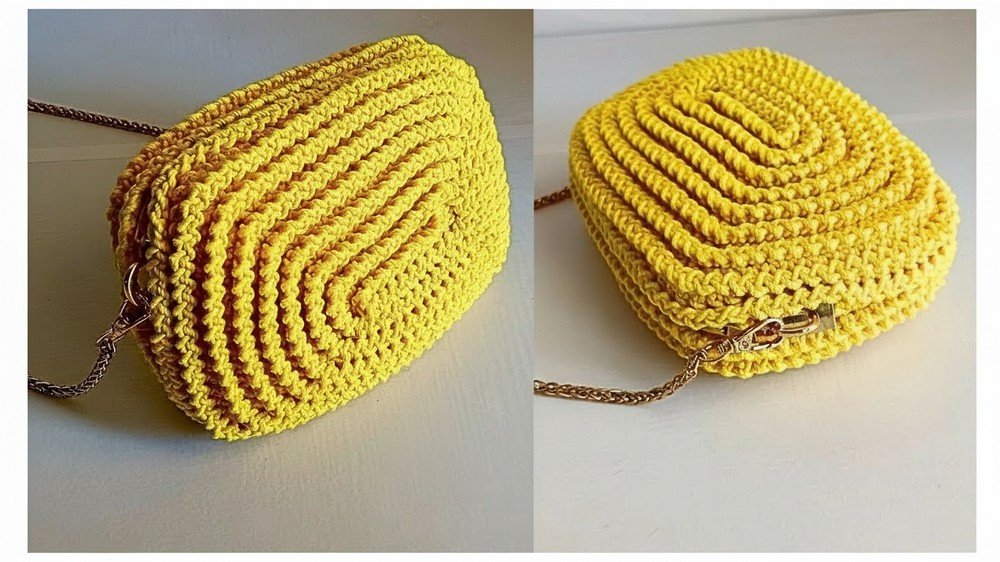
Its compact dimensions make it highly practical for everyday use.
Conclusion
Congratulations, You’ve completed your beautiful small crochet bag. With its unique texture, corner shaping, and zipper finish, your handmade accessory is ready to steal the spotlight. Customize the size and embellishments to make it uniquely yours.