
Easy Crochet Coin Purse Pattern Steps for Chic Accessories
Stitch a stylish and functional accessory with this free crochet coin purse pattern, perfect for beginners and a thoughtful handmade gift.
Creating small, practical accessories is a wonderful way to bring a little handmade charm into daily life. This particular crochet wallet pattern is not only adorable but incredibly easy to make, even if you’re just starting out. Working with a 2mm crochet hook and macramé thread, you get a sturdy yet soft fabric that feels great in your hand. The foundation is made by chaining 64 stitches, followed by single crochet stitches worked through just the inner loops of the chains. This simple technique gives the wallet a neat and textured finish that stands out.
Functional Crochet Coin Purse Pattern Tricks for Unique Looks
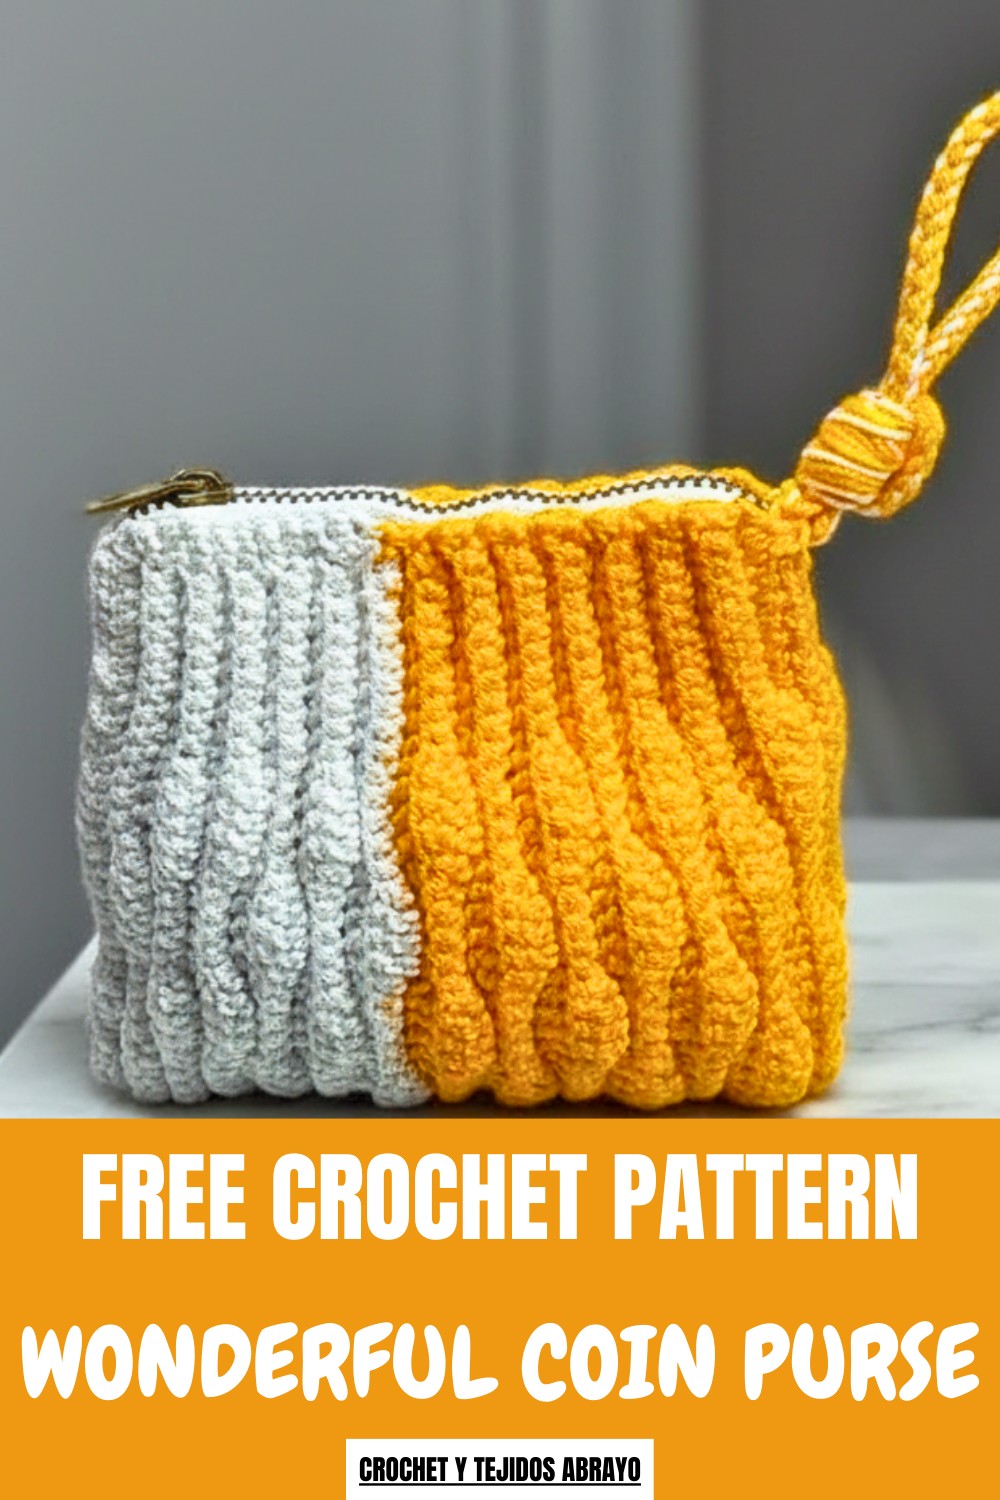
The pattern’s beauty comes from its charming wave-like motifs created by combining low, half, and high points in a repeated sequence. These stitches add lovely texture and depth without complicating the process. Throughout, the nine low stitches at the corners stay consistent to keep the shape even and polished. Adding a zipper and carefully sewing it in with nylon thread makes the wallet secure and practical. Finishing it off with an optional crocheted wrist handle, you get a versatile accessory that can easily double as a small purse or pouch.
What makes this project especially rewarding is how it combines basic stitches like single crochet, half double crochet, and double crochet to generate a visually interesting texture and structure. It’s a great way for beginners to get comfortable with stitch height changes and working with color changes when you choose to switch thread tones. This stitch pattern isn’t just for wallets. You can also use these motifs to make pouches, clutch bags, or colorful makeup bags, altering the size to suit your needs. The sturdy fabric and beautiful texture make it a perfect choice for any small, everyday accessory, helping you practice new skills while creating something both beautiful and useful.
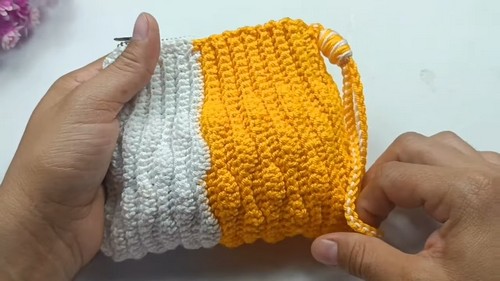
Simple & Elegant Crochet Wallet Pattern
Crochet this beautiful and practical wallet with its wave-like pattern that is both stylish and functional. This wallet is perfect for beginners looking to create something useful while exploring texture and motif work. You can customize the size and color to make it truly your own!
This crochet wallet is made using simple stitches like single crochet (sc), half double crochet (hdc), and double crochet (dc), along with wave motifs that add a unique texture. Designed with practicality in mind, it features a zipper closure for security and an optional handle for convenience. Whether you use bold colors or keep it neutral, this project brings charm and utility together seamlessly.
Skill Level & Terminology
- Skill Level: Beginner
- Terminology: The pattern uses US crochet terms.
If you know basic stitches like single crochet, half double crochet, and double crochet, this wallet is a straightforward yet rewarding project.
Materials & Tools
- Yarn: 2 mm macramé yarn or similar lightweight yarn. Choose one or two colors (for contrast or simplicity).
- Hook: 2.0 mm hook (or size suitable for your yarn).
- Notions:
- Zipper closure (10–20 cm, depending on the size).
- Yarn needle (for weaving in ends and sewing).
- Nylon thread or sewing thread (optional for sewing zipper).
- Scissors.
Gauge
Gauge is not critical for this project. Using a 2 mm macramé yarn and 2.0 mm hook produces a wallet approximately 24 cm x 14 cm. If you crochet loosely or use a larger hook, the wallet may be larger.
Abbreviations
Here are the abbreviations used in the pattern:
- ch: Chain
- sc: Single crochet
- hdc: Half double crochet
- dc: Double crochet
- sl st: Slip stitch
- st: Stitch(es)
- YO: Yarn over
Special Stitch Instructions
Wave Motif Construction:
Each wave motif has two parts:
- Ascending stitches: Work single crochet, half double crochet, double crochet, and treble crochet stitches in increasing height to form the peak of the wave.
- Descending stitches: Reverse the sequence (treble, double, half double, single crochet) to form the trough of the wave.
Working in the Back Loop Only (BLO):
When indicated, insert your hook into only the back loop (the loop farthest from you) and work the stitch as usual. This creates a textured ridged effect in the fabric.
Finished Size
- Length: 24 cm (9.5 inches)
- Width: 14 cm (5.5 inches)
Size can be adjusted by increasing or decreasing the foundation chain or adding additional rows.
What You’ll Learn & Why You’ll Love This Pattern
From this pattern, you’ll learn:
- How to crochet wave motifs by alternating stitch heights.
- Techniques for zipper attachment and final assembly.
- How to create texture using back loop only stitches.
This wallet is perfect for gifting, and you’ll love its uniqueness and practicality. The pattern can be easily customized with colors or embellishments to suit your style.
The Pattern Itself
Step 1: Foundation Chain
- Start with a slip knot on your hook.
- Chain 64. This will serve as the base for the wallet.
- Work back across the chain in single crochet:
- Skip the first chain and begin with 1 sc in the second chain from the hook.
- Work 1 sc into each subsequent chain until the end.
- At the end, you should have 63 sc.
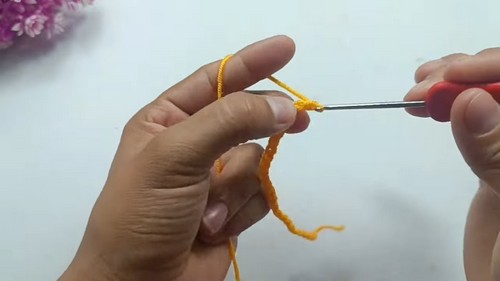
For beginners: The foundation chain gives the wallet its width. Make sure to work evenly across the row to keep stitches aligned.
Step 2: First Wave Row (Motif Formation)
- Ch 1, turn your work.
- Work 9 sc into the BLO (always taking the back loop). These nine stitches will stay consistent for every row and form the corners of the wallet.
- Start the wave sequence:
- Work 1 hdc into the next stitch.
- Work 3 dc in the next 3 sts (one dc in each st).
- Work 1 hdc in the next stitch.
- Work 5 sc into the next 5 sts.
- Repeat this wave sequence (1 hdc, 3 dc, 1 hdc, 5 sc) across the row.
- After completing the last wave, end the row with 9 sc into the BLO at the other corner.
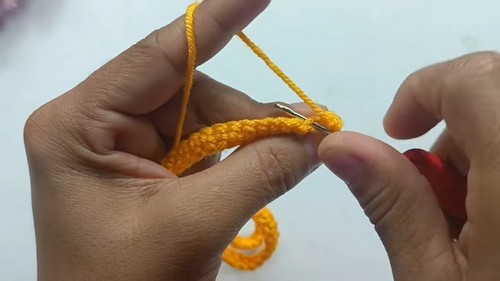
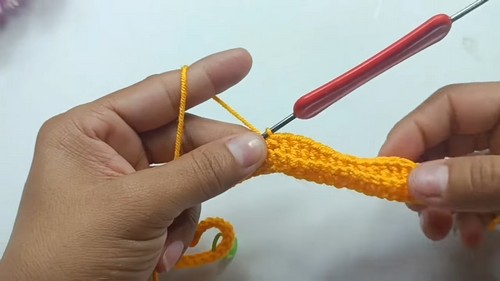
At this point, your work will start to show subtle wave shapes as the stitches alternate between taller and shorter heights.
Step 3: Repeat the Wave Motifs
For the next row:
- Begin with the 9 sc into the BLO at the edges to keep continuity.
- Follow the same wave sequence (1 hdc, 3 dc, 1 hdc, 5 sc) across the row.
- Use a stitch marker to mark your ninth stitch on each end of the row.
By repeating this sequence in alternating rows, you’ll create the signature wavy motif. Continue until the wallet reaches the desired height (approximately 24 cm or so).
Step 4: Changing Colors (Optional)
To add interest, change yarn colors after completing a wave row:
- Before finishing the last stitch of the row, pull the new color through to complete it.
- Fasten off the old color, leaving a short tail to weave in later.
- Work the next round and ensure all tails are hidden within the stitches.
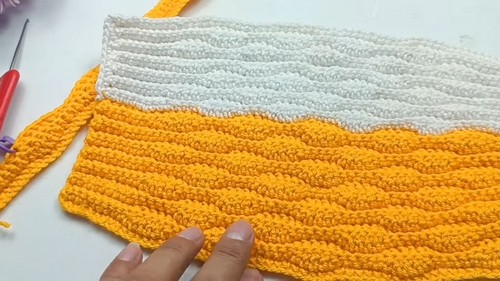
Adding colors can create striking contrasting motifs, making the wallet pop visually.
Step 5: Final Rows & Assembly
Once the desired size is reached, fasten off and follow these steps:
Attach the Zipper:
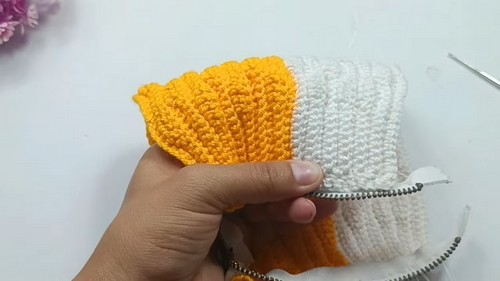
- Place the zipper at the top of the wallet.
- Align the edges evenly, ensuring neither side overlaps too much.
- Use a nylon thread or yarn (matching the zipper’s color) to sew the zipper securely.
- If needed, open the zipper halfway to make stitching easier.
Join the Sides:
- Fold the wallet in half, aligning all edges.
- Join the sides using slip stitches:
- Insert your hook into one stitch from each side and pull through.
- Slip stitch each pair of stitches down the entire side until sealed.
- Turn the wallet inside out so seams are hidden.
At this stage, your wallet will take shape! Make sure the zipper opens and closes smoothly.
Step 6: Adding an Optional Handle
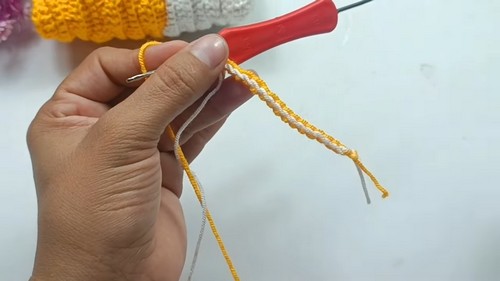
- Take two strands of yarn (or one strand for a lighter handle) and work a long chain of desired length for the handle.
- Secure the ends to the sides of the wallet using slip stitches.
- You may wrap or braid the handle threads for additional texture.
Assembly & Finishing
- Weave in loose ends: Use a tapestry needle to hide all loose threads into the seams of your wallet.
- Optional blocking: If your wallet feels stiff, block it lightly.
Why You'll Love This Wallet Pattern
This Crochet Wallet Pattern is practical, quick, and easy to make while being stylishly functional. The wavy motif and optional color changes make it unique while allowing maximum customization. It works well as a gift, a sellable product, or a personal accessory!