
Free Crochet Hook Pouch Pattern With Storage Ideas
Make your own crochet hook case with this free pattern and keep your supplies tidy and organized while solving all your storage struggles easily.
Keeping crochet tools organized can be a challenge, especially with so many different hook sizes and styles. With this free hook case pattern, storage becomes simple and stylish. The design features carefully sized pockets that fit everything from narrow steel hooks to big ergonomic handles, along with space for scissors and markers. A sturdy crocheted loop paired with a cheerful puff flower or a classic button holds everything securely, whether the case stays on your desk or travels in a project bag.
Free Crochet Hook Case Pattern – Keep Hooks Tidy

The finished case folds neatly into a rectangular shape, offering both a soft touch and enough structure to keep its contents safe. Rows of single, double, and triple crochet stitches create deep, flexible slots and an eye-catching textured surface. Switching between front and back loops adds even more detail, while a tidy single crochet border keeps edges strong and smooth. The final touch a flower or button accent adds personality and color.
This project suits those with beginner or intermediate crochet skills, and combines clear, practical techniques: working in the back bump of starting chains, adjusting stitch height, and arranging pockets in a smart sequence. There’s plenty of space for all your crochet essentials. As a gift or a personal organizer, this hook case stands out for its everyday usefulness and charm. Anyone looking for an attractive and functional storage solution will appreciate all the possibilities in this free hook case pattern.

Crochet Hook Case Pattern
Before You Start
- Familiarize yourself with single crochet (sc), double crochet (dc), and treble/triple crochet (tr).
- Make a sample chain to check your tension.
- Practice crochet in front loop only (FLO) and back loop only (BLO).
- Choose yarn and hook size suitable for a sturdy but flexible case.
- Decide how many hook pockets and of what size you'll need for your hook collection.
Pattern Notes
- Work pockets using a combination of turning rows and alternating between front/back loop stitches.
- Turning at the ends is often done without chaining to avoid a bumpy edge.
- Chains should be made loosely to make it easier to crochet into the back bump on the foundation row.
- Pockets are created by folding fabric at front/back loop rows.
- Adjust number of chains and rows for your personal hook and tool needs.
How I Made the Crochet Pattern
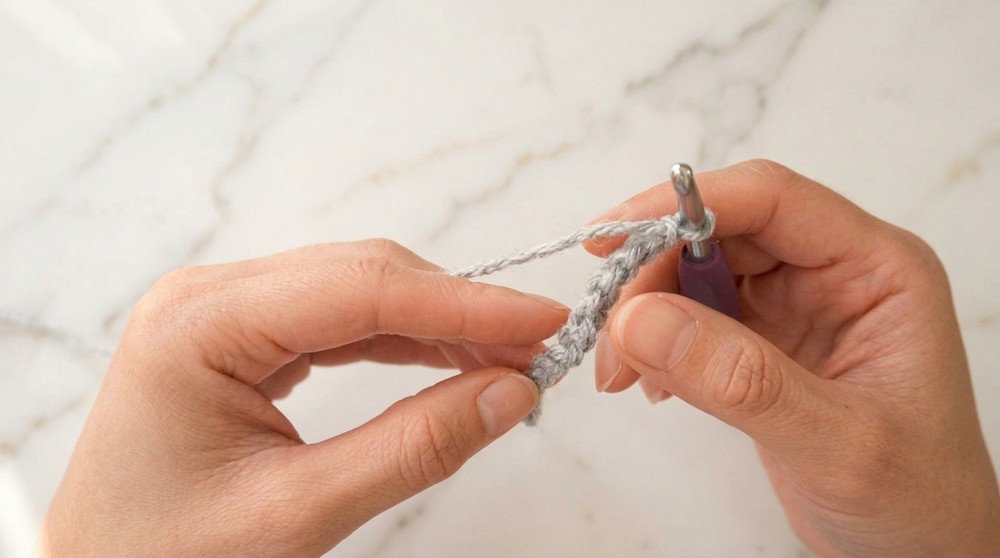
- Started with a slip knot and a loose foundation chain.
- Used single crochet for a sturdy base row.
- Built pocket sections using alternating rows of double crochet, single crochet, and later, triple crochet for larger pockets.
- Incorporated back loop/front loop only rows to form foldable pockets.
- Finished with single crochet edging for a polished look.
- Added button (puff flower) and a crocheted loop closure.
Skill Level
Beginner to Intermediate
(Basic stitches, simple shaping, some assembly required.)
Finished Size
- Approx. 7.5 x 10 inches open (19 x 25 cm)
- Folds to ~7.5 x 4 inches (19 x 10 cm)
Materials
- Medium Weight Yarn (#4); e.g., Bernat 100% Acrylic
- 4 mm Crochet Hook (or size needed for gauge)
- Scissors
- Darning Needle
- Stitch Marker(s)
- 1 Decorative Button or Handmade Puff Flower for closure
Measurements / Sizing
- Main body: 30 stitches wide (adjustable based on hook/tool needs)
- Pockets: Each approx. 1–1.5 inches wide, larger pockets for ergonomic hooks
No schematic provided, but the form is rectangular with a tri-fold.
Gauge
- 16 sc x 18 rows = 4” (10 cm) square
- Adjust hook size if necessary to achieve a firm but not stiff fabric.
Stitch Abbreviations
- ch – chain
- sc – single crochet
- dc – double crochet
- tr – treble/triple crochet
- BLO – back loop only
- FLO – front loop only
- sl st – slip stitch
Special Stitches
Turn Without Chaining: Simply turn work and insert hook in first st for next row (avoids a visible seam edge).
FLO/BLO Pockets: By working stitches only into the front or back loop, the layers created naturally form a ridge for folding pockets.
The Pattern!
Main Body Start
- Foundation Chain: Ch 30 (adjust to desired pouch width).
- Row 1: Sc in back bump of each ch across. (30 sts)
- Tip: Keep your chains loose so you can insert into the back bumps with ease.
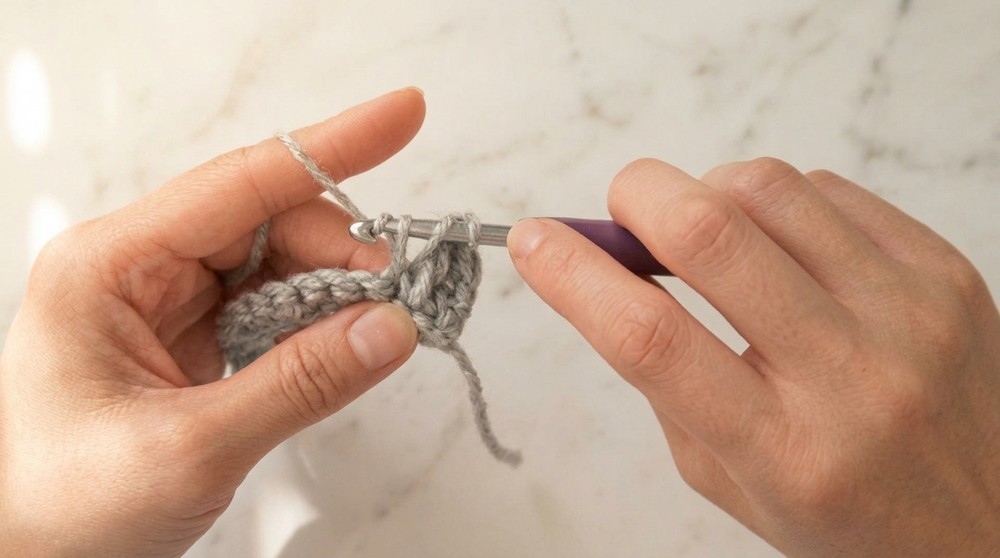
At the end of this row, you have a solid, neat starting edge—crocheting into the back bump makes a clean bottom.
Pocket Section Part 1 (Standard Hooks)
- Row 2 (Turn, No Ch): Turn, sc directly into the first st and next, then dc in next 8 sts. (10 sts dc in total)
- Remaining Row 2: Dc BLO in next 20 sts. (20 sts, place a st marker in 1st BLO st)
You now have 10 solid dc stitches and 20 BLO dc stitches, creating the first fold for your pocket section.
- Row 3: Turn, dc FLO in the 20 marked sts, then dc in both loops of last 10 sts.
This front-loop section forms the pocket which you’ll close next row.
- Row 4: Turn, immediately sc into the first FLO, and into corresponding unworked BLO from Row 2, joining pocket. Sc across 20 paired sts, then dc in remaining 10 sts.
One pocket is formed. Try inserting a hook! The pouch will hold its shape better as more pockets are added.
- Repeat Steps 3–6 three more times to make a total of four pockets for standard hooks.
Middle Section (Wider Pockets)
- Next Two Rows: Repeat single crochet rows as above for “spacer” rows before wider pockets.
- Larger Pocket:
a. Turn, work 4 stacked sc into 1st st for extra row height.
b. Tr in next 10 sts.
c. Tr BLO in next 20 sts. - Next Row: Tr FLO across same 20, then tr in remaining 10.
- Next Row: Join pocket as before with sc across 20, complete row as appropriate.
- Repeat as needed for up to three larger pockets. (Adjust number/width for your big ergonomic hooks.)

By using treble crochet, you create taller pockets to fit thicker tools comfortably.
Final Pocket Section (Standard hooks, other side)
- Repeat Steps 3–6 (with dc/dc BLO/dc FLO) to mirror the first four pocket panels.
Finishing Edging
- Edging:
a. With right side facing, ch 2 at each corner.
b. Sc evenly around all four sides.
c. At corners, ch 2 before turning to next edge. - Sl st to last sc, fasten off, weave in ends.
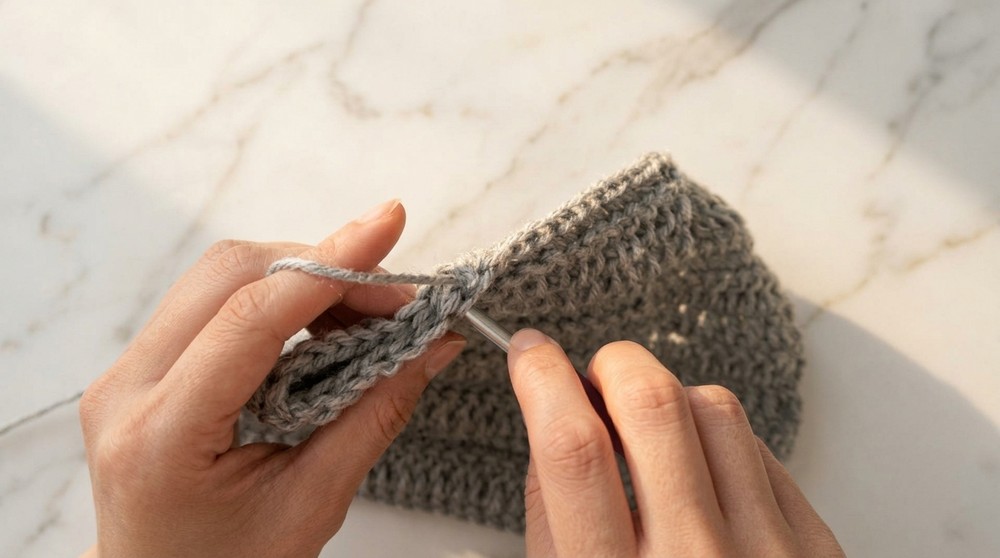
The single crochet border evens up any loose edges and adds durability.
Button/Closure Attachment
- Button:
a. Sew a button or crochet flower to the front flap, centering as desired.
b. For a flower, use tail ends to tie securely on inside. - Closure Loop:
a. Join yarn at back center, across from button.
b. Ch 20, sl st to same sp to form a loop; adjust length to fit button/flower.
c. Sc back along the chain, sl st to start, fasten off, and weave in ends.
Test closure fit before finishing ends. The loop should fit snugly over your button or puff flower.
For Those Who Prefer Written Instructions
To make your own crochet hook case:
Start with a chain for the width you want. Work a foundation row of single crochet, then create double crochet rows for the pocket heights, switching to front or back loop stitches as indicated to build the folding pocket sections. For larger pockets, use triple crochet. Alternate these sections as needed for your various tools. Finish with a tidy edging, sew on your button or flower, and make a closure loop by attaching yarn, chaining, and then working single crochet back along the loop for sturdiness.
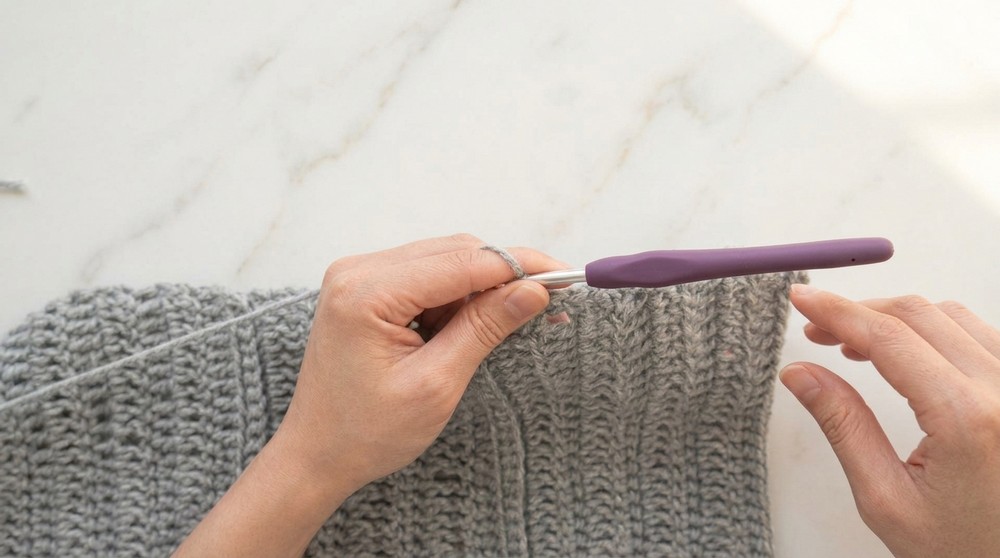
Assembly & Finishing
- Fold the case into three sections and press pockets into shape.
- Secure button or flower at the desired spot on the outside.
- Attach the closure loop opposite the button/flower.
- Weave in all loose yarn ends.
- Test fit with hooks and accessories, adjust pocket width if needed by blocking lightly.
What You Can Make Using These Techniques
- Custom hook or pencil pouches with different pocket sizes
- Makeup brush holders
- Storage wallets for paintbrushes or other crafters' tools
- Giftable cases for beginner crochet or knitting kits
- Travel organizers for small gadgets