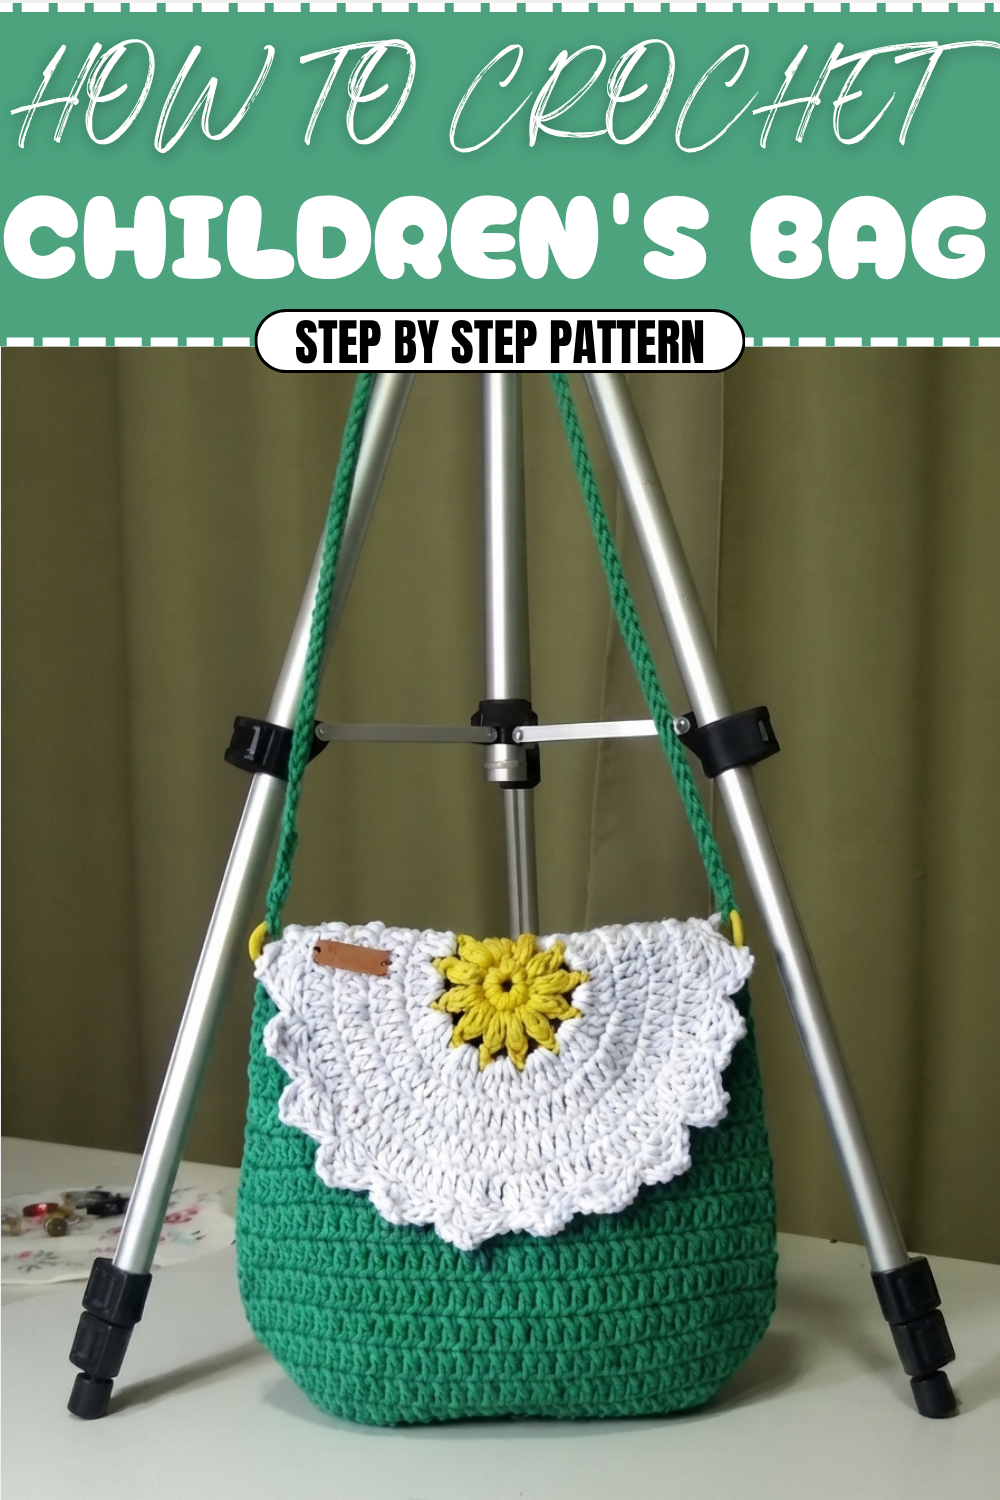
How Beginners Can Crochet Children's Bag Pattern for Adventures
Adorable Ways to Crochet a Children's Bag Pattern for Functional Charm
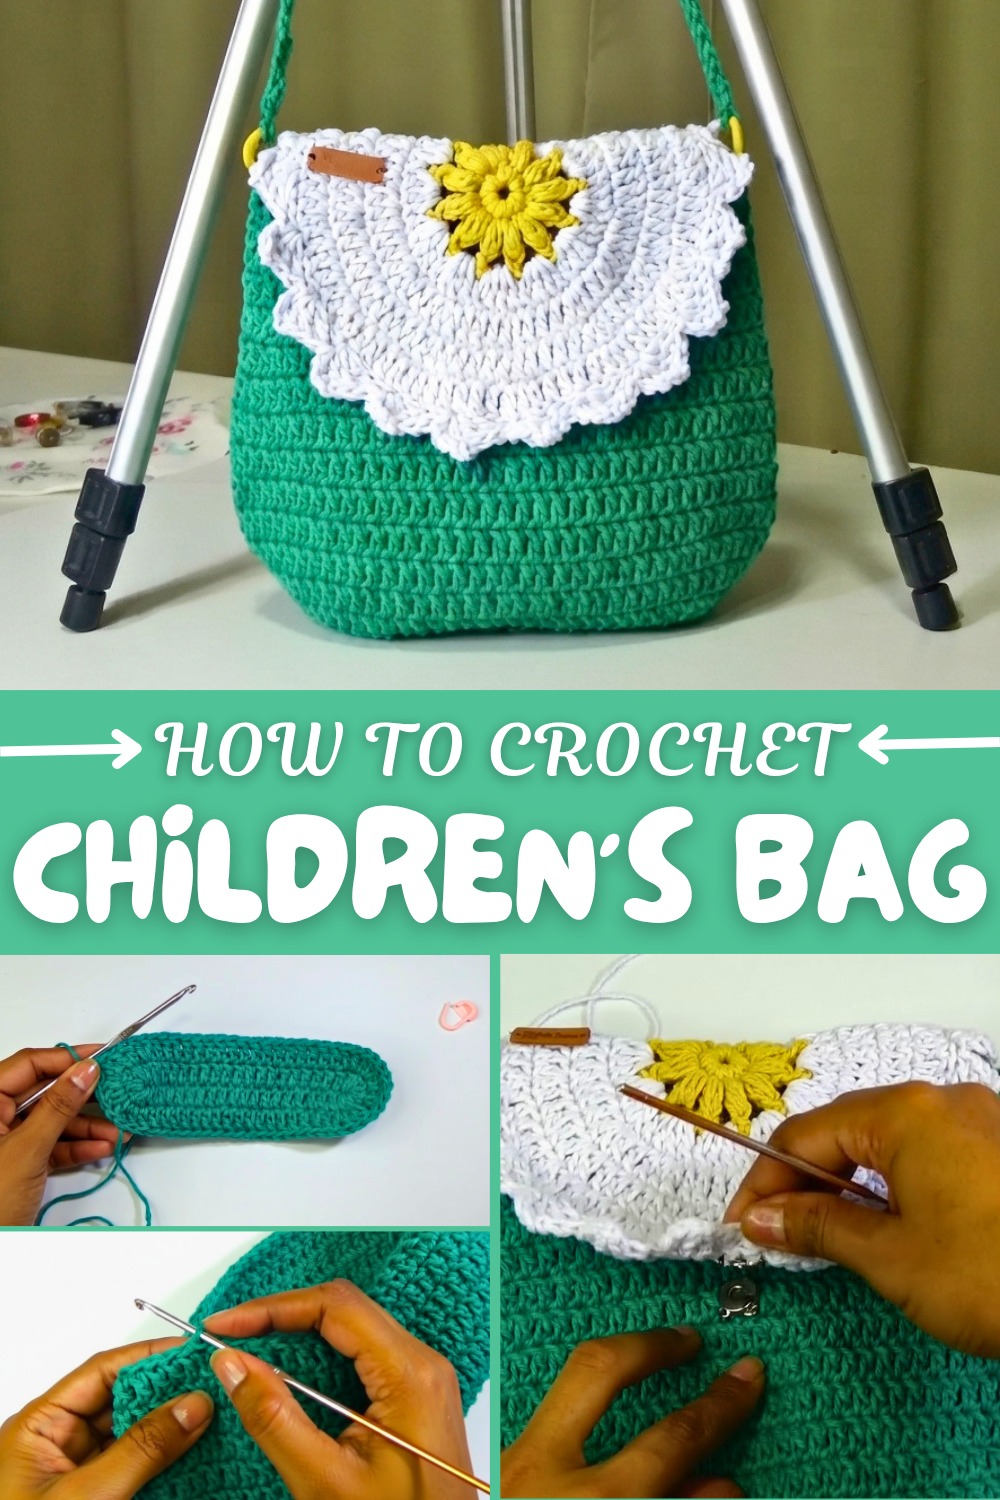
Starting with a simple chain base, the bag grows with rhythmic rows of treble crochets, punctuated by well-placed increases to give it volume in the middle and decreases toward the top edges. These carefully balanced stitch counts give the bag its unique shape without complicating the process, making it an enjoyable project even for beginners. The strap is crafted to be light yet strong, with a delicate crochet technique that ensures comfort when worn. Adding finishing touches like small rings and a tiny button not only enhances the bag’s look but also offers practical closures to keep things safe inside.
Expanding the Possibilities
This versatile stitch pattern can inspire more than just bags. Try making matching coin purses, colorful pouches, or even small organizer baskets. By experimenting with size and yarn choices, you can turn this basic structure into gift bags, travel accessories, or personalized storage solutions. The balance of simple stitches and creative shaping provides a great foundation for many creative crochet projects that blend function with handmade charm
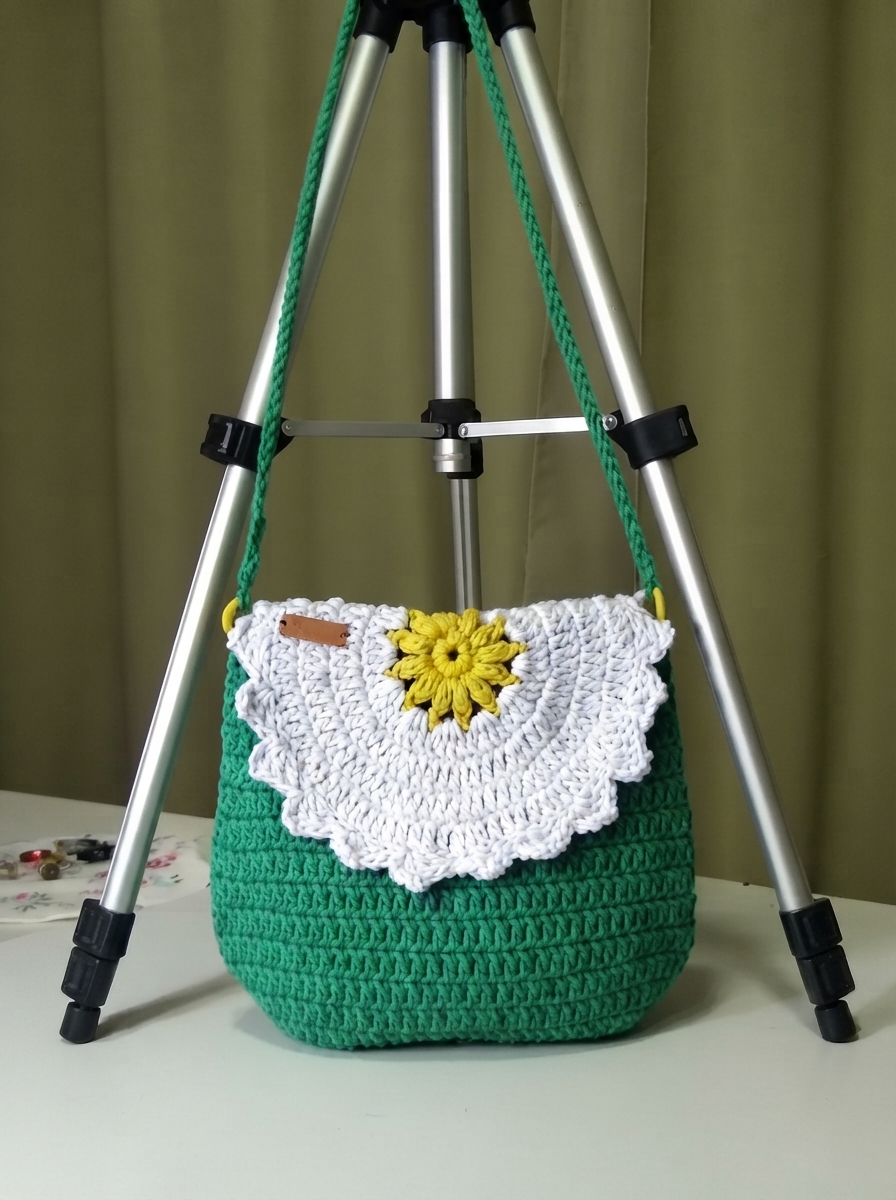
Children's Crochet Bag – Step-by-Step Guide
This crochet children’s bag is a lightweight, customizable, and creative project for all ages. Adjust the size, color palette, and strap length to make it suitable for adults as well. With clear stitch instructions, this bag is beginner-friendly but structured enough to appeal to intermediate crocheters. Grab your yarn and hook to create this adorable, multi-purpose bag!
This pattern produces a delightful, angled bag measuring 22 cm (height) and 24 cm (width at widest point), with an adjustable 66 cm strap. Ideal for kids to carry lightweight items, the pattern can easily be adjusted for adults by simply increasing the number of foundation chains and rows. The simple stitches, clean edging, and optional button closure make this bag a practical and stylish accessory.
What You’ll Learn:
- How to crochet an oval-shaped base and build upward.
- Incorporating increases and decreases for shaping.
- Adding decorative finishing touches like edging and straps.
- Techniques for securing and sewing buttons, straps, and other details.
Skill Level & Terminology
- Skill Level: Beginner to Intermediate
- Terminology: US Crochet Terms
Materials & Tools
- Yarn: Size 10 cotton yarn (~200g) or yarn of your choice. Adjust color as preferred.
- Hook: 3.5 mm crochet hook.
- Optional: Size 6 or nautical yarn for variation.
- Wooden Rings: Two small rings for strap attachment.
- Button: Small button for closure.
- Tapestry Needle: For weaving in ends and attaching pieces.
- Scissors: For cutting yarn.
Gauge
10 double crochets × 5 rows = 4x4 inches (10×10 cm).
Abbreviations
| Abbreviation | Meaning |
|---|---|
| ch | Chain |
| sc | Single Crochet |
| dc | Double Crochet |
| sl st | Slip Stitch |
| yo | Yarn Over |
Finished Size
- Height: 22 cm
- Width (Widest Point): 24 cm
- Strap Length: 66 cm
The Pattern Itself
Step 1: Starting the Base
- Foundation Chain:
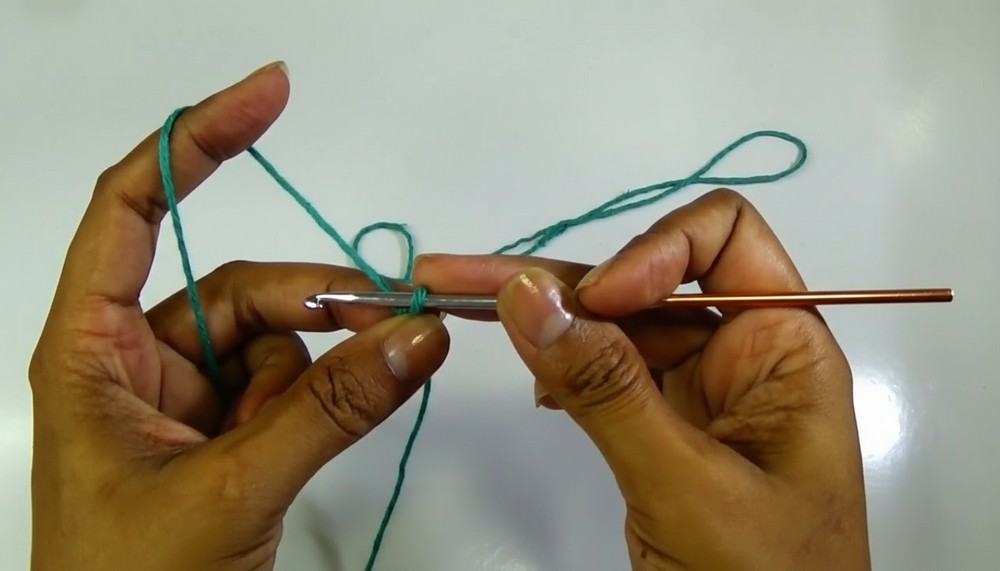
- With your yarn, begin by making a slip knot.
- Ch 20 for a child-sized bag. (For a larger bag, increase chains proportionally.)
- First Row:
- Ch 3 to turn, acting as your first dc.
- Work 3 dc into the first chain (on the same stitch as turning chains).
- Work 1 dc into each chain across the row until the last chain.
- Work 6 dc into the last chain to create a curved edge for the oval shape.
- Second Side:
- Continue working along the opposite side of the foundation chain, adding 1 dc per chain.
- End the row by adding 3 more dc into the starting chain from the other side to mirror the first curve.
- Join with a sl st to the 3rd ch at the start of the row.
The base provides a strong foundation for the bag, establishing the oval shape that will build upwards.
Step 2: Adding Height with Rounds
- Round 2:
- Ch 2 to turn and create the first dc. It does not count as a stitch.
- Increase in the corners: Work 2 dc into 4 points evenly spaced along the curved edge for a total of 6 increases on each end.
- On the straight sides, work 1 dc into each stitch.
- Close the round with a sl st into the top of the starting ch-2.
- Round 3 and 4:
- Follow the same structure but reduce the number of increases to 4 and 2 increases, respectively, around the corner points to gradually straighten the sides.
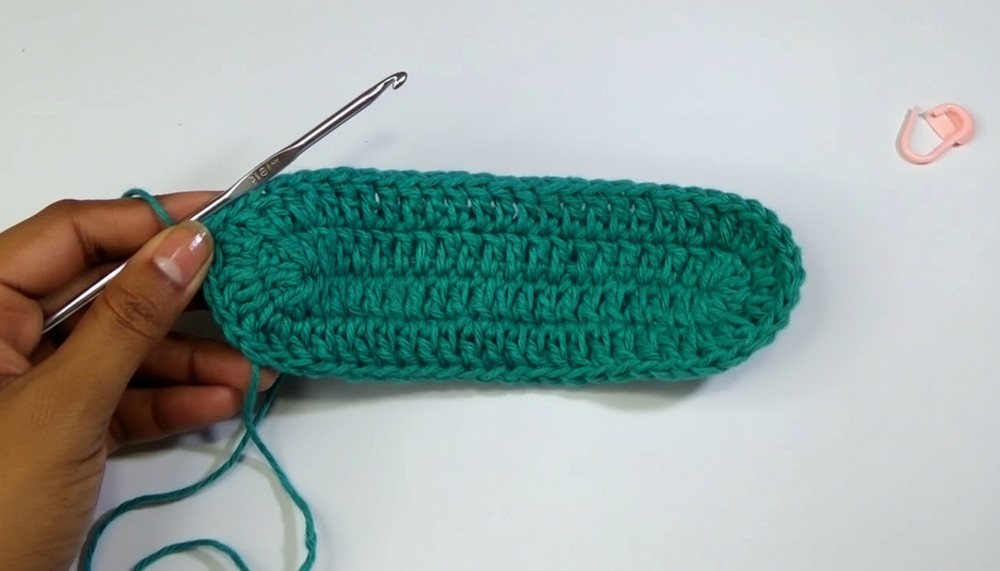
This step adds height to the bag while maintaining its shape. You can adjust the number of rounds if needed for a deeper or shallower bag.
Step 3: Creating the Upper Shape
- Decrease Rounds:
- Work 4 rows of dc incorporating decreases:
- At the curved edges, decrease evenly by working dc2tog (double crochet decrease) across 2 stitches.
- Ensure decreases are mirrored on both sides to retain symmetry.
- Work 4 rows of dc incorporating decreases:
- Straight Rounds:
- After completing decreases, work 3 straight rows of dc with no increases or decreases to balance the shape.
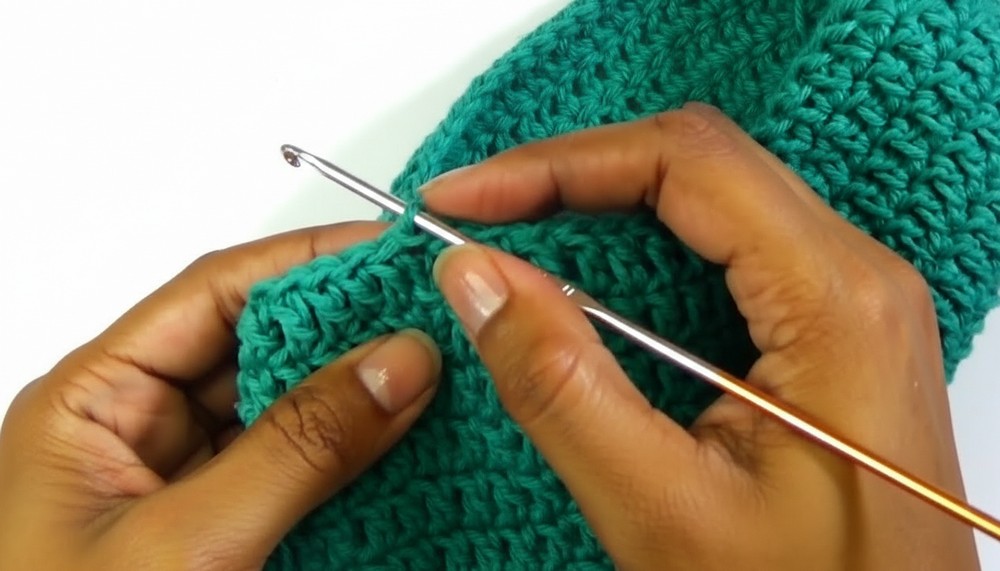
This part forms the angle in the bag and transitions to the flat top portion.
Step 4: Adding the Final Edging
- Single Crochet Border:
- Work 1 row of sc all around the bag, including the curved bottom.
- This step strengthens the edges and gives the bag a clean finish.
- Decorative Final Round (Optional):
- Work four ch, 3 dc into the same stitch, then sl st into the fourth stitch in the next segment.
- Repeat around to create a scalloped edge for a decorative look.
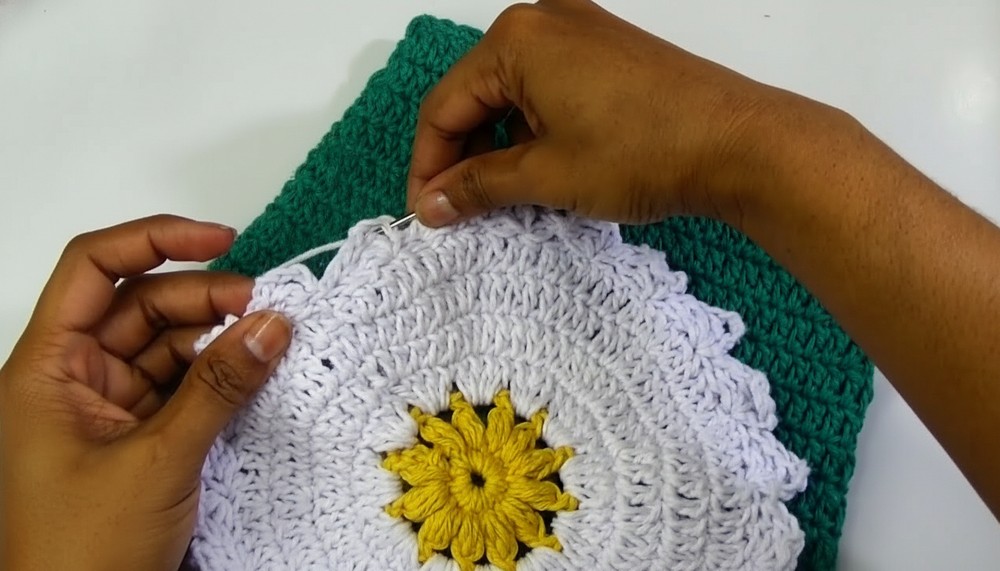
The scallop edge adds character to the bag. For a simpler design, skip this optional step.
Step 5: Adding the Button Closure
- Position the Button:
- Place the button approximately 1.5 cm below the top edge.
- Sew securely using a tapestry needle and matching thread.
- Create the Buttonhole:
- Use the decorative scallop edge as the buttonhole, ensuring the button size matches the space between the stitches.
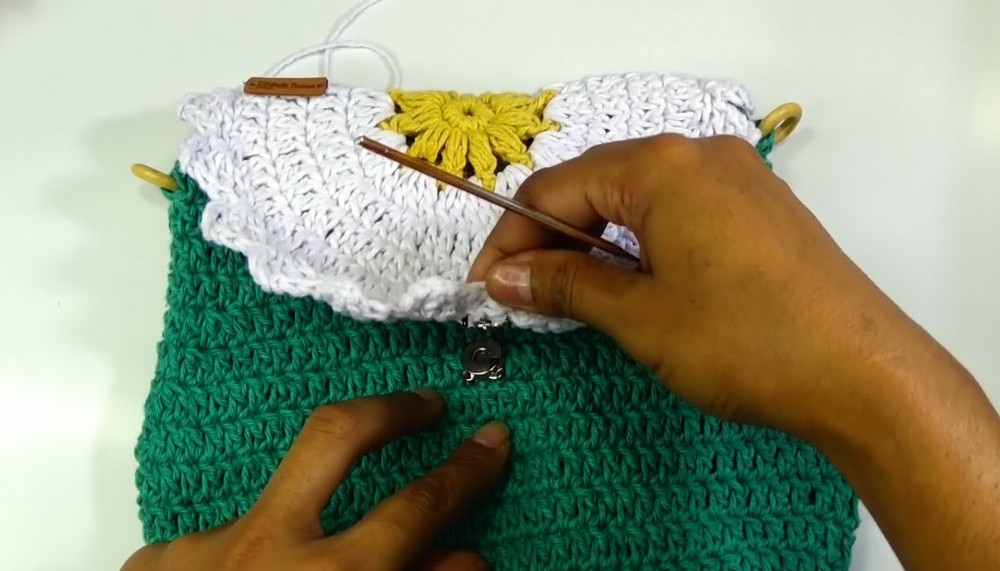
Adding a button closure ensures that the bag is functional while maintaining its charm.
Step 6: Adding the Strap
- Prepare the Strap:
- Chain 66 (or more for an adult-sized bag).
- Go back across the chain with sl st or sc for added strength.
- Attach to Wooden Rings:
- Sew or crochet the strap ends onto the small wooden rings.
- Attach each ring securely to a corner of the bag.
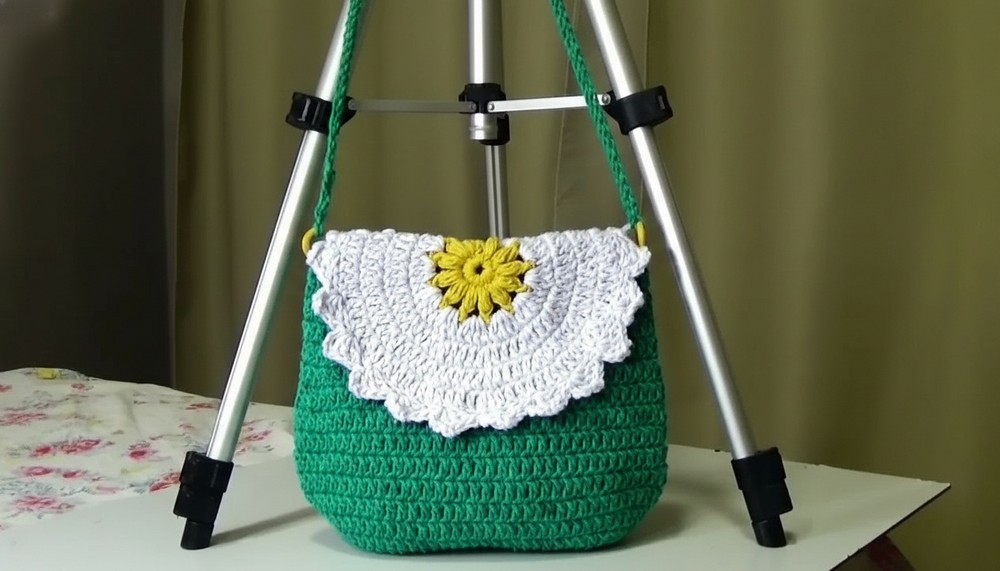
The strap design can be customized for thickness and length depending on the user’s preference.
Assembly & Finishing
- Use a tapestry needle to weave in all loose ends.
- Ensure all joins are sturdy, especially the rings and button.
- Gently block the bag to relax the stitches and solidify its final shape.
Pattern Challenges and Solutions
- Maintaining the Oval Shape: If the base becomes too wavy, ensure you don’t add too many increases. Conversely, if the base tightens up, loosen tension and add more dc increases in the curves.
- Threading the Button: Choose a button that fits snugly into the decorative stitched edge or scallop. If needed, adjust the placement of buttonholes for a secure fit.
Tutor's Suggestions
The tutor emphasizes the importance of maintaining consistent tension throughout the project for a professional-looking result. Additionally, they suggest practicing basic stitches like single and double crochet before attempting textured patterns.
Why You’ll Love This Pattern
This children’s crochet bag pattern is both functional and aesthetically pleasing, with its unique angled shape, clean construction, and optional decorative elements. Its versatility allows modifications for size, style, and purpose, making it the perfect handmade gift for any occasion. Whether you leave it simple or enhance it with embellishments, this pattern is guaranteed to be a favorite!