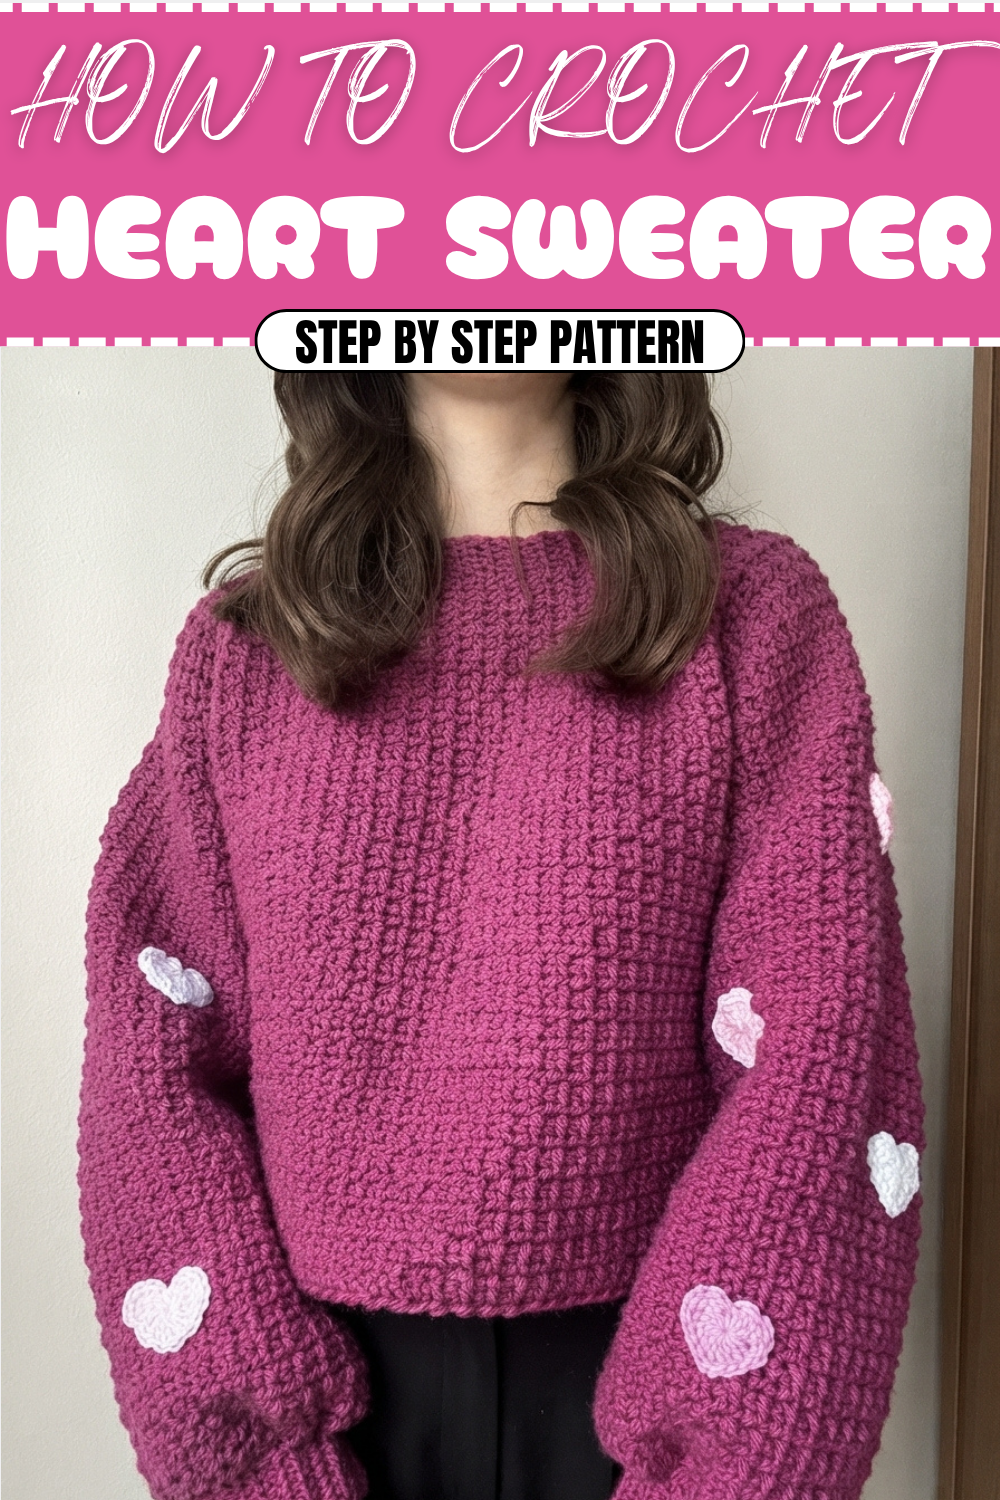
Easy Crochet Heart Sweater Pattern to Spread Warmth
Snuggle into style with the unique and amazing Crochet Heart Sweater Pattern that's fun hearts, cozy feels, and the perfect handmade wardrobe win!
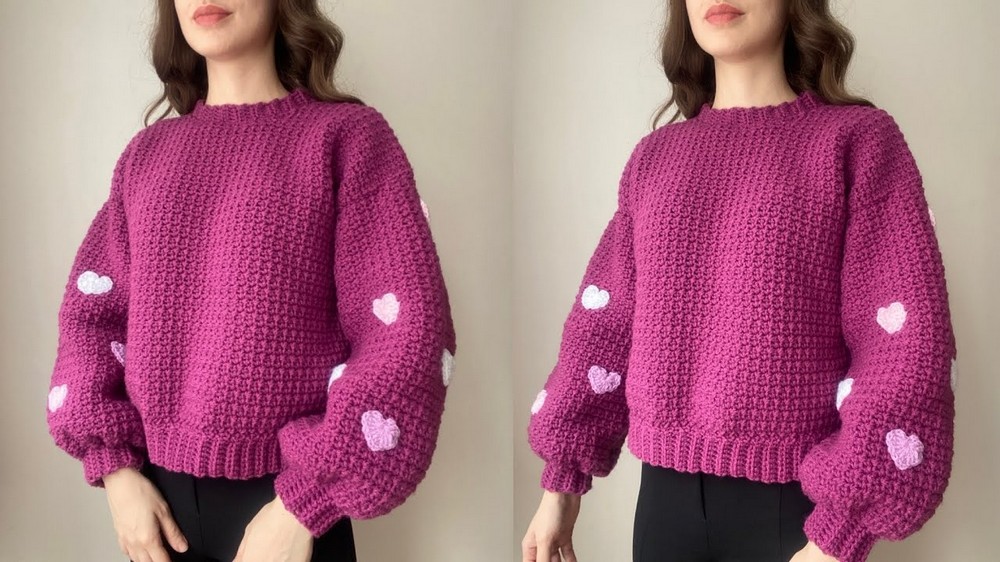
Who says cozy can’t be cute? This crocheted sweater is the perfect mix of comfort and charm, thanks to its sweet heart appliqués that bring a playful, romantic vibe to your wardrobe. Whether you’re looking to make something cute for yourself or wow your friends with a handmade gift, this pattern has you covered.
Trendy Crochet Heart Sweater Pattern for Stylish Handmade Creations
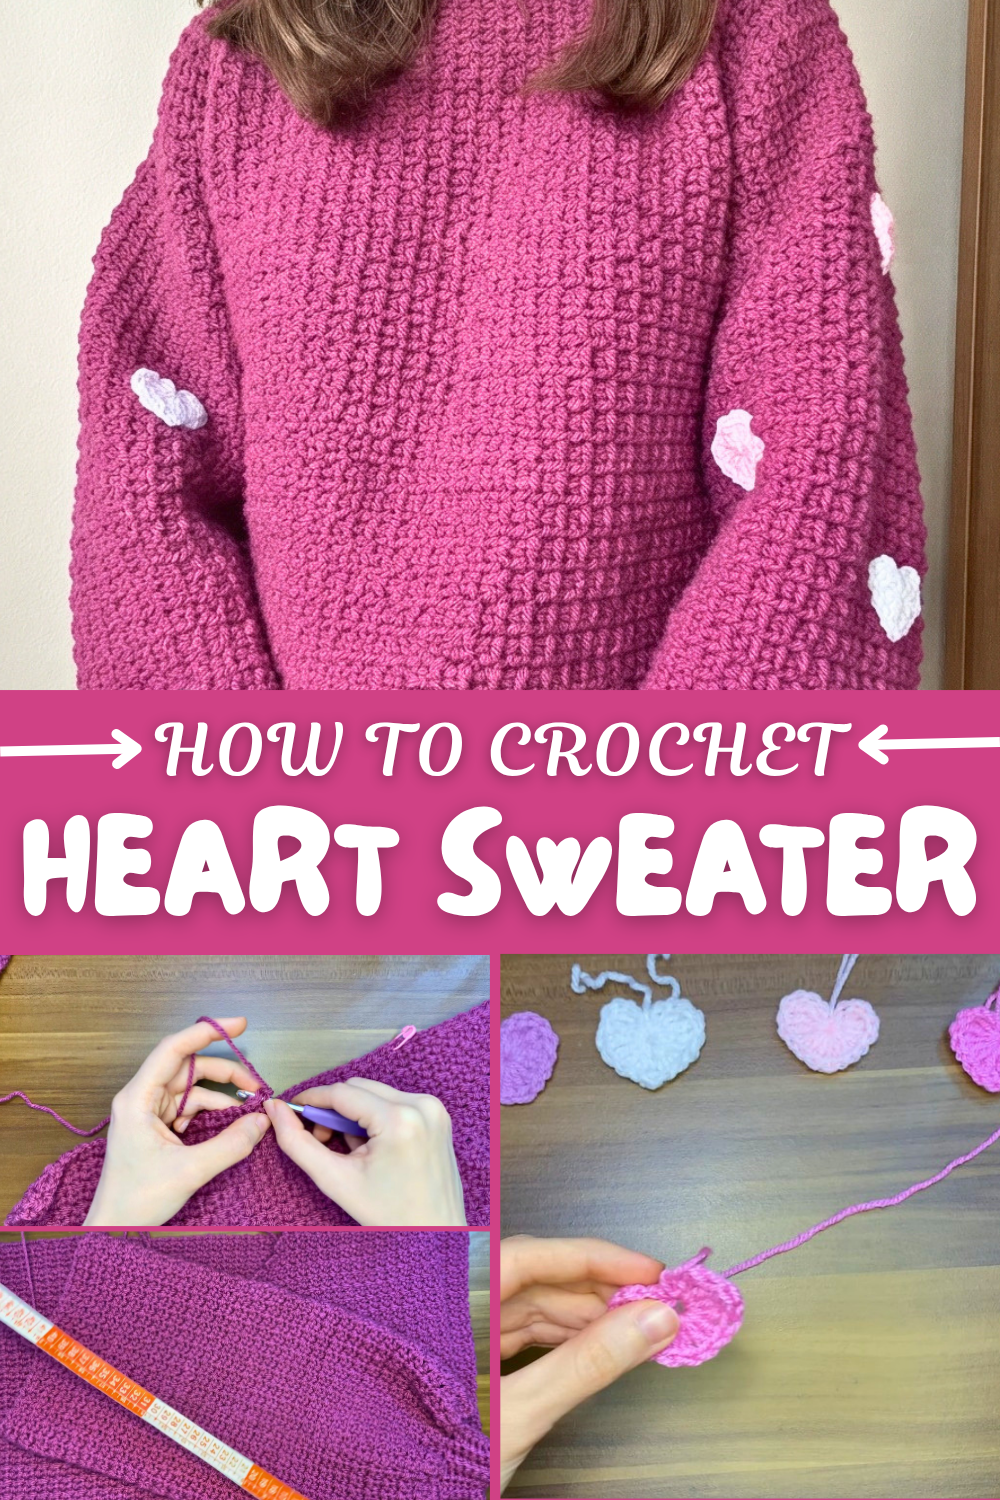
The hearts can be added to the sleeves or the front panel, giving you the freedom to design it your way—so go ahead, let your creativity shine.
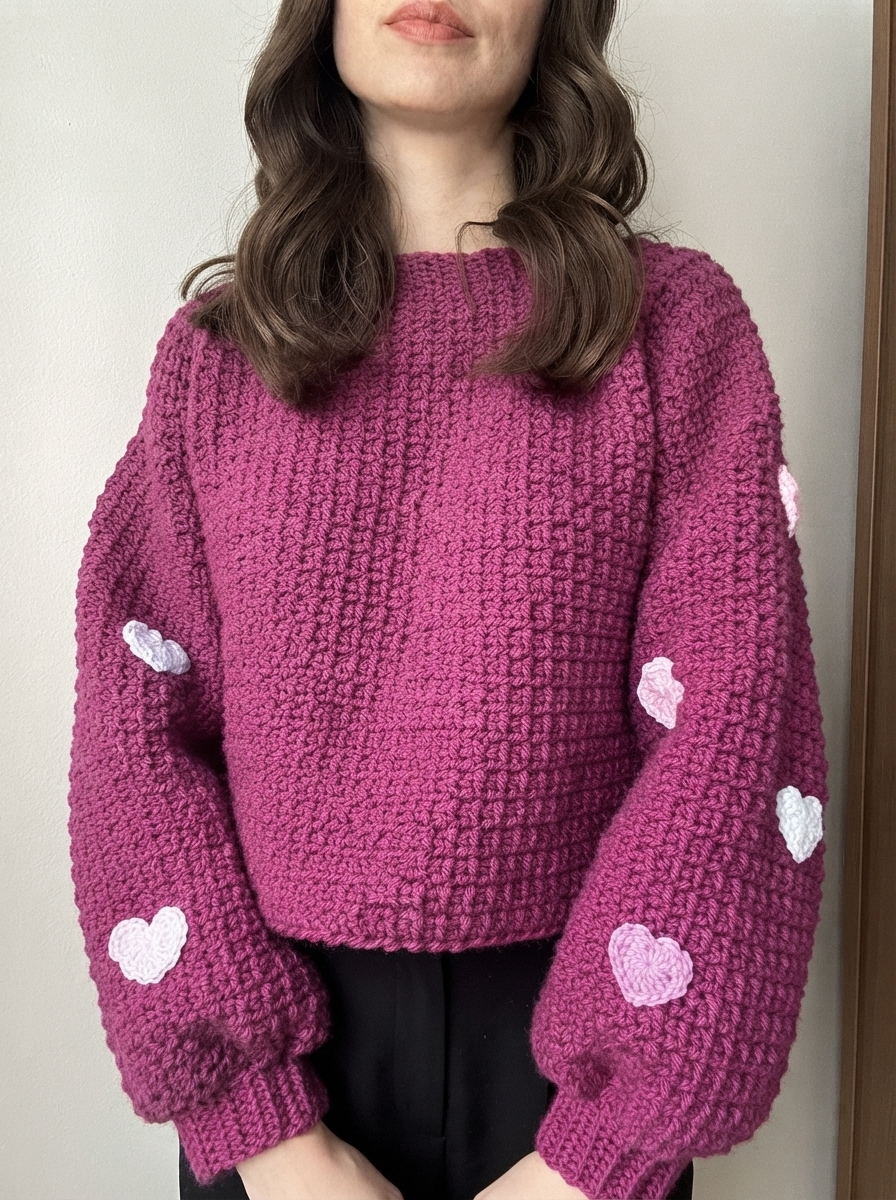
Crochet Heart Sweater
Special Features
- Beginner-Friendly Design:
- The pattern features basic crochet stitches such as single crochet, chain stitches, and slip stitches.
- There are no complex increases or decreases in most parts of the sweater, making this an ideal beginner project.
- Customizable Pattern:
- The sweater comes in a small size, but information is included for adjusting it to larger sizes.
- The hearts can be sewn onto the sleeves or front panel depending on personal preference.
- Whimsical Heart Appliqués:
- The addition of handmade heart shapes is what makes this project stand out. They give the sweater a playful and lovely design.
- Easy Finishing Details:
- Simple techniques are used to make ribbing for the cuffs, neck, and hemline, providing a polished and professional finish.
Level of Difficulty
- Beginner-Friendly:
The sweater uses basic crochet stitches throughout, making it suitable for beginners. The ribbing and heart appliqués might require some focus for new crocheters but are manageable with practice.
Tutor’s Suggestions
- Use Even Numbers for Stitch Counts:
Ensure you always begin with an even number of chains as this affects the pattern's symmetry throughout. - Markers Help with Alignment:
The instructor recommends marking specific loops during the neckline and sleeve shaping to ensure clean edges. - Stick to the Recommended Hook Size:
A 5 mm crochet hook is used throughout. Using a different size may distort the overall fit. - Crocheting Hearts Placement:
The instructor suggests adding the hearts to the sleeves, but they can also be sewn to the front panel for a different look.
Step-by-Step Instructions
1. Front Panel
- Foundation Chain:
- Start with 84 chains (even number).
- First Row:
- Skip the last chain and work single crochet (sc) into the next chain.
- Chain 1, skip one chain, and single crochet into the next. Repeat to the end of the row.
- Repeat Pattern:
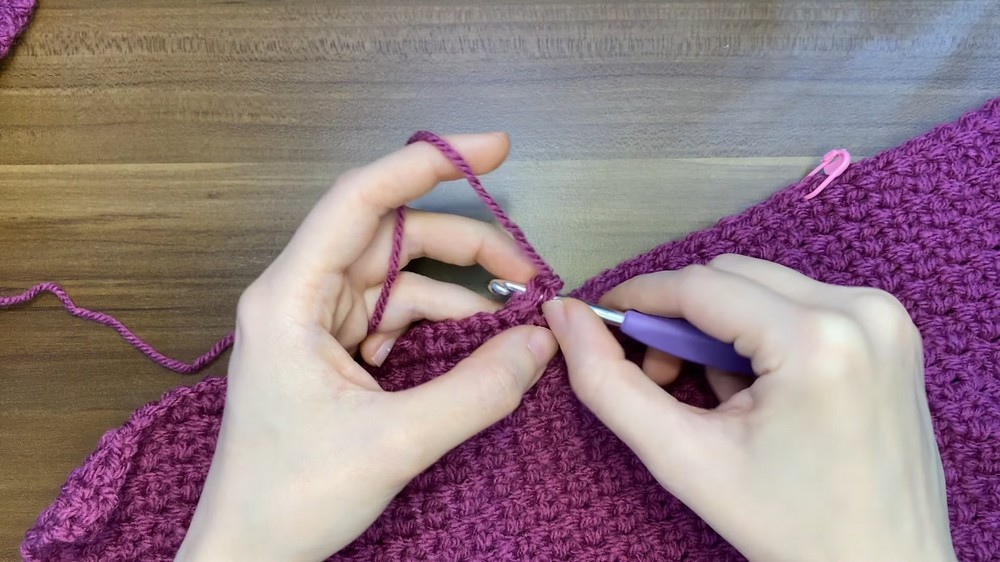
- Turn your work after each row. Continue working single crochets into the single crochets and chains into chain spaces until the panel reaches your desired length.
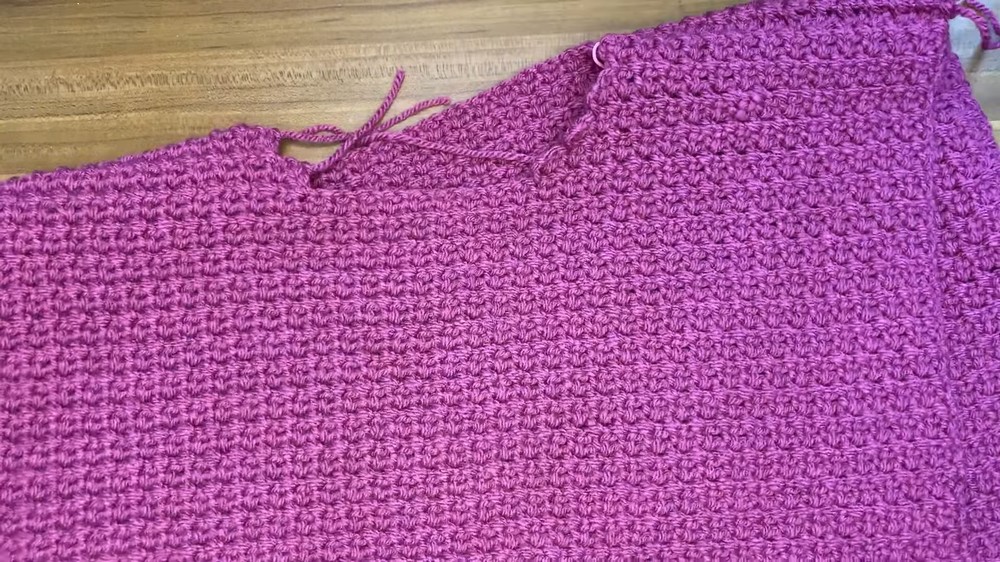
- Neckline Shaping:
- Place markers on the 33rd loops from both sides to mark the neckline width.
- Crochet up to the marker, decreasing by leaving the last 2 loops unworked in each row until the neckline shape is complete.
- After completing one side, repeat the process for the other side, ensuring symmetry.
2. Back Panel
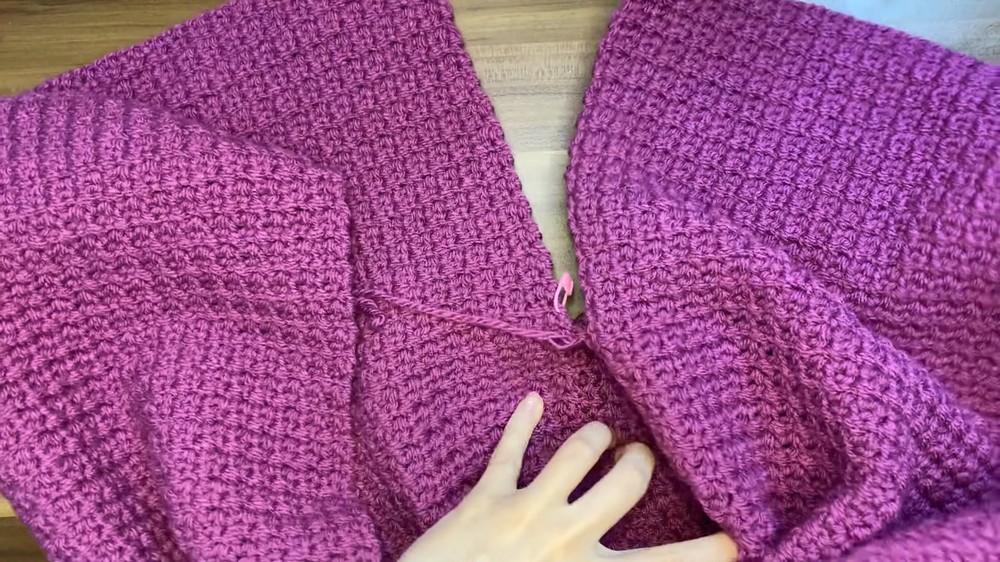
- Crochet the back panel similarly to the front panel. Use the same stitch pattern without any decreases or increases.
- Continue crocheting until the back panel has 63 rows, ensuring it aligns with the height of the front panel.
3. Sleeves
- Starting the Sleeve Ribbing:
- Chain 8 stitches, skip the last chain, and work single crochets into the other 7 chains.
- Turn and crochet into the back loop only for texture. Repeat until you have 18 ribbed rows.
- Building the Sleeve:
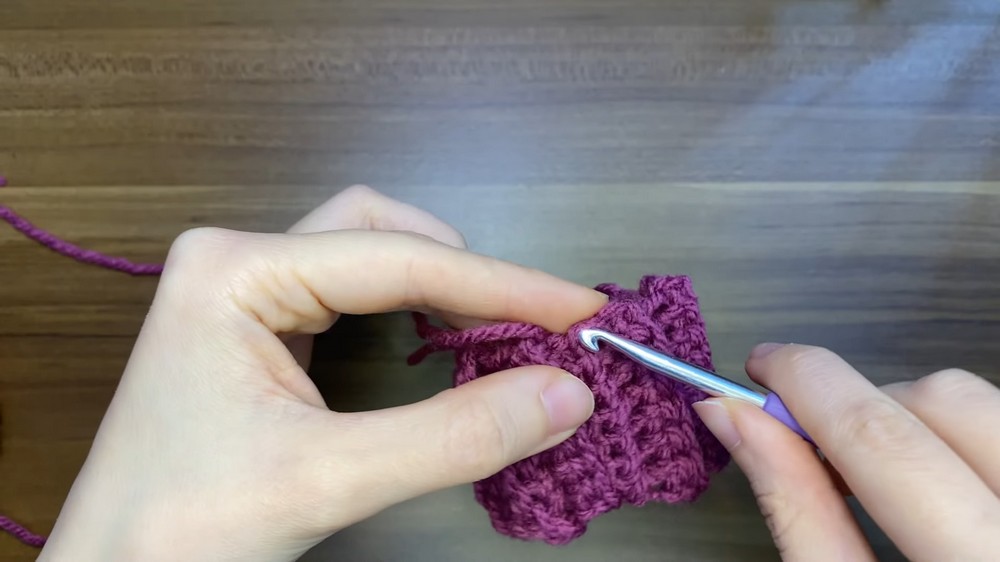
- Join the ribbing into a cuff by sewing its edges together.
- Work 74 single crochets evenly along the edges of the cuff. (For larger sleeves, increase the stitches, but keep the number even.)
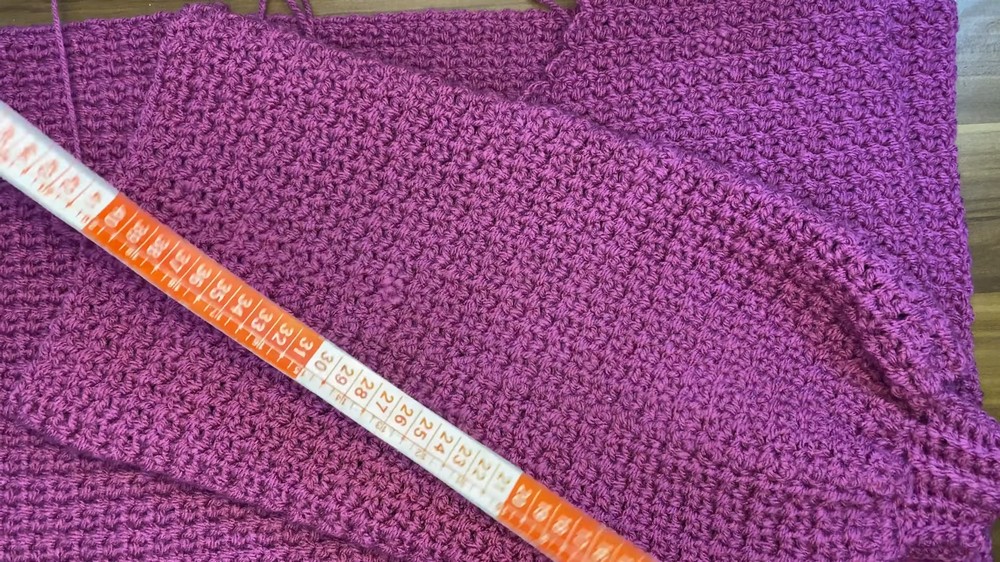
- Crochet until the sleeve length reaches the desired size (45 cm recommended).
4. Assembly
- Sewing the Panels Together:
- Sew the shoulders of the front and back panels first.
- Attach the sleeves to the armholes by sewing them carefully.
- Finally, sew the sides of the sweater, including the underarms.
5. Neckline Ribbing
- Create Ribbing:
- Chain 6 stitches and work single crochets into the chain, repeating rows until it reaches the neckline's circumference.
- Sew the ribbing around the neckline for a snug and professional finish.
6. Adding Hearts (Optional Decorative Element)
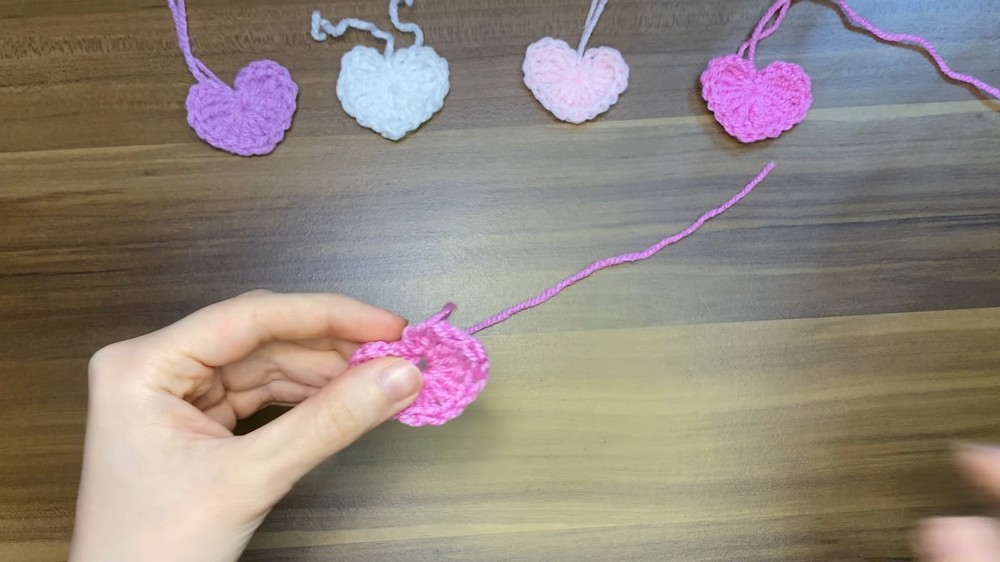
- Heart Appliqué Instructions:
- Make a magic ring and chain 4.
- Work 3 treble crochets, 3 double crochets, 1 treble crochet, 3 double crochets, and 3 treble crochets into the ring.
- Chain 3 and make a slip stitch into the ring to close the heart.
- Sew the hearts onto the sweater (sleeves or front panel) as desired.
Uses and Materials
Uses:
- The Heart Sweater is a cozy and stylish handmade garment, perfect for casual wear or gifting to loved ones.
- Its playful design with heart appliqués makes it ideal for festive occasions like Valentine’s Day.
Materials:
- Yarn: Size 5 yarn (in your color choice). Recommend contrasting shades for the sweater body and heart appliqués.
- Crochet Hook: 5 mm hook for the project.
- Stitch Markers: To help with shaping the neckline and aligning pieces.
- Darning Needle: For sewing ribbing, sleeves, and hearts onto the sweater.
Tip
- When assembling, always turn the sweater inside-out before sewing to ensure clean seams. Use stitch markers to align edges for a polished result.
Conclusion
This Heart Sweater tutorial is a fun and beginner-friendly project that allows you to practice basic crochet stitches while creating a unique garment. Its whimsical heart appliqués make it stand out among handmade sweaters, and the pattern's simplicity ensures that even beginners can achieve amazing results. With some patience and practice, you’ll have a cozy, stylish sweater perfect for chilly weather or as a heartfelt gift.