
Free Crochet Paw Print Applique Pattern
Follow this easy crochet guide to create a paw print applique that’s quick, versatile, and perfect for pet lovers on any skill level.
Handmade creations are a wonderful way to express creativity and add a personal touch to your projects. This small yet adorable crochet project is simple to make and perfect for anyone who loves heartfelt designs. It’s not just fun to create, but also a great way to show your love for pets or add a touch of whimsy to your projects.
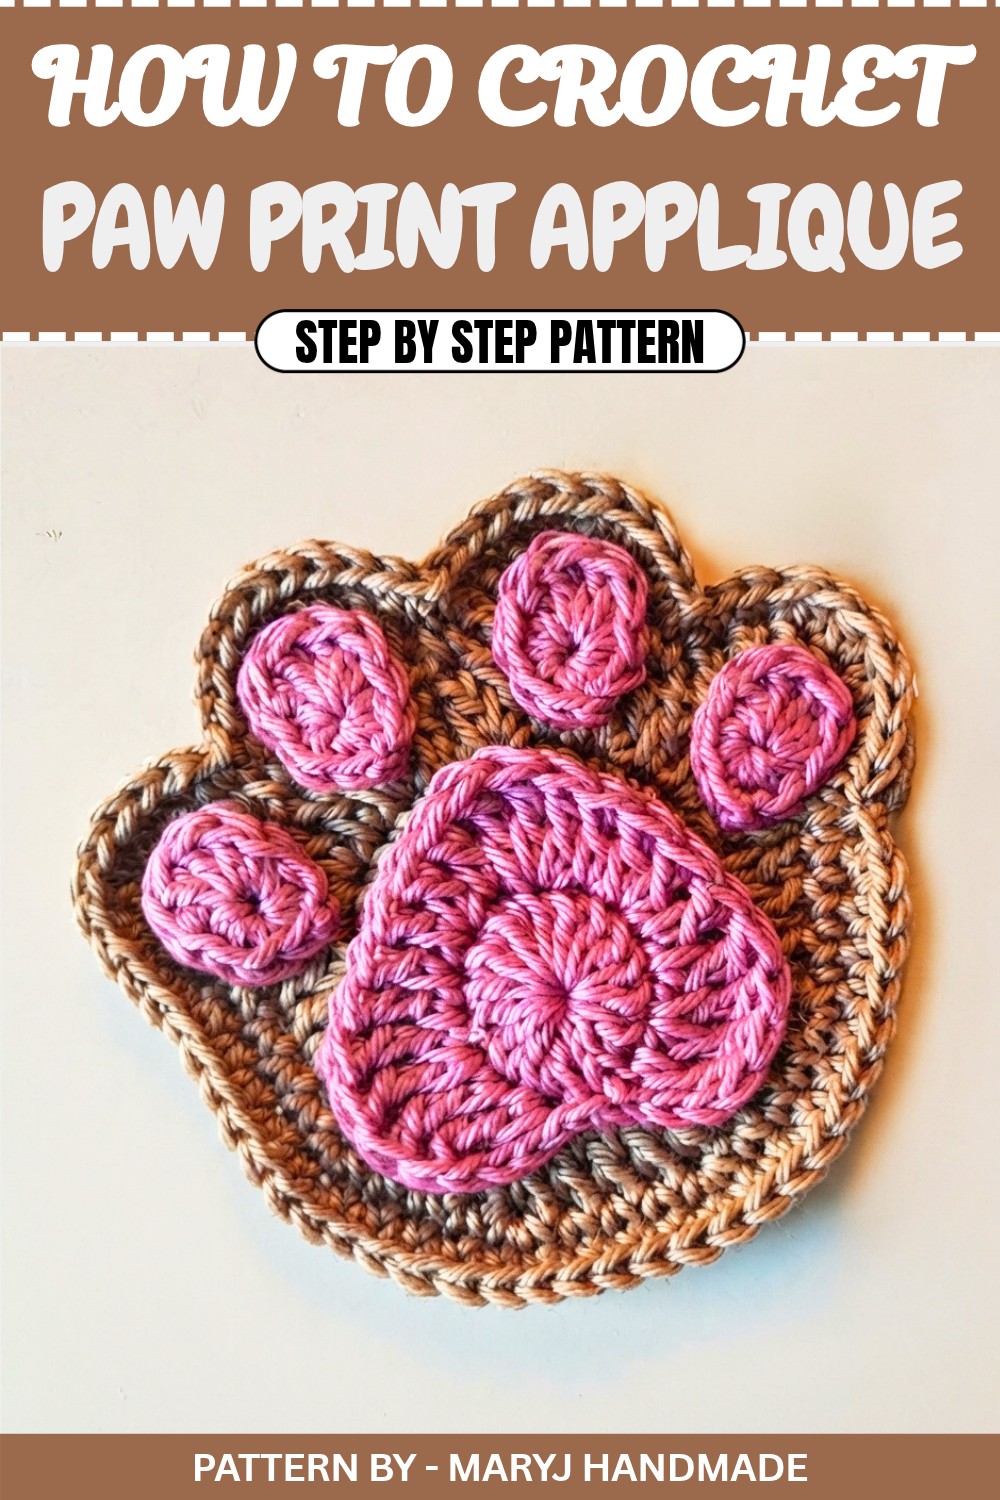
This design stands out because of its charming and lifelike shape. The rounded base, paired with four perfectly placed toe pads, forms the signature paw print that everyone recognizes. You can customize it with different colors to match your style or theme, making it perfect for decorating bags, hats, scarves, blankets, or even gifting to pet lovers. It’s also great for creating keychains or embellishments that carry a cute, personal touch wherever you go.
Crochet Paw Print Applique for Stylish Accessories
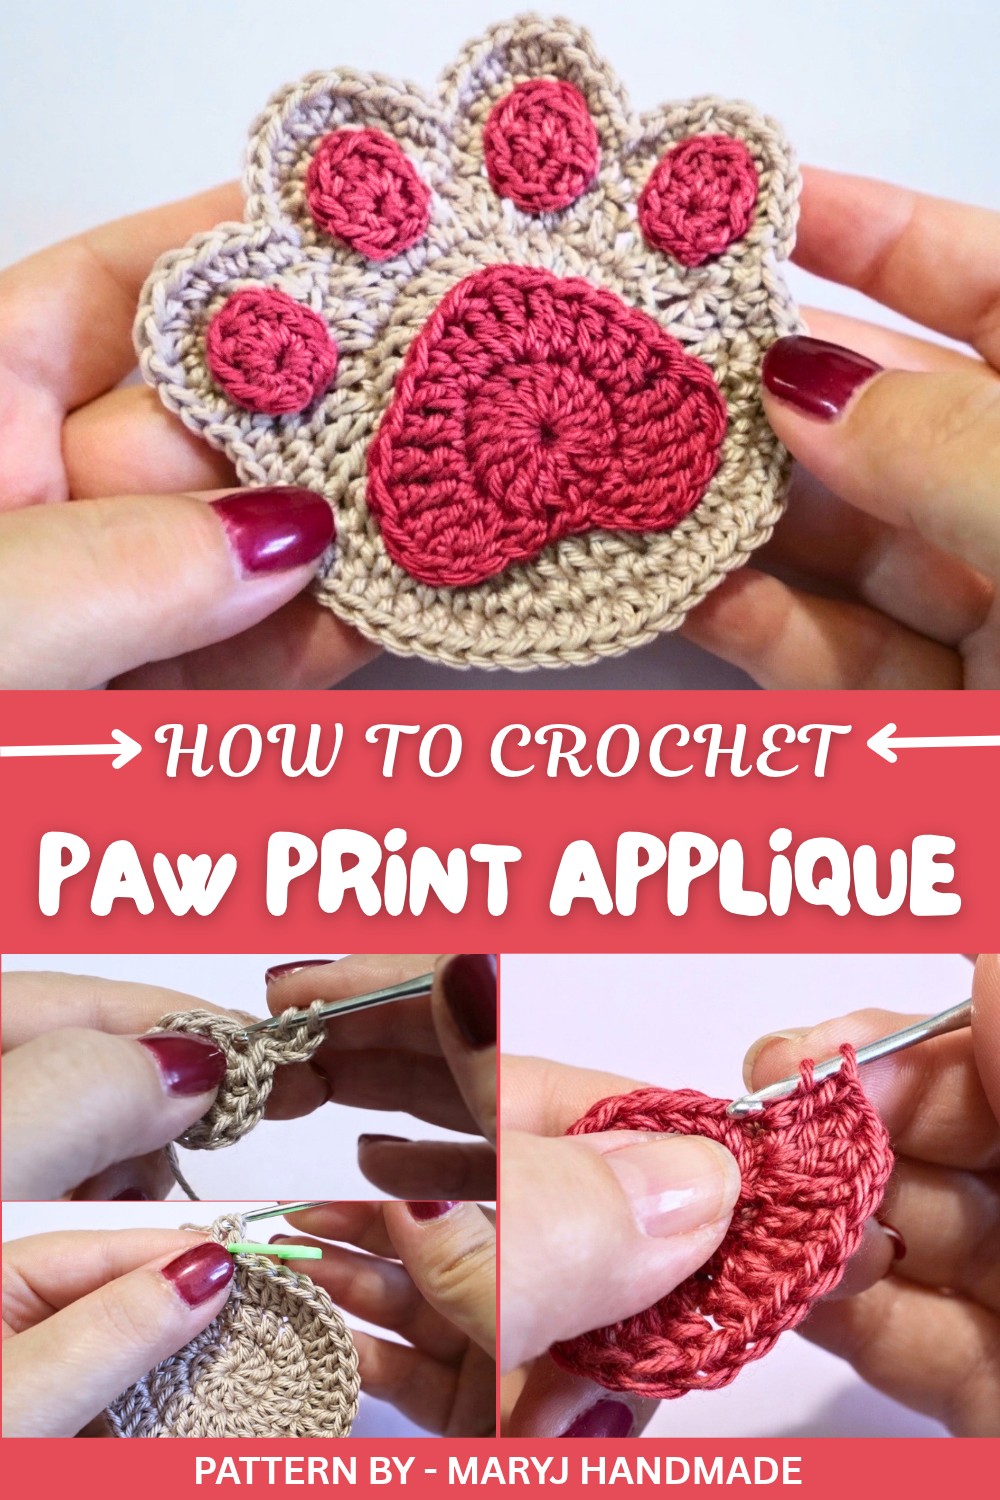
This pattern focuses on fundamental crochet techniques, such as working in rounds, double crochets, and slip stitches, making the project fun and stress free while maintaining a neat and polished finish. One standout idea from her tutorial is adding contrasting colors for a pop, making the shape of the paw print even more defined.
This project is not just about creating, it’s about bringing warmth and creativity to life. Whether you're a pet lover, a beginner in crochet, or someone looking for a quick make that’s rewarding and delightful, you’ll enjoy every step of making it. With MaryJ Handmade’s guidance, anyone can create this cute piece with confidence and a dash of joy.
Paw Print Appliqué Crochet Pattern
Add an adorable and versatile paw print appliqué to your crochet collection with this easy to follow guide. Perfect as a standalone project or as part of a larger creation, this cute paw print works up quickly, making it great for gifts, decorations, or even as a keychain if stuffed. This pattern is a remake of a previous design, now expanded with clear, step by step instructions to guide you through every part of the process.
Quick Overview of Pattern
- Project Type: Paw Print Appliqué
- Difficulty: Beginner Friendly
- Techniques Used: Magic ring, single crochet, double crochet, treble crochet, increases, decreases, slip stitch, working in spiral rounds.
- Best Use: Decorative appliqué, keychains, gifts, or embellishments for other crochet projects.
- Customization: Adjust size by changing yarn or thread weight (thicker yarn makes a larger paw print; thinner yarn makes a smaller one).
Notes
- The pattern uses US terminology throughout.
- Work with a neat and consistent tension for clean ridges and shaping.
- When working in spiral rounds, place a marker in the first stitch of each round to keep track.
- Adjust colors to suit personal style or intended purpose.
Skill Level
Beginner – Includes basic techniques like single crochet and double crochet with easy to learn increases and decreases.
Materials
- Yarn/Thread: Cotton thread, size 3 (or any desired yarn).
- Colors: Two contrasting colors of your choice.
- Crochet Hook: Size 2.5 mm.
- Other Tools: Stitch marker, scissors, tapestry needle.
Measurements
- The final paw print size will depend on the yarn and hook used. With size 3 cotton thread and a 2.5 mm hook, the approximate size is small enough for appliqué purposes or to turn into keychains.
Gauge
Gauge is not crucial for this pattern, but aim for tight and even stitches to maintain shape.
Stitch Abbreviations
- ch: Chain
- sc: Single Crochet
- dc: Double Crochet
- tr: Treble Crochet
- sl st: Slip Stitch
- MR: Magic Ring
Special Stitches
- Magic Ring (MR): Used to start rounds with a tight, closed center.
- Increase: Work two stitches in the same stitch.
The Crochet Pattern
Section 1: Base of the Paw Print (Main Pad)
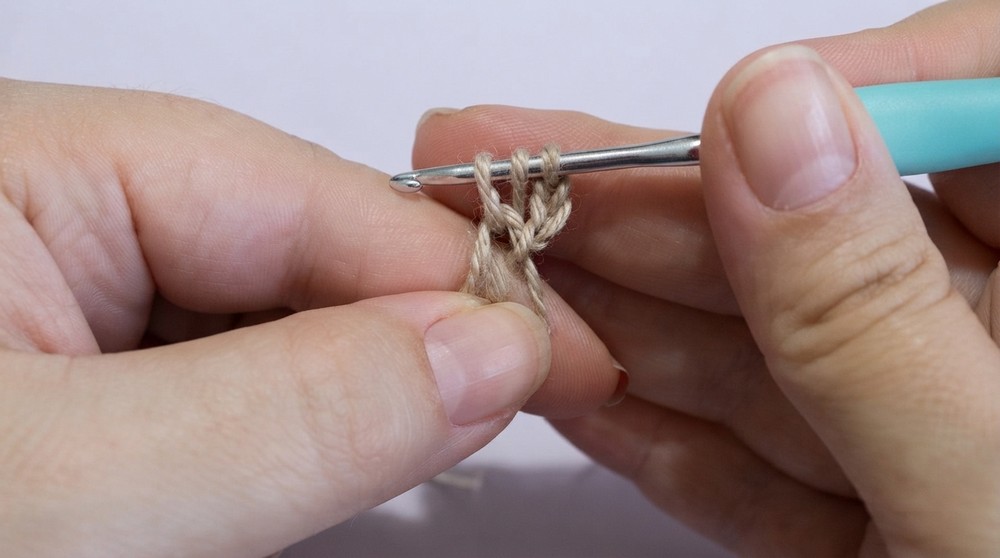
- Round 1:
- Start with a magic ring.
- Work 12 double crochet into the magic ring.
- Pull the ring tight to close and sl st to the first dc to finish the round.
- Round 2:
- Ch 2 (counts as first dc). Work 2 dc (increase) in each stitch around (12 increases).
- Total stitches: 24.
- Sl st to the first stitch to close the round.
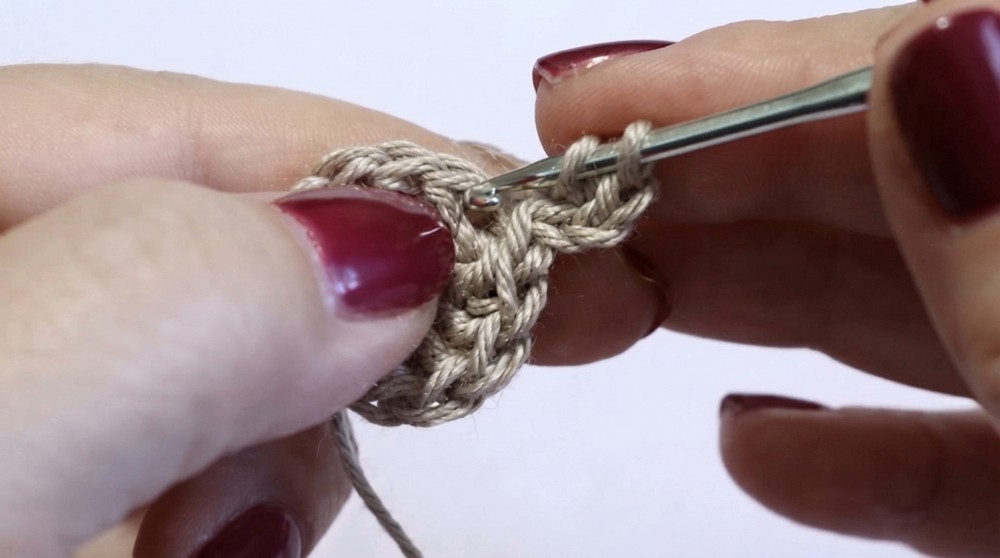
- Round 3:
- Ch 2 (counts as first dc). Work 1 dc in the next stitch, then 2 dc in the next (increase). Repeat this sequence (1 dc, 1 increase) until the end of the round.
- Total stitches: 36.
- Sl st to close.
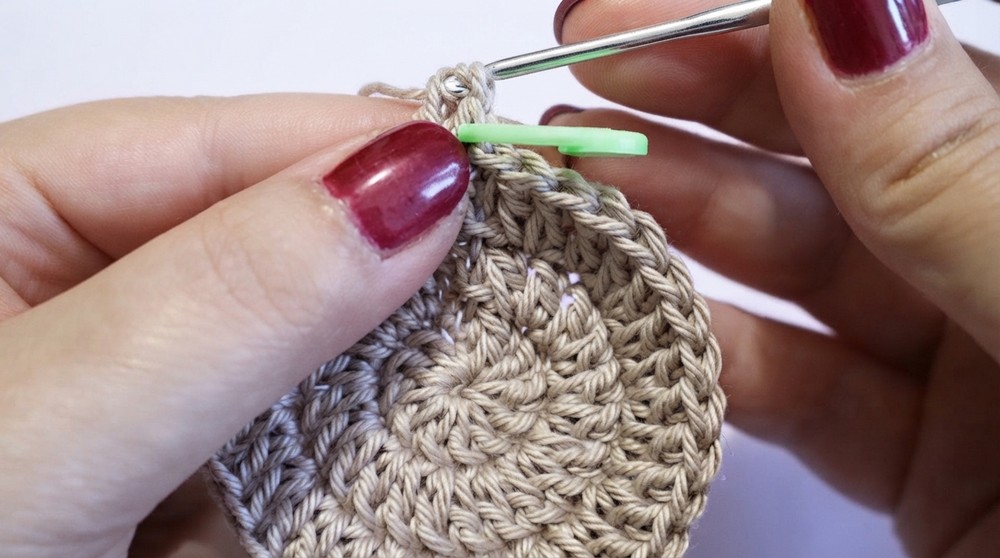
Section 2: Toes (Fingers of the Paw)
- Round 4:
- Work in spiral rounds from this point forward.
- Skip 1 stitch, then work 1 dc, 5 tr, 1 dc in the next stitch. This creates a rounded “finger.”
- Skip the next stitch and single crochet (sc) into the next.
- Repeat this sequence (1 dc, 5 tr, 1 dc, skip 1, sc) 3 more times to create 4 toes in total.
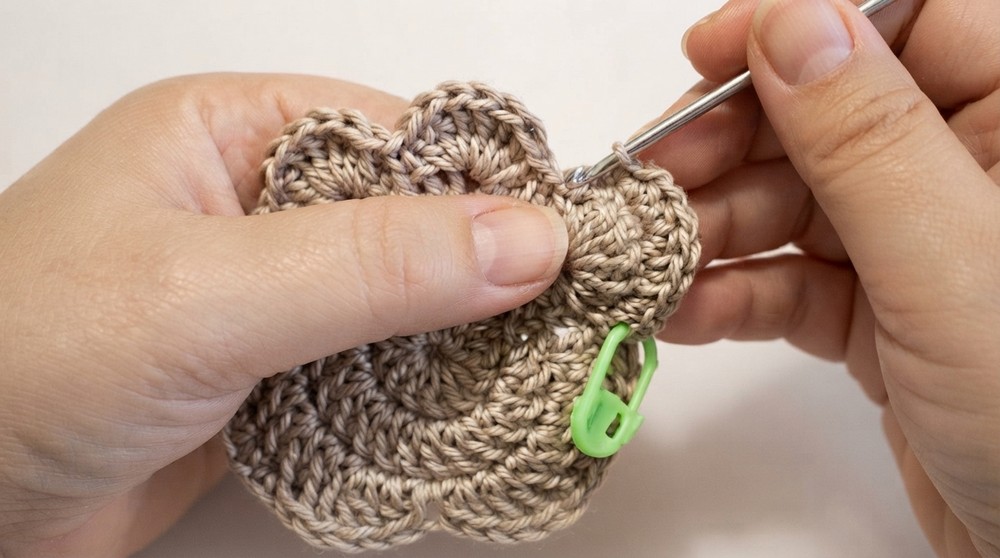
- Round 5 (Final Refinement for Toes):
- Work around each “toe” as follows:
- 1 sc in the first toe stitch (mark this as the first stitch to keep track).
- 2 sc in the second stitch of the toe for rounding.
- 1 hdc in the next stitch, then work 2 hdc in the following stitch.
- Continue with 1 hdc, 2 sc, and 1 sc in the remaining stitches around the toe.
- Sl st into the space between toes to transition to the next.
Repeat this sequence for all four toes.
- Work around each “toe” as follows:
Section 3: Small Toe Pads
- Create a small pad for each toe. (You’ll need 4 small pads.)
- Begin with a magic ring.
- Work 3 sc, 3 dc, 3 sc into the ring.
- Pull the magic ring closed, sl st to finish the round, and leave a long tail for sewing.
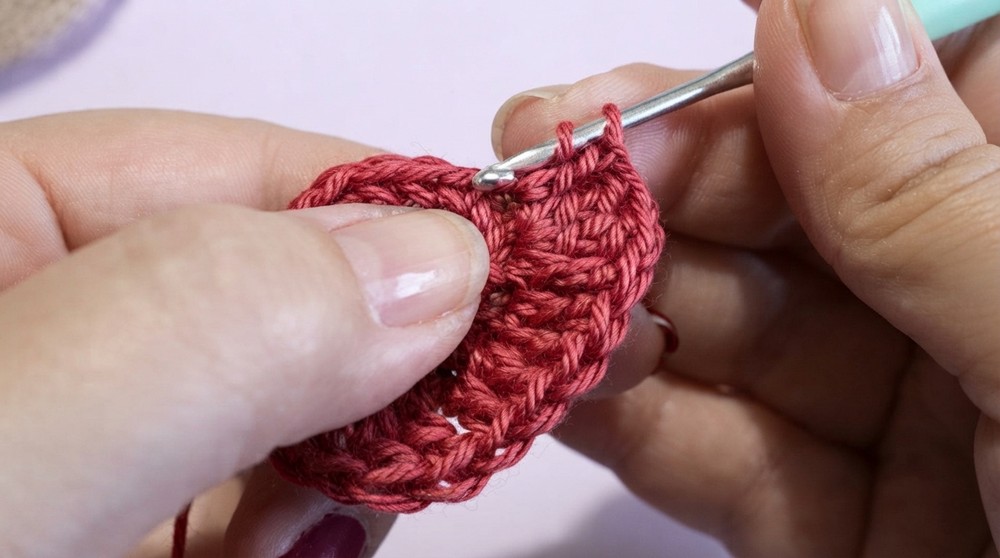
Section 4: Large Main Pad
- Start with a magic ring and work 15 dc into it.
- Pull the loop closed tightly and sl st to the first dc to complete the round.
- Round 2:
- Ch 3 (counts as tr).
- Work 1 tr into the next stitch, then 2 tr in the following stitch. Continue the sequence around as follows:
- 1 tr, 2 tr, 1 tr, 2 tr… until the round is complete.
- End with a sl st, leaving a long tail for sewing.
Assembly & Finished Size
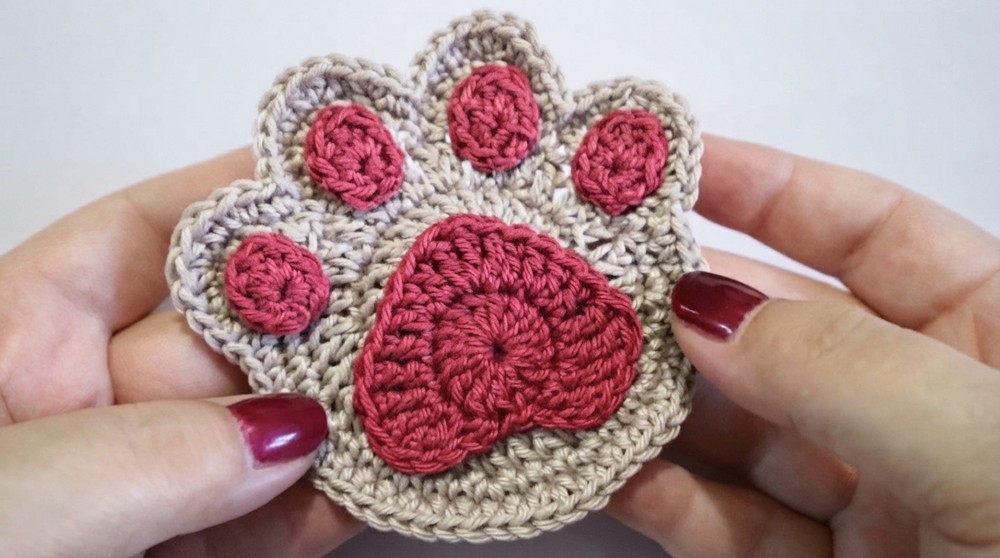
- Lay the main pad flat on a surface. Sew the small toe pads onto the upper part of the main circle, spacing them evenly to resemble paw toes.
- Ensure each small pad is securely affixed by weaving the tail through the back of the main pad multiple times.
- Optionally, stuff the paw print with fiberfill (if creating a pillow or keychain) before sewing the edges together.
- Trim any excess threads and secure all tails.
Conclusion
Congratulations, You’ve just completed your own paw print appliqué with this easy to follow crochet pattern. Whether you plan to use it as a decoration, gift it to a fellow pet lover, or attach it to an accessory, this little piece is sure to bring joy.