
Unique Crochet Puppy Paw Earrings Pattern for Playful Outfits
Show off your puppy pride while solving gift dilemmas using a Free Crochet Puppy Paw Earrings Pattern for cute, trendy looks.
When I set out to make these crochet earrings, I wanted to create something playful and heartwarming, and that’s exactly what happened with this little puppy paw design. Using double crochet, slip stitches, and magic rings, the pattern shapes out the paw with soft curves and cute pads that feel friendly and inviting. The stitches combine to give the piece a textured look that’s both simple and charming, making these earrings an adorable accessory for animal lovers or anyone wanting a touch of fun in their style.
You Can Crochet Puppy Paw Earrings Pattern for Dog Lovers
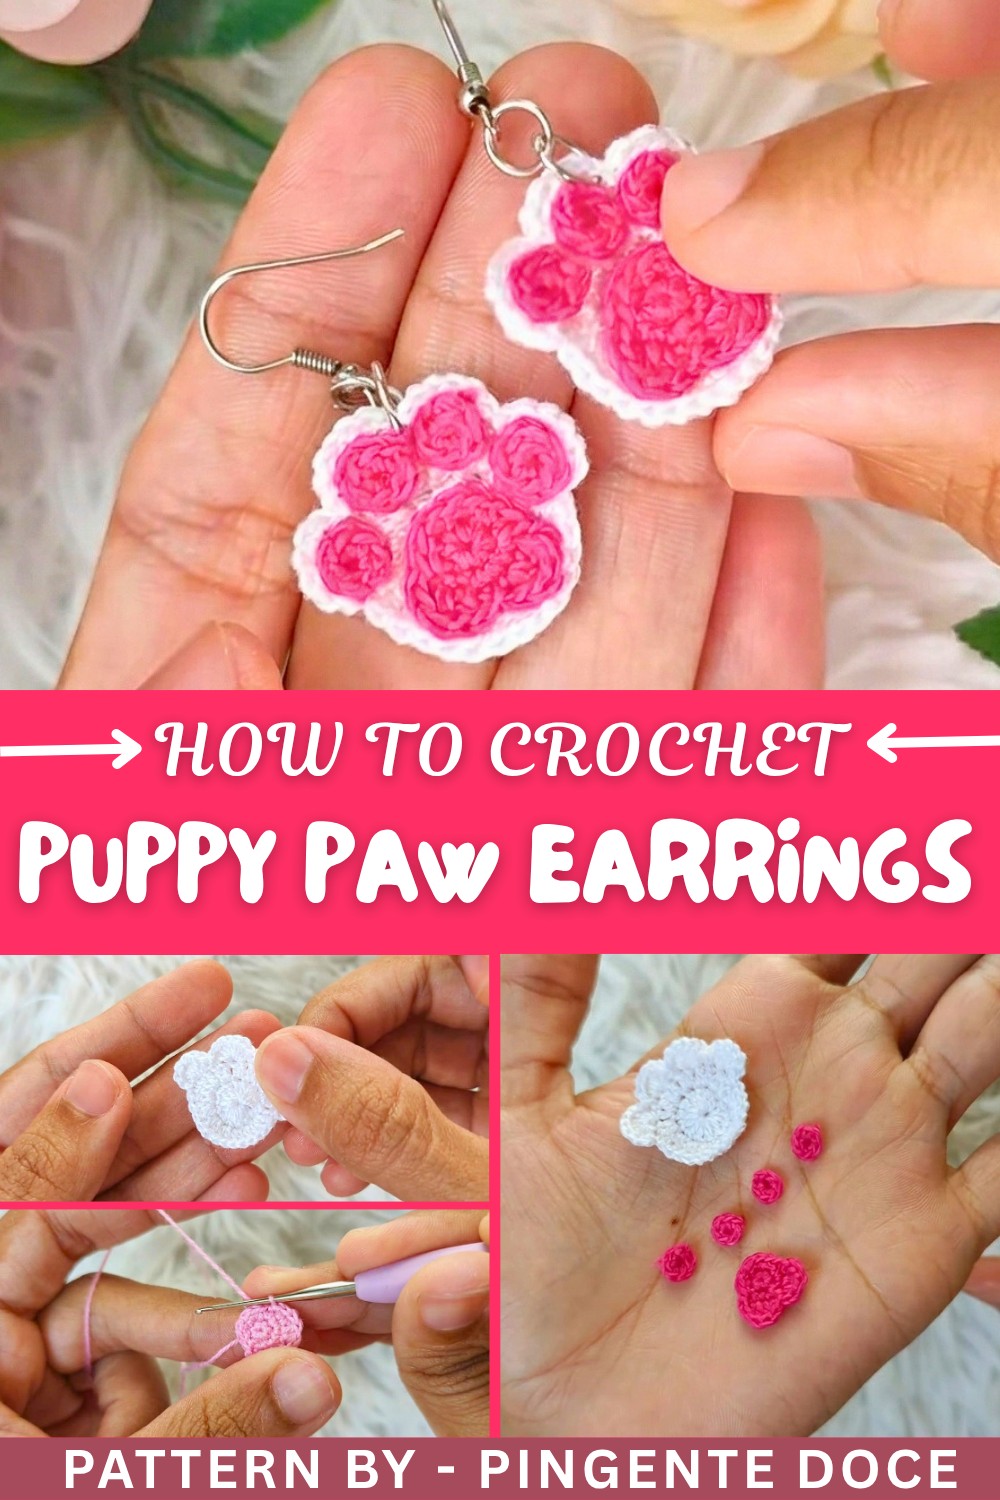
These tiny paws are light and easy to wear, perfect for everyday use or as a special gift that shows thoughtfulness. The pattern is beginner-friendly, guiding you stitch by stitch to create each paw segment and then assemble them with basic sewing and fabric glue. The use of color changes helps highlight the details, giving the paw a lively contrast that stands out nicely when worn. Plus, working with a fine 1 mm needle and thin yarn lets you create tiny, delicate pieces that look professional and neat.
More Creative Projects from This Pattern
This puppy paw design can be adapted for other fun crafts beyond earrings. Make a set of brooches or pins to decorate backpacks, hats, or jackets. Larger versions could become cute coasters or appliques for blankets and pillowcases. Pairing them with other animal paw designs or pet-themed shapes can build a charming collection that celebrates your love for furry friends in many creative ways.
Crochet Paw Earring Pattern
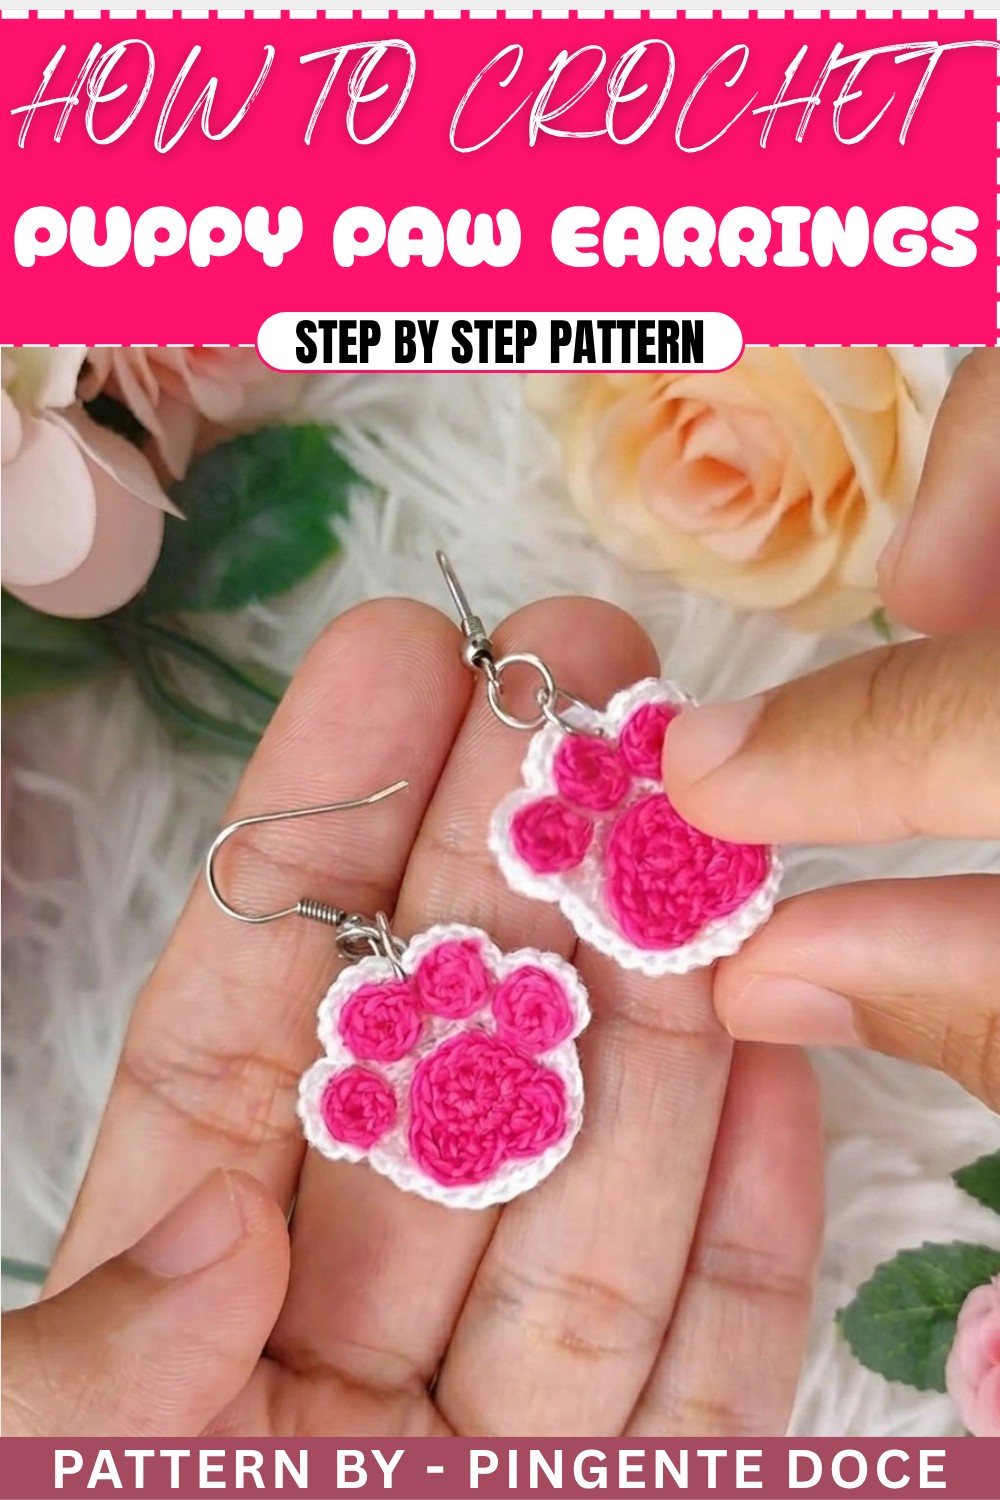
This adorable crochet pattern creates a cat or puppy paw-shaped earring, perfect for pet lovers! It’s a quick and fun project, ideal for accessorizing, gifting, or making decorative keychains. The simple and clear instructions make it an enjoyable project for beginners and experienced crocheters alike.
Introduction
Create a paw-shaped crochet earring with this step-by-step pattern, perfect for any animal lover! The design features a detailed paw pad made using magic rings and a combination of double crochets and medium stitches. This lightweight and customizable earring is great for casual wear, crafting gifts, or even selling as part of handmade collections.
Uses of This Pattern
- Fashion Accessories: Show your love for pets with these charming paw earrings.
- Gifts for Pet Lovers: A perfect handmade item for friends and family who adore animals.
- Keychains or Charms: Transform the pattern into keychains or bag charms by adjusting the size.
- Selling Handmade Items: An excellent idea for small craft businesses, especially during festive or themed markets.
Skill Level & Terminology
- Skill Level: Beginner-friendly. Basic knowledge of stitches like double crochet, slip stitch, and magic ring is required.
- Terminology: U.S. crochet terms
Materials & Tools
- Thread: En brand yarn or any thread of your choice (in two colors: base and detail color).
- Crochet Hook: 1 mm crochet hook (ensure it matches the size of your yarn/thread).
- Additional Tools: Scissors, pliers, earring hooks, hoops, and fabric glue for assembly.
Gauge
Gauge is not critical for this project. Ensure the tension is tight enough to create a firm and neat paw shape.
Abbreviations List
- MR: Magic Ring
- ch: Chain
- sc: Single crochet
- sl st: Slip stitch
- m st: Medium stitch
- dc: Double crochet
Special Stitch Instructions
- Magic Ring (MR): Make a loop with the yarn, insert the hook into the loop, pull up a loop, and chain to secure. Stitches are worked into the ring, which is tightened by pulling the yarn tail.
- Medium Stitch (m st): Yarn over, insert the hook into the stitch, pull up a loop, and pull through all three loops on the hook at once.
Finished Size
The finished crochet paw earring is approximately 1.5 inches in diameter, including the paw details.
Pattern Overview
This earring design consists of a larger paw pad with smaller circles for the toes, assembled using fabric glue and earring components. The paw shape is completed with layers of double crochet and medium stitch detailing. Let’s get started!
The Pattern Itself
Part 1: Creating the Large Paw Pad (Round 1)
- Magic Ring: Start with MR and make 2 ch (counts as the first part of the round).
- Double Crochet Cluster: Work 12 dc into the ring.
- Close the Round: Tighten the magic ring and secure the round with a sl st in the first dc.
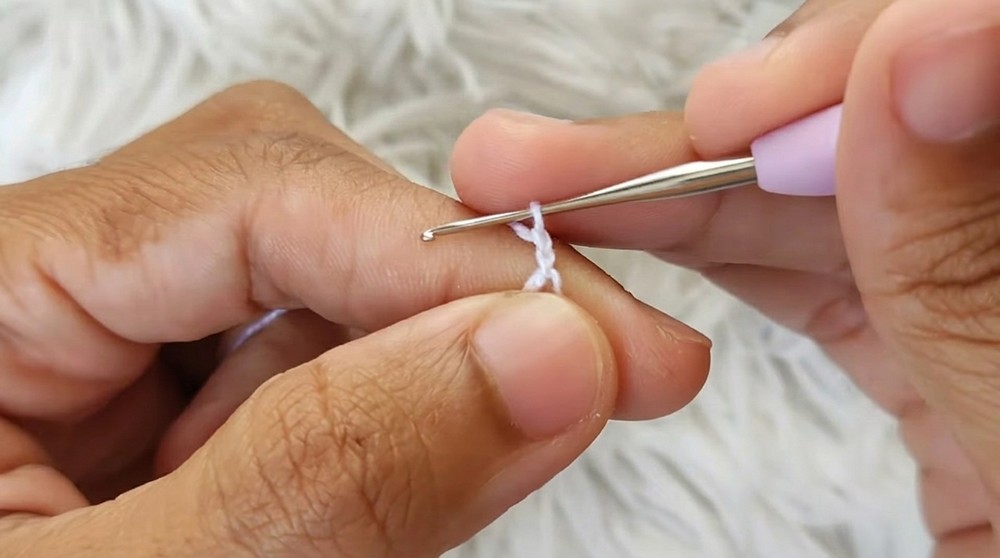
Explanation: This step creates the center of the paw pad. The magic ring method ensures a neat, circular base.
Part 2: Increasing the Paw Pad (Round 2)
- Chain and Start Increases: Work 2 ch and 2 dc in the same stitch.
- Increase for Every Stitch: Work 2 dc in each base stitch around (24 stitches total).
- Slip Stitch to Join: Skip the 2 initial chains and make a sl st in the first dc, securing the round.
Explanation: Adding increases in every stitch builds the size of the larger paw pad. Ensure the tension remains consistent for a smooth finish.
Part 3: Creating the Paw's ‘Toes’
- First Toe Cluster:
- Skip a Stitch: Skip the first base stitch.
- Insert the hook into the following stitch and work 6 dc into the same stitch.
- Make a sl st in the next stitch to anchor the toe cluster.
- Continue Toe Repeats: Skip one base stitch and make 6 dc in the next stitch; anchor with a sl st.
- Repeat this sequence a total of four times to form all the toes. Each segment should have a cluster of 6 double crochets worked into one base stitch.
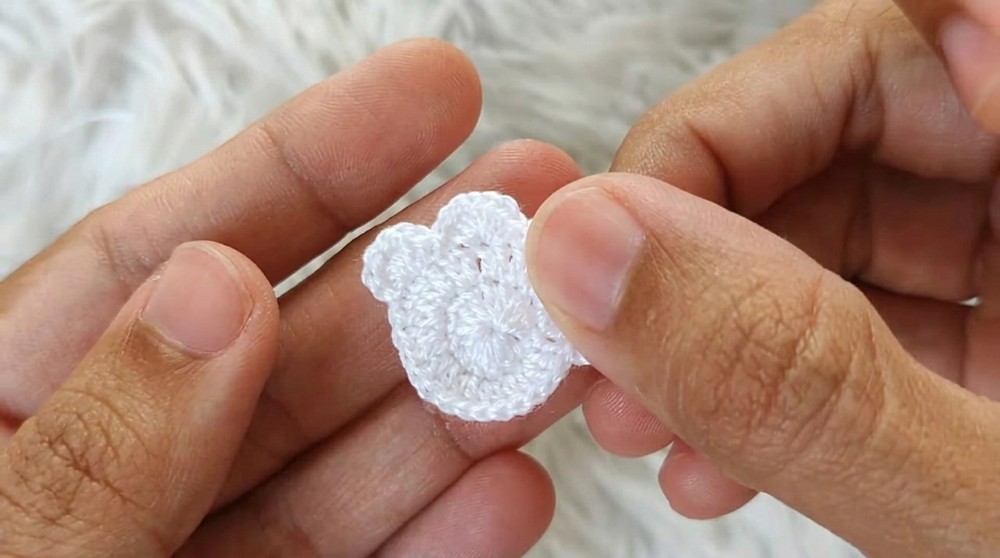
Explanation: The 4 toe clusters create the signature paw shape. Ensure the placement is even for symmetry.
Part 4: Detailed Toe Pads
- Small Circles:
- Use a different colored thread and create a MR with 6 sc inside it.
- Pull the magic ring closed and finish with a sl st in the first single crochet.
Explanation: These small circles create the detailed toe pads for the paw. Make four identical toe pads, ensuring they match in size.
Part 5: Assembling the Paw
- Attach Toe Pads to the Base: Use fabric glue to attach the small toe pads onto the larger paw base. Position them evenly above the toe clusters.
- Secure Edges: Ensure the glue is applied neatly along the edges to avoid visible marks.
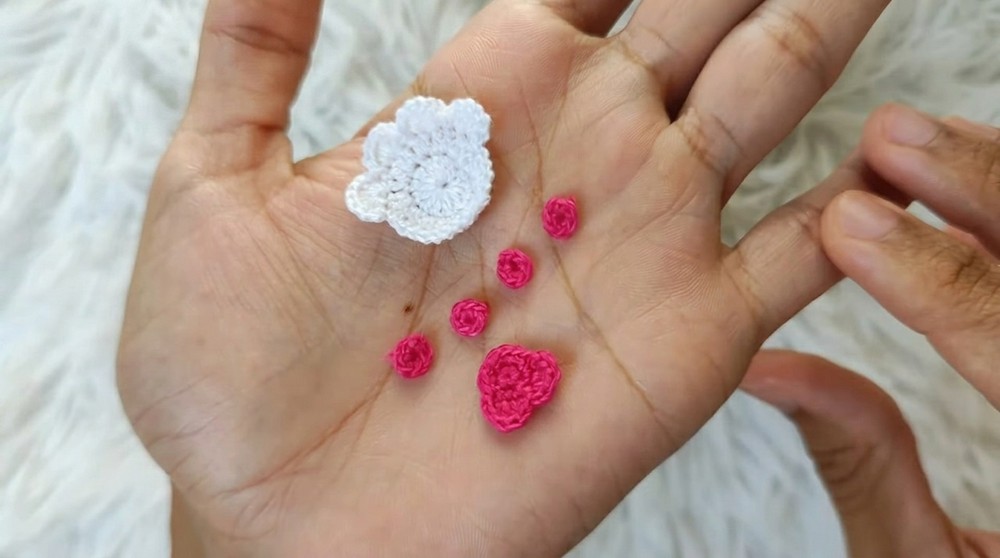
Explanation: This step brings all parts together to form the complete paw design. Adjust the placement of each piece carefully before the glue dries.
Assembly & Finishing
- Stiffen the Piece: Mix fabric glue with a small amount of water and apply it to the back of the assembled paw shape. Let it dry fully to create a sturdy finish.
- Adding Earring Hardware:
- Use pliers to attach hoops to the top of the paw earring.
- Secure the earring hooks to the hoops to complete the design.
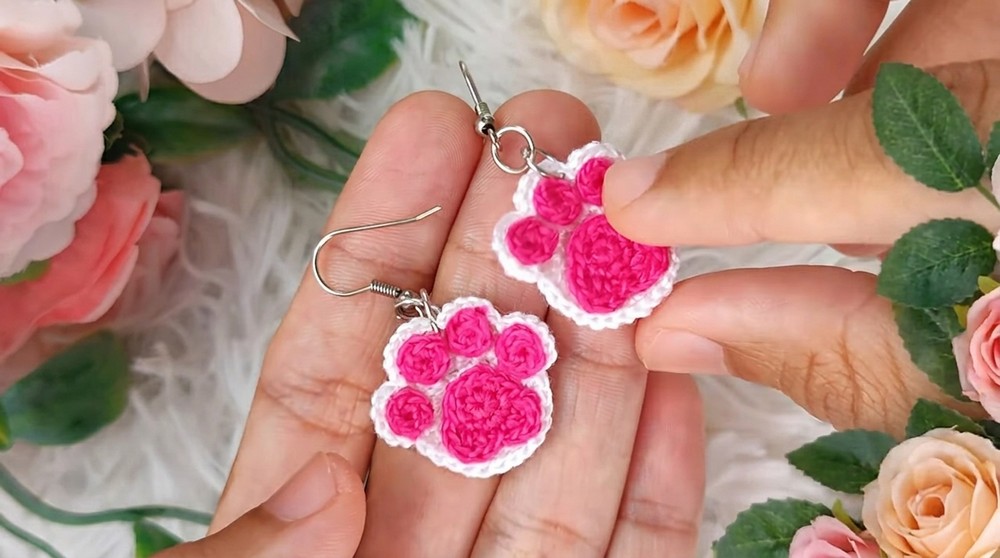
Explanation: These steps turn the crochet paw into functional earrings. Let the glue dry fully before adding the hardware to avoid shifting or staining.
What You’ll Learn
- Magic Ring Technique: Create seamless, circular openings with this foundational method.
- Cluster and Increase Techniques: Build larger shapes through careful stitch placement.
- Assembly Skills: Learn how to combine crochet with jewelry-making by adding hoops and hooks.
Pattern Difficulties and Solutions
Common Challenges:
- Maintaining even tension while working clusters or increases.
- Achieving symmetrical toe placement during assembly.
- Properly attaching earring hardware without damaging the threads.
Solutions:
- Use stitch markers to keep track of increases and ensure even spacing.
- Position all toe pads before gluing to confirm symmetry.
- Handle pliers and hoops carefully to avoid snagging or breaking crochet stitches.
Why You’ll Love This Pattern
This crochet paw earring pattern is easy to follow, fun, and allows you to express your love for pets through handmade creativity. The pattern is highly customizable, making each piece unique with different thread colors or sizes. Whether it’s a gift for a pet enthusiast or a personal accessory, this paw earring pattern is sure to bring joy and charm to anyone who wears it.