
Try This Unique and Easy Crochet Clutch Bag Pattern
Leave your heavy backpack at home and carry an amazing crochet clutch bag that fits your phone cash and lip gloss for every fun party night out.
There’s something so delightful about creating an elegant and practical clutch bag with your own hands. This crochet clutch is not only beautiful but also a versatile accessory suitable for both kids and adults. Its sleek design and charming texture make it the perfect companion for any occasion, whether it’s a casual outing or a special event. Plus, the size and shape can be customized to your liking, make it a petite clutch for essentials or scale it up for a bold statement piece.
Perfect Handmade Crochet Clutch Bag for Any Style
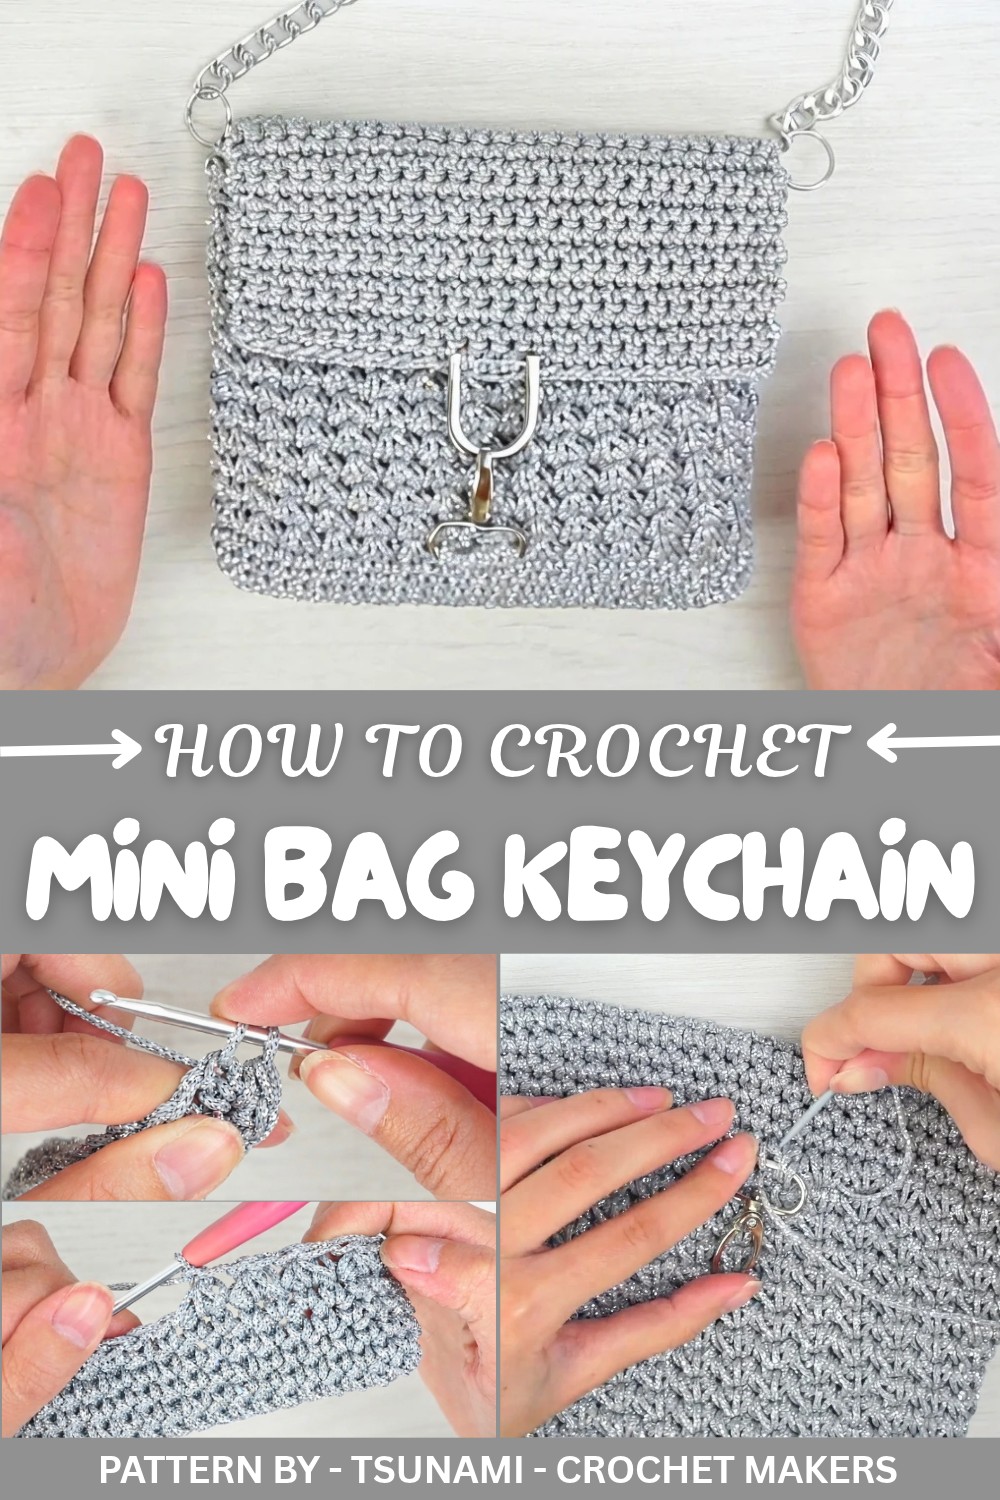
The standout feature of this project is the gorgeous clover stitch (or trifoglio stitch), which creates an intricate yet simple texture. This design element gives the bag its unique appeal without making it overly complicated to crochet. You’ll work in the round using techniques like single crochet, slip stitches, and the clover stitch, ensuring a smooth and polished finish. As you progress, you'll create a lovely oval base transitioning seamlessly into a structured yet soft body. The added flap closure, complete with a lobster clasp or a decorative ring, is both functional and stylish.
This project is presented by TSUNAMI - Crochet Makers, a channel dedicated to crocheting high quality, easy to follow crochet tutorials. Their step by step instructions make even complex looking patterns like this one approachable for all skill levels. The video encourages personalization, allowing crocheters to vary the size, shape, and even the fastening details to suit their style.
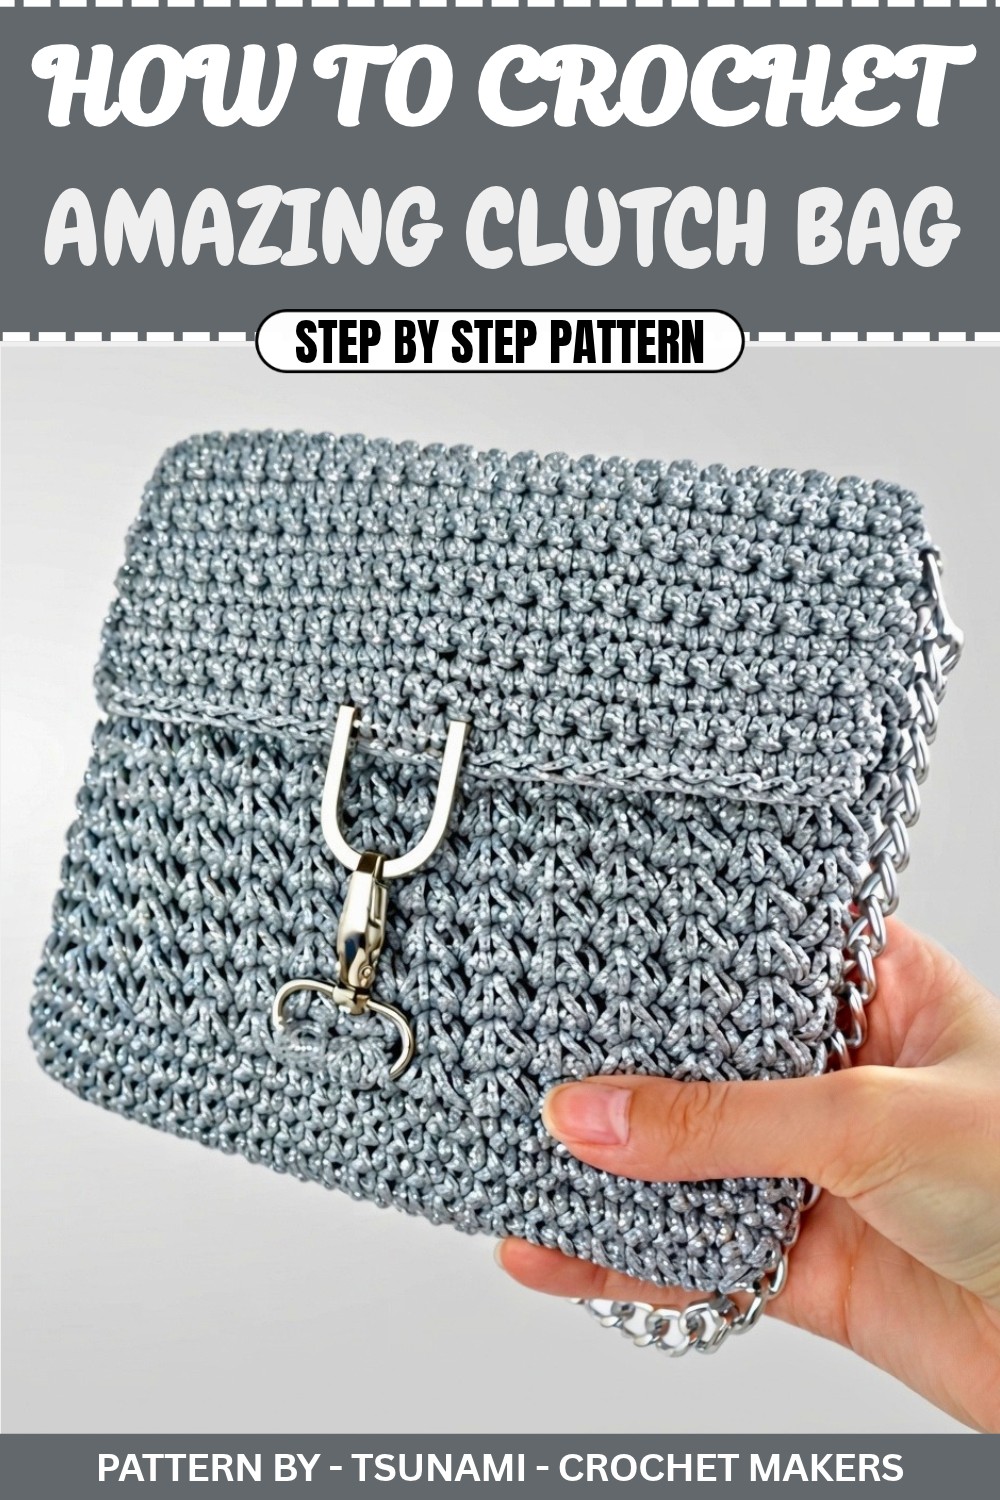
Whether you’re looking for a cute gift, a useful accessory, or a fun creative challenge, this clutch bag delivers on all fronts. Stylish, simple, and quick to complete, it’s a must try project for any crochet enthusiast.
Simple Crochet Crossbody Bag — Step by Step Pattern
Quick Overview of the Pattern
- Create a simple crossbody bag with a Clover Stitch pattern for texture.
- Features a flap with a closure mechanism using a moschettone (snap hook) and loop.
- The bag’s size is adjustable to suit your needs.
Notes
- Adjust the number of foundation chains to make the bag smaller or larger.
- Work the bag in continuous spirals to avoid seams.
- Use a crochet stitch marker to keep track of rounds for accuracy.
Skill Level
Beginner to Intermediate
Materials
- Yarn: Medium weight yarn (approx. 150–200 g).
- Hook: 3.5 mm crochet hook.
- Closure: Moschettone (snap hook) and loop.
- Extras: Stitch marker, yarn needle, and scissors.
Gauge
Gauge may vary depending on the yarn, but for reference:
10 sc x 10 rows = 10 cm x 10 cm.
Stitch Abbreviations
- ch = chain
- sl st = slip stitch
- sc = single crochet
- Clover Stitch = explained below
Special Stitches
Clover Stitch
- Insert hook into the first stitch, yarn over, and pull up a loop (do not close the stitch).
- Insert hook into the next stitch, yarn over, and pull up another loop (do not close the stitch).
- Insert hook into the third stitch, yarn over, and pull up another loop (4 loops on hook).
- Yarn over and pull through all 4 loops at once.
- Chain 1 to secure the stitch.
The Crochet Pattern
Step 1: Create the Base
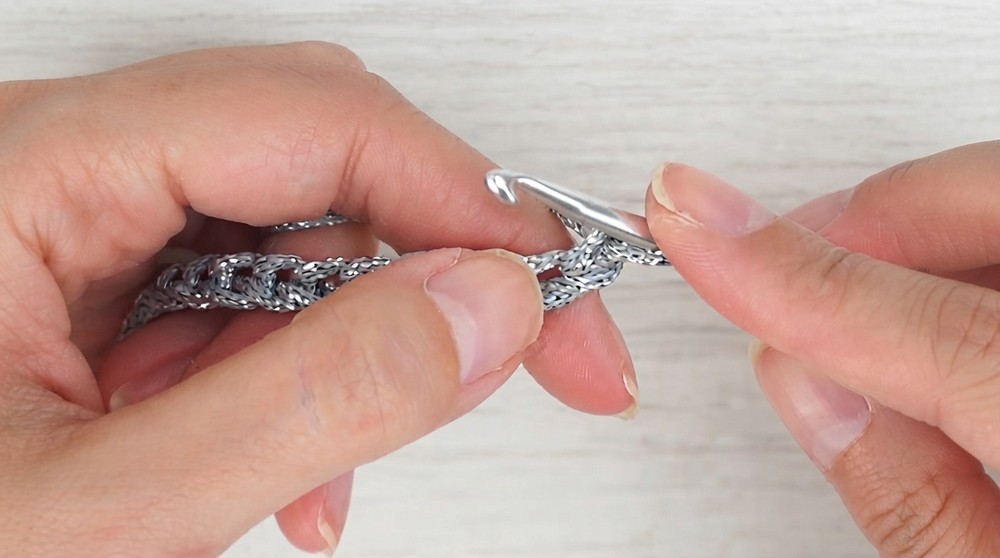
- Foundation Chain: Make 26 chains.
- Row 1 (Starting Side):
- Starting from the second chain from the hook, work 1 sc in each chain across.
- Row 1 (Opposite Side):
- In the last chain, work 3 sc to turn the corner (you are now working on the opposite side of the foundation chain).
- Work 1 sc in each chain across on the opposite side.
- At the end of the row, work 2 sc into the last chain (total of 3 sc in the corner).
- Begin Spiral Rounds:
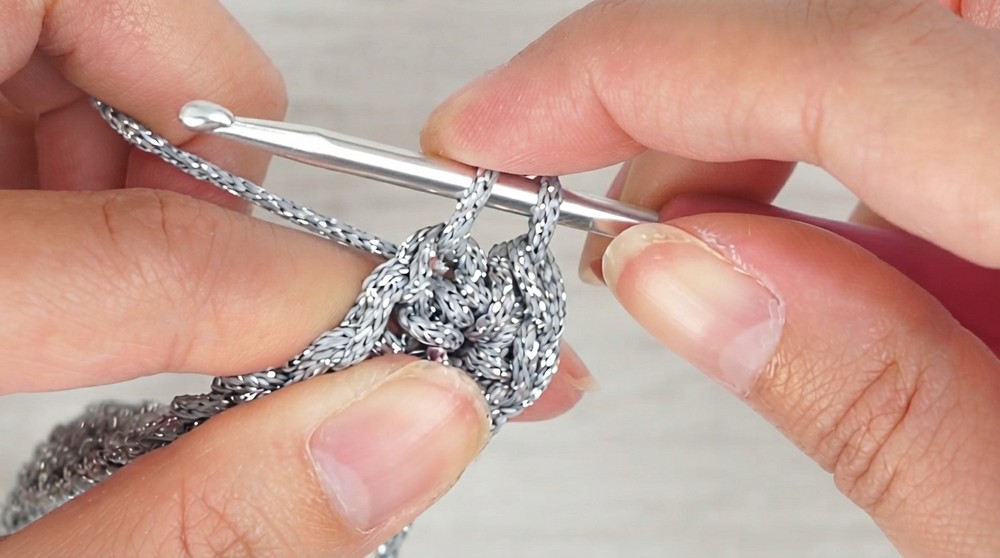
- Continue working 1 sc into each stitch in a spiral (no joining at the end of each round).
- Place a stitch marker in the first stitch of each round for tracking.
Step 2: Build the Bag's Base
- Work 1 sc into each stitch for as many spiral rounds as needed to create the desired depth of the base.
- Once the base is completed, join the last round with 1 sl st in the first stitch and begin working the bag body.
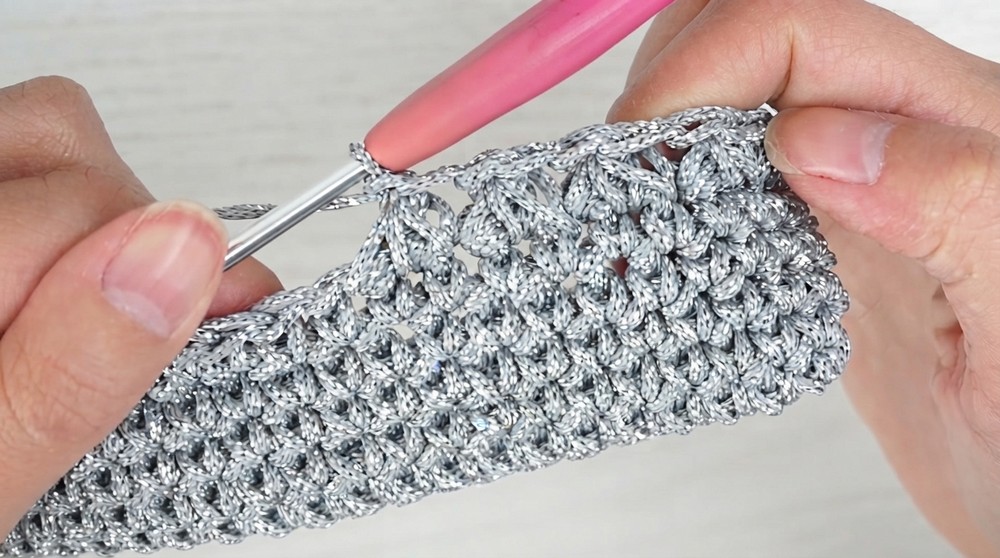
Step 3: Create the Bag Body Using Clover Stitch
- Round 1:
- Chain 1.
- Insert hook into the first stitch, yarn over, and pull up a loop (do not close).
- Insert hook into the second stitch, yarn over, and pull up a loop (do not close).
- Insert hook into the third stitch, yarn over, and pull up a loop (4 loops on hook).
- Yarn over and pull through all the loops. Chain 1 to secure the stitch.
- Repeat the Clover Stitch:
- Insert hook into the last worked stitch, yarn over, and pull up a loop.
- Insert hook into the next stitch, yarn over, and pull up a loop.
- Insert hook into the following stitch, yarn over, and pull up a loop.
- Yarn over and close all 4 loops. Chain 1 to secure.
- Continue working the Clover Stitch around each round.
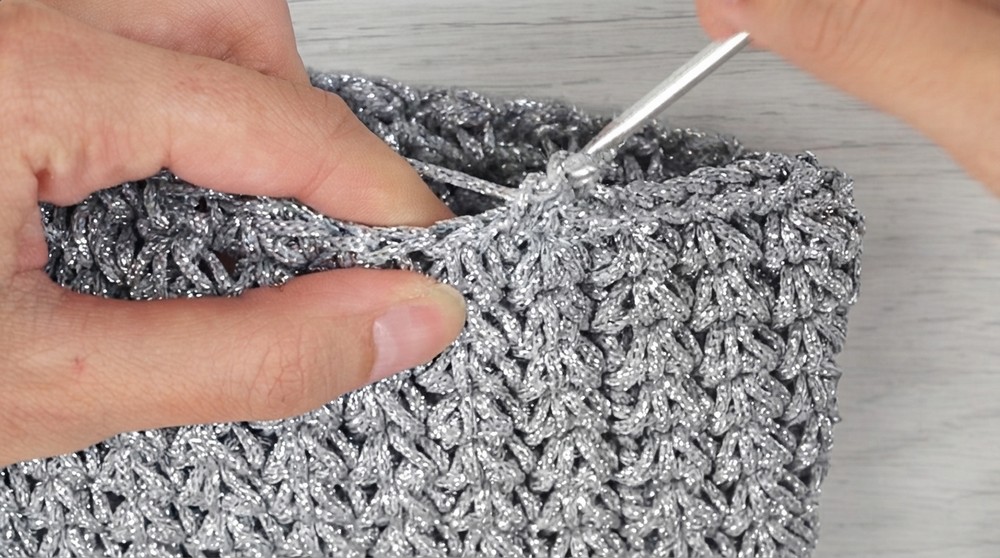
Step 4: Further Clover Stitch Rounds
- Work Clover Stitch rounds for several rounds until the bag reaches your desired height.
- Finish the last round by joining with a slip stitch and create a closing loop.
Step 5: Make the Flap
- Attach Yarn:
- Attach yarn to one edge of the bag (avoiding the curved side).
- Flat Panel Rows:
- Row 1: Chain 1. Work 1 sc in each stitch along the bag edge.
- Rows 2–X: Turn your work, chain 1, and repeat 1 sc in each stitch.
- Adjust the flap size based on your preference.
Step 6: Attach the Closure
- Position Closure:
- Attach the moschettone and loop at the edge of the flap and the front of the bag.
- Secure Closure:
- While making the final sc row of the flap, crochet over the snap hook or loop to secure it in place.
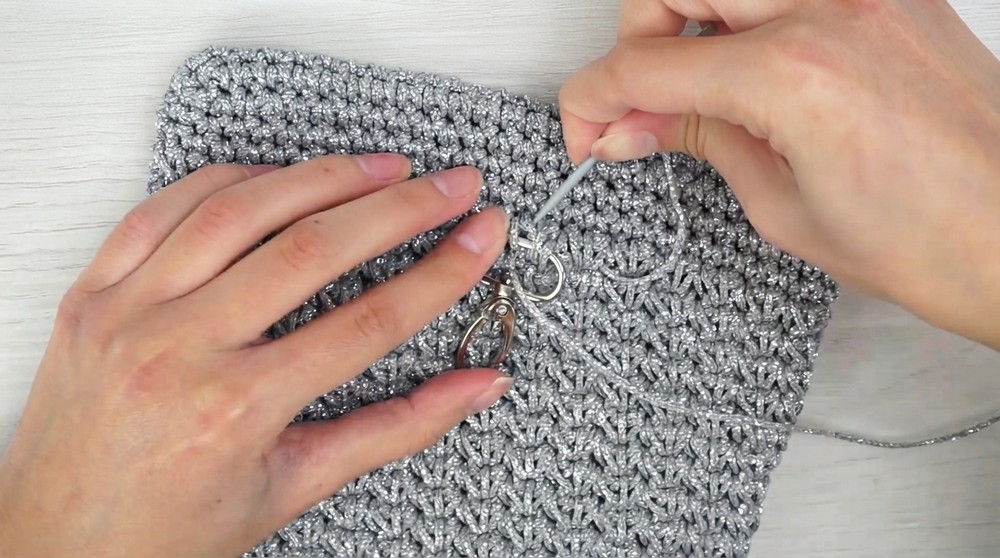
Assembly & Final Touches
- Weave in all loose ends securely using a yarn needle.
- Optionally, attach a chain or crochet strap to make the crossbody bag complete.
- Finished dimensions depend on your custom work.
Conclusion
Your crochet crossbody bag is ready to use. This quick and fun project is perfect as a personal accessory or a thoughtful handmade gift. Customize the size, color, and closure to suit your needs.