
Amazing Crochet a Beautiful Ring Pattern for Eye-Catching Style
Upgrade your accessory collection effortlessly with the Free Crochet Beautiful Ring Pattern for stylish rings that turn heads.
Sometimes the smallest handmade accessories can make the biggest impact, and this delicate crochet ring is a perfect example. Using double crochet and single crochet stitches along with color changes, it turns simple yarn into a beautiful wearable piece. The design is lightweight and customizable, so you can easily adjust the size by changing the number of chains to fit any finger. It’s a lovely way to add a splash of color and charm to your everyday look or to gift something unique to a friend.
Expanding Beyond the Ring
By adjusting the size or combining motifs, you can turn this pattern into other lovely accessories. Try making matching bracelets or pendants for a coordinated set or scale up the pattern for decorative appliques on scarves, hats, or bags. Mixing and matching yarn colors offers endless possibilities to personalize each creation. This charming ring pattern lays a solid foundation for many stylish crochet projects.
Unique Crochet Beautiful Ring Pattern for Creative Accessories
The process starts with a classic magic ring to build a neat center. From there, rounds of double crochets alternate with carefully spaced chains, creating a slightly open pattern that lets the colors shine through. Color changes are introduced smoothly for extra visual interest without complicating the stitch work, making this project great for beginners. Single crochets are used in the later rounds to give structure and soften the piece. Finishing touches like hiding yarn tails with a tapestry needle and joining the ends with slip stitches ensure a polished look. What’s especially neat is that this project works wonderfully with leftover yarn, making it an eco-friendly and economical choice.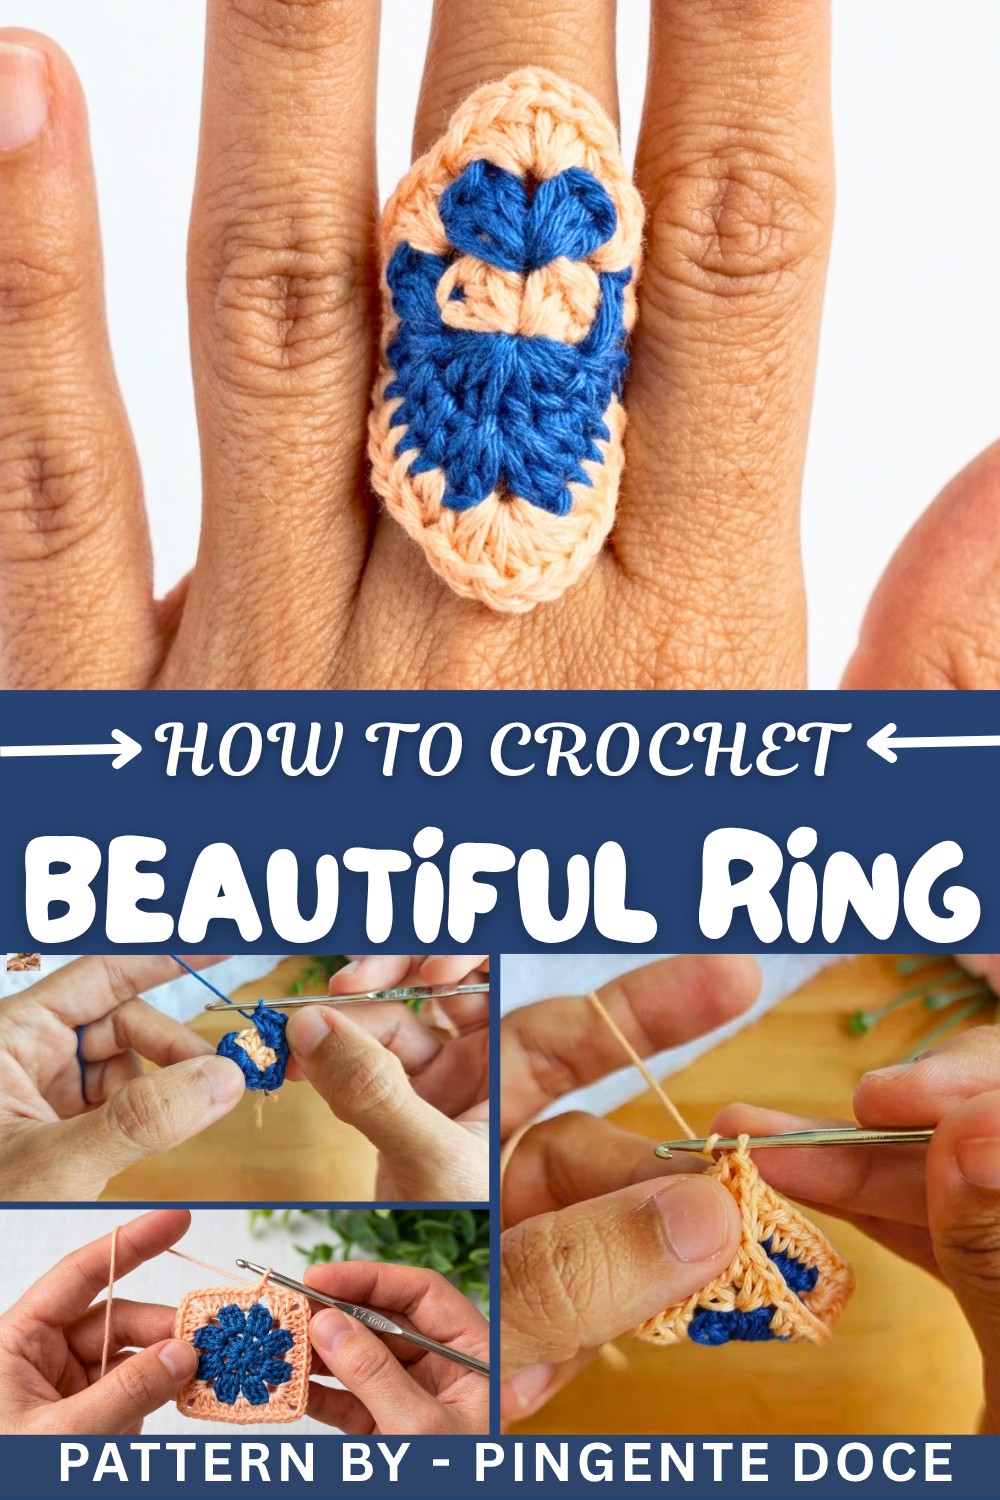
Crochet Ring Pattern
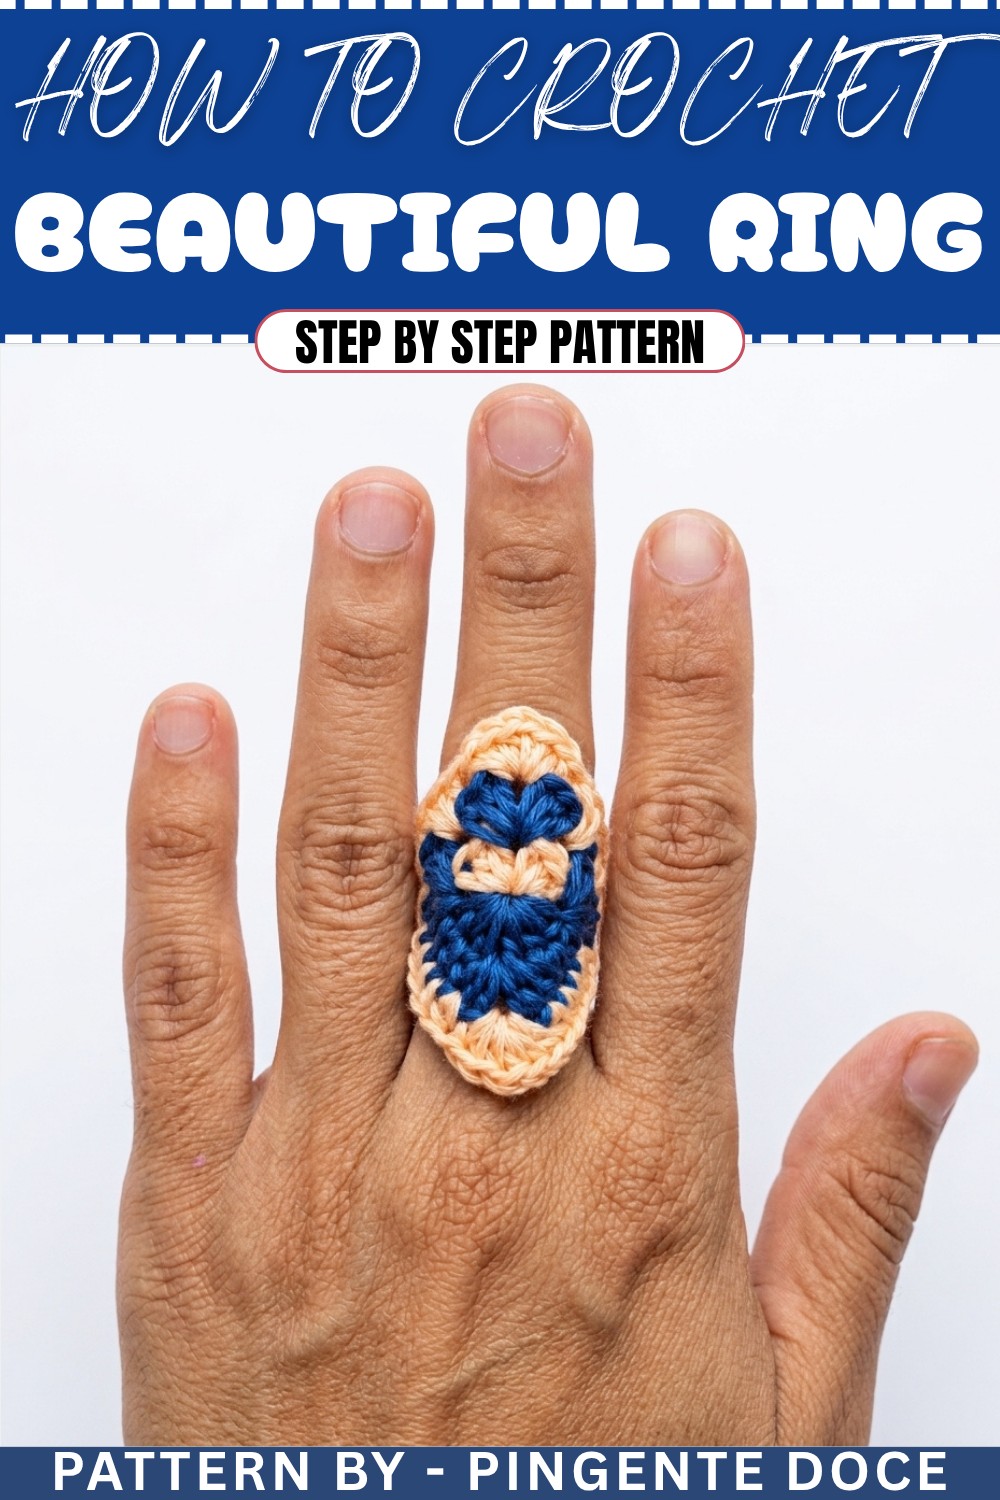
Crochet rings are a simple yet beautiful accessory, and this pattern allows you to turn leftover yarn into delicate handmade jewelry. Designed to use two contrasting colors, the tutorial creates a textured, layered ring that is lightweight and practical. This project is perfect for beginners who want to practice basic stitches in the round and for experienced crocheters seeking a quick and satisfying piece. With customizable sizing and colors, you can make a variety of rings to suit any occasion.
Skill Level & Terminology
- Skill Level: Beginner: This pattern incorporates basic techniques, such as starting with a magic ring, working rounds, making single crochets, double crochets, and slip stitches, as well as color changes for layering effects.
- Terminology: The pattern follows US Crochet Terms:
- Magic Ring (MR): A foundation technique for crochet in the round.
- Chain (Ch): A foundational stitch creating loops in the pattern.
- Double Crochet (Dc): A taller stitch with one yarn over.
- Single Crochet (Sc): A compact stitch used across the pattern.
- Slip Stitch (Sl st): Used for joining rounds or finishing stitches.
Materials & Tools
- Thread:
- Skein embroidery yarn in two colors: choose a light color for the base and a darker color for contrast.
- Crochet Hook: 1.75 mm crochet hook.
- Scissors: For trimming thread ends and finishing.
- Tapestry Needle: To weave in loose ends and finalize the ring assembly.
Gauge
Gauge is not crucial for this pattern as it is small and adjustable. You can increase or decrease the size of the ring by adding or removing chains. Approximate dimensions of the finished ring are 2 inches in diameter, adjustable by the number of chains for the ring's size.
Abbreviations List
| Abbreviation | Meaning |
|---|---|
| MR | Magic Ring |
| Ch | Chain |
| Sl st | Slip Stitch |
| Sc | Single Crochet |
| Dc | Double Crochet |
Special Stitch Instructions
Magic Ring (MR):
- Wrap the yarn around your fingers, forming a loop with a short tail.
- Insert the hook into the loop, yarn over, and pull up a stitch.
- Secure the ring by working a chain, or continue with the stitches indicated in the pattern.
Changing Colors:
- Insert your hook as if to finish the last stitch.
- Loop the new color on the hook and pull it through to complete the stitch.
- Repeat the given stitch instructions while carefully hiding the loose yarn tails.
What You’ll Learn & Why You’ll Love This Pattern
What You'll Learn:
- Create a magic ring for crocheting in the round.
- Work double crochets and single crochets evenly in rounds for symmetrical designs.
- Transition seamlessly between color changes for polished results.
Why You’ll Love It:
This ring is quick to make, meaning you can craft several variations with different color combinations in little time. The layered textures bring depth to the pattern, making it an elegant accessory suitable for all occasions. It’s also a great way to use leftover yarn, minimizing waste while creating beautiful art.
Finished Size
The approximate size of the finished crochet ring is 2 inches in diameter, though it is adjustable based on the number of chains used for the ring.
The Pattern Itself
Part 1: Base Circle Layer (Light Color)
Round 1: Magic Ring
- Create a Magic Ring (MR) with the lighter-colored yarn.
- Ch 2 (counts as the first Dc).
- Work 3 Double Crochets (Dc) into the ring.
- Ch 1, and then make 3 Dc into the ring again.
- Repeat the sequence: 3 Dc, Ch 1 until you have 4 groups of 3 Dc.
- Pull the initial thread from the MR to close the ring tightly.
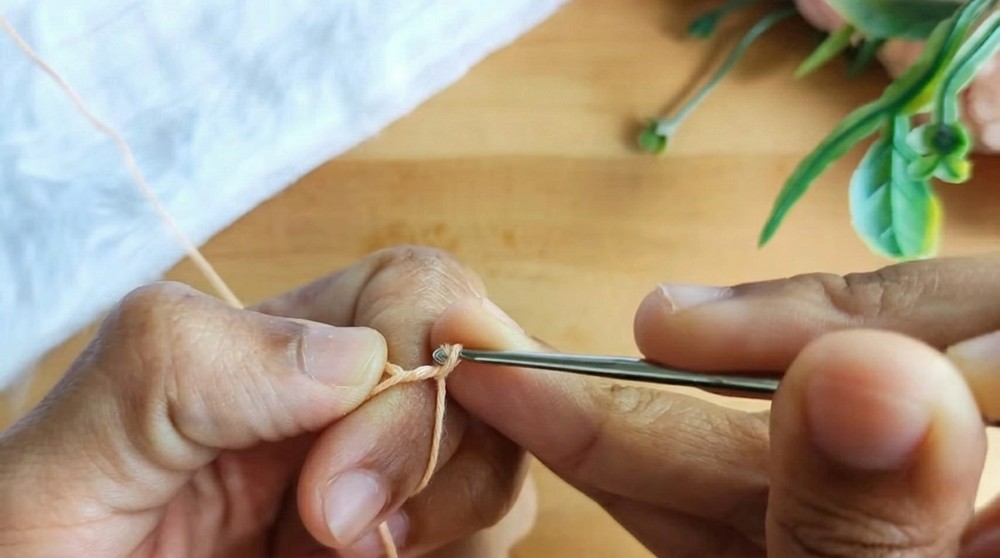
Tip: This forms the circular base of the crochet ring, giving it its layered structure.
Part 2: Adding Color Transitions
- Before finishing the last double crochet, insert your hook into the stitch as normal.
- Pull the new color through to complete the stitch.
- Ch 1 and work 3 Dc with the new color into the next space.
Tip: At this point, hide the yarn tails as you go by working the new stitches over them to reduce finishing work later.
Part 3: Layering Stitches in Round 2
Inside Chain Spaces:
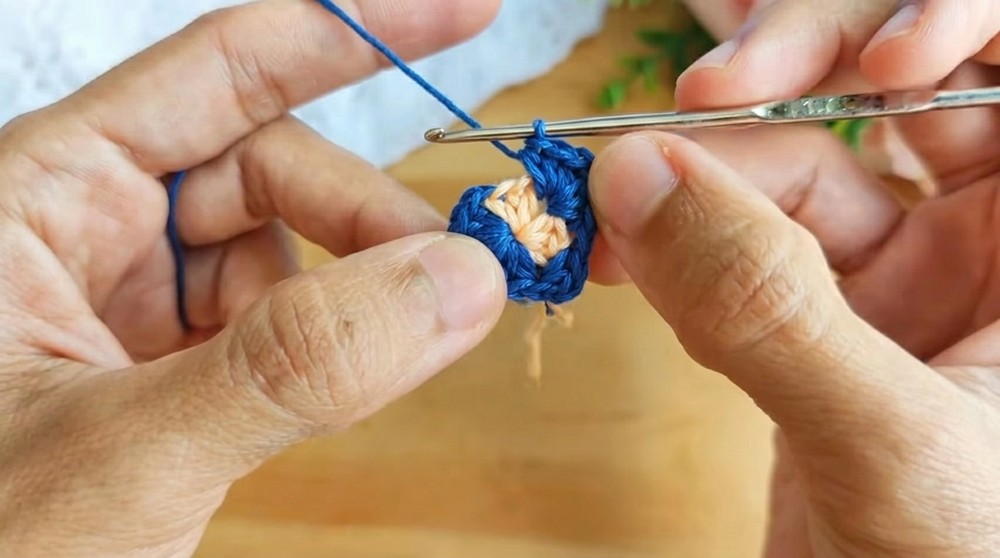
- After switching colors, work 3 Sc into the next chain space.
- Ch 1, then work 3 Sc into the same space.
- Repeat this same sequence around all chain spaces within the base circle: 3 Sc, Ch 1, 3 Sc.
Into Group Spaces:
- Work 3 Sc into the space between each group of stitches.
Tip: By adding rows of single crochets, the design gains volume and creates a layered texture for the ring.
Part 4: Finishing Round with Main Color
Color Change to Original Yarn
- Perform a color change, switching back to your original lighter color.
- Insert the hook into the last stitch and pull through the lighter yarn.
- Ch 1 and work 2 Sc into the next space.
Final Round
- In the spaces formed by the chain, repeat this sequence: 3 Sc, Ch 1, 3 Sc.
- In the spaces between groups, work 3 Sc, keeping an even tension throughout.
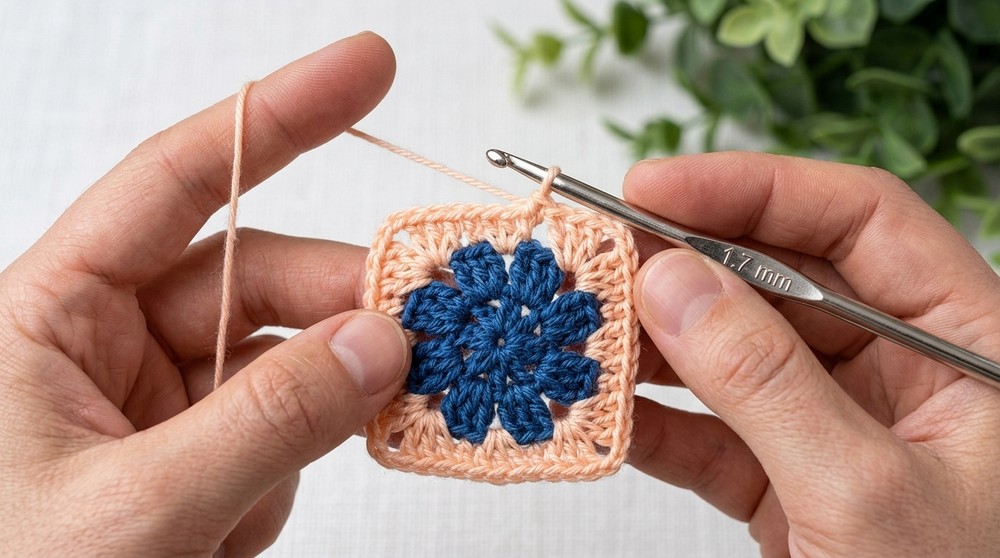
Tip: This step completes the ring and gives it the final polish through uniform stitches.
Part 5: Creating the Band
Adjustable Chain-Based Band
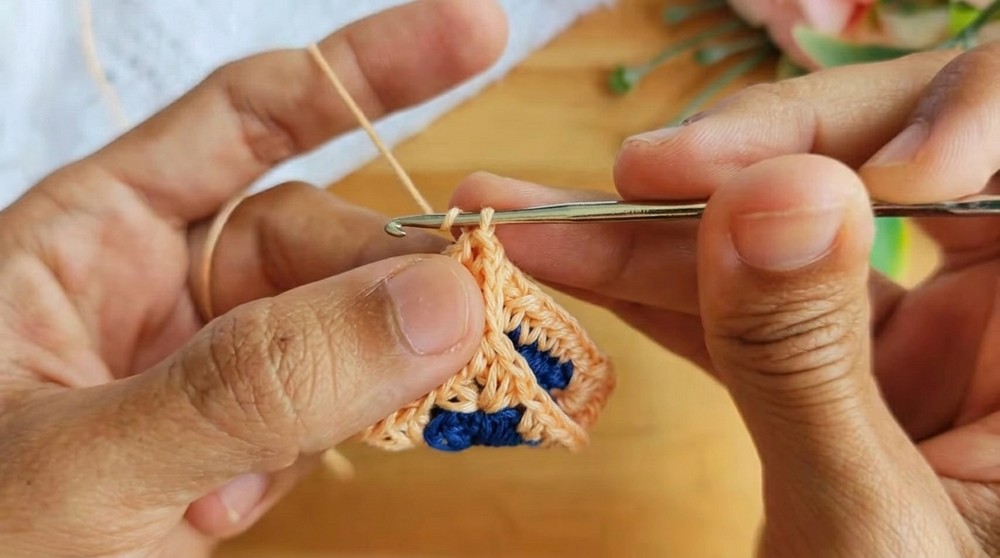
- Using your initial thread color, Ch 4 or an adjustable number of chains.
- Wrap the chain band around your finger to ensure a snug but comfortable fit.
Joining the Band to Base Circle
- Insert the hook into the chain space of the base circle.
- Make a Slip Stitch (Sl st) to join the band ends together.
- Ch 1 to secure, then cut the yarn and pull through.
- Use a tapestry needle to weave in excess yarn ends within the ring.
Assembly & Finishing
- Secure the Ring:
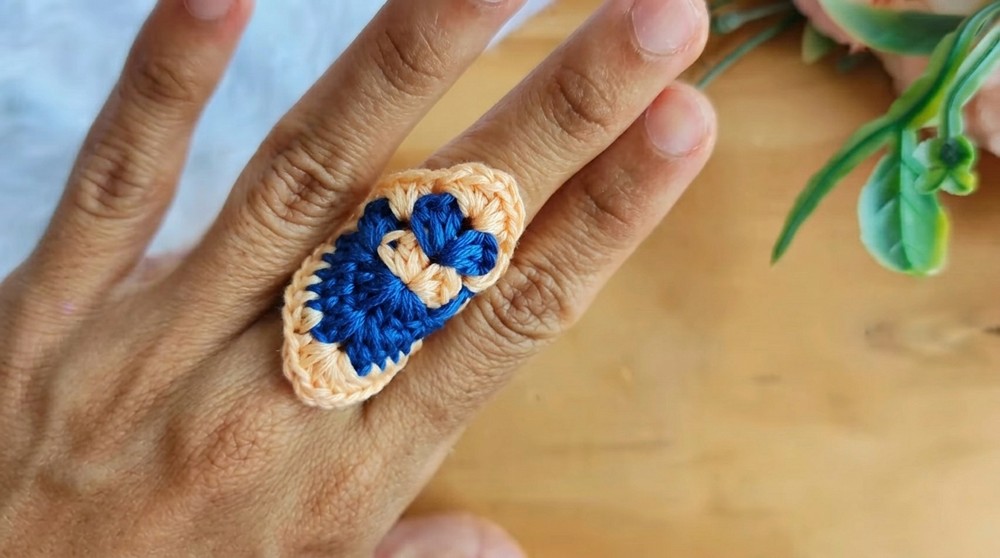
- After completing the band and joining it to the base circle, ensure the stitches are tight and no yarn ends are visible.
- Optional Stiffening:
- Mix fabric glue with a small amount of water and apply to the back of the ring for extra durability. Let it dry completely before wearing or gifting.
- Final Touches:
- Check the ring for symmetry and adjust any stitches that appear uneven.
Difficulties & Solutions
Challenge: Loose or Uneven Stitches
Solution: Use even tension while creating stitches, especially during color changes. Holding the yarn firmly can help maintain a consistent texture throughout the design.
Challenge: Yarn Tails Showing During Color Changes
Solution: Work stitches over yarn tails wherever possible. You can use a tapestry needle to hide any remaining threads after finishing.
Final Thoughts
This crochet ring pattern is a fun and simple way to express creativity while practicing foundational crochet skills like working in the round, layering stitches, and color transitions. The layered pattern allows for bold personalization, making it a fantastic addition to your accessory collection or as a thoughtful handmade gift. Lightweight, quick to make, and visually striking, this crochet ring pattern is sure to catch compliments and inspire new crocheting ideas!