
Free Crochet Llama Amigurumi Pattern for Cuddly Hugs
Bring Southwestern charm to your space with a cute toy crocheted using this free crochet llama amigurumi pattern guide, great for a cozy and creative touch.
Llamas are such adorable and lovable creatures that they instantly bring joy to anyone who sees them. Now, think about having your very own handmade llama that’s as cute as the real thing. This crochet llama is perfect for decorating your space, gifting to someone special, or simply adding to your collection of amigurumi animals. Its fluffy texture and charming details, like a colorful saddle and tiny ears, make it hard to resist. This project feels less like work and more like crafting a new little friend you’ll be proud of.
Free Crochet Llama Amigurumi Pattern for Fluffy Toys
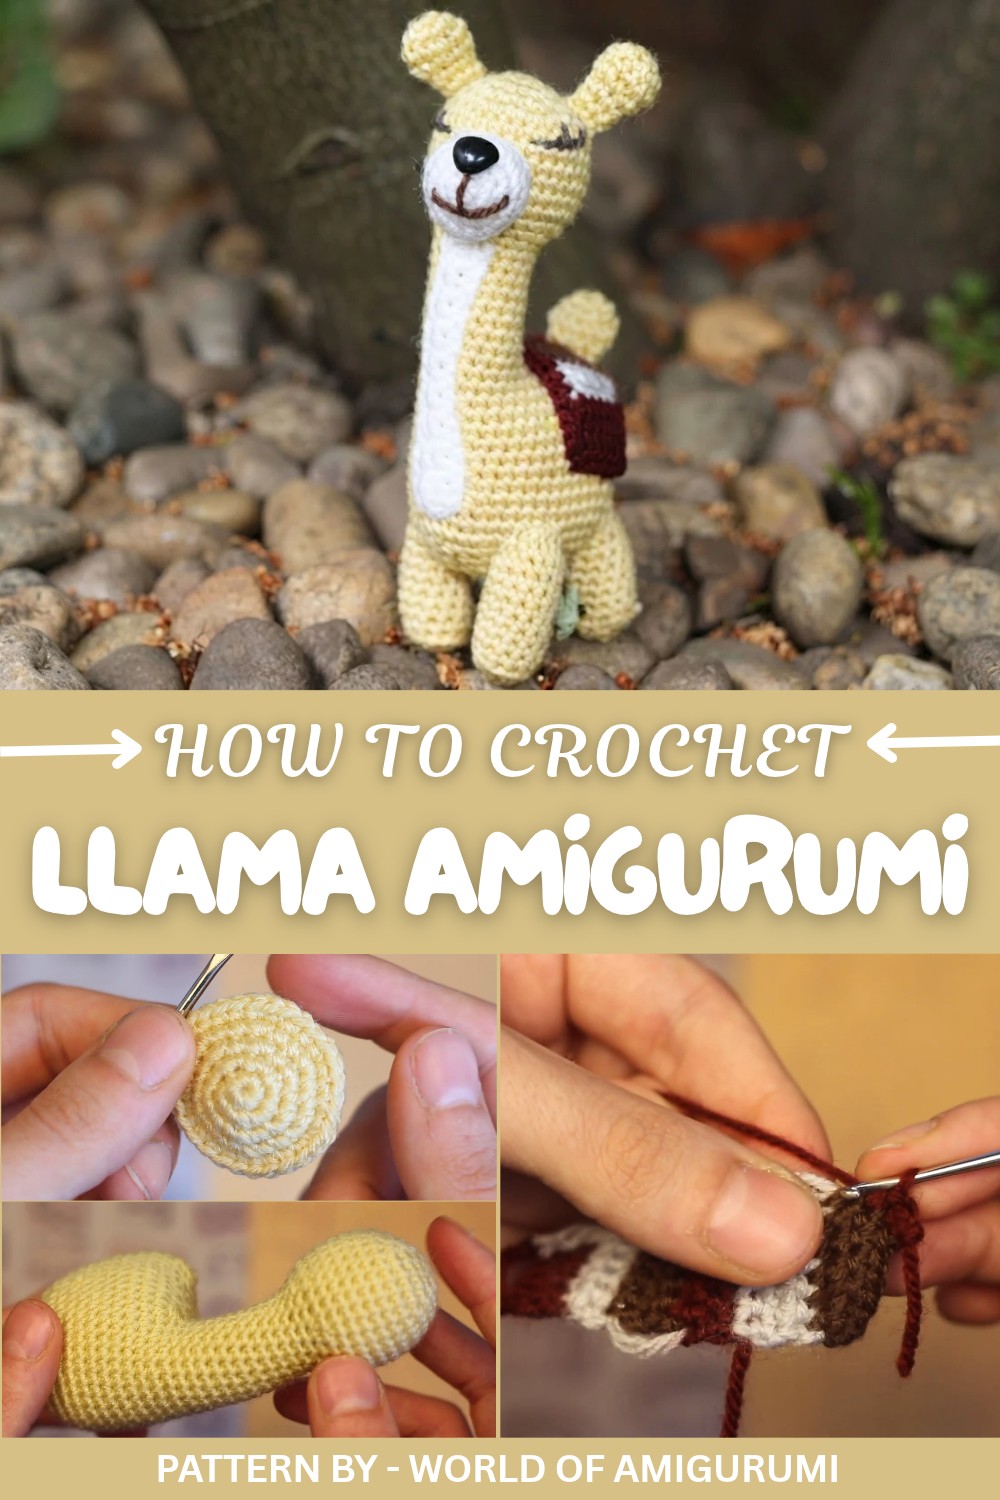
The llama’s standout features are its soft body and carefully crocheted accents. The use of simple stitches makes the process beginner friendly while still allowing room for creativity. The pattern relies heavily on basic techniques like single crochet and the magic ring to give the llama its rounded, well shaped body. The legs, head, and ears are crocheted individually and then stitched together, making every piece come to life step by step. The fun part comes when you add the saddle and decorative details, giving it a vibrant and playful personality.
The "World of Amigurumi" channel makes the experience even easier by providing a clear guide on how to crochet this sweet little llama. And here’s the exciting part, once you’ve mastered the llama pattern, the possibilities are endless. You can customize the colors, add fun embellishments, or even use the same techniques to crochet other animals from their tutorials.
This llama amigurumi is more than just a crochet,it’s a cheerful project that brings smiles, creativity, and relaxation. Whether you’re crocheting for fun or to gift someone, this little fluffy companion is bound to steal hearts.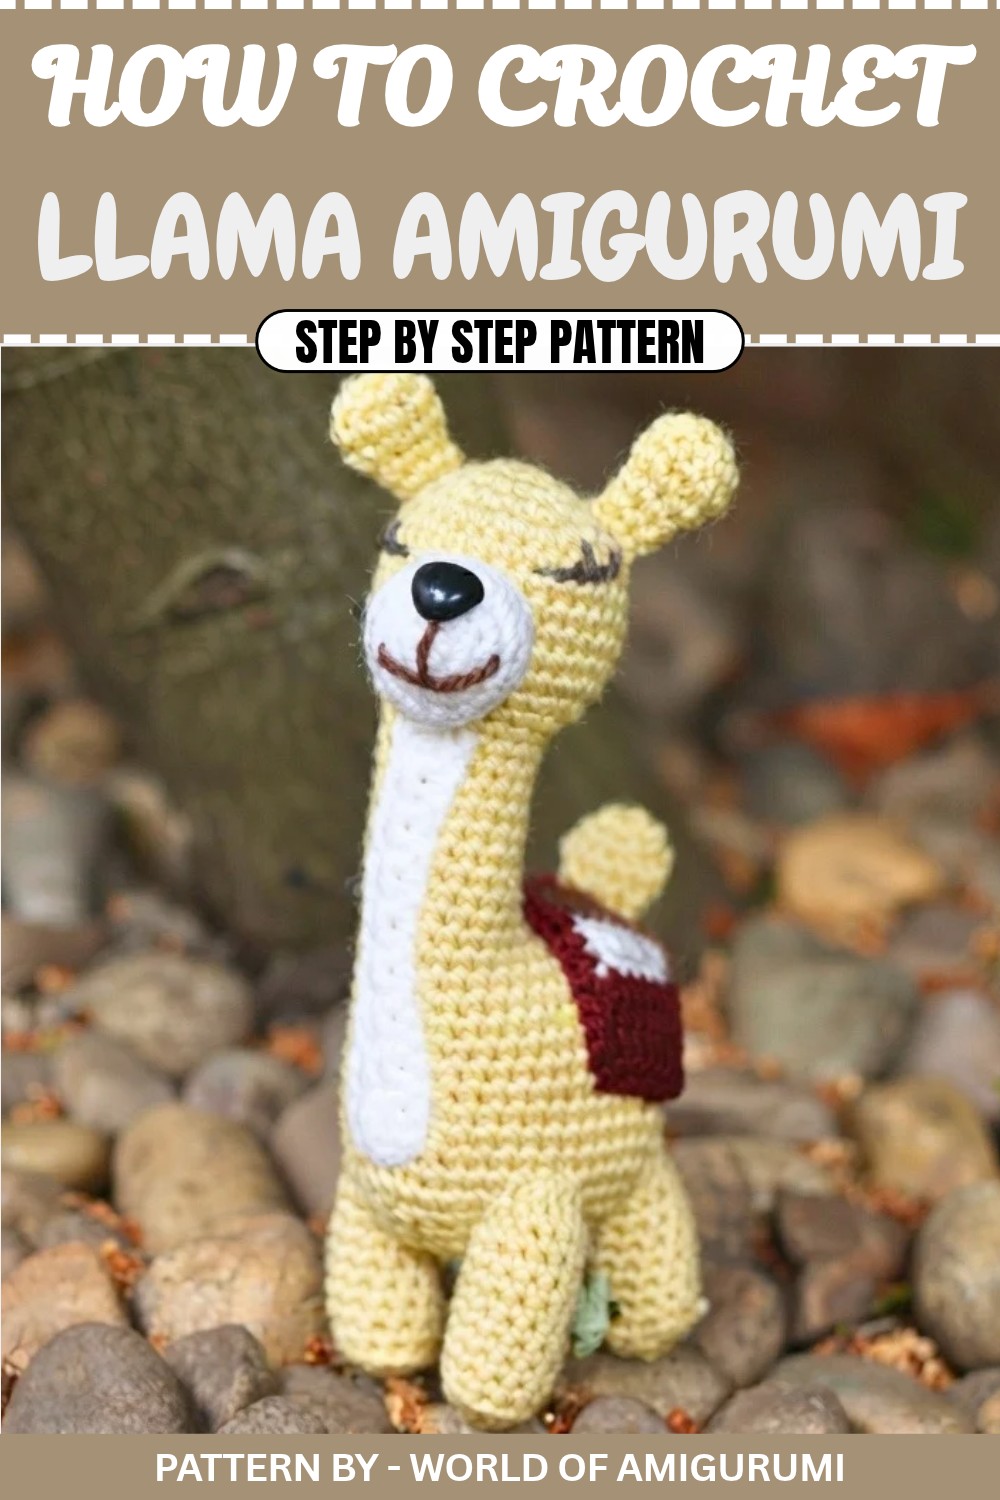
Crochet Amigurumi Llama Pattern
Quick Overview of Pattern
- Step 1: Create the head with increases and decreases.
- Step 2: Add the neck, transitioning to the body.
- Step 3: Work on the legs and tail.
- Step 4: Crochet the facial features—including the muzzle, ears, and decorative blanket.
- Step 5: Assemble all the pieces together and add optional finishing details, like embroidered eyes and extra embellishments.
Notes
- Work in continuous rounds unless otherwise indicated (use a stitch marker).
- Make sure to stuff the parts firmly as you go, especially the head and body.
- Maintain consistent tension to achieve a uniform look.
- You can customize the blanket with your favorite colors for a unique finish.
Skill Level
Beginner to Intermediate
Materials
- Yarn:
- Beige (main body and head)
- White (muzzle and belly)
- Brown (embroidered details like the mouth)
- Red, Yellow, and Blue (decorative blanket)
- Hook Size: 2.5 mm crochet hook
- Safety Eyes: 2 pieces, 6–8 mm
- Stuffing: Polyester fiberfill
- Tapestry Needle: For sewing parts together.
- Scissors
Measurements / Sizing
- Finished llama size: Approximately 17–20 cm (7–8 inches) tall.
Gauge
Gauge is not necessary for amigurumi. Just make sure your stitches are tight enough to avoid stuffing showing through.
Stitch Abbreviations
- MR: Magic Ring
- ch: Chain
- sc: Single Crochet
- sl st: Slip Stitch
- inc: Increase (2 sc in the same stitch)
- dec: Invisible Decrease (insert hook into front loops of two stitches, pull through, and complete the stitch normally).
- st(s): Stitch(es)
Special Stitches
BLO (Back Loop Only): Work into the back loop of the stitch instead of both loops, to create a ridged effect.
The Crochet Pattern
Head
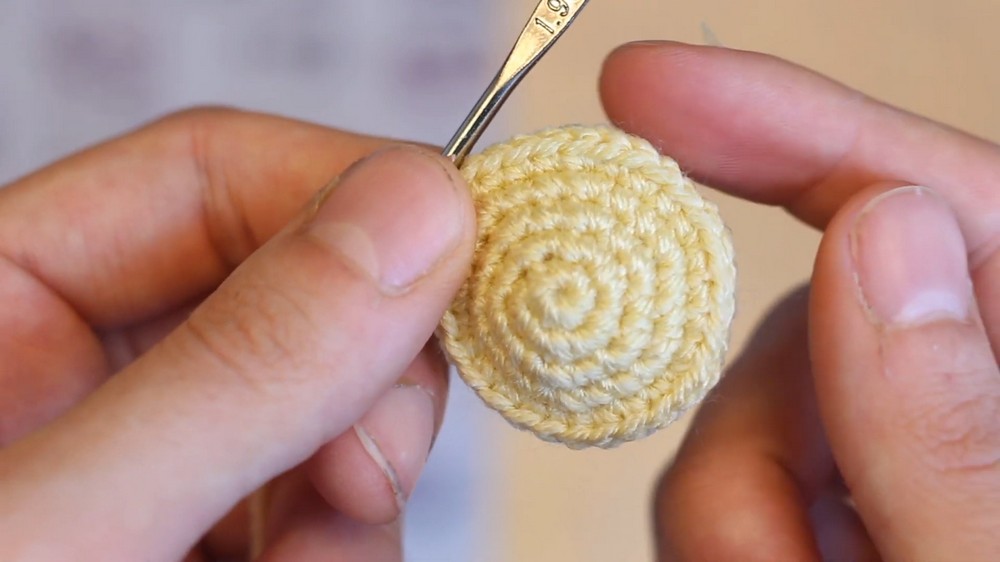
- Round 1: Using beige yarn, make an MR and work 6 sc into the ring. (6 sts)
- Round 2: Work 1 inc in each st around. (12 sts)
- Round 3: (1 sc, 1 inc) repeat around. (18 sts)
- Round 4: (2 sc, 1 inc) repeat around. (24 sts)
- Round 5: (3 sc, 1 inc) repeat around. (30 sts)
- Rounds 6–10: Work 30 sc around for 5 rounds.
- Round 11: (3 sc, 1 dec) repeat around. (24 sts)
- Round 12: (2 sc, 1 dec) repeat around. (18 sts)
Stuff the head firmly.
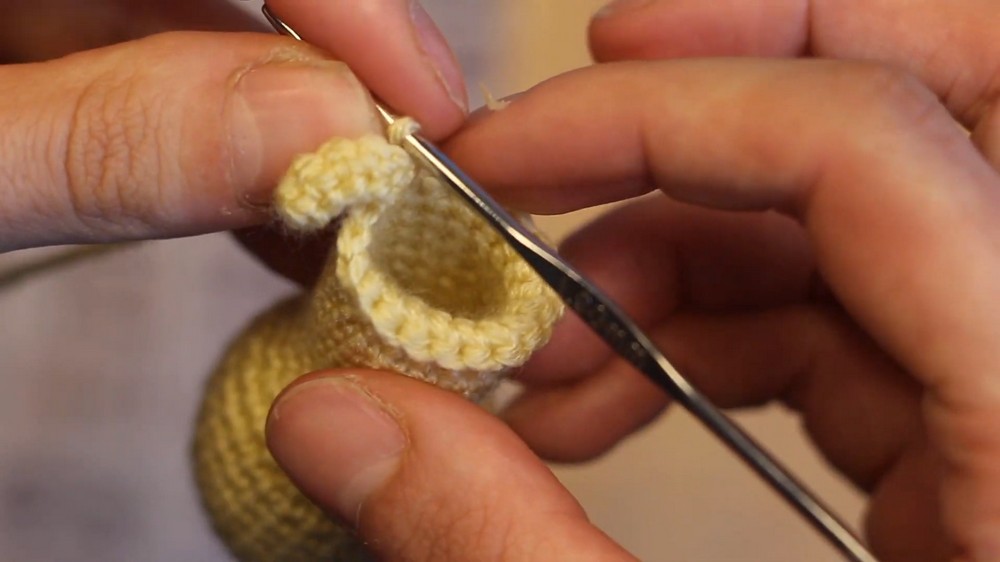
- Rounds 13–21: Work 18 sc around for 9 rounds, forming the neck.
Transition to Body and Chest
- Round 22: Ch 7, starting from the second ch from the hook, work 6 sc down the chain. Join the chain to the neck with a sl st and continue working sc around the neck opening. You should now have 12 sts around the neck and 6 sts from the chain. (18 sts)
- Continue working across the neck and chain area to form 12 sts for the neck and 12 sts for the chain, for a total of 24 sts.
Body
- Round 23: (1 sc, 1 inc) repeat around. (36 sts)
- Round 24: (2 sc, 1 inc) repeat around. (42 sts)
- Rounds 25–35: Work 42 sc around for 10 rounds.
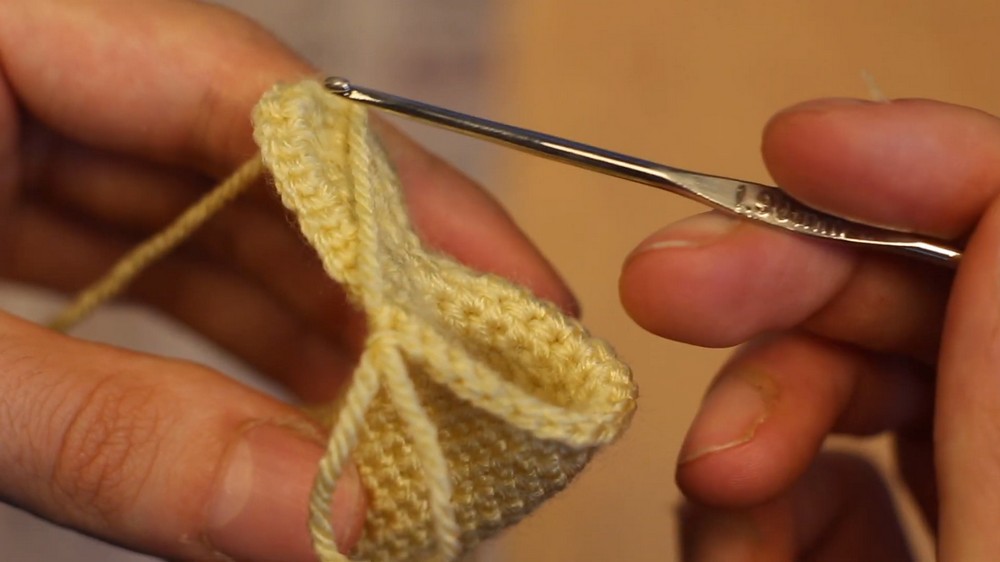
Stuff the body firmly.
- Round 36: (5 sc, 1 dec) repeat around. (36 sts)
- Round 37: (4 sc, 1 dec) repeat around. (30 sts)
- Round 38: (3 sc, 1 dec) repeat around. (24 sts)
- Round 39: (2 sc, 1 dec) repeat around. (18 sts)
- Round 40: (1 sc, 1 dec) repeat around. (12 sts)
- Round 41: Work 6 dec. (6 sts)
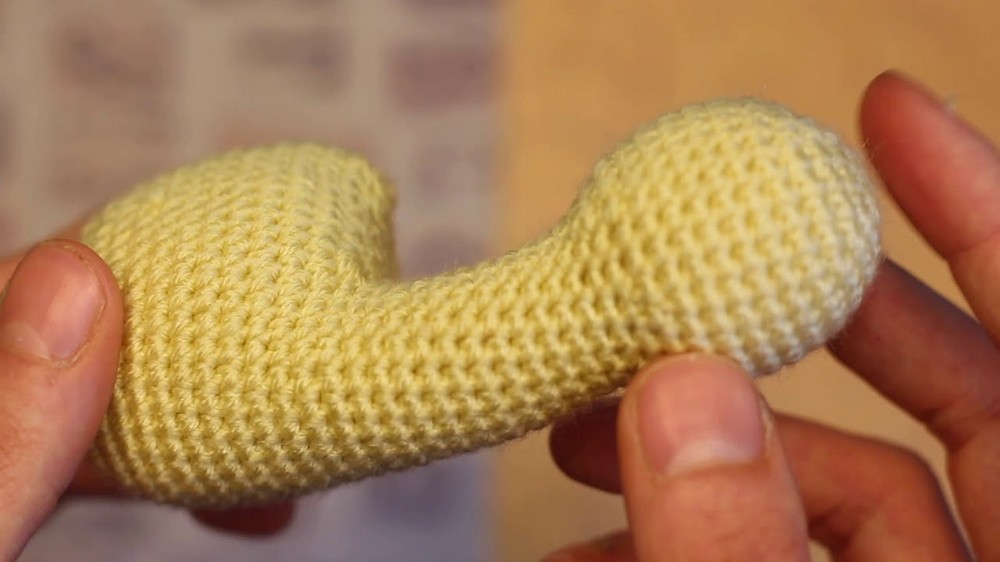
Fasten off and close the hole with a tapestry needle.
Muzzle
- Round 1: Using white yarn, make an MR and work 6 sc into the ring. (6 sts)
- Round 2: Work 1 inc in each st around. (12 sts)
- Round 3: (1 sc, 1 inc) repeat around. (18 sts)
- Rounds 4–5: Work 18 sc around for 2 rounds.
- Fasten off, leaving a tail for sewing.
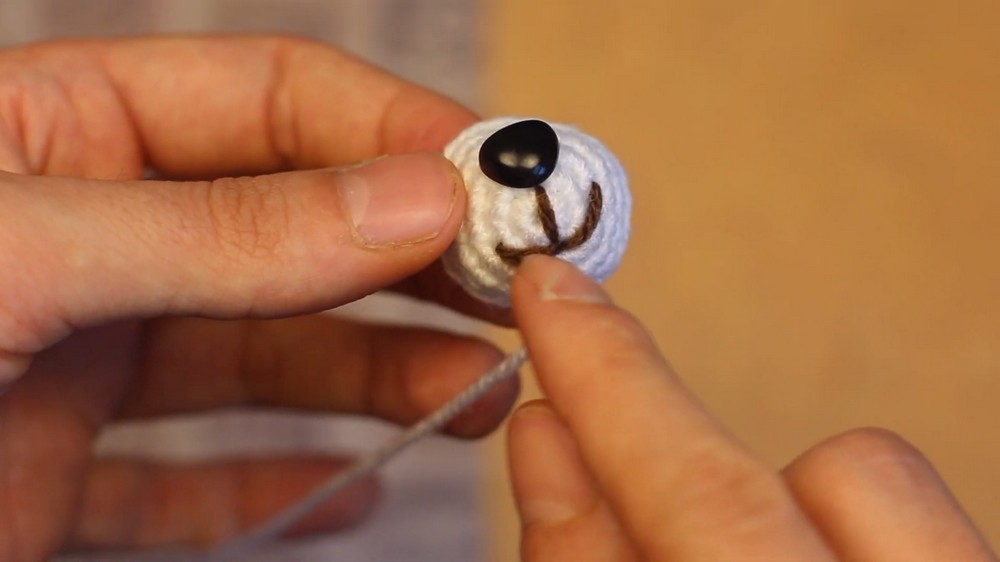
Attach the safety nose to the center of the muzzle and embroider the mouth using brown yarn.
Ears (Make 2)
- Round 1: Using beige yarn, make an MR and work 6 sc into the ring. (6 sts)
- Round 2: Work 1 inc in each st around. (12 sts)
- Round 3: Work 12 sc around. (12 sts)
- Round 4: (1 sc, 1 dec) repeat around. (6 sts)
- Rounds 5–6: Work 6 sc around for 2 rounds.
Fasten off, leaving a tail for sewing.
Legs (Make 4)
- Round 1: Using beige yarn, make an MR and work 6 sc into the ring. (6 sts)
- Round 2: Work 1 inc in each st around. (12 sts)
- Round 3: Work 12 BLO sc to create a textured edge. (12 sts)
- Rounds 4–10: Work 12 sc around in both loops for 7 rounds.
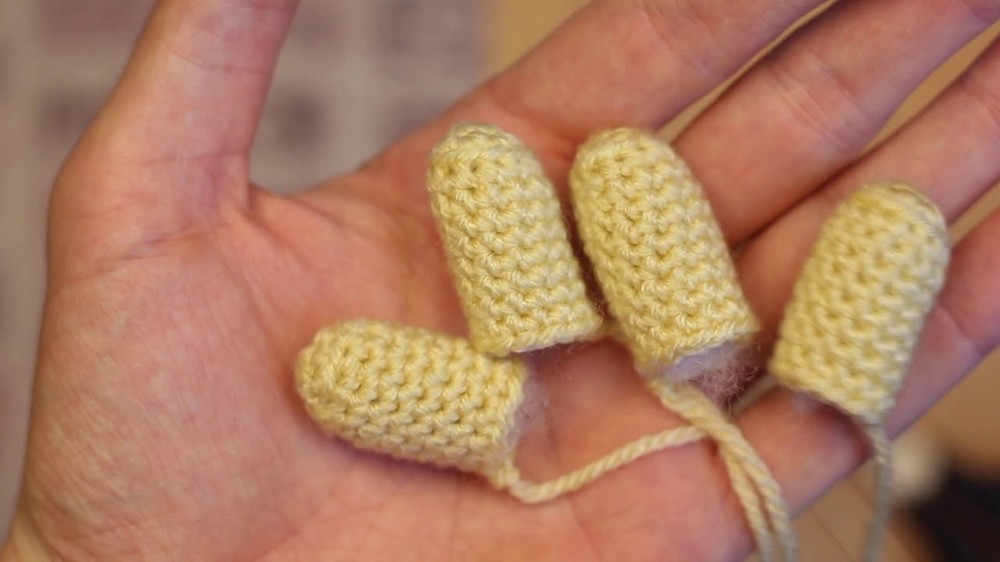
Stuff lightly and fasten off, leaving a tail for sewing.
Decorative Blanket
- Row 1: Using red yarn, ch 7, then sc into the second ch from the hook and in each ch across. (6 sts)
- Rows 2–4: Work 6 sc across for 3 rows. (6 sts in each row)
- Switch colors and work 2 rows of each color (yellow and blue) for a total of 12 rows.
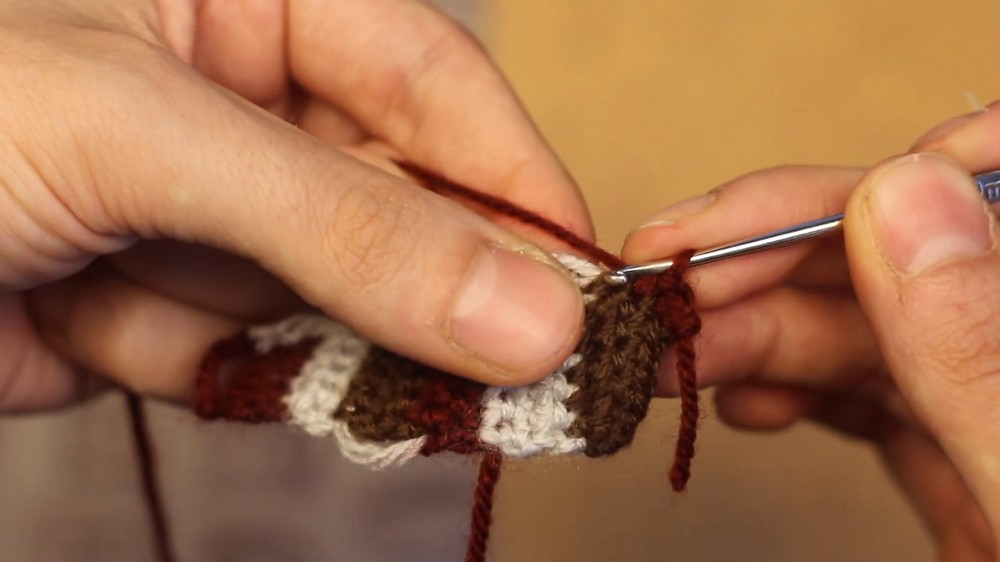
Optional: Work a row of sl sts around the entire blanket for a polished border.
Assembly & Finished Size
- Attach the muzzle to the bottom front of the llama's head and embroider the mouth before sewing it closed.
- Attach the ears symmetrically to the top of the head.
- Attach the legs to the bottom of the body, ensuring that they are evenly spaced.
- Add the tail to the back of the llama.
- Sew the blanket over the llama's back, ensuring it drapes evenly.
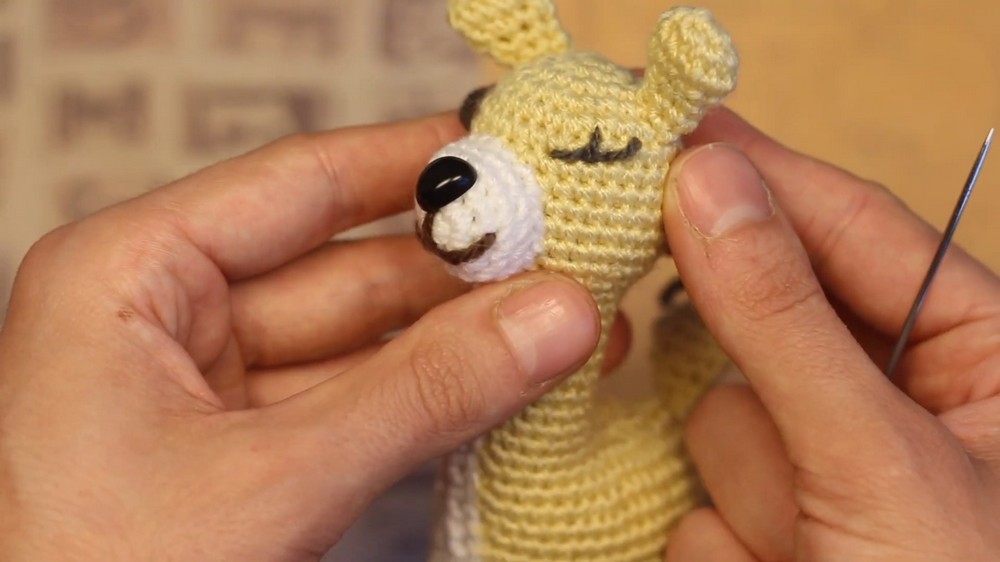
The finished llama is approximately 17–20 cm (7–8 inches) tall and is irresistibly cute.
Conclusion
Your crochet llama is now complete. This sweet and charming companion is sure to bring a smile to anyone’s face. If you enjoyed this tutorial, don’t forget to like and share your creations in the comments.