
Free Crochet Hen Amigurumi Pattern – Easy Project for All Skill Levels
Brighten your amigurumi collection with this Free Crochet Hen Pattern that offers an easy project full of personality and perfect for gifting.
Who doesn’t love a crochet project that’s both fun to make and bursting with charm? The Free Crochet Hen Amigurumi Pattern is just that. This little hen is the perfect mix of cute and quirky, and I had such a great time working on it. Whether you’re a farm animal lover or just enjoy creating adorable decor, this project is a must-try. Trust me, once you make one, you’ll be tempted to crochet an entire flock.
Cute Free Crochet Hen Amigurumi Pattern for Animal Lovers
This crochet hen has so many delightful details that make it stand out. Its plump, round body and tiny wings give it an irresistibly huggable look. The comb on its head and its tiny beak add just the right touch of personality. The texture is soft and smooth, with a clean finish thanks to simple, precise stitches.
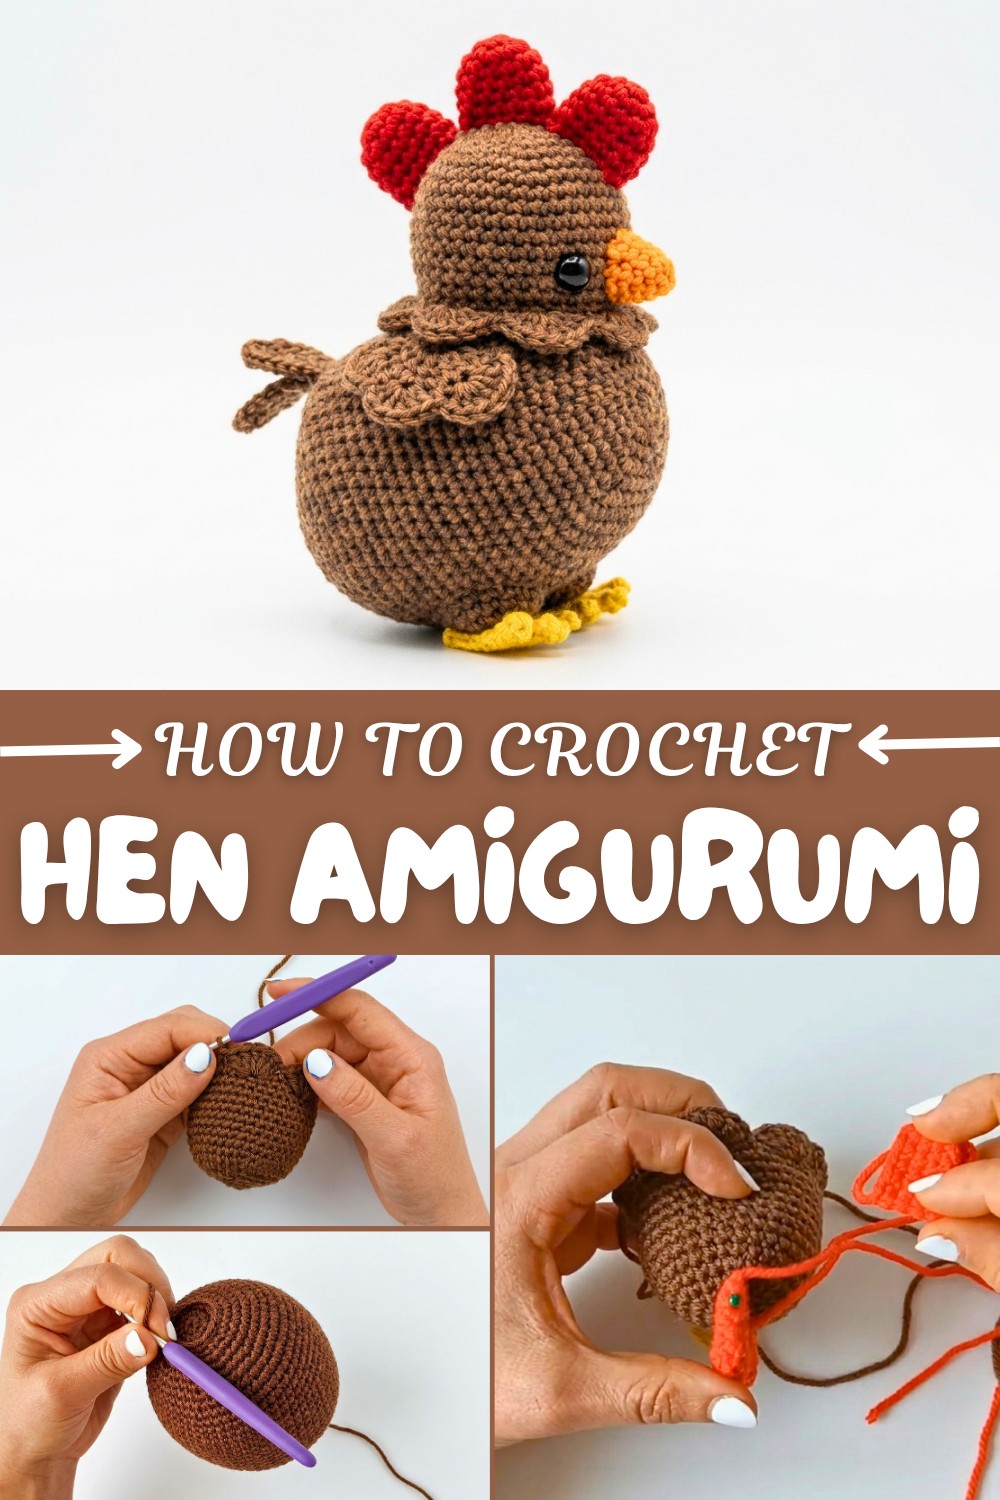
You can play with colors to create a classic white hen or try something fun like yellow, black, or pastel shades. It’s a perfect piece for decorating your kitchen, brightening up a shelf, or adding to seasonal displays, like Easter or spring setups. It’s small in size but packed with charm, making it ideal as both a toy or a decoration.
This pattern is beginner-friendly and easy to follow, using mostly single crochet stitches along with basic increases and decreases for shaping. Since it’s made in rounds, it’s a stress-free and enjoyable project that works up quickly.
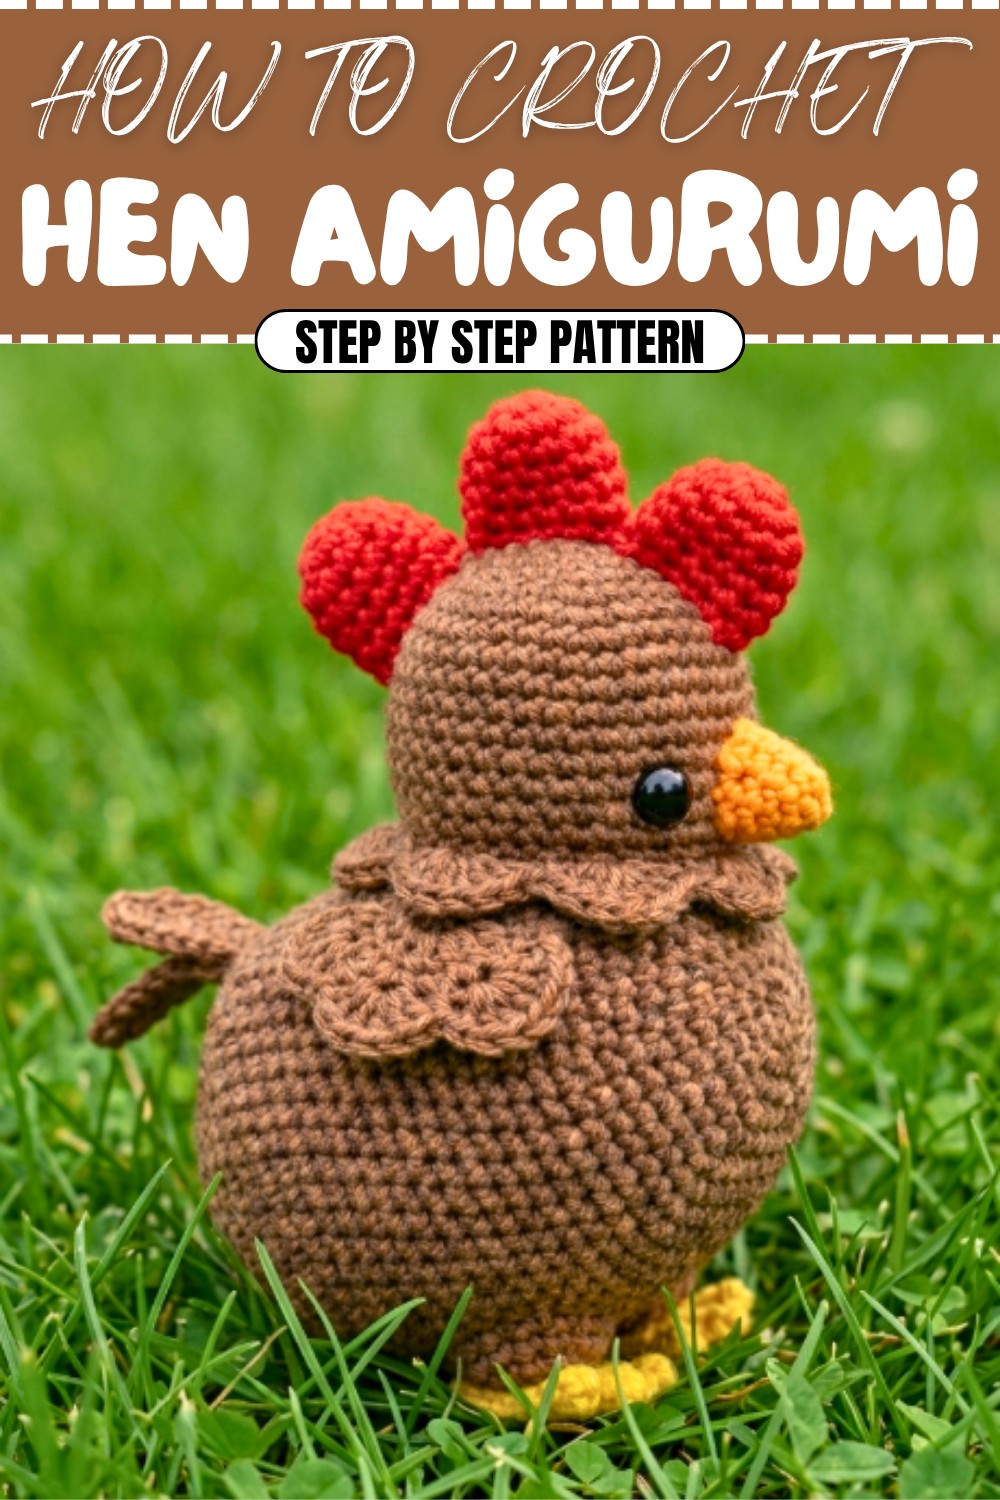
This little hen is a fantastic gift idea for animal lovers, charming seasonal decor, or a cute collectible for your amigurumi collection. Whether for gifting, decorating, or simply bringing some handmade joy into your home, this crochet hen is guaranteed to make you smile.
Crochet Amigurumi Hen Pattern
This crochet amigurumi hen is a delightful project for those who love adorable handmade crafts and farm animal designs. With its detailed components such as a charming comb, cheerful wings, and intricate plume clusters, the design creates a vibrant and eye-catching piece that is ideal for home décor or gifting.
Skill Level
Intermediate
This pattern is suited to crocheters with experience working in both continuous rounds and rows. It incorporates techniques such as the magic ring, increasing, decreasing, and working double and treble crochet clusters.
Materials
- Yarn:
- Walnut (for the hen’s body and wings).
- Red (for the comb).
- Yellow (for the beak, legs, and feet).
- Hook:
- 3 mm crochet hook.
- Additional Tools and Supplies:
- Toy stuffing (polyfill or fiberfill for shaping).
- Scissors.
- Pins (to aid assembly).
- Tapestry or sewing needle (for attaching pieces).
- Thread (use black thread if safety eyes are not available).
- 12 mm safety eyes (optional for adding character to the face).
Special Stitches
1. Magic Ring (MR):
Form a loop with the yarn, insert the hook through the loop, yarn over, and pull through. Chain 1 to secure the loop, then work stitches directly into the center of the ring. Pull the tail to close the ring tightly.
2. Treble Crochet (tr):
Yarn over twice, insert the hook into the stitch, yarn over again and pull through the loop (four loops on the hook). Yarn over and draw through two loops at a time until only one loop remains on the hook.
3. Double Crochet Cluster:
Yarn over, insert the hook into the specified stitch, yarn over, and pull up a loop. Yarn over and pull through two loops. Repeat this process, working into the same stitch, until the specified number of loops is achieved. Yarn over and pull through all loops to complete the cluster.
Stitch Abbreviations
- MR: Magic Ring
- ch: Chain
- sc: Single Crochet
- dc: Double Crochet
- tr: Treble Crochet
- sl st: Slip Stitch
- inc: Increase (2 single crochet in the same stitch)
- dec: Decrease (work 2 stitches together)
Useful Tips
- Stitch Markers: Place a stitch marker at the beginning of each round to maintain accurate stitch counts.
- Consistent Tension: For uniform shaping, keep your tension even across all elements of the pattern.
- Stuffing: Fill each piece firmly with stuffing, being careful not to over-stretch the stitches.
- Assembly Preparation: Use pins to position the components before sewing them together to ensure alignment and symmetry.
- Plume Clusters: Keep your tension relaxed for the treble and double crochet clusters to allow the stitch to expand and form its intended texture.
Pattern Instructions
Head (Walnut Yarn)
Foundation:
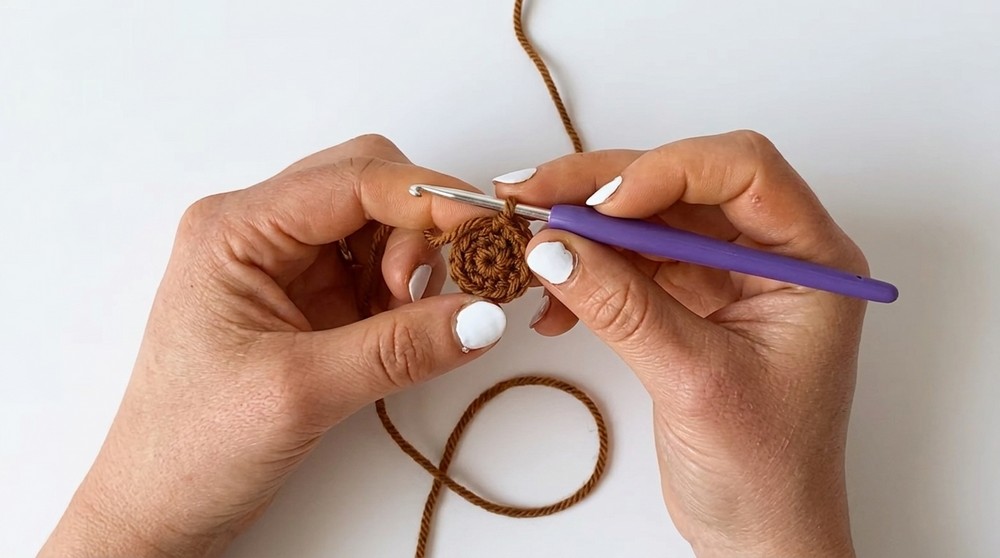
- Begin with a magic ring.
Rounds:
- R1: Work 6 sc into the ring.
- R2: Work 6 inc (12 stitches).
- R3: (1 sc, 1 inc) repeat 6 times (18 stitches).
- R4: (2 sc, 1 inc) repeat 6 times (24 stitches).
- R5: (3 sc, 1 inc) repeat 6 times (30 stitches).
- R6: (4 sc, 1 inc) repeat 6 times (36 stitches).
- R7–R16: Work 36 sc per round.
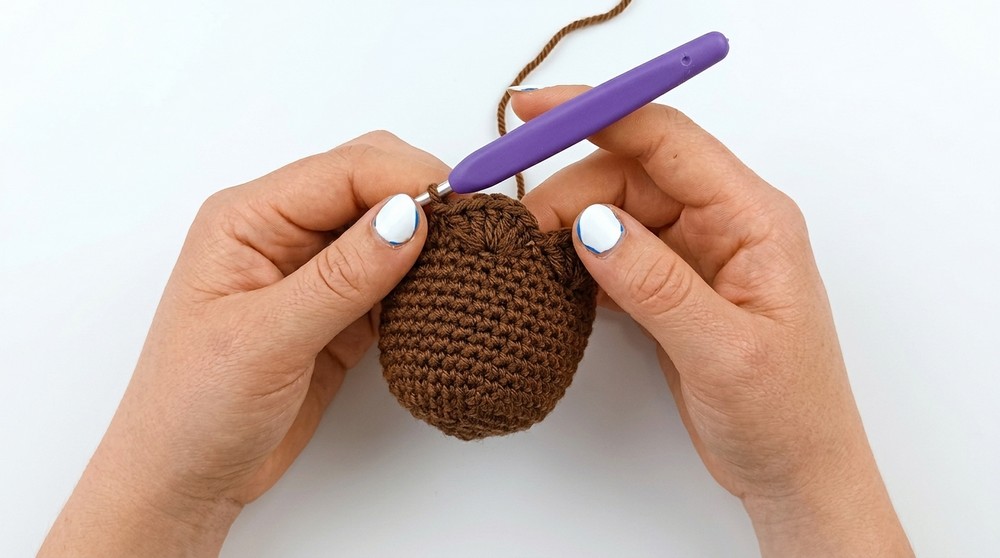
Plume Clusters:
- R17: Switch to treble crochet clusters. This adds texture to the hen's head, forming petite plumes.
Beak (Yellow Yarn)
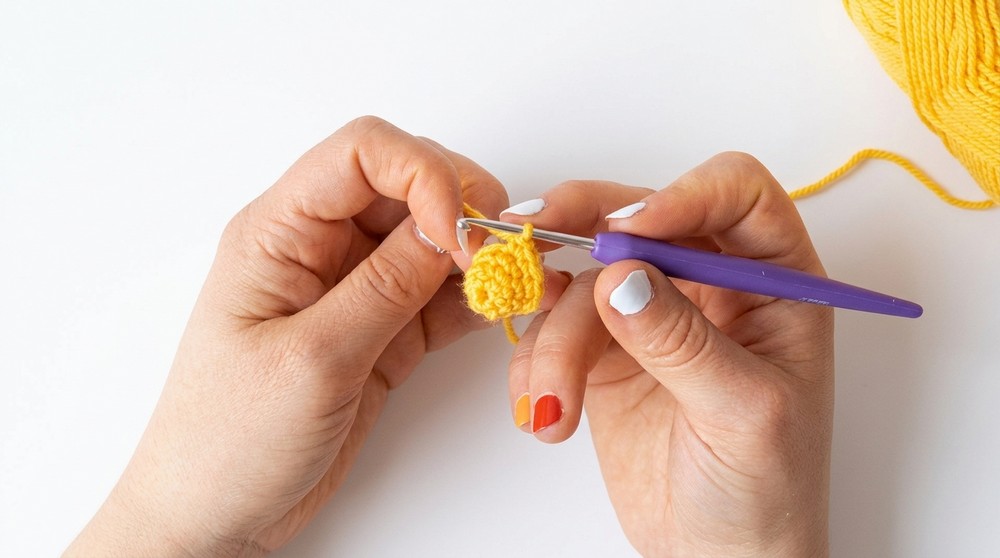
Foundation:
- Begin with a magic ring.
Rounds:
- R1: Work 6 sc into the ring.
- R2: Work 6 inc (12 stitches).
- R3-4: Work 12 sc per round, maintaining the shape.
Comb (Red Yarn)
Foundation:
- Begin with a magic ring.
Rounds:
- R1: Work 6 sc into the ring.
- R2: Work 6 inc (12 stitches).
- R3–R6: Work 12 sc per round.
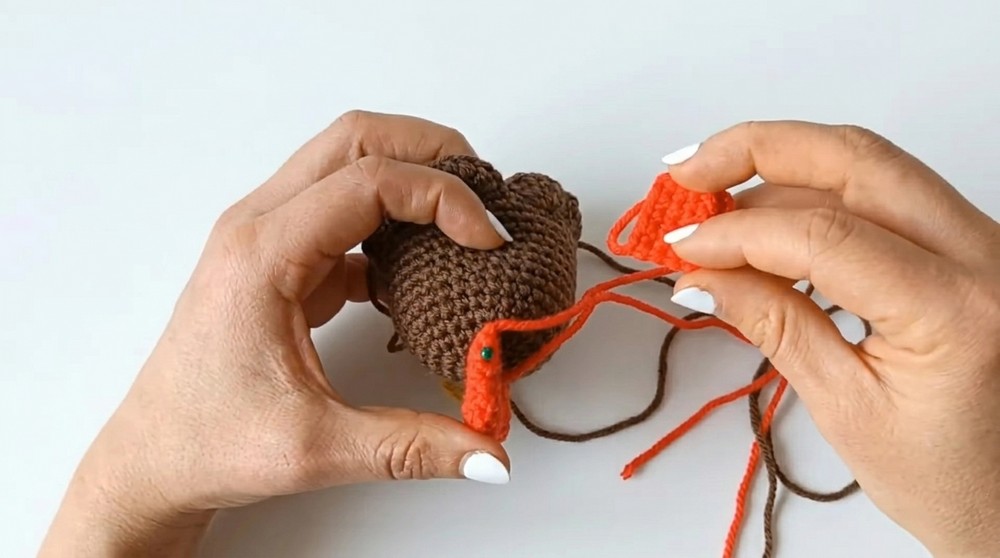
Note:** Repeat the comb pattern to create three individual comb pieces.
Body (Walnut Yarn)
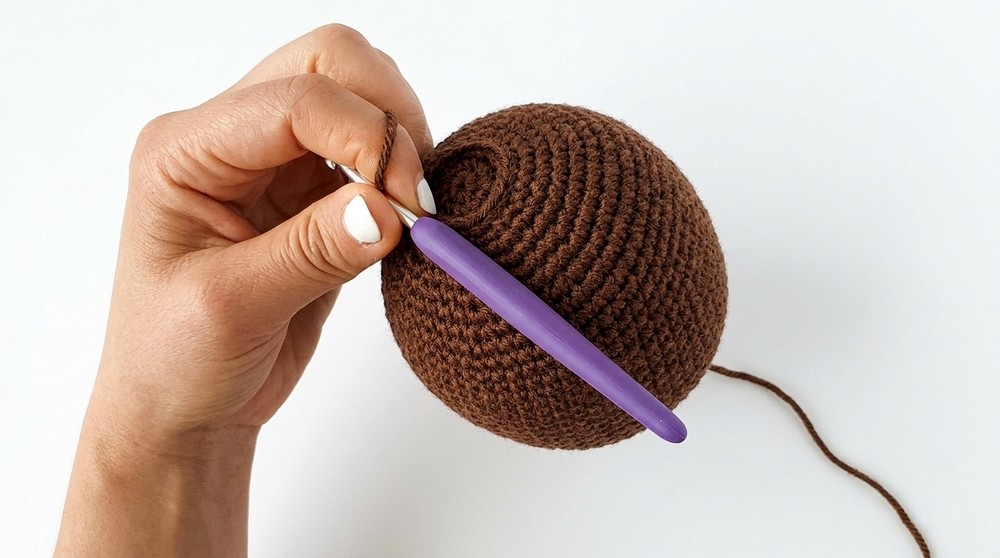
Foundation:
- Begin with a magic ring.
Rounds:
- R1: Work 6 sc into the ring.
- R2: Work 6 inc (12 stitches).
- R3: (1 sc, 1 inc) repeat 6 times (18 stitches).
- R4: (2 sc, 1 inc) repeat 6 times (24 stitches).
- Continue increasing in subsequent rounds until R11 (54 stitches).
- R12–R27: Work 54 sc per round to maintain the body’s cylindrical shape.
- Gradual decreases begin:
- R28–R35: Decrease evenly back to 6 stitches and close the body.
Wings (Walnut Yarn)
Worked in Rows:
- Start with 3 sc in a magic ring.
- Gradually increase in each row until Row 4 reaches 12 stitches.
- Complete the wing by working final rows in double crochet clusters to create feathery contours.
Tail (Walnut Yarn)
Worked in Rows:
- Begin with ch 2.
- Gradually increase each row until Row 7 reaches 8 stitches.
- Add plume clusters using alternating single and double crochets for additional texture.
Legs (Walnut Yarn)
Foundation:
- Begin with a magic ring.
Rounds:
- R1: Work 6 sc into the ring.
- R2: Work 6 inc (12 stitches).
- R3: Work evenly, 12 sc.
- R4: (1 sc, 1 inc) repeat to expand to 18 stitches.
Feet (Yellow Yarn)
Worked in Rows:
- Start with ch 2, increasing to 6 sc.
- Create three "toes" by making three separate chains of 4 stitches, each forming pointed shapes.
Assembly and Sizing
- Attach Beak and Comb: Sew the beak at the center of the head, and position the three comb pieces symmetrically at the top of the head.
- Safety Eyes: Place the safety eyes evenly on the head, or embroider small black dots using thread for flexibility.
- Wings and Tail: Pin the wings and tail to the body for symmetry before sewing them securely.
- Join Head to Body: Stitch the head in place using Walnut yarn, seamlessly attaching it to the body.
- Attach Legs and Feet: Secure the legs to specific rounds of the body, ensuring the hen stands upright, then attach the feet to the base of each leg.
Conclusion
This amigurumi hen is both charming and intricate, with its textured details and varied components like the comb, wings, and tail. With careful assembly, the design transforms into a delightful creation that is both decorative and fun to create. It’s perfect for anyone looking to expand their crochet repertoire with intermediate-level techniques.