
Free Crochet Dragon Amigurumi Pattern with Detailed Instructions
Add a playful touch to your collection with a Free Crochet Dragon Amigurumi Pattern that inspires creativity and brings adorable charm to handmade gifts.
I’ve always loved making little toys with yarn, and crocheting a dragon is one of the most exciting projects I’ve tried. The free crochet dragon amigurumi pattern lets you create a small, cuddly dragon that’s perfect for playtime or decoration. This fun project brings a magical creature to life right in your hands.
Free Crochet Dragon Amigurumi Pattern with Simple Tutorial
The dragon you make with this pattern looks amazing with its cute wings, tiny claws, and a friendly face. Its round body and smooth texture make it soft and huggable. You can choose any colors you want, to give your dragon its own special look. The design includes charming details like spikes along the back and little horns, which make the dragon stand out and look extra magical.

This project is great for people who have some experience with crochet. The main stitch used is the single crochet stitch, which helps you create a tight and firm doll that holds its shape well. You will also learn how to work in rounds, which is perfect for making 3D amigurumi toys like this dragon.
Crocheting this dragon amigurumi makes a wonderful gift for kids, friends, or anyone who loves dragons and fantasy. It’s also a fun decoration for shelves or desks and can even become a treasured collectible. Making your own dragon is a joyful way to share creativity and magic through crochet.
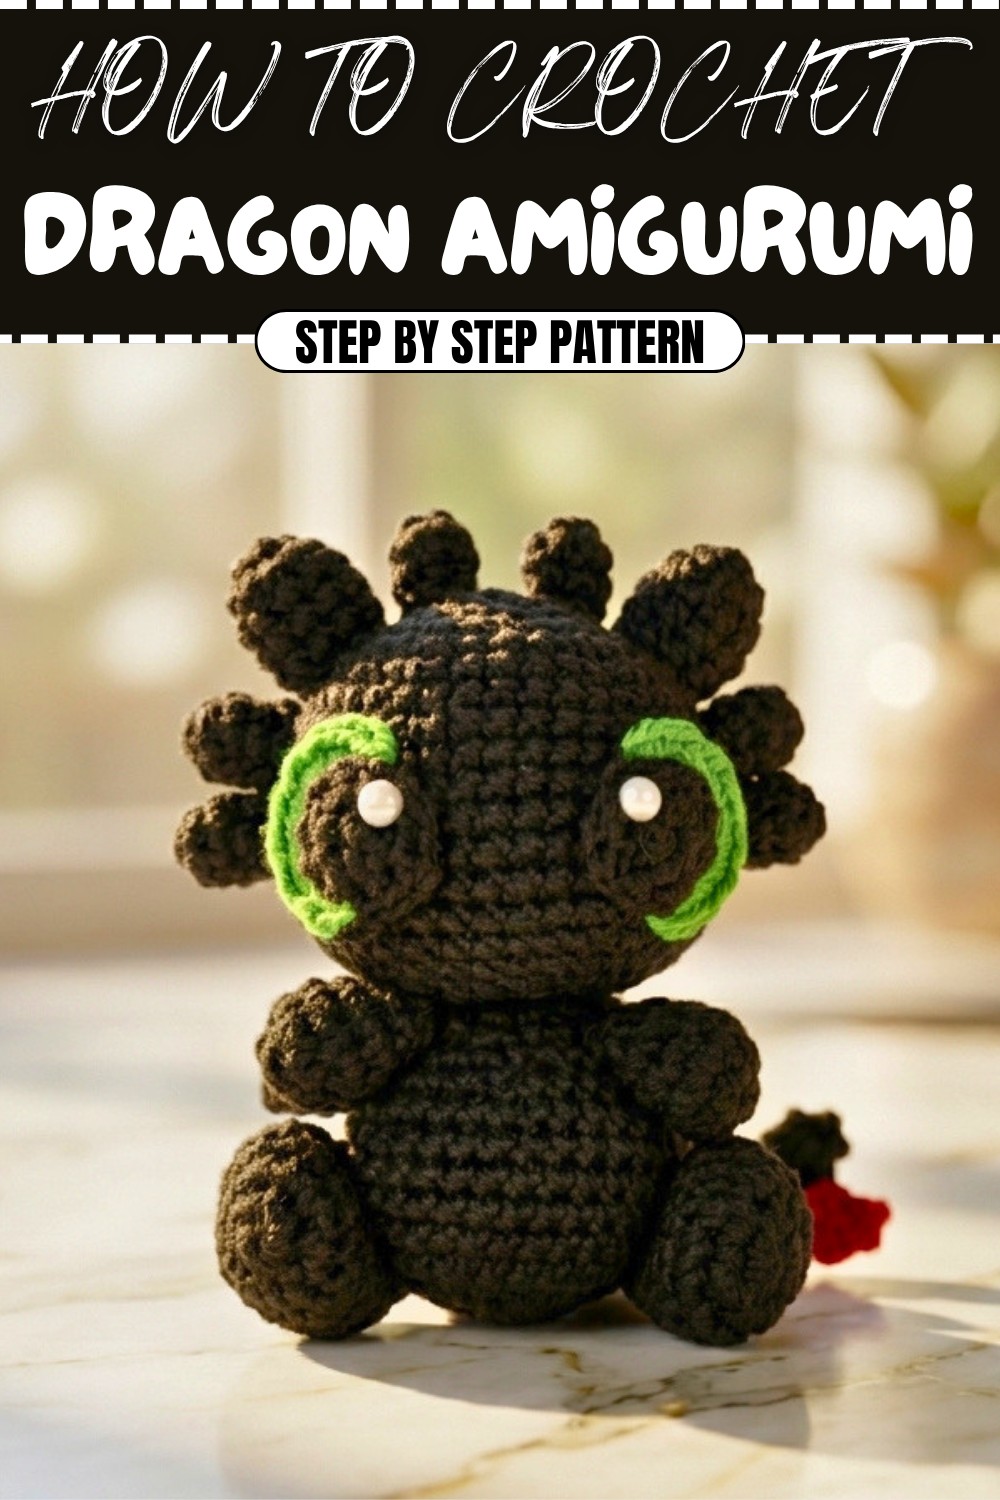
Chimuelo Amigurumi Crochet Pattern (7 cm)
This pattern guides you in creating a charming Chimuelo amigurumi dragon, approximately 7 cm tall, using a 2 mm crochet hook and yarn. The construction is modular: you’ll make the head, body, limbs, tail, wings, horns, ears, and eyes separately, then assemble all the parts for a finished, expressive, collectible creature.
Quick Overview Of Pattern
- Crochet head, body/neck, and all extremities separately using classic amigurumi techniques.
- Shape the head with consistent increases and decreases for a rounded, dragon-like form.
- Use color changes for a distinctive tail fin and bright, detailed eyes.
- Sculpt body details with strategic back-loop rounds and shaping.
- Assemble using careful stitch positioning, fabric glue, and secure sewing for durability and finish.
- Add final touches such as sewn or painted eye highlights to bring Chimuelo to life.
Notes
- All instructions use US terminology.
- Work in continuous spirals unless stated otherwise; use a stitch marker to mark the start of each round.
- Adjust stuffing as you build to avoid lumps.
- Safety eyes may be substituted for crocheted eyes if preferred, but this pattern provides full instructions for crochet eyes.
- Small parts: this amigurumi is a collectible or decorative item, not intended for young children unless all parts are securely sewn and no beads or easily removable items are used.
Skill Level
Intermediate amigurumi skills required: familiarity with magic ring, increases, decreases, color changes, working in rounds, and hand sewing small parts.
Materials
- 2 mm crochet hook
- Amigurumi-safe yarn (black, green, white, small amount of red for tail fin)
- Yarn needle
- Polyester stuffing
- Small scissors
- Stitch marker
- Fabric glue or silicone glue
- Optional: tiny white bead/half-pearl or acrylic paint for eye light points
- 2 small buttons for eyes or safety eyes (optional)
- Pins (for positioning during assembly)
Measurements / Sizing
- Finished size: approximately 7 cm (2.75 in) tall
- Schematic: Classic “baby dragon” proportions; head slightly larger than body
Gauge
Not critical for amigurumi, but tight stitches are needed to prevent stuffing from showing. Adjust hook and tension for your chosen yarn.
Stitch Abbreviations
- MR: magic ring
- SC: single crochet
- INC: increase (2 SC in the same stitch)
- DEC: decrease (single crochet 2 stitches together)
- SL ST: slip stitch
- CH: chain
- HDC: half double crochet
- DC: double crochet
- BLO: back loops only
Special Stitches
- Invisible Decrease: Insert hook in the front loop of the next 2 stitches, yarn over, pull up a loop, yarn over, pull through both loops.
- Color Change: Work the last step of previous stitch in new color.
The Crochet Pattern
Head
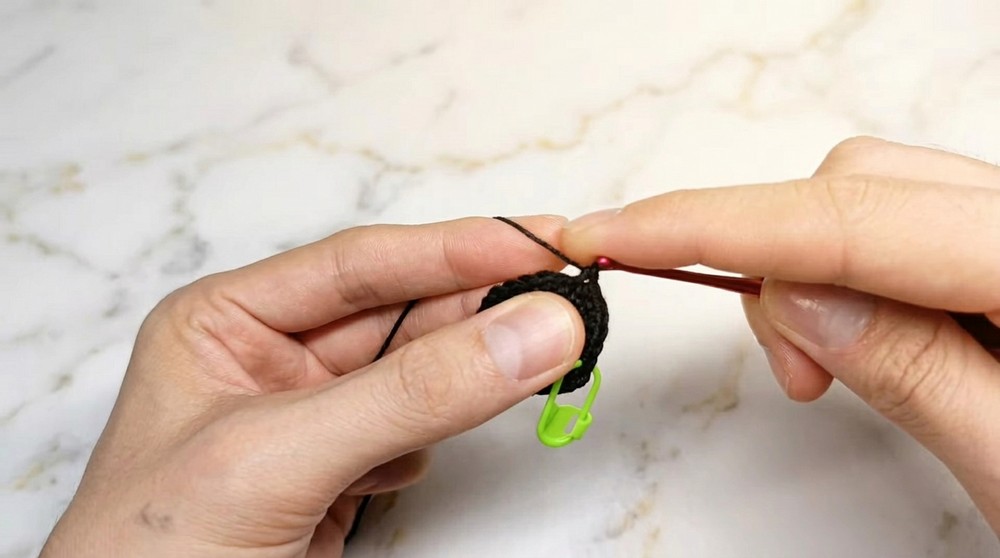
- R1: MR, 6 SC into MR (6)
- R2: INC around (12 SC)
- R3: (1 SC, INC) repeat around (18 SC)
- R4: (2 SC, INC) repeat around (24 SC)
- R5: (3 SC, INC) repeat around (30 SC)
- R6: (4 SC, INC) repeat around (36 SC)
- R7: 36 SC
- R8: (5 SC, INC) repeat around (42 SC)
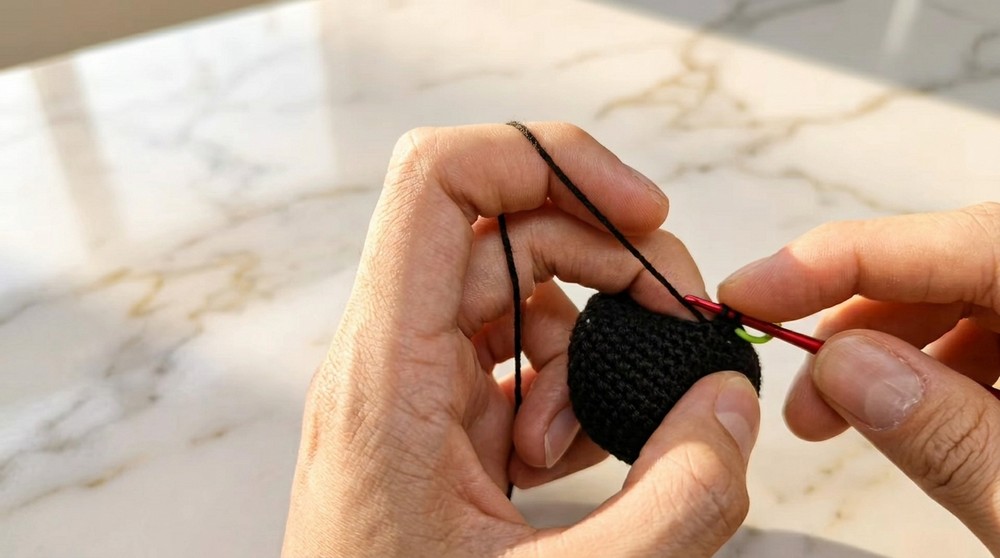
- R9–R14: 42 SC for 6 rounds (shape the skull)
- R15: (5 SC, DEC) repeat around (36 SC)
- R16: (4 SC, DEC) repeat around (30 SC)
- R17: (3 SC, DEC) repeat around (24 SC)
- R18: (2 SC, DEC) repeat around (18 SC)
- R19: BLO 18 SC
- R20–R22: 18 SC (3 rounds for shaping jaw)
Stuff head here while hole is workable.
Body & Neck
- R1: MR, 8 SC into MR (8)
- R2: INC around (16 SC)
- R3: (1 SC, INC) repeat around (24 SC)
- R4: (3 SC, INC) repeat around (30 SC)
- R5–R9: 30 SC for 5 rounds (torso)
- R10: (3 SC, DEC) repeat around (24 SC)
- R11: (2 SC, DEC) repeat around (18 SC)
- R12: (1 SC, DEC) repeat around (12 SC)
- R13–R19: 12 SC for 7 rounds (neck)
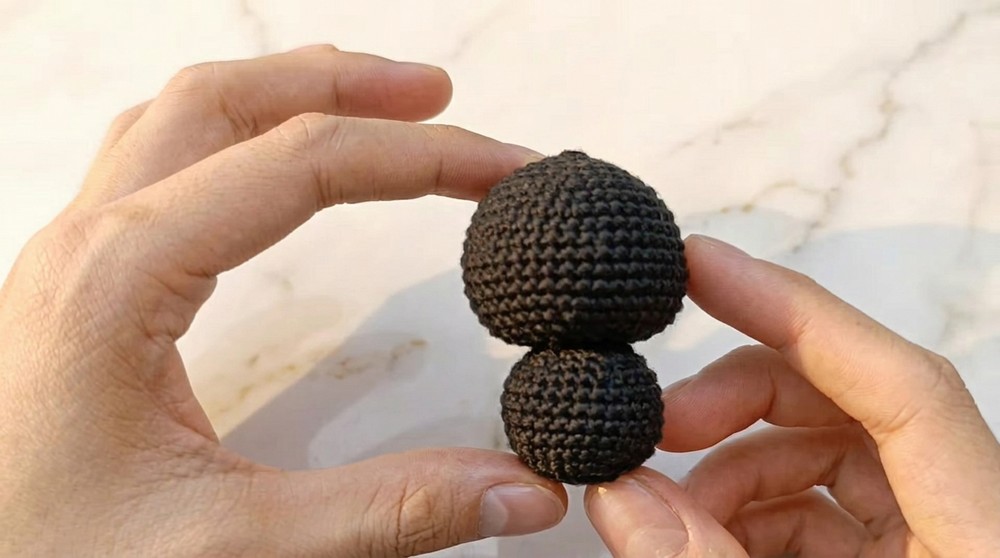
- To close: 3 DEC (6 SC), fasten off—leave tail for sewing.
Stuff body and neck.
Legs (make 2)
- R1: MR, 8 SC
- R2: INC in each (16 SC)
- R3–R5: 16 SC each round
- R6: (6 SC, DEC) twice (14 SC)
- R7: (4 SC, DEC) twice (12 SC)
- Close with 5 SC across top, fasten off—leave tail.
Tail
- R1: MR, 5 SC
- R2: 6 SC
- R3: 7 SC
- R4: Increase as follows to reach 10 SC in R5.
- Sculpt and slightly stuff.
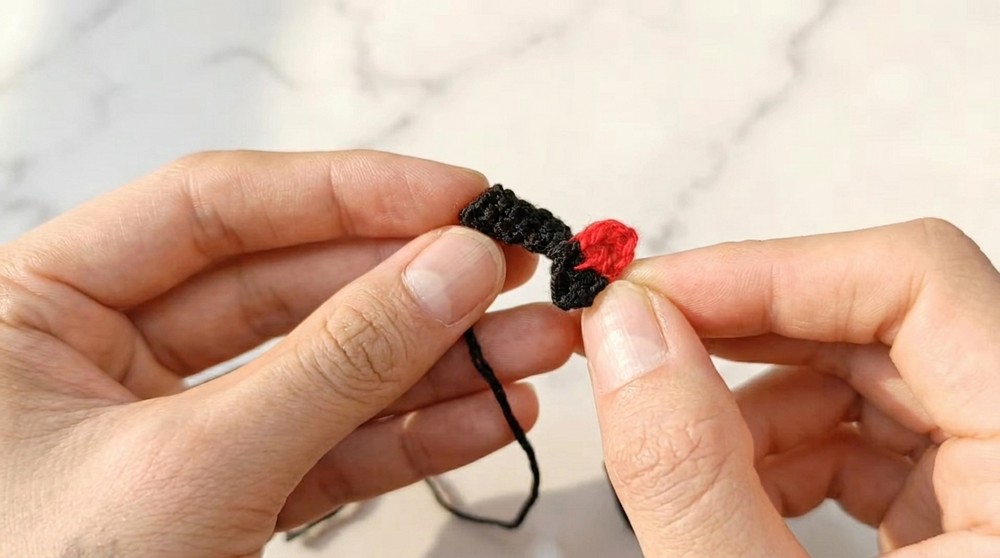
Tail Fin (Red/Black)
- MR, CH 2, 1 DC, 1 HDC, 1 SC (red)
- Change to black: SL ST, 1 SC, 1 HDC, 1 DC
- Fasten off, leave tail to sew to tail end.
Ears (make 2)
- R1: MR, 5 SC
- R2: INC in each (10 SC)
- R3–R5: 10 SC
- Fasten off.
Horns (make 6)
- R1: MR, 6 SC
- R2–R3: 6 SC
- Fasten off.
Wings (make 2)
- CH 7, turn
- 6 SC back across
- Turn, DEC-pattern (SC2tog at the ends), reduce by 2 each row to end with 2 SC
- Fasten off
Eyes (make 2)
- MR, 8 HDC (with green yarn)
- R2: 2 SC, 4 INC (green), 2 SC
- Fasten off, leave tail for sewing
Assembly & Finished Size
- Stuff all body parts.
- Secure all yarn ends with a dab of fabric glue or silicone glue.
- Arms: Sew onto upper body, toward the front, ~1 cm apart for “baby” effect; draw tails to back and knot/hide inside body.
- Legs: Stitch to body bottom for a sitting pose using glue if needed to keep position.
- Tail: Secure to back between legs, use a circular sewing pattern for stability; weave/tuck tail into stuffing.
- Tail Fin: Attach to end of tail, stitch or glue.
- Head: Pin all facial details before final sewing.
- Horns: Place 6 horns between rounds 2 and 3.
- Ears: Sew to sides of head.
- Wings: Glue to upper back of body, symmetrical.
- Eyes: Attach to head on diagonal, ~1 cm apart; glue or sew.
- Light Point: Add bead, half-pearl, or dab of white paint to eyes for character.
- Secure any excess threads and trim all ends.
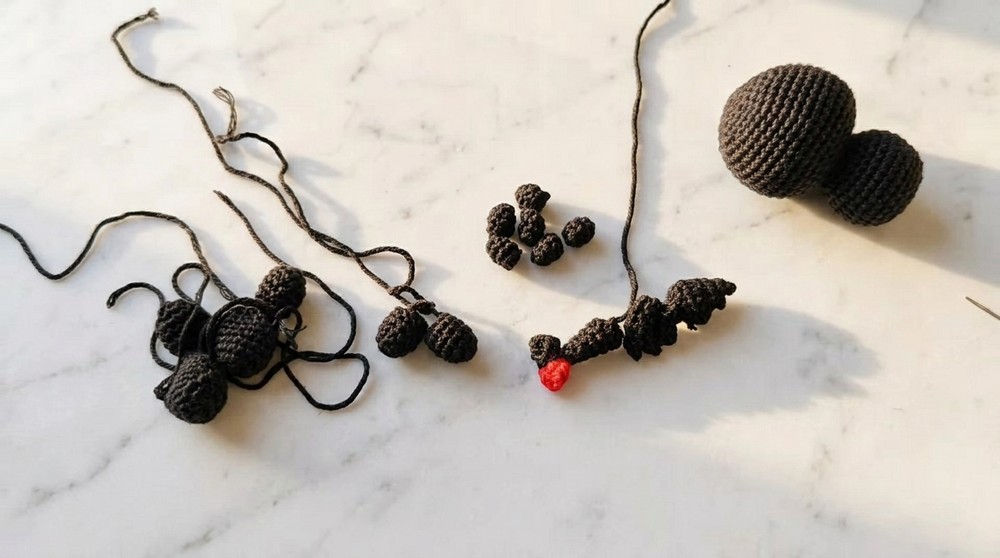
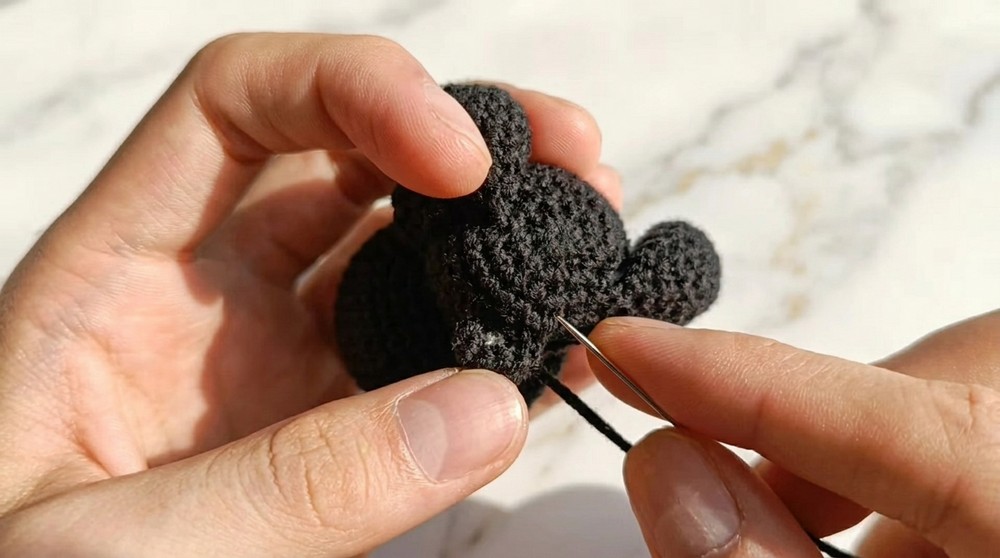
Finished Chimuelo amigurumi is approximately 7 cm tall.
Conclusion
Congratulations on completing your charming Chimuelo amigurumi! With careful shaping, detailed assembly, and creative touches—like colorwork on the tail and expressive eyes—your miniature dragon embodies both skill and whimsy. Enjoy displaying your finished piece or gifting it to a fan of adorable dragons.