
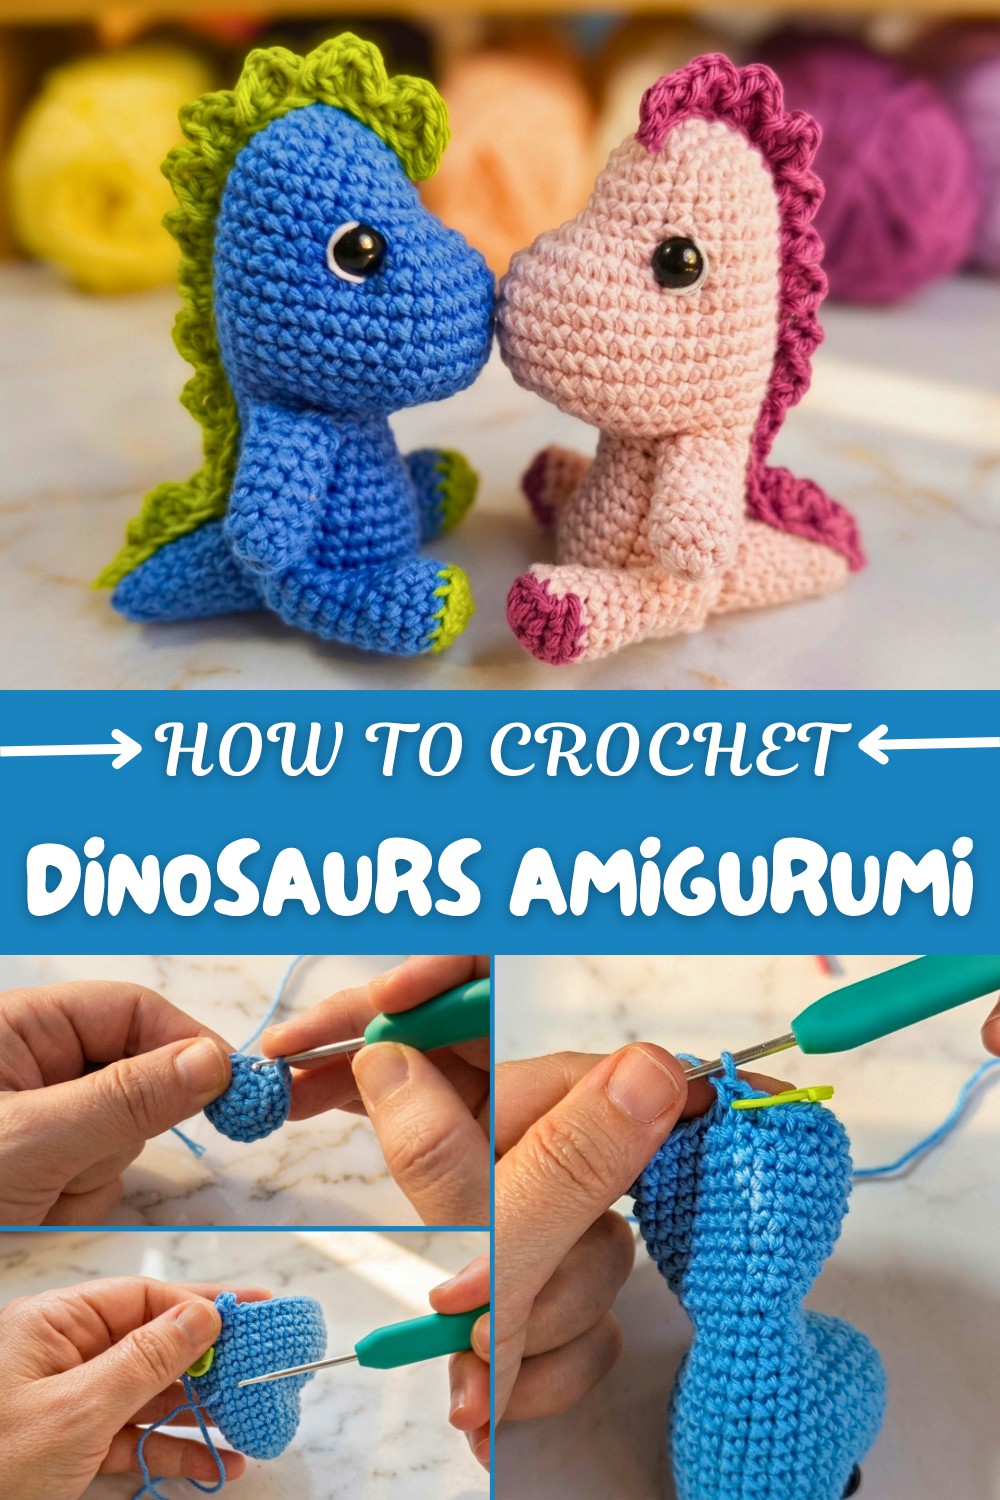
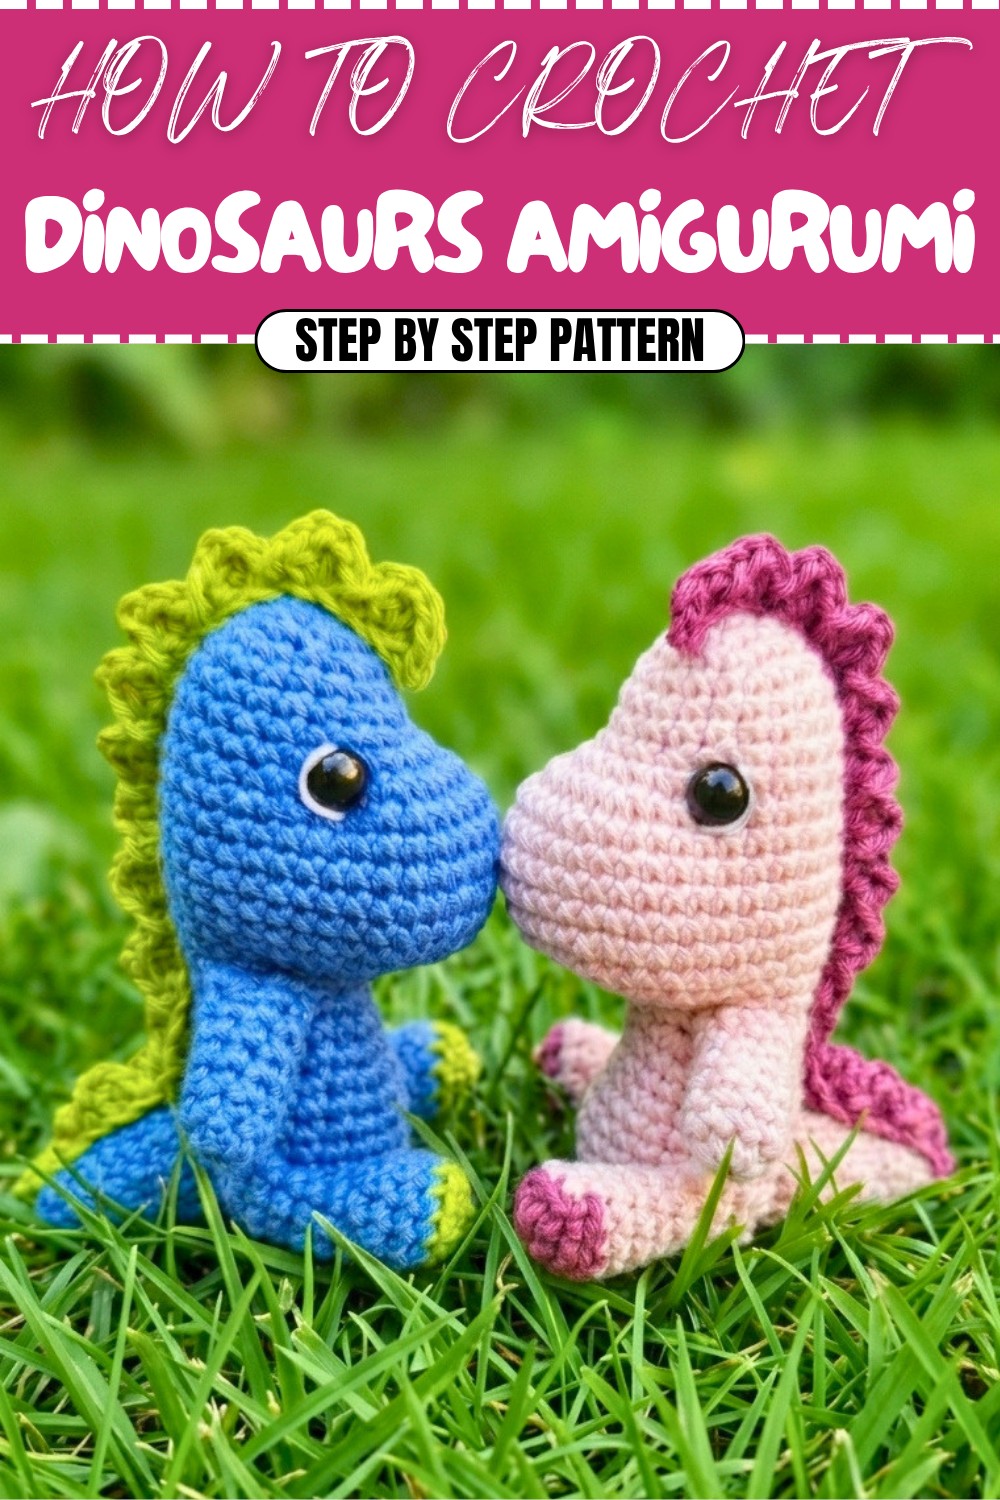
No Sew Dinosaur Amigurumi Free Crochet Pattern
Make cute dinosaurs with this Free Crochet Dinosaurs Amigurumi Pattern that's a fun and easy project that's perfect for anyone who loves dinos and crocheting.
One day, I wanted to make something fun and cheerful for someone special. While looking for ideas, I found a pattern for making small crochet dinosaurs. The project was simple to start, and right away, making each part was really enjoyable.
These little dinosaurs have soft, round bodies and short, stumpy legs, which make them look extra cute and friendly. It’s fun to pick different colors for the spikes or plates along their backs. Sometimes I choose classic green, but other times I use bright colors for a playful twist. No two dinosaurs ever look the same, and each one seems to have its own personality.
Quick Crochet Dinosaur Amigurumi Free Pattern
The finished dinosaur feels squishy and soft, just right for holding in your hand or putting on a shelf. They’re great as gifts, desk decorations, or even as a little bedtime buddy for someone to hug. The pattern uses only a bit of yarn, so it’s a good chance to use up leftovers from old projects.
What’s really nice is how easy it is to follow the steps, even for someone new to crocheting. Making each dinosaur doesn’t take long, usually just a few hours. Every time I finish one, it makes me smile to see their happy faces.
This project is simple, relaxing, and always brings a bit of joy, both while making and when the little dinosaur is done. If you want to create something cute and special, this crochet pattern is a wonderful choice.
Mini Dinosaur Amigurumi – Step-by-Step Crochet Pattern
This adorable and trendy baby dinosaur is a perfect stash-buster and makes a wonderful gift, toy, or desk ornament. The pattern works in one piece from head to body, with separate arms, legs, tail, and crest attached at the end. Simple techniques and clear steps make it approachable for everyone, and after each part, you’ll find easy-to-understand commentary.
Skill Level & Terminology
- Skill Level: Beginner to Advanced Beginner.
- Terminology: US crochet terms (single crochet = sc).
Materials & Tools
- Yarn: 100% cotton or preferred amigurumi yarn in:
- Main color (head/body/arms)
- Contrast color for details (legs, crest)
- Hook: 2.5 mm crochet hook
- Tapestry Needle: For sewing and embroidering
- Stitch Marker: Vital for keeping track of rounds
- Scissors
- Stuffing: Polyester fiberfill
- Safety Eyes: 5 mm (or to preference)
- Glue (fabric or cold silicone): Optional, to attach details securely
Gauge
No strict gauge for amigurumi. Ensure stitches are tight so stuffing does not show through.
Sample: 8 sc & 8 rows ≈ 3.5 cm.
Abbreviations List
| Abbreviation | Meaning |
|---|---|
| ch | chain |
| sc | single crochet |
| inc | increase (2 sc in 1 st) |
| dec | decrease (sc 2 together) |
| sl st | slip stitch |
| st(s) | stitch(es) |
| BLO | back loop only |
| FO | fasten off |
Special Stitch Instructions
- Magic Ring: Form a loop, work stitches directly into the loop, then pull tight.
- Increase (inc): Work 2 sc in the same st.
- Decrease (dec): Draw up a loop in each of the next 2 sts, yarn over and pull through all 3 loops.
- Back Loop Only (BLO): Work through the back loop of the stitch for texture.
- Crest/Peaks: Made by chaining, working hdc, ch 2, hdc, and repeating sl st peaks.
Finished Size
Finished dinosaur is approximately 7–9 cm tall with 2.5 mm hook and sport-weight yarn.
Stitches Used & Pattern Start
The pattern begins with a magic ring and uses single crochet, increase, decrease, back loop techniques, and simple slip stitches for the crest.
The Pattern
Head
With Main Color:
- Round 1: Make a magic ring, 5 sc in ring. (5)
- Round 2: 5 inc. (10)
- Round 3: [1 sc, inc], repeat around. (15)
- Round 4: [2 sc, inc], repeat around. (20)
- Rounds 5–7: Sc in each st around (20); 3 rounds.
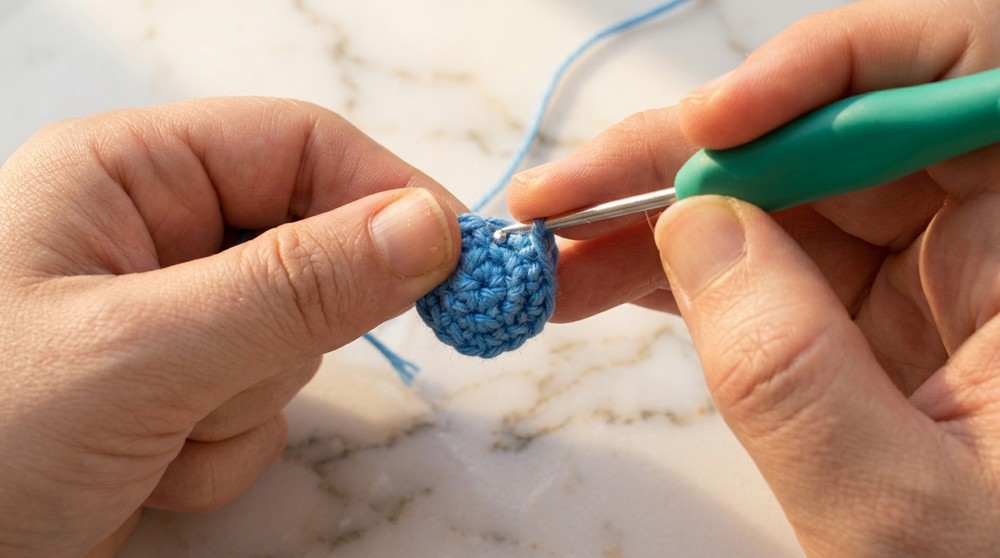
You are crocheting a sphere that will become the head. Use a stitch marker to track rounds.
Head Shaping & Eye Placement
- Round 8: 6 sc, 8 inc, 6 sc. (28)
- Round 9: 10 sc, 8 inc, 10 sc. (36)
- Rounds 10–15: Sc in each st around. (36) (6 rounds total)
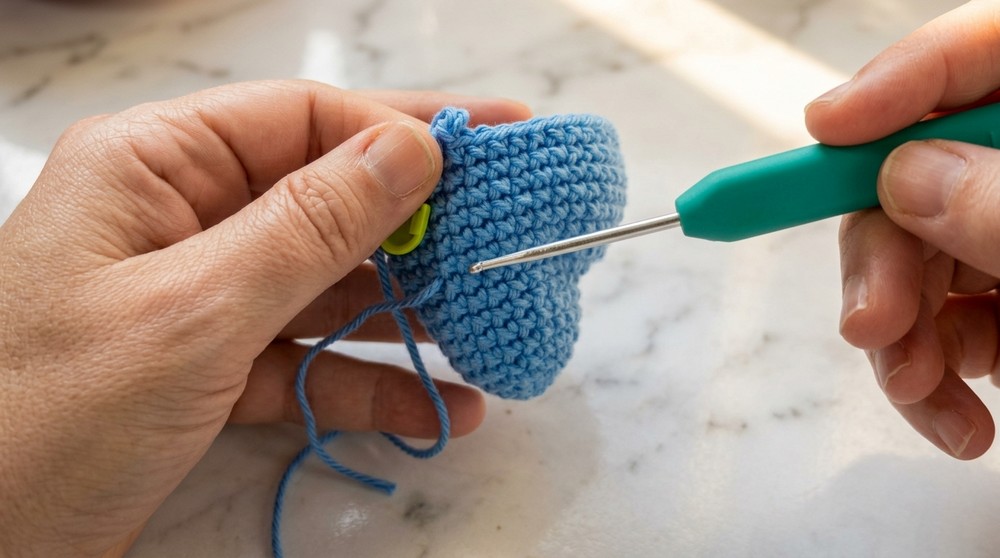
Pause and insert safety eyes
- Place between rounds 8 and 9, at the start of the increases and adjust spacing as desired.
Plain explanation:
You made the head rounder and wider, placed safety eyes, and created a space for the face.
Head Decreases
- Round 16: 10 sc, 8 dec, 10 sc. (28)
- Round 17: 6 sc, 8 dec, 6 sc. (20)
- Round 18: 6 sc, 4 dec, 6 sc. (16)
- Round 19: Sc in each st around. (16)
Stuff head very firmly at this stage.
Body
- Round 20: [3 sc, inc], repeat 4 times. (20)
- Rounds 21–22: Sc in each st around. (20)
- Round 23: [4 sc, inc], repeat 4 times. (24)
- Rounds 24–28: Sc in each st around. (24) (5 rounds)
Body Decreases & Closing
- Round 29: [2 sc, dec], repeat 6 times. (18)
- Round 30: [sc, dec] repeat around. (12)
Stuff body firmly.
- Round 31: 6 dec. (6)

Cut a long tail. Use tapestry needle to weave through last 6 sts and pull tight to close. Weave in end.
For beginners:
You crocheted the body directly after the head, decreasing at the end for a tidy finish. Stuff firmly before closing.
Tail
With Main Color:
- Round 1: Magic ring, 6 sc in ring. (6)
- Round 2: Sc in each st around. (6)
- Round 3: [sc, inc], repeat 3 times. (9)
- Round 4: Sc in each st around. (9)
- Round 5: [2 sc, inc], repeat 3 times. (12)
- Round 6: Sc in each st around. (12)
- Round 7: [3 sc, inc], repeat 3 times. (15)
- Round 8: Sc in each st around. (15)
Sl st in next st. Leave long tail for sewing.
Arms (Make 2)
With Main Color:
- Round 1: Magic ring, 8 sc in ring. (8)
- Rounds 2–7: Sc in each st around (8). (6 more rounds)
Stuff lightly. FO leaving a long tail for sewing.
Legs (Make 2)
With Contrast Color (foot), switch to Main Color for leg):
- Round 1: Magic ring, 6 sc in ring. (6)
- Round 2: 6 inc. (12)
- Round 3: Switch to Main Color. In BLO, 12 sc. (12)
- Rounds 4–5: Sc in each st around. (12) (2 rounds)
- Round 6: 2 sc, 4 dec, 2 sc. (8)
- Rounds 7–11: Sc in each st around. (8) (5 rounds)
FO, leaving long tail. Stuff lightly.
Easy explanation:
You crocheted arms as tubes in the round, and the legs with small feet in a contrast color.
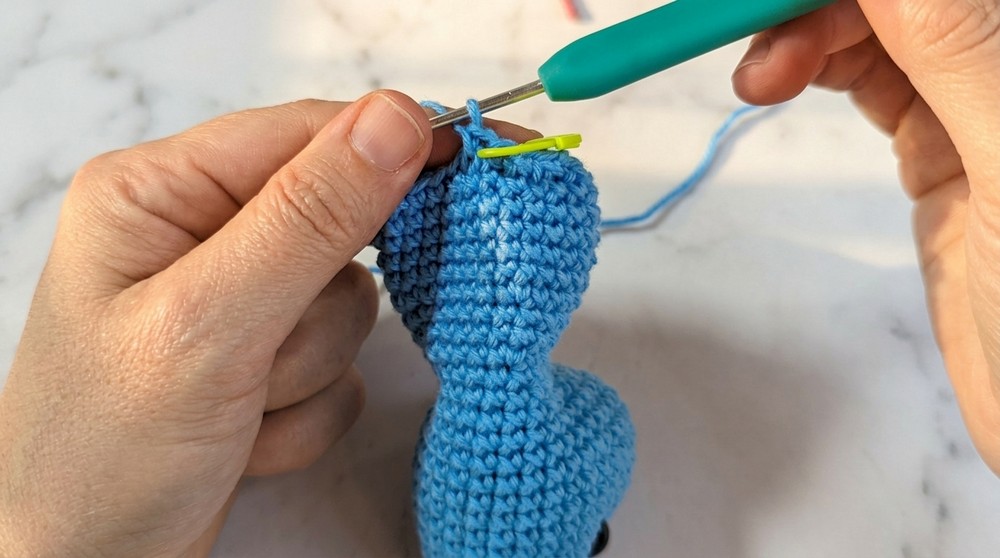
Crest
With Contrast Color:
- Ch 30.
- In 2nd ch from hook: Sl st, next ch: hdc, ch 2, hdc in same ch, next ch: sl st.
- Repeat pattern (hdc, ch 2, hdc, sl st) along the chain to knit little “peaks”.
- Continue until end of chain.
FO, leaving tail for sewing.
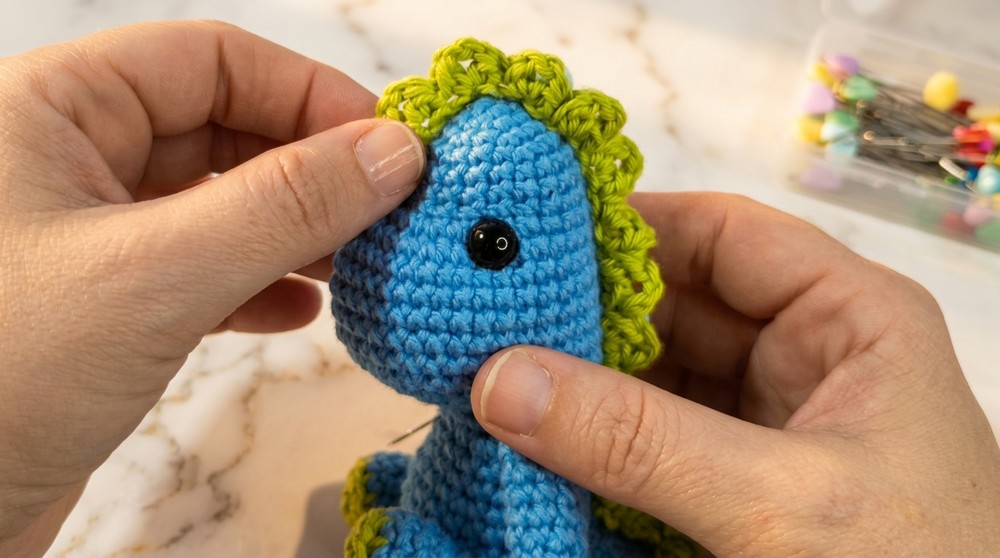
Assembly & Finishing
- Stuff & sew tail to back base of body.
- Sew arms and legs symmetrically. Shape with pins.
- Lightly glue feet and arms if desired, pin in place while drying.
- Sew or glue crest from head down the back.
- Embroider white felt or make white thread “eye shines” above each eye for a friendly look. Secure/all thread ends hide inside.
- Adjust shape, squish gently for best look.
Plain explanation:
When all pieces are stuffed and sewn on, your dinosaur comes to life. Add little white accents above the eyes for extra cuteness!
Conclusion
Congratulations! Your mini dinosaur amigurumi is complete. You’ve worked in the round, done simple increases and decreases, experimented with BLO for detail, and mastered sewing/amigurumi joining. Make more in all colors, or add creative accessories—wings, bowties, spots! If you enjoyed this project, don’t forget to share, comment, and keep learning new crochet skills.
Pattern summary:
This pattern starts with a magic ring and basic single crochet, then uses increasing/decreasing, color changes, and a spiky crest for character. Each section is carefully described, and finishing touches help make your dinosaur unique.