
Free Crochet Bunny Pattern for Cozy Reading Nooks
Joyfully crochet this bunny into a fun keepsake for your travel adventures or decorate it as a mascot for your car dashboard.
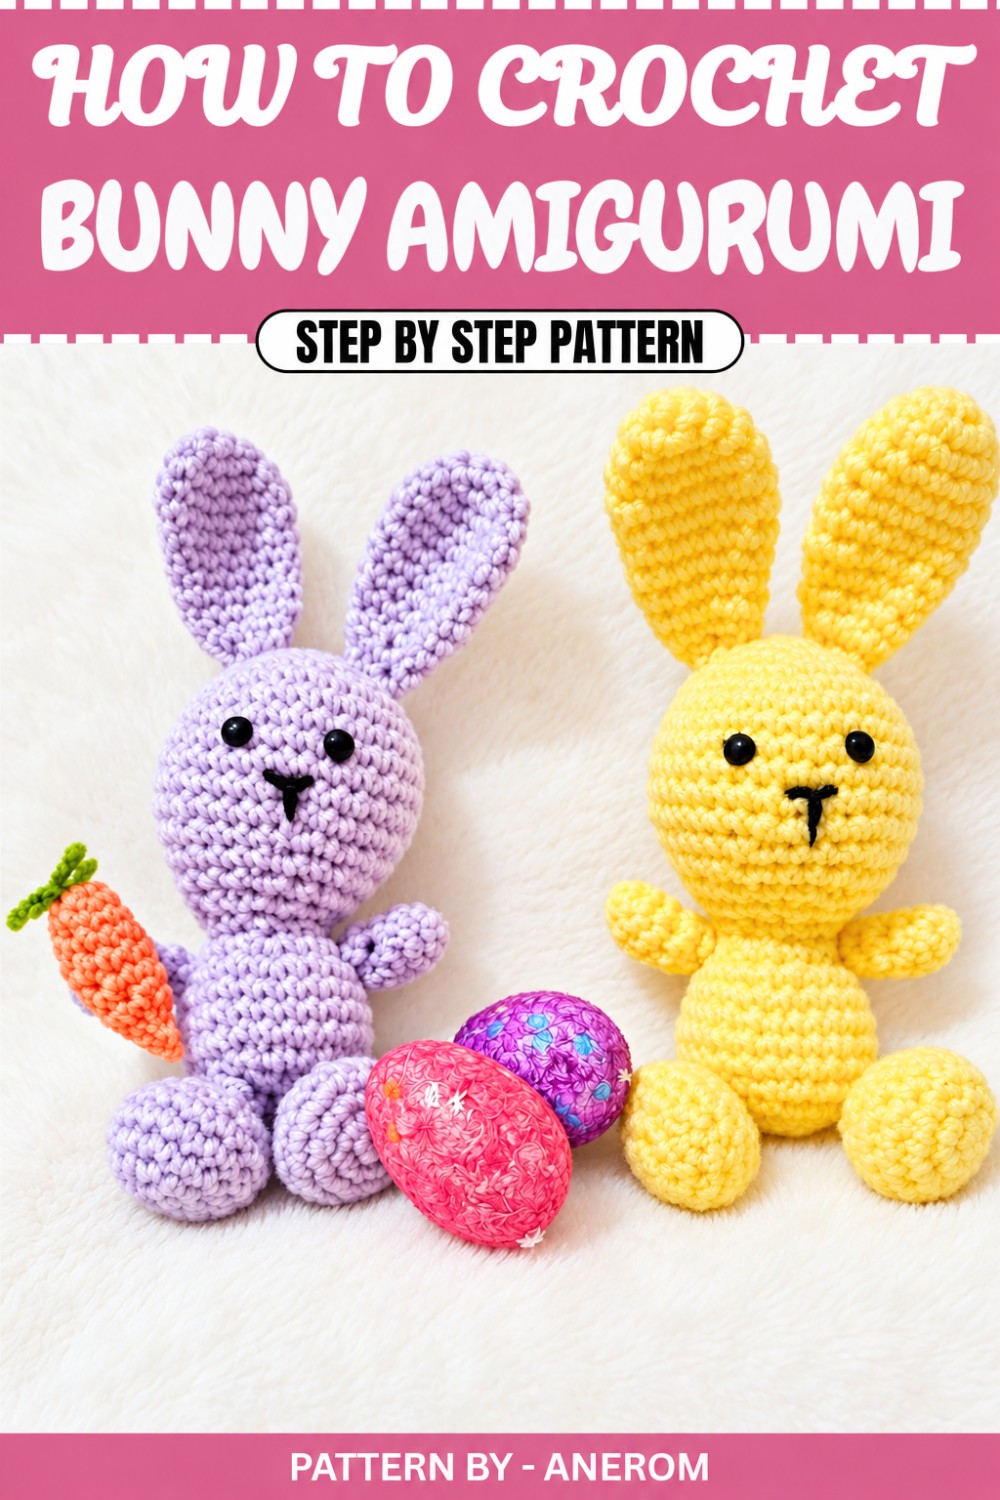
Looking for a delightful way to add handmade charm to your home or gift collection? This adorable crochet bunny project is perfect for anyone who loves timeless, cuddly creations. With a petite size and soft, rounded shape, these bunnies bring a touch of whimsy to any setting, whether perched on a shelf, tucked into a child’s toy basket, or given as thoughtful keepsakes for loved ones.
Featured By Anerom
Crocheted with care and personality, this bunny design captures the essence of amigurumi art. Its sweet features, like floppy ears and tiny details, make it irresistibly cute. The project is ideal for both beginners and those with intermediate crochet skills, offering a fun way to practice techniques such as single crochet, invisible decreases, and working in the round starting with a magic circle.
Free Crochet Bunny for Unique Wall Hanging Projects
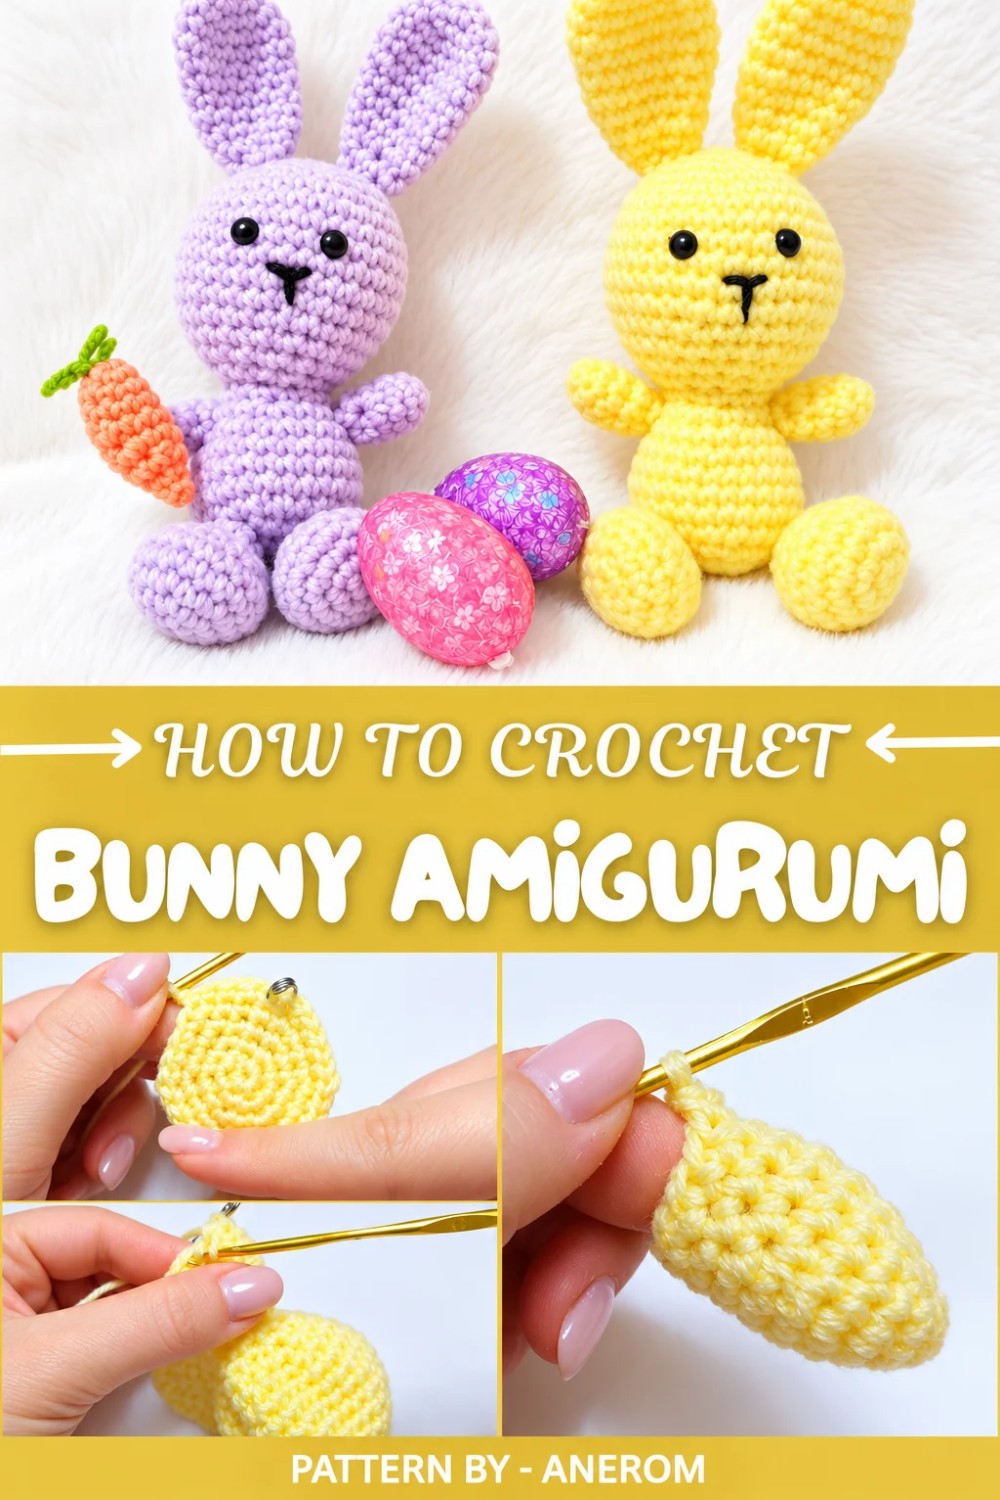
Using lightweight acrylic yarn (#3) in customizable colors, you can give each bunny its own personality. Whether you choose soft pastels for a baby shower or vibrant shades for festive décor, the possibilities are endless. With just a few simple tools, yarn, a crochet hook, stuffing, and optional embellishments like safety eyes or embroidery, you can create something truly unique.
If you’re ready to dive into this creative journey, the free crochet bunny pattern will guide you through every step, turning yarn into a charming collectible. Stay tuned for the details and let your crochet hooks bring these lovable bunnies to life today.
Amigurumi Bunny Crochet Pattern
This step by step pattern will guide you in creating an adorable Amigurumi Rabbit using a 3mm crochet hook and acrylic yarn. Each component is worked in continuous rounds using single crochet (sc) stitches. Follow along carefully for a clear, complete, and accurate construction.
Materials
- Acrylic yarn (size 3) in your chosen colors:
- Main color for the body and head
- Black yarn for the embroidered nose/muzzle
- Crochet hook: 3mm
- Stuffing (e.g., polyfill or fiberfill)
- Yarn needle for sewing parts together
- Stitch marker or safety pin to track the first stitch of each round
- Glue (optional for eyes)
- 2 Half-pearl beads or safety eyes (paint black with nail polish if needed)
Abbreviations
- MR: Magic ring
- sc: Single crochet
- inc: Increase (2 sc in the same stitch)
- dec: Decrease (crochet 2 stitches together invisibly using the front loops only)
- st(s): Stitch(es)
- rnd: Round
Construction Notes
- Work in continuous rounds (spirals). Do not join rounds with slip stitches unless specified.
- Use a stitch marker to mark the first stitch of each round for ease of counting.
- Stuff pieces as directed before closing them with decreases for a clean finish.
- Leave long yarn tails on all small parts for sewing during assembly.
Pattern
Body and Head
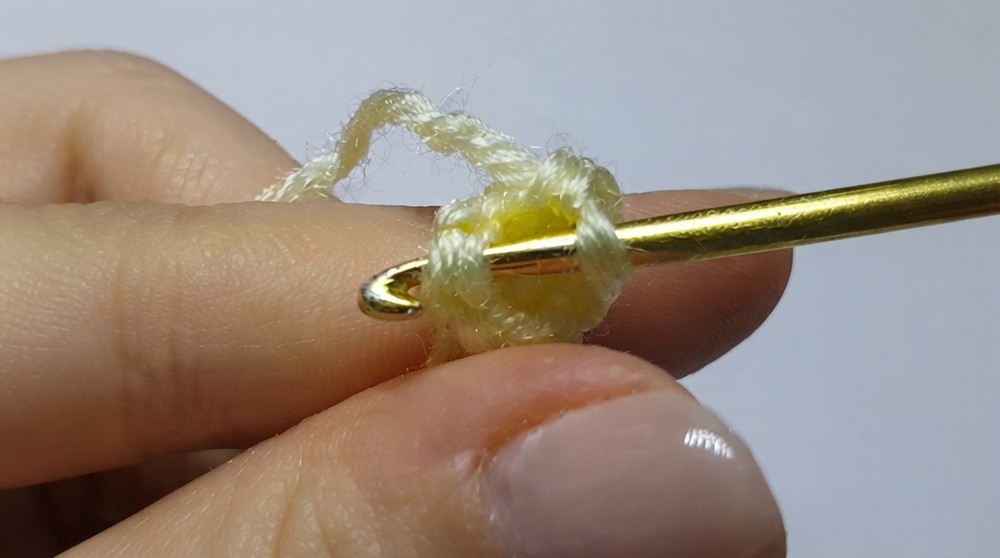
R1: Magic ring, 6 sc (6)
R2: Inc in each st (12)
R3: 1 sc, inc repeat 6 times (18)
R4: 2 sc, inc repeat 6 times (24)
R5: 3 sc, inc repeat 6 times (30)
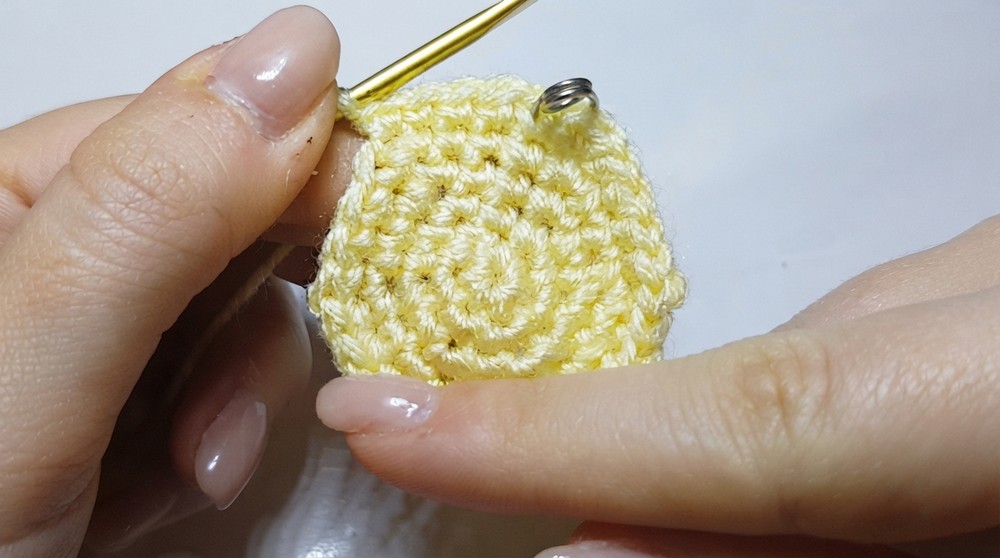
R6: 4 sc, inc repeat 6 times (36)
R7–11: 5 rounds of 36 sc
R12: 4 sc, dec repeat 6 times (30)
R13: 3 sc, dec repeat 6 times (24)
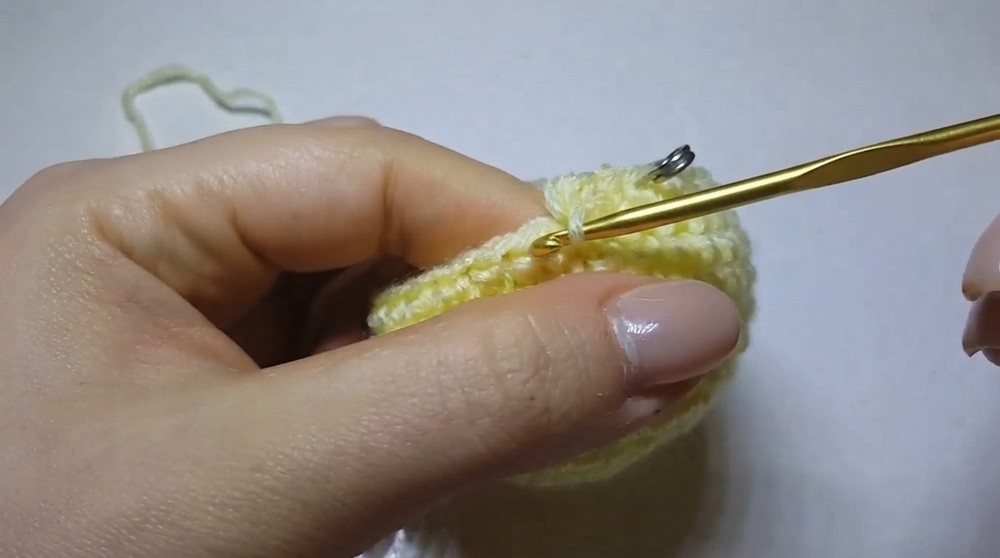
R14: 2 sc, dec repeat 6 times (18)
R15: 1 sc, dec repeat 6 times (12)
R16: 2 sc, dec repeat 3 times (9)
R17–18: 2 rounds of 9 sc
R19: 1 sc, inc repeat 4 times + 1 sc (12)
R20: 1 sc, inc repeat 6 times (18)
R21: 2 sc, inc repeat 6 times (24)
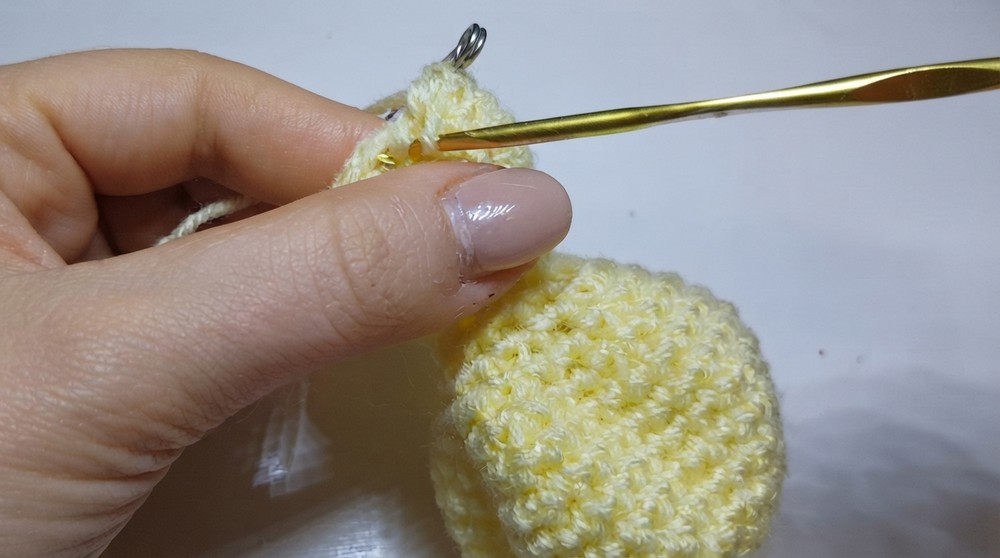
R22–24: 3 rounds of 24 sc
R25: 2 sc, dec repeat 6 times (18)
Stuff the body before continuing.
R26: 1 sc, dec repeat 6 times (12)
R27: Work 6 decreases (6).
Cut the yarn, leaving a long tail for sewing, and weave the remaining stitches to close the opening securely.
Feet (Make 2)
R1: Magic ring, 6 sc (6)
R2: Inc in each st (12)
R3: 1 sc, inc repeat 6 times (18)
R4–5: 2 rounds of 18 sc
R6: 1 sc, dec repeat 6 times (12)
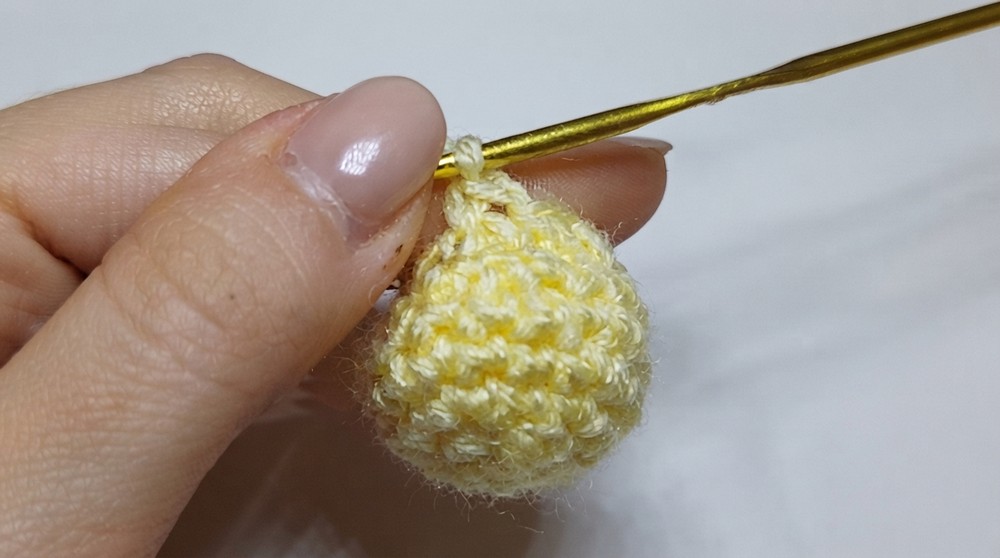
R7: Work 6 decreases (6).
Cut the yarn, leaving a long tail for sewing.
Hands (Make 2)
R1: Magic ring, 4 sc (4)
R2: Inc in each st (8)
R3: 8 sc
R4: 2 sc, dec repeat 2 times (6)
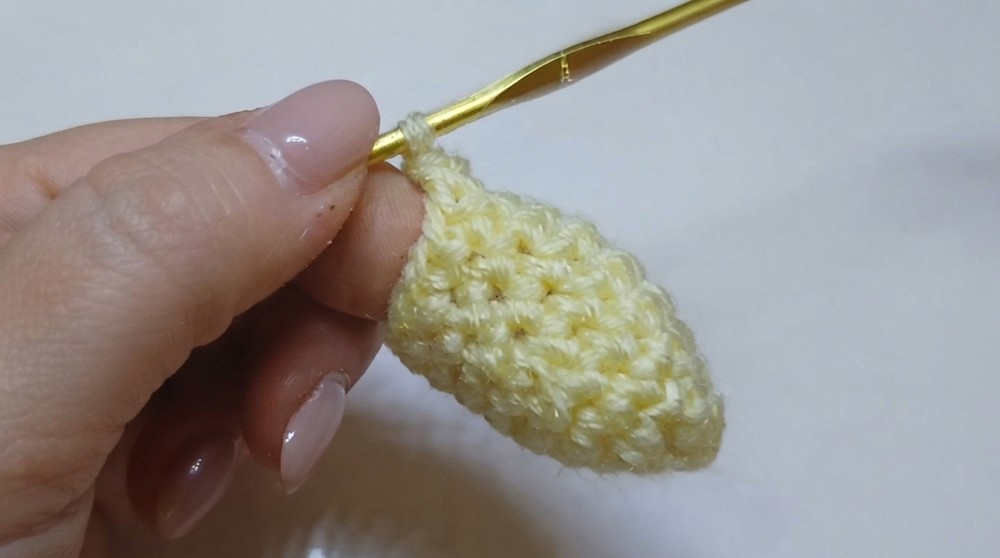
R5–6: 2 rounds of 6 sc
Cut the yarn, leaving a long tail for sewing.
Ears (Make 2)
R1: Magic ring, 5 sc (5)
R2: Inc in each st (10)
R3: 1 sc, inc repeat 5 times (15)
R4–5: 2 rounds of 15 sc
R6: 3 sc, dec repeat 3 times (12)
R7–9: 3 rounds of 12 sc
R10: 2 sc, dec repeat 3 times (9)
R11: 9 sc
R12: 1 sc, dec repeat 3 times (6)
Cut the yarn, leaving a long tail for sewing.
Assembly
1. Attach the Ears:
- Sew the ears onto the top of the head. Place them evenly on either side, ensuring they curve gently outward. Use a yarn needle and the long tails of the ears for this. Stitch securely and hide the thread ends inside the body.
2. Attach the Feet:
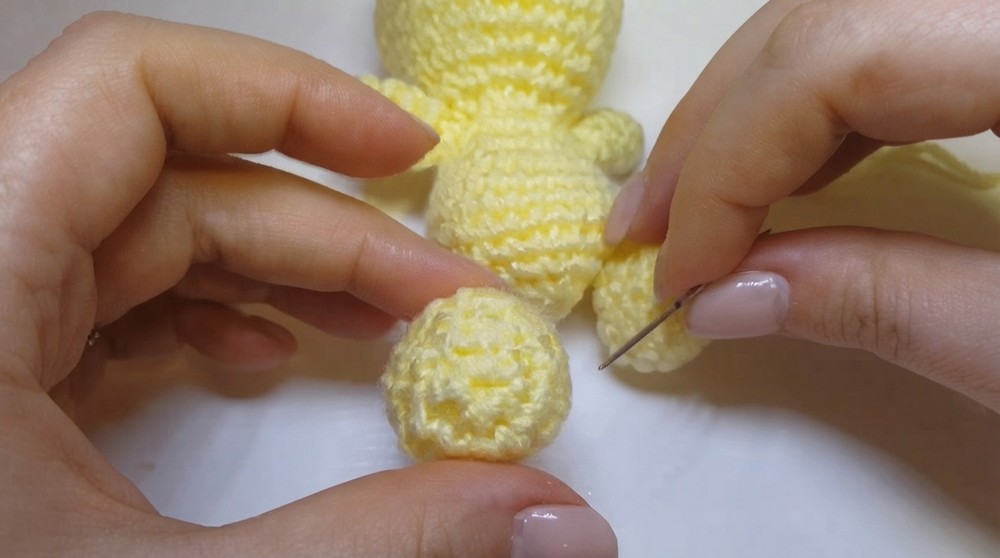
- Position the feet toward the bottom of the body, slightly toward the sides. Sew them in place using long tails. If a yarn tail is accidentally cut short, use the thread from another foot and stitch them together securely.
3. Attach the Hands:
- Align the hands toward the top sides of the body, ensuring symmetry. Stitch them onto the body securely for added stability.
4. Embroider the Nose/Muzzle:
- Using a yarn needle and black yarn, create a small triangle for the bunny’s muzzle. Start at the center front of the head. Work from the top down points and fill evenly to create the triangle. Hide tail threads in the body.
5. Attach the Eyes:
- Glue or sew the eyes slightly above the embroidered nose. Position them evenly and securely. Paint half pearls black with nail polish if necessary before gluing.
Finished Size
When completed using size 3 acrylic yarn and a 3mm hook, the bunny is approximately 10–12 cm in height including the ears.
Conclusion
Your Amigurumi Rabbit is now complete! This charming, handmade creation is perfect for gifts, decorations, or just a cute addition to your crochet projects. Personalize your bunny with color choices or add accessories like a carrot for a fun touch. Share your creations and enjoy making more crochet animals using these techniques.