
Easy & Simple Crochet Acorn Backpack Pattern for Everyday Fun
Make your day brighter with a free crochet acorn backpack pattern, turning your yarn into a playful accessory everyone will love.
Carrying a handmade acorn backpack brings a touch of nature’s simple beauty right to your everyday style. Using familiar crochet techniques such as the magic ring, single crochet, double crochet, and increases with two stitches together, this project builds a charming little bag that’s both cute and useful. Working in both rounds and rows allows the shape to form naturally, with textured bobble stitches adding playful detail reminiscent of an acorn’s cap. These techniques help strengthen foundational skills while assembling a cozy accessory that’s as fun to make as it is to wear.
Learn this Crochet Acorn Backpack Pattern for Autumn Days
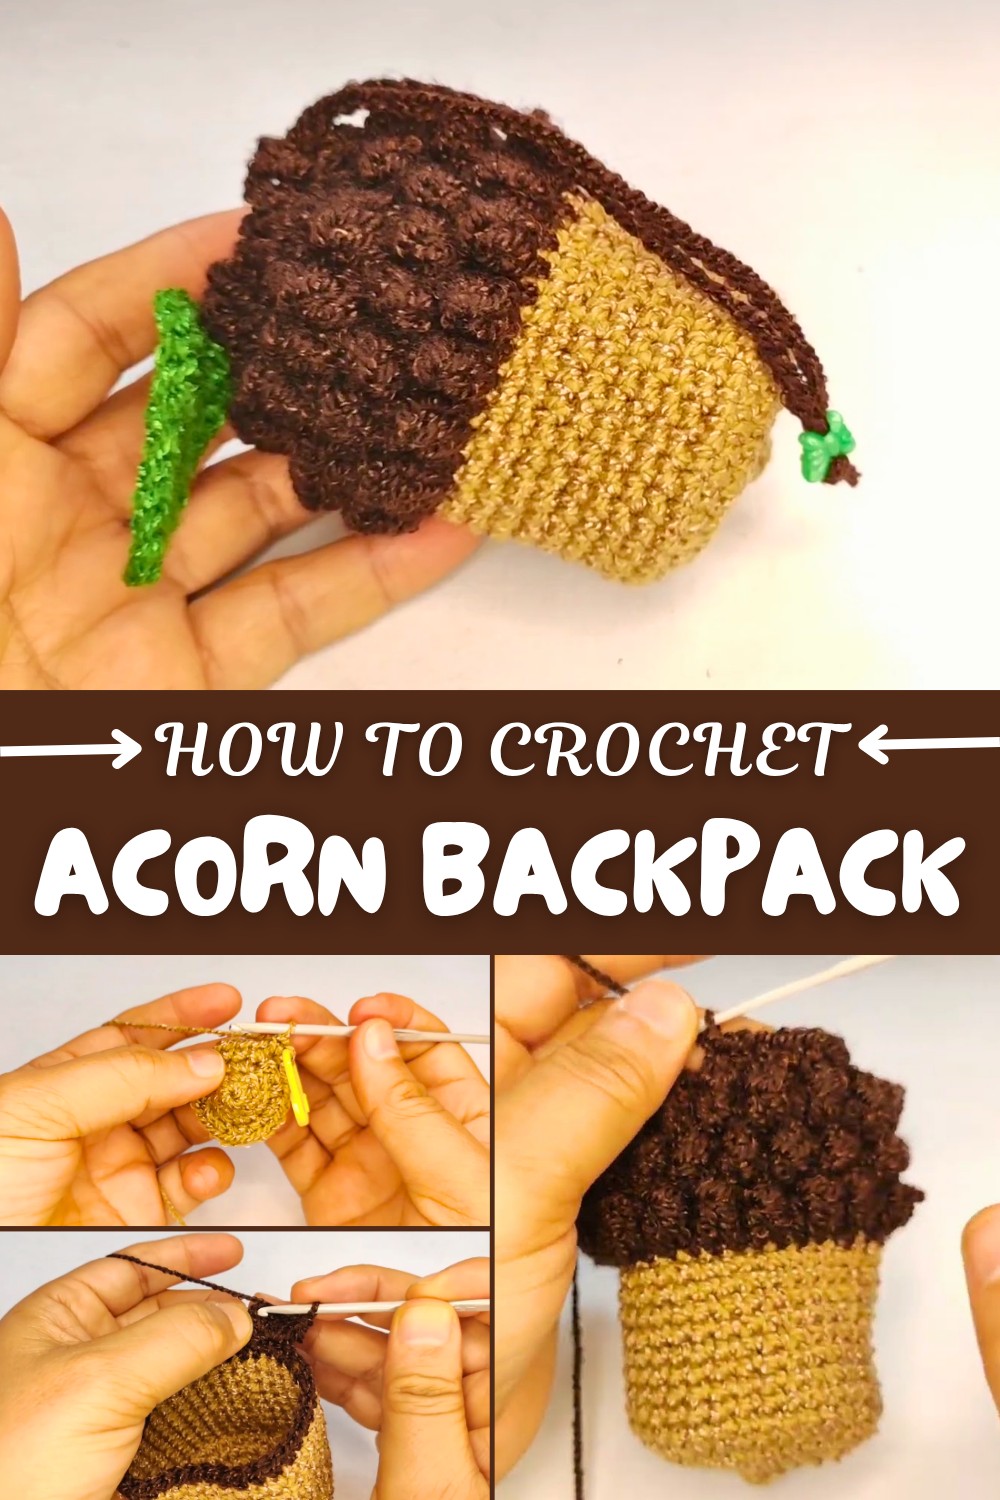
This pattern is perfect for holding small essentials or serving as a unique gift. The textured body and leaf accent give it personality, while the crochet ensures durability and shape retention. The combination of stitch types introduces beginners to key crochet concepts such as increasing, joining, and working in the round, all wrapped up in an accessible project. Plus, the adjustable straps make it comfortable for children and adults alike who want a charming, nature-inspired accessory.
Other Fun Items You Can Make with These Techniques
The stitches and shaping methods in this pattern are versatile and can be applied to many other delightful projects. The magic ring and single crochet form the base for making various amigurumi figures or small pouches. Bobble stitches provide rich texture ideal for blankets, hats, or cushion covers. Learning how to increase smoothly and join pieces opens the door to multi-part items like toys, cozy home décor, and personalized accessories. This pattern offers a great way to build confidence with essential crochet skills while making something both practical and whimsically beautiful.
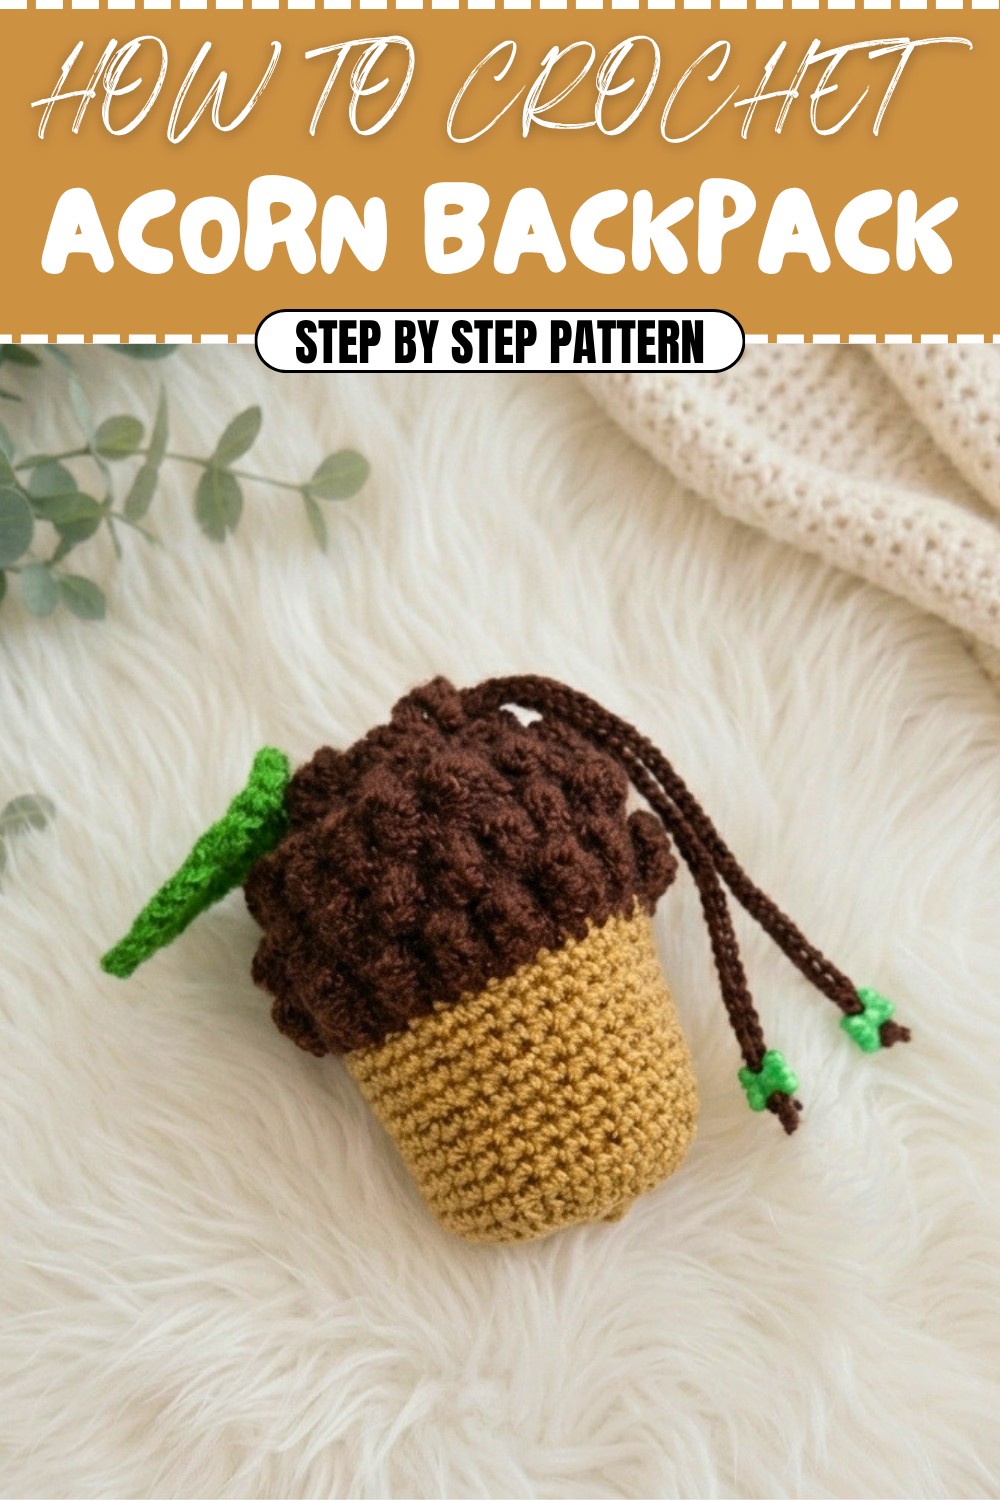
Crochet Pattern: Acorn-Shaped Mini Backpack
This pattern is beginner-friendly, and the acorn design makes it great for fall-themed crochets or as a unique gift. Using basic crochet stitches, you’ll create a functional and adorable small bag with a drawstring closure and a decorative leaf accent. It’s quick to make and incredibly rewarding!
Skill Level & Terminology
- Skill Level: Beginner
- Terminology: US Crochet Terms
This project uses straightforward and practical stitches:
- Chains (ch)
- Single Crochet (sc)
- Half Double Crochet (hdc)
- Double Crochet (dc)
- Slip Stitch (sl st)
- Magic Ring (mr)
- Increases (inc)
If you are new to crocheting in the round or working with magic rings, this pattern offers a great opportunity to practice and refine these techniques.
Materials & Tools
- Yarn:
- Main color (e.g., brown or tan) for the acorn’s body.
- Contrasting color (e.g., dark brown) for the acorn’s top and drawstring loops.
- Green yarn for the decorative leaf.
- Hook:
- 3 mm crochet hook (or hook size recommended by the yarn manufacturer).
- Other Tools:
- Scissors.
- Tapestry needle to weave in ends and sew parts together.
- Stitch marker for counting rounds.
- Extra Accessories (Optional):
- Decorative bead or butterfly-shaped accessory for embellishment.
Gauge
Gauge is not crucial for this project due to its adjustable nature. For reference:
With a 3 mm hook and 2 mm-thick yarn, 6 sc x 6 rows = 1 inch square.
Abbreviations List
| Abbreviation | Meaning |
|---|---|
| ch | Chain |
| sc | Single Crochet |
| hdc | Half Double Crochet |
| dc | Double Crochet |
| sl st | Slip Stitch |
| mr | Magic Ring |
| inc | Increase (two stitches in one) |
Special Stitch Instructions
Magic Ring (MR):
The magic ring creates a tight, adjustable starting loop:
- Wrap the yarn around your finger, making a loop.
- Insert the hook under the loop and pull through the working yarn.
- Chain to secure the loop.
- Work the required stitches into the ring, then pull the yarn tail to close the loop.
Finished Size
- Height: ~5 inches (12 cm).
- Width: ~3 inches (8 cm).
What You’ll Learn from This Pattern
- How to crochet in continuous rounds using a magic ring.
- How to increase stitches to create rounded shapes.
- Adding textures and decorative elements to a functional design.
- Assembling and shaping to create a three-dimensional finished product.
The Pattern Itself
Step 1: Acorn Base
First Piece:
Main Color (e.g., tan or brown)
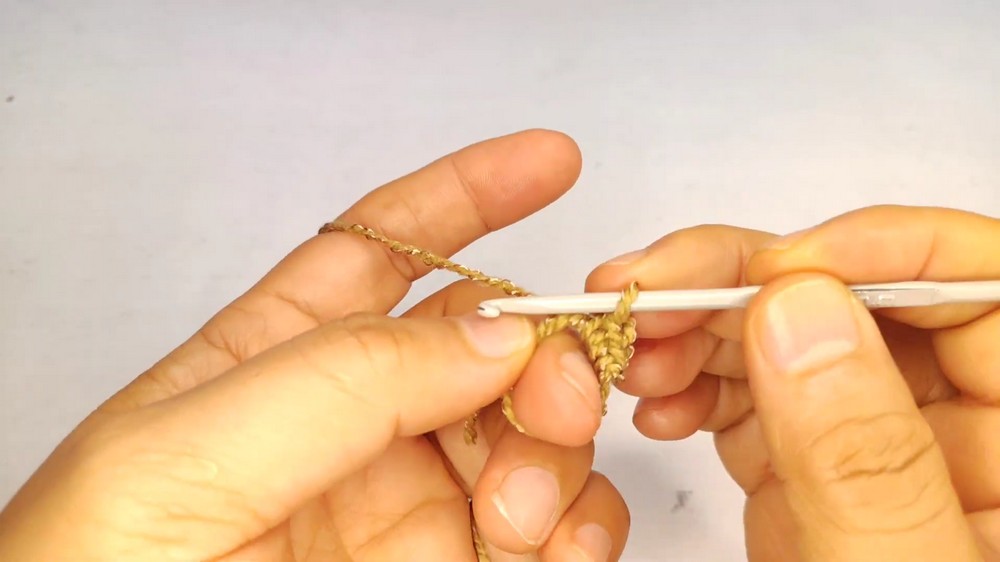
- Round 1:
- Begin with a magic ring.
- Chain 1 (counts as the first stitch).
- Work 6 sc into the ring. (6 sts)
- Pull the yarn tail to close the ring.
- Join with a sl st to the starting chain.
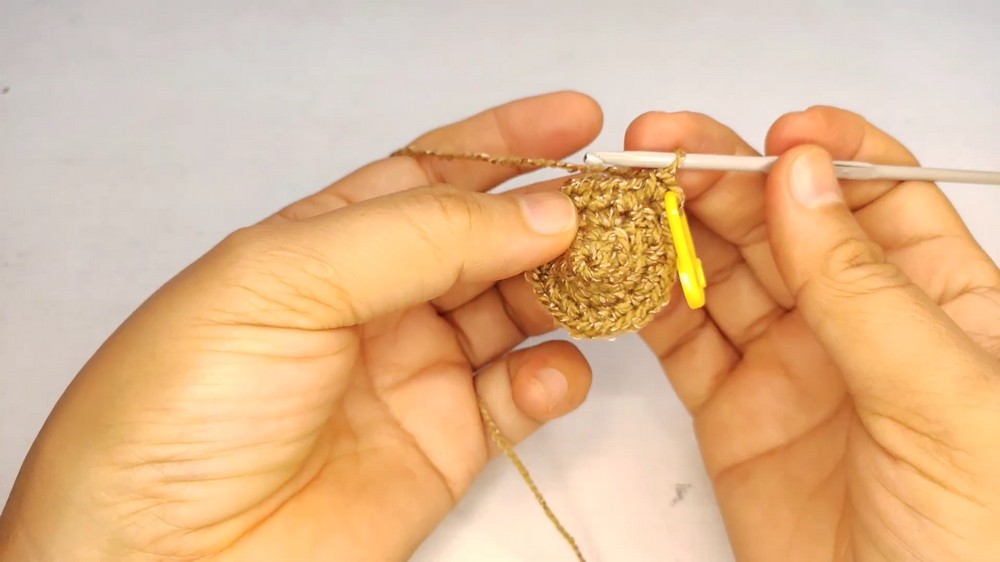
- Round 2:
- Chain 1.
- Work 2 sc into each stitch around. Mark the first stitch with a stitch marker to keep track.
- (12 sts total)
- Round 3:
- Chain 1.
- Work 2 sc into each stitch around. (24 sts total)
This creates a flat, circular base for your acorn design.
Second Piece:
Follow the same instructions as the First Piece, but complete only one round of single crochet.
The second piece forms the acorn’s cap, which will sit on the base later.
Step 2: Joining the Two Pieces
- Align the first piece and second piece, with the right sides facing outward.
- Work a row of single crochet stitches all around to join the two pieces.
- Make sure to keep both layers aligned closely while stitching around.
- (35 stitches)
This round secures the acorn body and ensures it retains its shape.
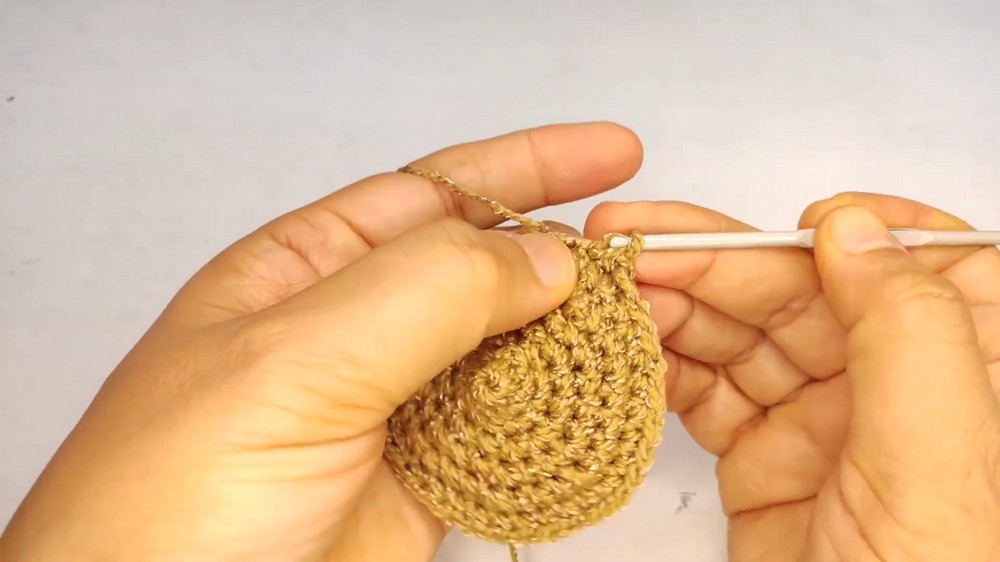
Step 3: Building Height for the Acorn Body
- Rounds 4–13:
- Chain 1 and work 1 sc into each stitch for 10 rounds.
- Keep the stitch count consistent—35 sc per round.
These rounds add depth and height to the acorn’s body, ensuring it can hold items easily.
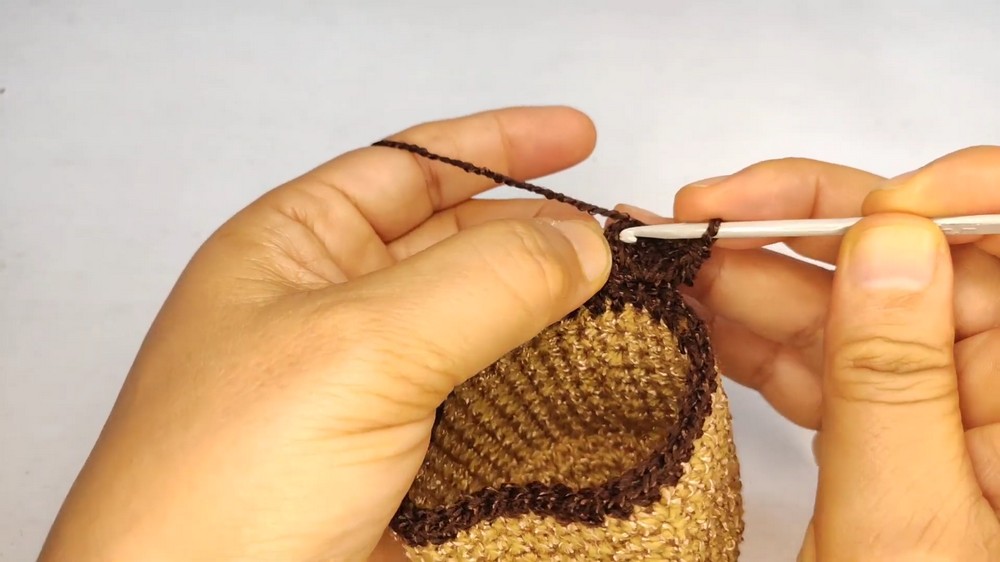
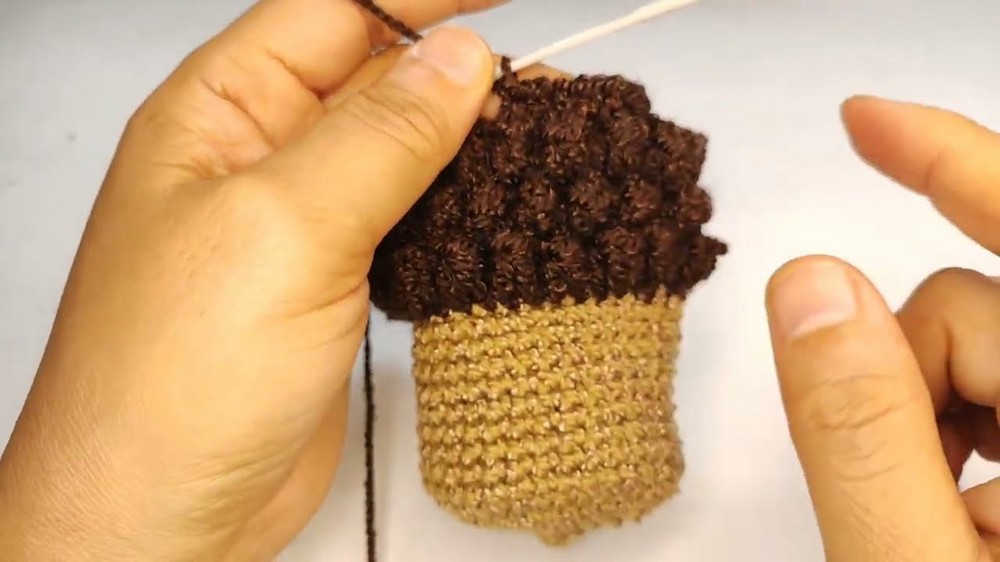
Step 4: Adding the Acorn Cap with Texture
Switch to Dark Brown Yarn:
- Rounds 14–17:
- Chain 1.
- In each stitch, alternate between sc and 5 dc clustered bobbles.
- Skip 1 stitch after each bobble and continue.
This textured stitch adds the appearance of ridges to resemble the acorn cap.
Step 5: Decorative Leaf
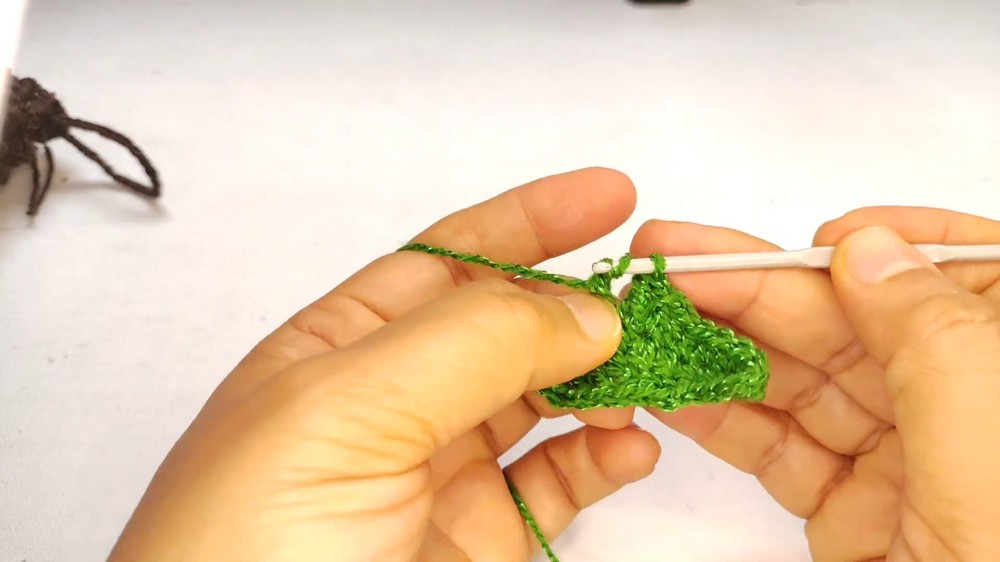
Green Yarn:
- Foundation Chains:
- Chain 13.
- Work 3 chains to turn (counts as the first stitch).
- Leaf Rounds (First Side):
- Work 1 dc into the 4th chain from the hook.
- Work 4 dc in the next chains.
- Work 2 hdc, pulling through all loops.
- Complete the next 2 stitches with sc.
- Second Side:
- Chain 1 to turn your work.
- Repeat the exact same sequence in reverse order (sc, hdc, dc).
- Finish with 3 chains and sl st into the tip of the leaf to secure the structure.
This small, detailed leaf adds the finishing touch to your acorn.
Step 6: Adding the Drawstring
Brown Yarn:
- Chain 80:
- Complete the desired length with chains and finish with 2 additional chains to secure the knot.
- Weave the drawstring through the zigzag openings created by the acorn cap texture. Alternate between up and down weaves.
- Add a decorative bead or accessory to the drawstring ends for flair. Tie a firm knot to secure, ensuring the bead does not slip off.
The drawstring closure is functional and keeps the items securely inside the acorn pouch.
Assembly & Finishing
- Attach the Leaf: Sew the green decorative leaf onto the center of the drawstring knot or the cap portion of the acorn using a tapestry needle.
- Hide Loose Ends: Weave in all loose threads using a yarn needle to avoid unraveling. Pull threads securely and trim the excess neatly.
Difficulties and Solutions
Many beginners find creating the magic ring challenging, as it may loosen over time. To prevent this, always carefully secure it with multiple thread weaves once the round is closed. Additionally, mastering bobble stitches for the acorn cap might require patience. A tip is to slow down and practice the five dc cluster multiple times until confident. Remember, this project relies on consistent stitch counts for accuracy in shape—use a stitch marker to help keep track of rounds.
Why I Love This Pattern
This Acorn Mini Backpack is a truly delightful project, balancing functionality with fun fall-themed creativity. It’s simple enough for beginners while still engaging for experienced crocheters. The tiny details like textured bobbles, drawstrings, and decorative leaf elevate its charm, making the finished piece as rewarding as the process. Whether used as a gift bag, accessory pouch, or purely decorative item, this project is versatile and joyful to make.