
Beginner-Friendly Free Crochet Purse Pattern to Try
Design your own stylish bag with this Free Crochet Purse Pattern that’s easy to make and perfect for adding a handmade touch to your wardrobe.
Are you ready to create something fun and practical with your crochet skills? This Free Crochet Purse Pattern is perfect for making a cute little accessory that you can use for so many things. It’s easy to follow and lets you craft a purse that’s both stylish and useful. Whether you’re looking to hold your coins, tuck away your favorite treasures, or just make something pretty to carry, this pattern will help you create the perfect small bag.
Easy Free Crochet Purse Pattern – Perfect for Beginners
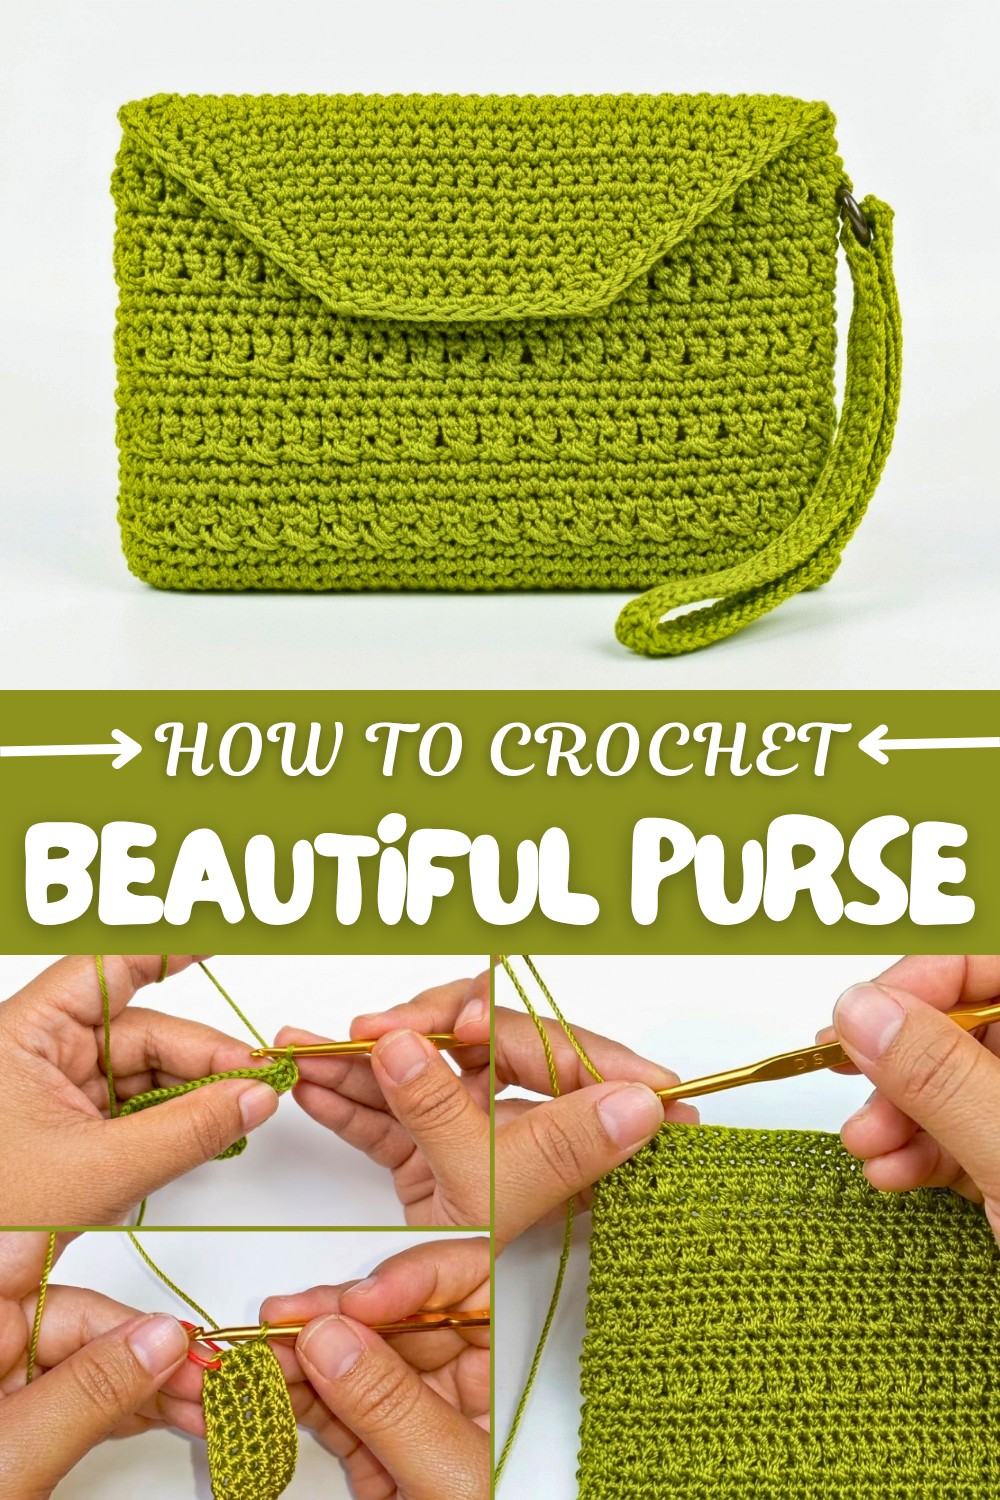
The beauty of this crochet purse is in its simplicity. It has a soft, textured design that looks elegant but isn’t overly complicated to make. You can choose from any color you like, go bold with bright shades or keep it soft with pastel tones. The size can be adjusted, too! Make a mini version for holding tiny items or go big to create a larger purse for carrying your everyday essentials. With a good yarn, the final look will be neat and lightweight, easy to carry wherever you go.
This pattern mainly uses single crochet stitches, which makes it beginner-friendly and fun for kids to try out, too. The repetitive stitch builds the purse evenly, and you can add cute embellishments like buttons or straps to make it special.
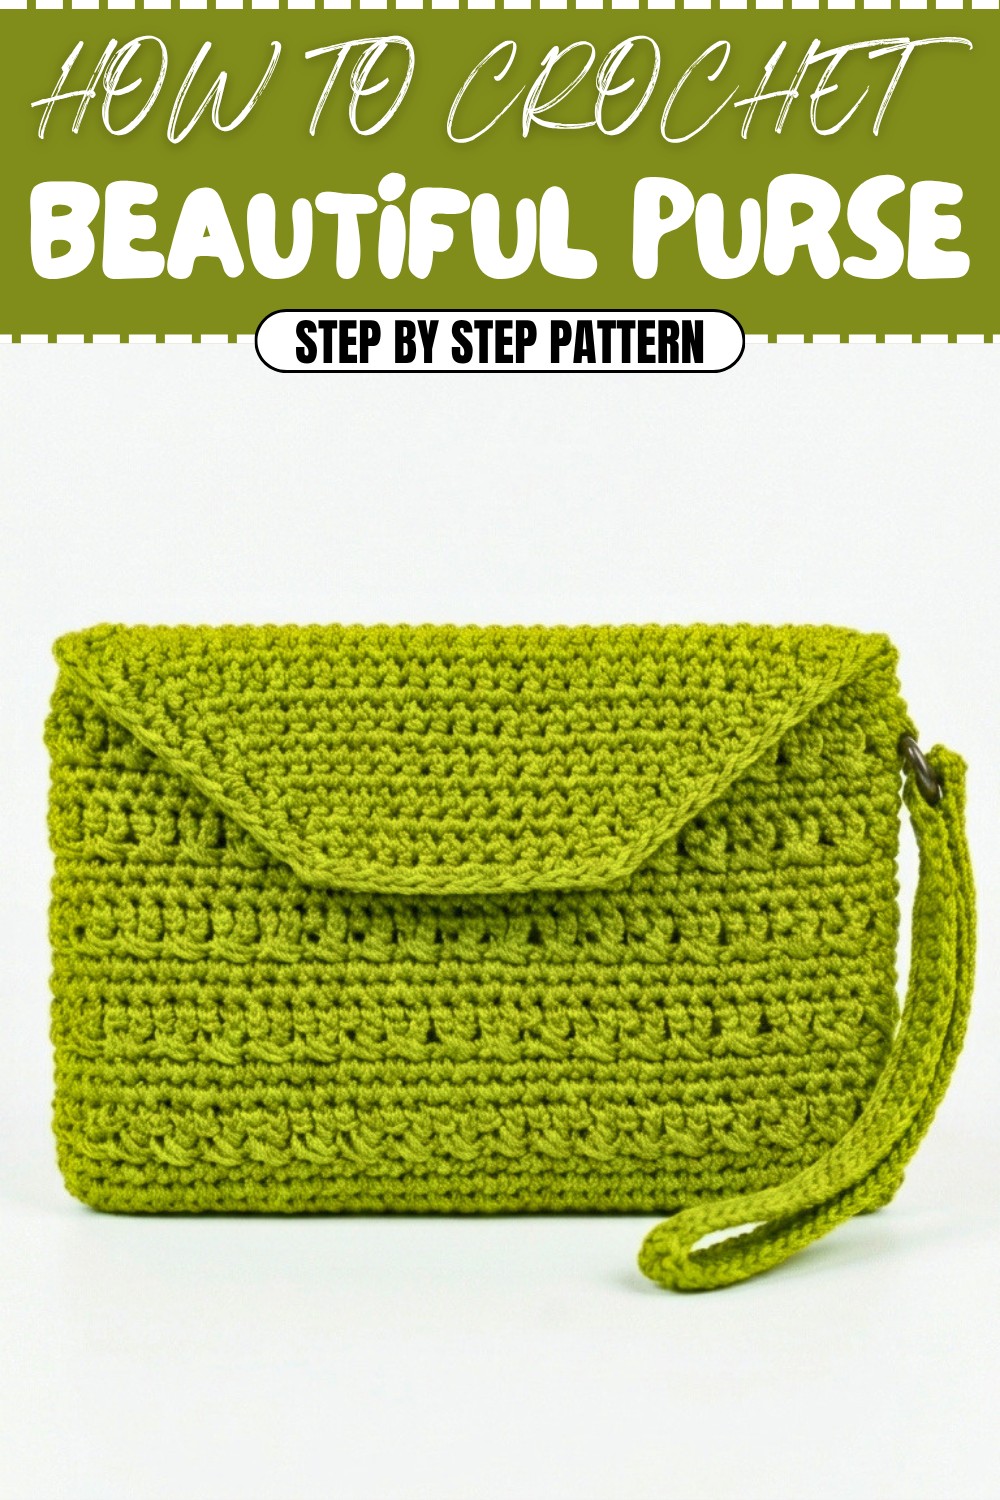
With this Free Crochet Purse Pattern, you can create coin purses, gift bags, travel pouches, or even a stylish handmade clutch for someone special. It’s not just a purse, it can be anything you want it to be, Customize it your way and enjoy crafting something lovely and functional.
Crochet Wallet Pattern
This crochet wallet is a functional and stylish project for everyday use. With its compact design and beautiful texture, it measures approximately 18 cm x 12 cm. The wallet is perfect for storing essential items such as cards, cash, and coins, and features a handy strap and a magnetic button for secure closure. This step-by-step pattern ensures clarity and ease of execution, making it an achievable project for intermediate crocheters.
Skill Level
Intermediate
The pattern is suitable for crocheters familiar with basic stitches like single crochet, double crochet, and slip stitches, as well as increasing, decreasing, and other functional techniques like reinforcing magnetic buttons and creating a handle.
Materials
- Yarn:
- 100% nylon (Bright Olive is recommended, approximately 135 m).
- Hook:
- Size 6/0 (or 5/0, depending on your preference and desired tension).
- Additional Tools and Supplies:
- Scissors.
- Lighter (to seal the nylon yarn ends).
- Magnetic button for closure (1 set).
- O-rings (2 rings for attaching the strap).
- Stitch markers (optional for marking noted stitches).
- Tapestry needle (for sewing buttons and attaching the strap).
Special Stitches
1. Single Crochet (sc):
Insert the hook into the stitch, yarn over, and pull through the loop (2 loops on the hook). Yarn over and pull through both loops to complete the stitch.
2. Crossed Double Crochet (crossed dc):
Skip one stitch, yarn over, and work a double crochet into the next stitch. Then yarn over and work a double crochet into the skipped stitch. This creates a crossed texture.
3. Slip Stitch (sl st):
Insert the hook into the stitch, yarn over, and pull through both loops on the hook to join.
4. Decrease (dec):
Insert the hook into the next stitch and pull up a loop. Insert the hook into the following stitch and pull up a loop. Yarn over and pull through all loops on the hook.
Stitch Abbreviations
- ch: Chain
- sc: Single Crochet
- dc: Double Crochet
- sl st: Slip Stitch
- inc: Increase (2 sc in the same stitch)
- dec: Decrease (crochet 2 stitches together)
Useful Tips
- Correct Tension: Maintain an even tension throughout the project, especially when working with nylon yarn, as it may be slippery. Adjust your hook size if necessary.
- Shape Preservation: Use stitch markers to mark key spots such as the starting stitch of each row or rounded edges, which helps maintain uniformity.
- Sealing Nylon Ends: Use a lighter to carefully seal the ends of the nylon yarn to prevent fraying.
- Magnetic Button and Strap Attachment: Reinforce the back of the magnetic buttons with a crocheted rectangle to strengthen the wallet. When attaching the strap to O-rings, ensure the connection is secure and durable.
- Use Pins for Accuracy: Pin the flap and handle placement before sewing into place to confirm alignment and avoid uneven stitching.
Pattern Instructions
1. Foundation and Base
Foundation:
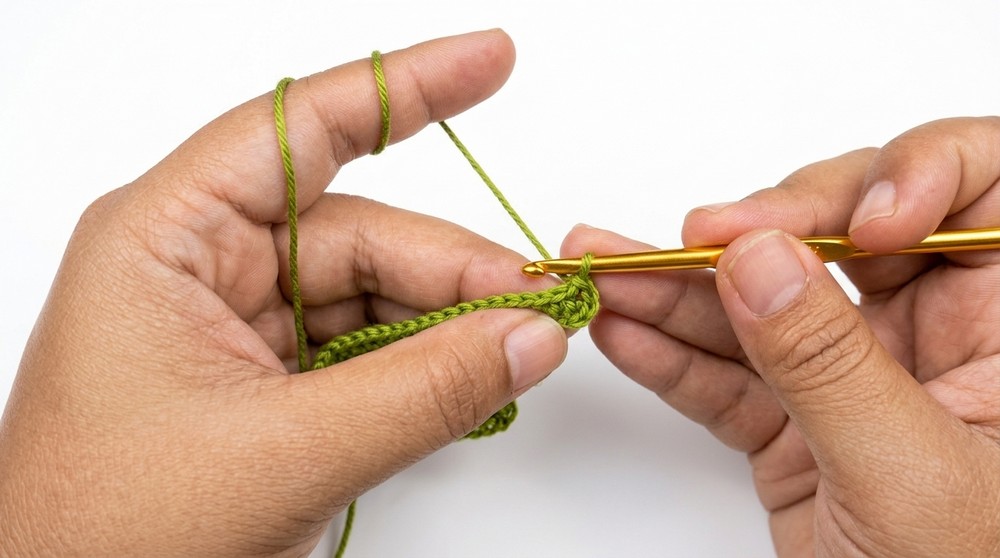
- Start with a slipknot, then ch 36.
Row 1:
- 1 ch, 2 sc in the second chain from the hook.
- Work 34 sc along the subsequent chains.
- Work 3 sc in the last chain.
- Turn and work 34 sc along the other side of the chain.
- Work 1 additional sc in the starting chain space to complete the row (74 sc in total).
- Join with a sl st to close the round.
2. Body
Rounds:
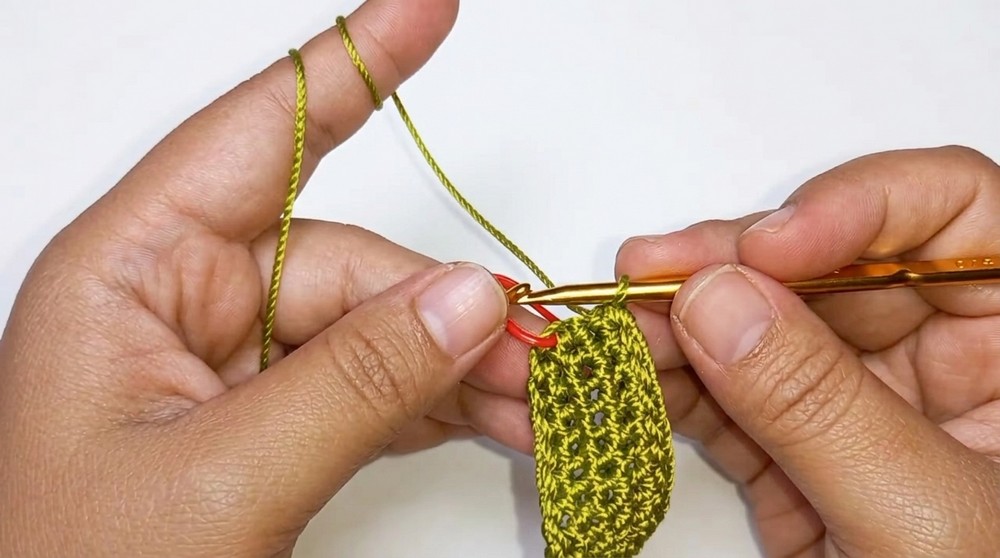
- Rounds 2–4: Work 74 sc around the base (1 ch, 74 sc, slip stitch to close).
Round 5:
- Work crossed dc for the entire round: (skip 1 stitch, dc in the next stitch, work a dc into the skipped stitch). Repeat until the round is complete.
Rounds 6–19:
- Alternate sc and crossed dc rows as follows:
- Row 6: Work 1 round of 74 sc.
- Row 7: Work 1 round of 74 sc.
- Row 8: Work the crossed dc pattern for the entire round.
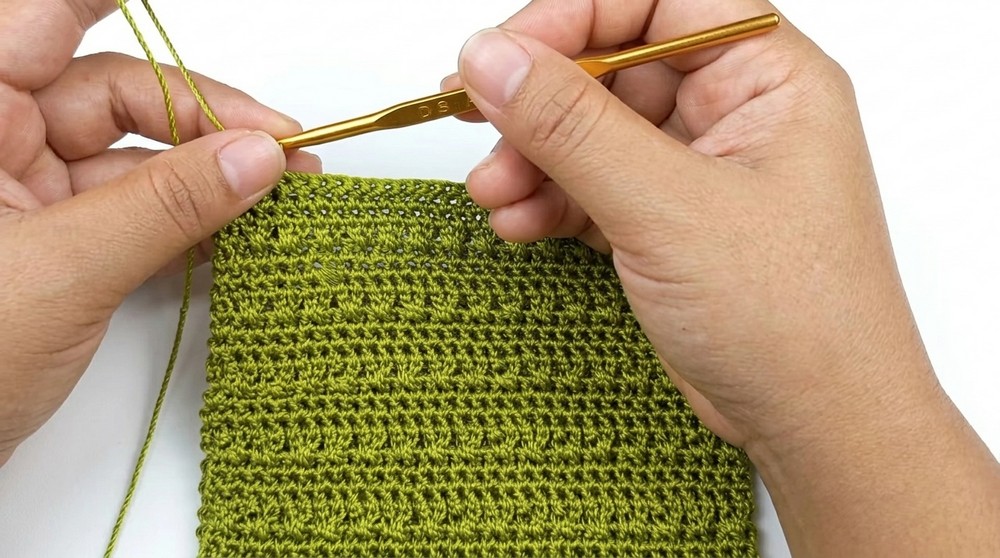
Repeat this pattern (Rows 6–8) until you reach Row 19, ensuring the texture remains consistent.
3. Wallet Flap
Preparation:
- Use stitch markers to carefully mark 36 stitches along one side of the wallet body that will serve as the flap area.
Rows:
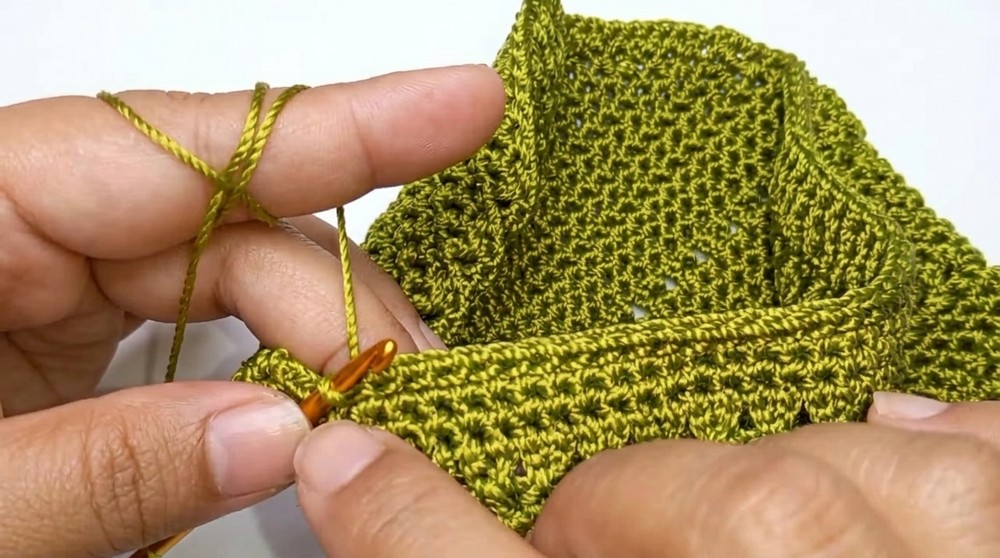
- Rows 1–3: Work 36 sc across, back and forth in rows. Chain 1 at the end of each row, turn your work, and continue.
- Rows 4–17: Continue working back and forth with decreases at the beginning and end of each row to gradually taper the flap. For example, in Row 4, start and end the row with 1 dec, then work sc in between. By Row 17, you should have 10 sc remaining.
Border:
- To finish the flap, work sc around the edges of the flap and the front opening of the wallet to create a neat, polished look.
4. Magnetic Button and Reinforcement
Magnetic Button Reinforcement Piece:
- Create a small rectangular piece:
- Ch 6.
- Work 6 rows of 6 sc.
Attach the Buttons:
- Sew the magnetic button halves securely to the flap and the body, using a tapestry needle. Place the reinforced rectangles behind the button positions to strengthen the attachment points.
5. Handle
Foundation:
- Chain stitches until the chain measures approximately 30 cm.
Rows for Strap:
- Row 1: Work 1 sc into the back bumps of each chain.
- Row 2: Turn your work and repeat, crocheting 1 sc into each stitch.
Finishing the Strap:
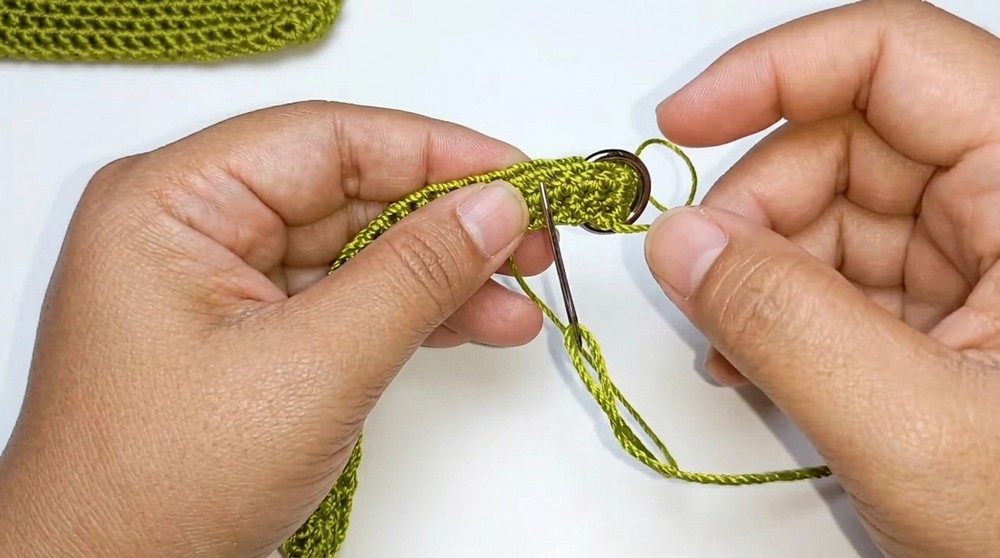
- Use a tapestry needle and secure the strap to the O-rings. These O-rings can then be attached to the wallet’s sides. Be sure the strap length is appropriate for your desired usage and make any necessary adjustments.
Assembly and Sizing
- Base and Body: Ensure the base and body are properly shaped and the round edges are evenly stitched for a clean, rectangular structure.
- Attach the Flap: Use pins to secure the flap area. Sew the flap to the top back edge of the wallet base using a tapestry needle.
- Sew Magnetic Button: Place and sew the magnetic buttons at appropriate positions: one at the front of the wallet flap and the other corresponding directly on the wallet body. The crocheted rectangular reinforcements should be sewn under the magnetic buttons for durability.
- Secure the Strap: Sew the two ends of the strap to the O-rings. Attach the O-rings securely to both sides of the wallet using your tapestry needle, ensuring they sit symmetrically and the handle is firmly in place.
The final wallet dimensions are approximately 18 cm x 12 cm, depending on your crochet tension and materials.
Conclusion
This crochet wallet is not only practical and fashionable but also a great opportunity to explore textured patterns such as crossed double crochets and shaping with decreases. The use of durable materials like nylon ensures longevity and reliability for everyday use. The addition of a magnetic button and strap makes it functional and portable for a wide range of uses. Choose vibrant colors to add a fun, personal touch to your creation and enjoy crafting this elegant accessory for yourself or someone special.