
How to Vibrant Crochet Baby Blanket Pattern Without Stress
Unlock ultimate comfort with this free crochet baby blanket pattern, offering innovative design for cozy, treasured memories.
Crocheting a cozy and beautiful baby blanket is such a rewarding experience. Wrapping your little one in something soft, squishy, and made with your own hands. That feeling is truly special. This pattern creates a gentle texture that’s not only soft but also has a lovely 3D effect due to the front post single crochet stitch. This stitch adds a raised, bumpy feel that makes the blanket extra squishy and inviting.
The pattern is based on a crosshatch pattern which is slightly modified to give it that unique texture and depth. The beauty of this pattern is its simplicity and the straight edges, making it beginner-friendly and easy to work on. It’s perfect as a gift for newborns or a charming addition to your nursery. The size shown in the tutorial is customizable, so you can make the blanket larger or smaller by adjusting the number of chains in your foundation row.
Free Crochet Baby Blanket Pattern for Absolute Beginners
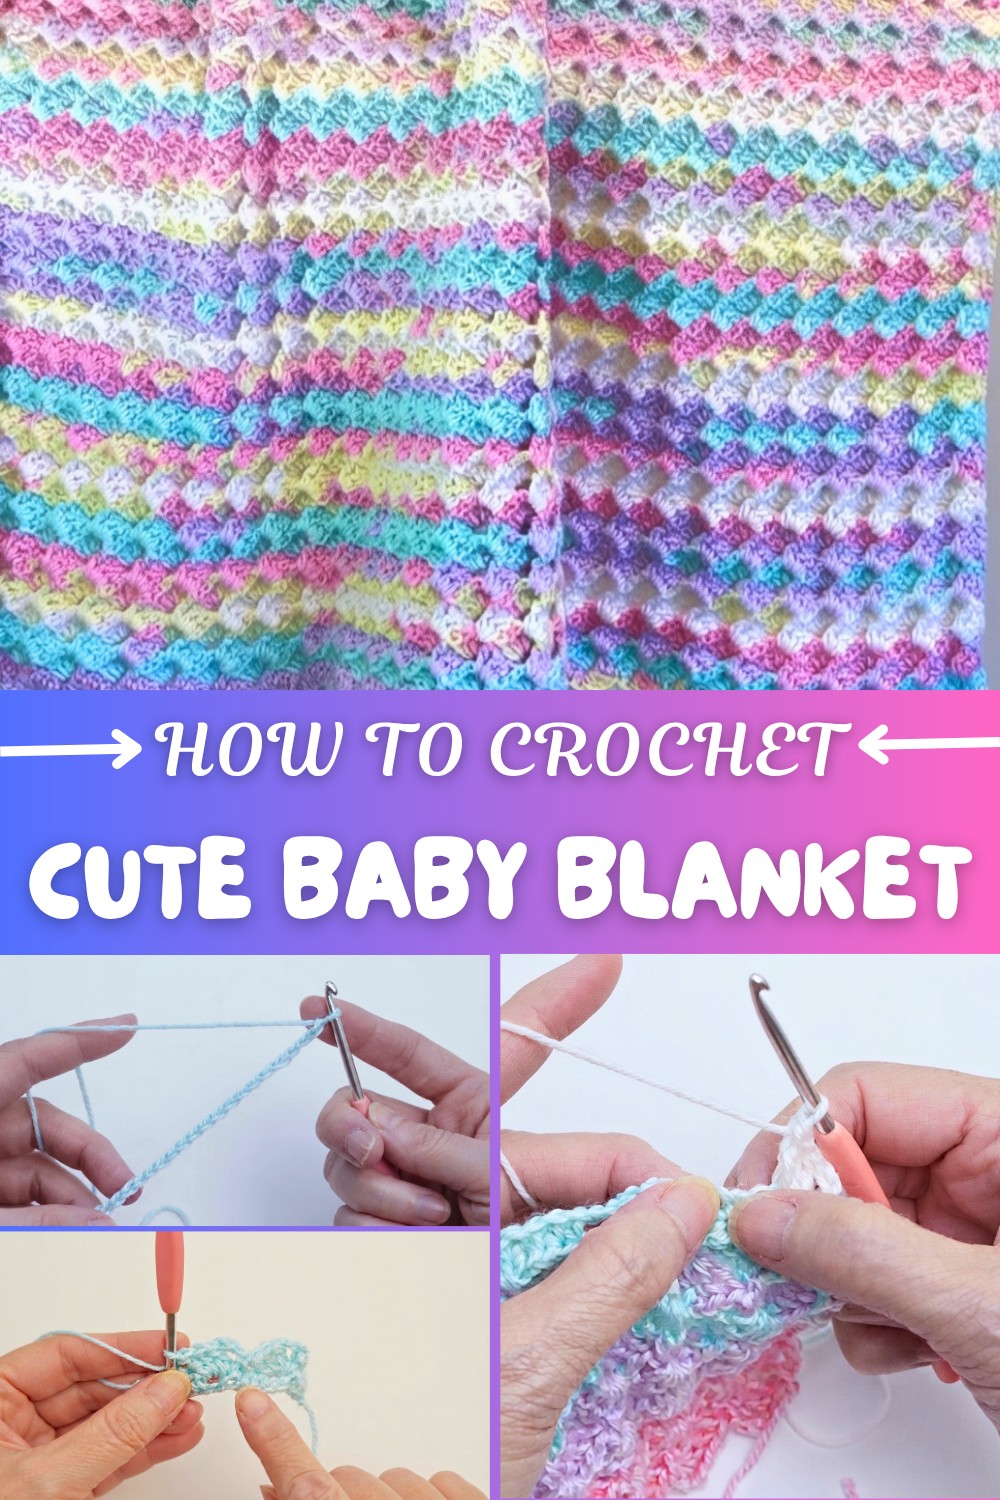
Following this pattern, you start with chains, then work half double crochets, double crochets, chains, and the special front post single crochets, all of which come together to create the beautiful crosshatch and 3D texture. The stitches are easy to memorize, making it perfect for beginners or anyone who loves to crochet something pleasing and functional.
More Projects You Can Make With This Pattern
This pattern is not just for blankets. You can use the same stitch combinations and texture to crochet scarves, cozy cushions, or even a textured sweater. The front post single crochet adds a fantastic dimension that works beautifully in many projects, giving your crochet pieces an eye-catching, tactile charm.
So get ready to create something warm, soft, and full of love with this simple yet stunning pattern.
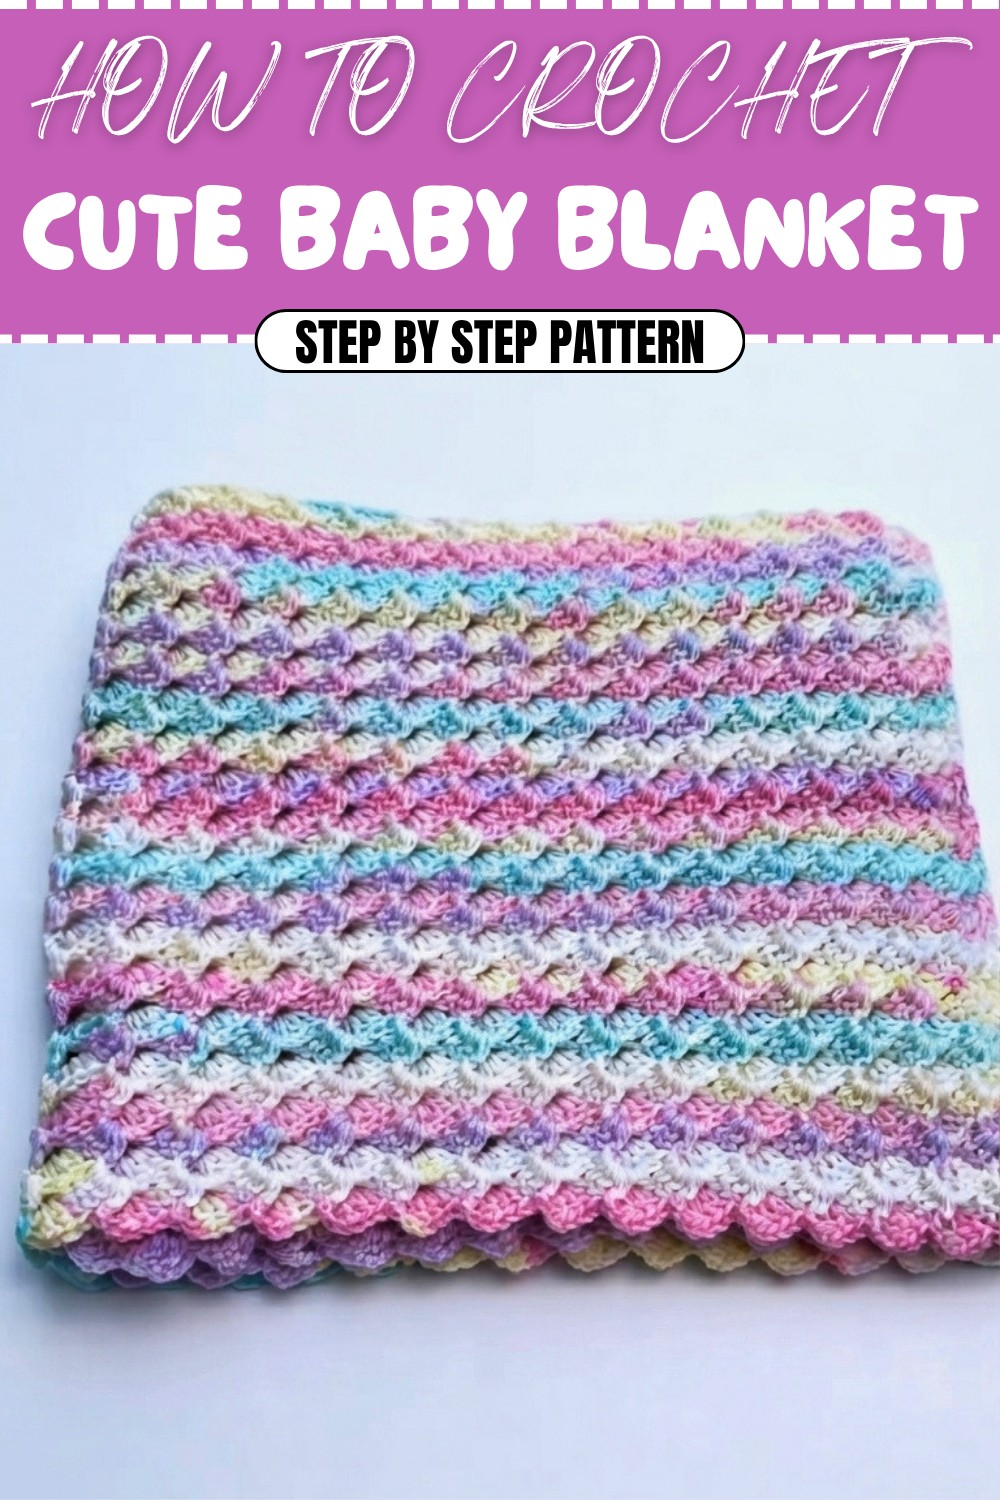
Crochet Pattern: 3D Crosshatch Baby Blanket
Crochet a soft, squishy, and textured 3D Crosshatch Baby Blanket with this step-by-step pattern. The crosshatch is slightly modified to create a lovely 3D effect that elevates both the appearance and feel of the blanket. Ideal for gifting or decorating a nursery, this lightweight pattern measures 33 x 36 inches and is perfect for cozy moments. Whether you're an experienced crocheter or new to the crochet, this pattern will challenge you in a fun and exciting way!
The pattern uses simple stitches such as half double crochets (hdc), double crochets (dc), and front post single crochets (fpsc) with straight borders and beautiful wavy edges for a polished finish.
What You'll Learn from This Pattern
- How to create a 3D effect using front post stitches.
- Constructing wavy edges with a consistent stitch pattern.
- Working in multiples of foundation chains to customize project sizes.
- Combining texture and airy chains to develop a balanced blanket design.
Skill Level & Terminology
- Skill Level: Advanced Beginner
- Terminology: US Crochet Terms
This pattern uses foundational stitches along with front post single crochet (fpsc) to create its signature 3D look, making it ideal for crocheters with basic skills who want to explore textured patterns.
Materials & Tools
- Yarn: Lightweight size-3 yarn in your preferred color.
- Hook Size: 4 mm crochet hook.
- Other Tools:
- Scissors
- Tapestry needle
Gauge
To achieve the same texture and size:
- 10 stitches x 7 rows in half double crochet (hdc) = 4 x 4 inches
Exact gauge is not essential for this blanket, but maintaining consistent tension will ensure the correct dimensions and structure.
Abbreviations List
| Abbreviation | Meaning |
|---|---|
| ch | Chain |
| hdc | Half Double Crochet |
| dc | Double Crochet |
| fpsc | Front Post Single Crochet |
| sl st | Slip Stitch |
Special Stitch Instructions
Front Post Single Crochet (fpsc):
This modified single crochet creates the textured, 3D effect of the blanket:
- Insert the hook from front to back to front again, around the post of the stitch below.
- Yarn over and pull up a loop (two loops on the hook).
- Yarn over again and pull through both loops.
Finished Size
The finished blanket measures 33 x 36 inches, but you can adjust the size by increasing or decreasing the foundation chain (in multiples of 5 + 6).
What Stitches Are Used in This Pattern?
This baby blanket is worked using:
- Half Double Crochet (hdc): To create the foundation rows and bands of the crosshatch pattern.
- Double Crochet (dc): For the clusters in the crosshatch pattern.
- Front Post Single Crochet (fpsc): For the signature 3D texture.
The Pattern Itself
Step 1: Foundation Chain & Row 1 (Setup Row)
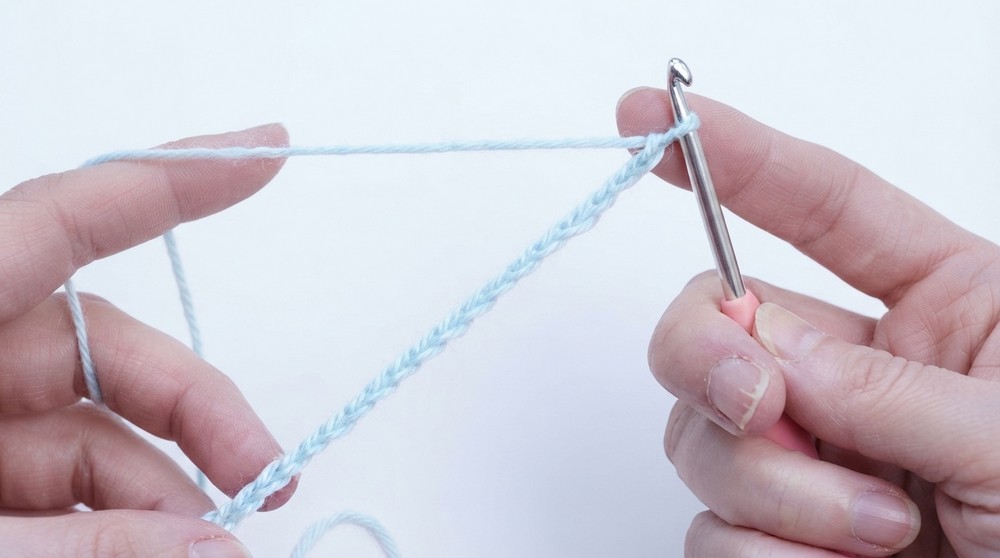
- Foundation Chain:
- Create a slipknot, then ch 186 for the full blanket (or 26 chains for a sample swatch).
- The chain should be a multiple of 5 + 6 to maintain the pattern.
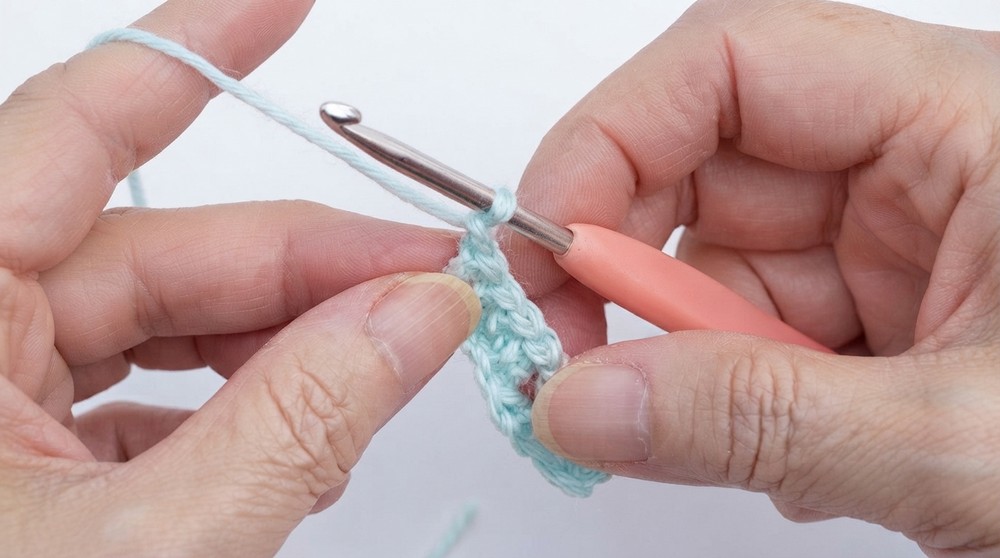
- Row 1:
- Ch 2 (counts as 1 hdc).
- Skip the first two chains, and work 1 hdc in the next chain.
- Work another 1 hdc in the following chain to have a group of 3 hdc.
- Ch 1, skip 1 chain, then work 4 hdc in the next 4 chains.
- Repeat this sequence: Ch 1, skip 1 chain, 4 hdc until the last group. End the row with 3 hdc.
The first row creates the foundation groups for the crosshatch pattern. You’ll notice groups of 3 hdc at the start and end, with groups of 4 hdc in between.
Step 2: Row 2
- Start by ch 3, then turn your work. The chain 3 counts as 1 dc.
- Work 1 dc in the same stitch as the turning chain (this forms a pair of dc).
- Skip one stitch, then work a fpsc in the next stitch (refer to special stitch instructions).
- Ch 3, and work 3 dc into the next chain space.
- Repeat this sequence: Fpsc, Ch 3, 3 dc in the next chain space, across the row.
- Finish with 1 sc in the space between the last two stitches.
This row establishes the main crosshatch texture of the blanket with alternating stitches: textured front post single crochets, airy chains, and dense double crochet clusters.
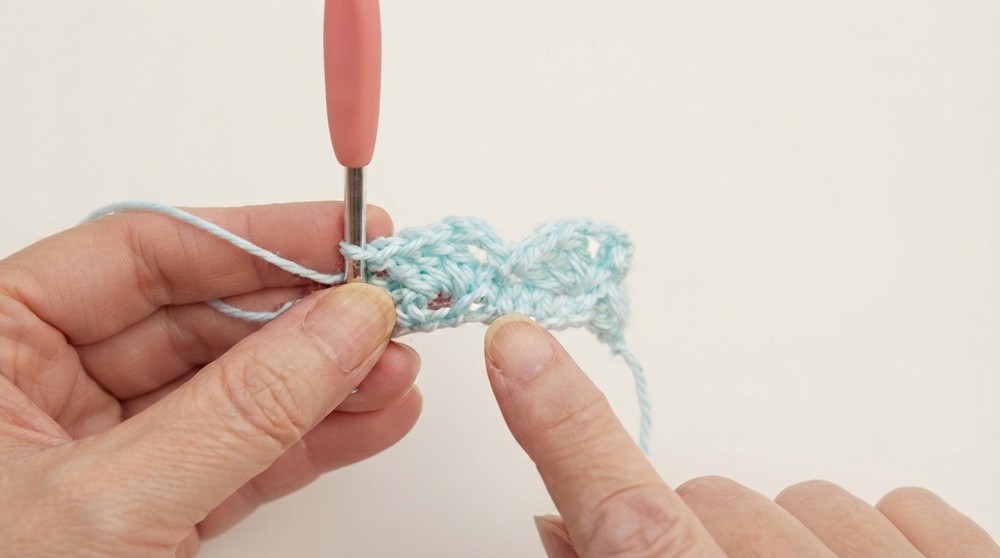
Step 3: Row 3
- Begin with ch 3, then turn your work.
- Work 1 dc in the space between the previous row’s sc and the group of 3 dc.
- Skip two stitches, then work a fpsc in the next stitch (before the chain space).
- Ch 3, and work 3 dc in the next chain space.
- Continue the sequence: Fpsc, Ch 3, 3 dc in the next chain space, across the row.
- Finish with 1 sc in the space between the last two dc stitches.
Row 3 reinforces the pattern, alternating the textured stitches with open spaces for a balanced design.
Step 4: Repeating Rows
Repeat Row 3 until your blanket reaches the desired length. For the full blanket, aim for a finished size of 36 inches. Always end each row with a single crochet for straight side borders.
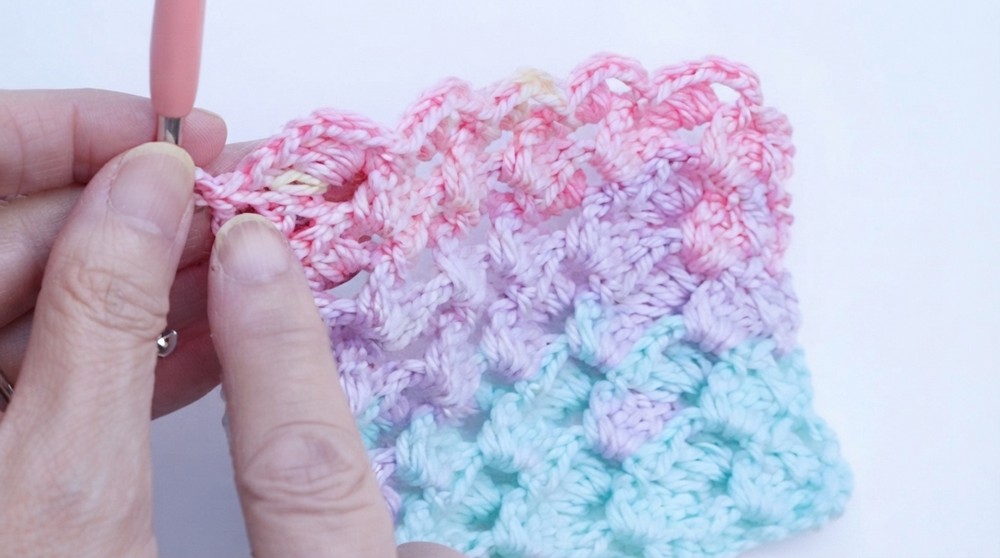
As you work, you’ll see the 3D texture come to life, making the blanket squishy and visually dynamic.
Step 5: Adding a Matching Wavy Border
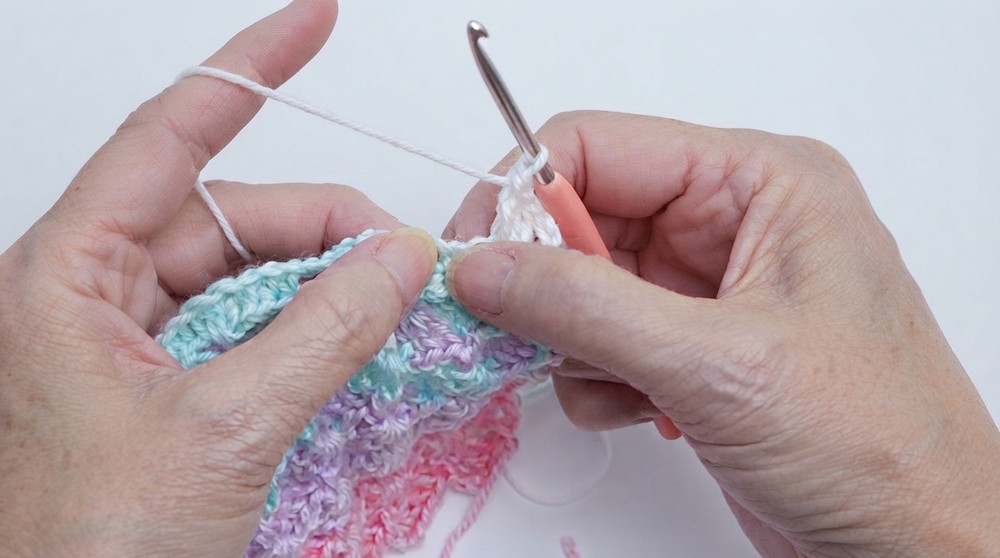
- Tie a slipknot on your hook to start the border. With the front side facing, insert your hook into the first stitch of the bottom edge (opposite the starting foundation chain).
- Ch 3, then work 1 dc in the same stitch.
- Skip 1 stitch, then work a fpsc in the next stitch.
- Ch 3, and repeat the sequence: 3 dc clusters, fpsc, ch 3 along the bottom edge. Fasten off.
- The bottom edge should now match the wavy edging on the top border.
Adding a matching border completes the blanket with symmetry and flair.
Assembly & Finishing
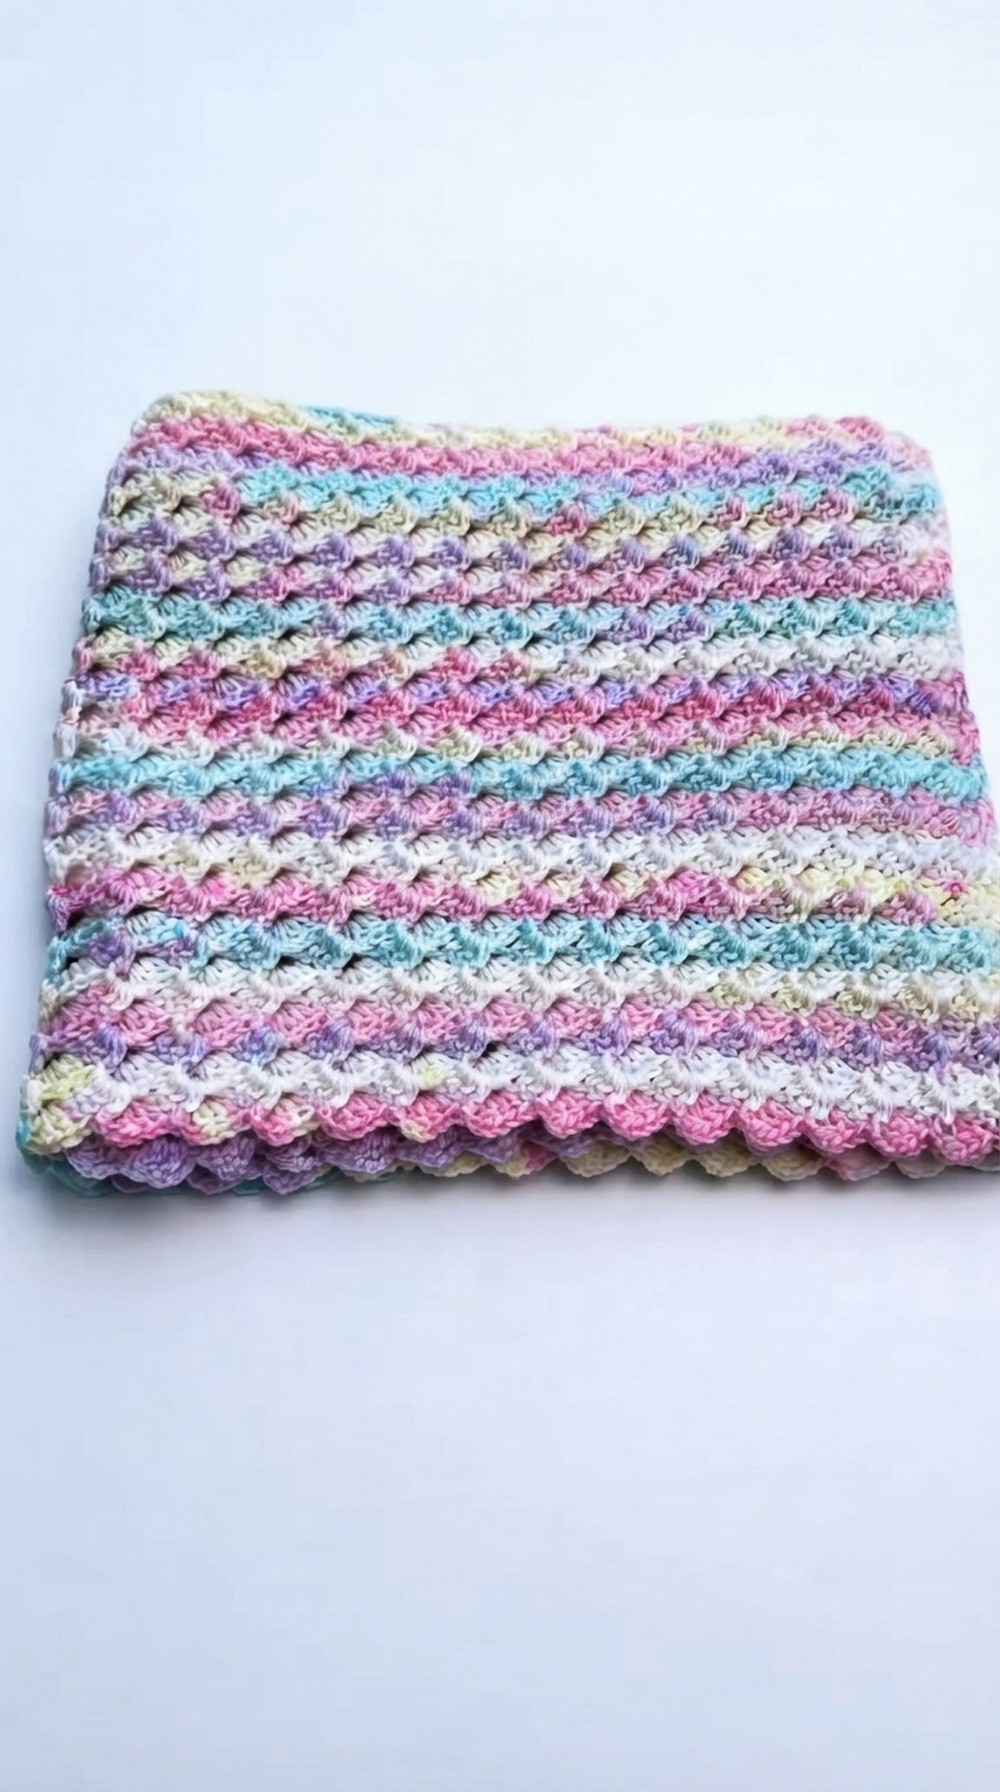
After completing the blanket, weave in all loose ends using a tapestry needle. Block the blanket gently to achieve straight sides and emphasize the texture.
Why I Love This Pattern
This blanket is both visually appealing and practical. The unique 3D crosshatch pattern gives it a soft and spongy texture that's ideal for keeping little ones warm and cozy. I love how the design is easy to adapt to any size, and the straight, symmetrical borders provide a polished and professional finish. This project is satisfying to create and versatile for gifting or home use. Enjoy crocheting this stunning baby blanket!