
Quick & Free Crochet Pride Whales Pattern for Fun Projects
Celebrate diversity with this Free Crochet Pride Whales Amigurumi Pattern that’s easy to make and perfect for adding color and joy to your crafts.
Looking for a crochet project that is colorful, meaningful, and simple to make This Free Crochet Pride Whales Amigurumi Pattern offers a charming way to combine creativity with pride inspired design. When I made my first pride whale, I loved how quickly it came together and how much personality such a small crochet toy could have. These crocheted whales are playful amigurumi items that let you celebrate pride while enjoying a relaxing crochet session.
Crochet Pride Whale Pattern – Free for All Levels
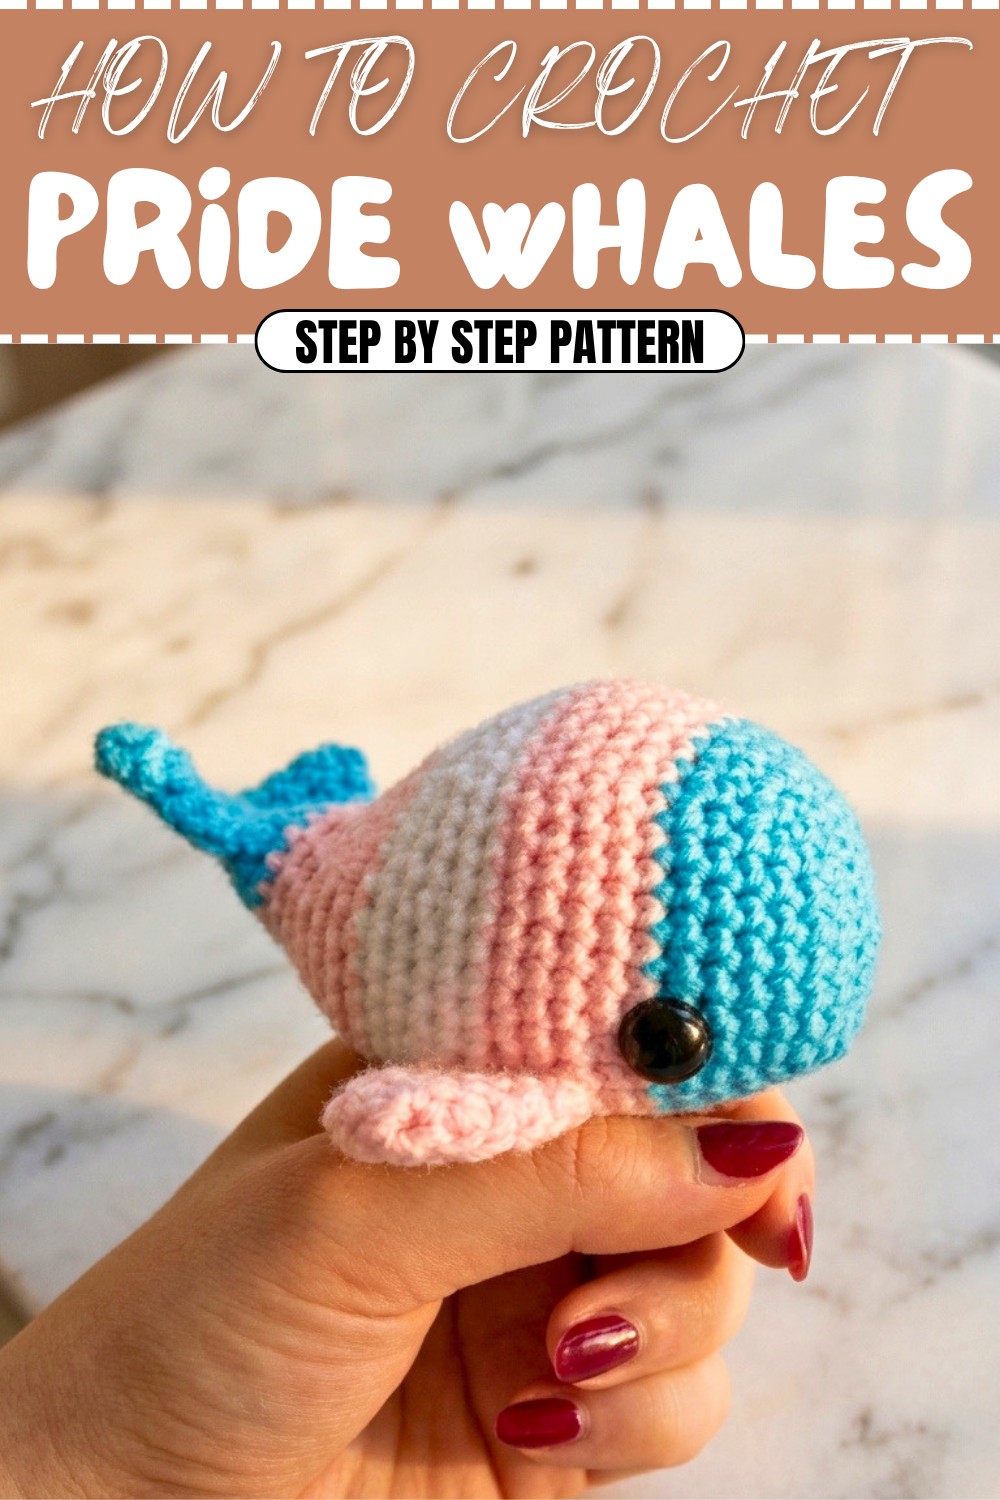
Each pride whale has a cute rounded body, a tiny tail, and a friendly face that gives it a soft and approachable look. The real beauty of this project is in the colors you choose you can use classic rainbow stripes or match any pride flag to create your own unique design.
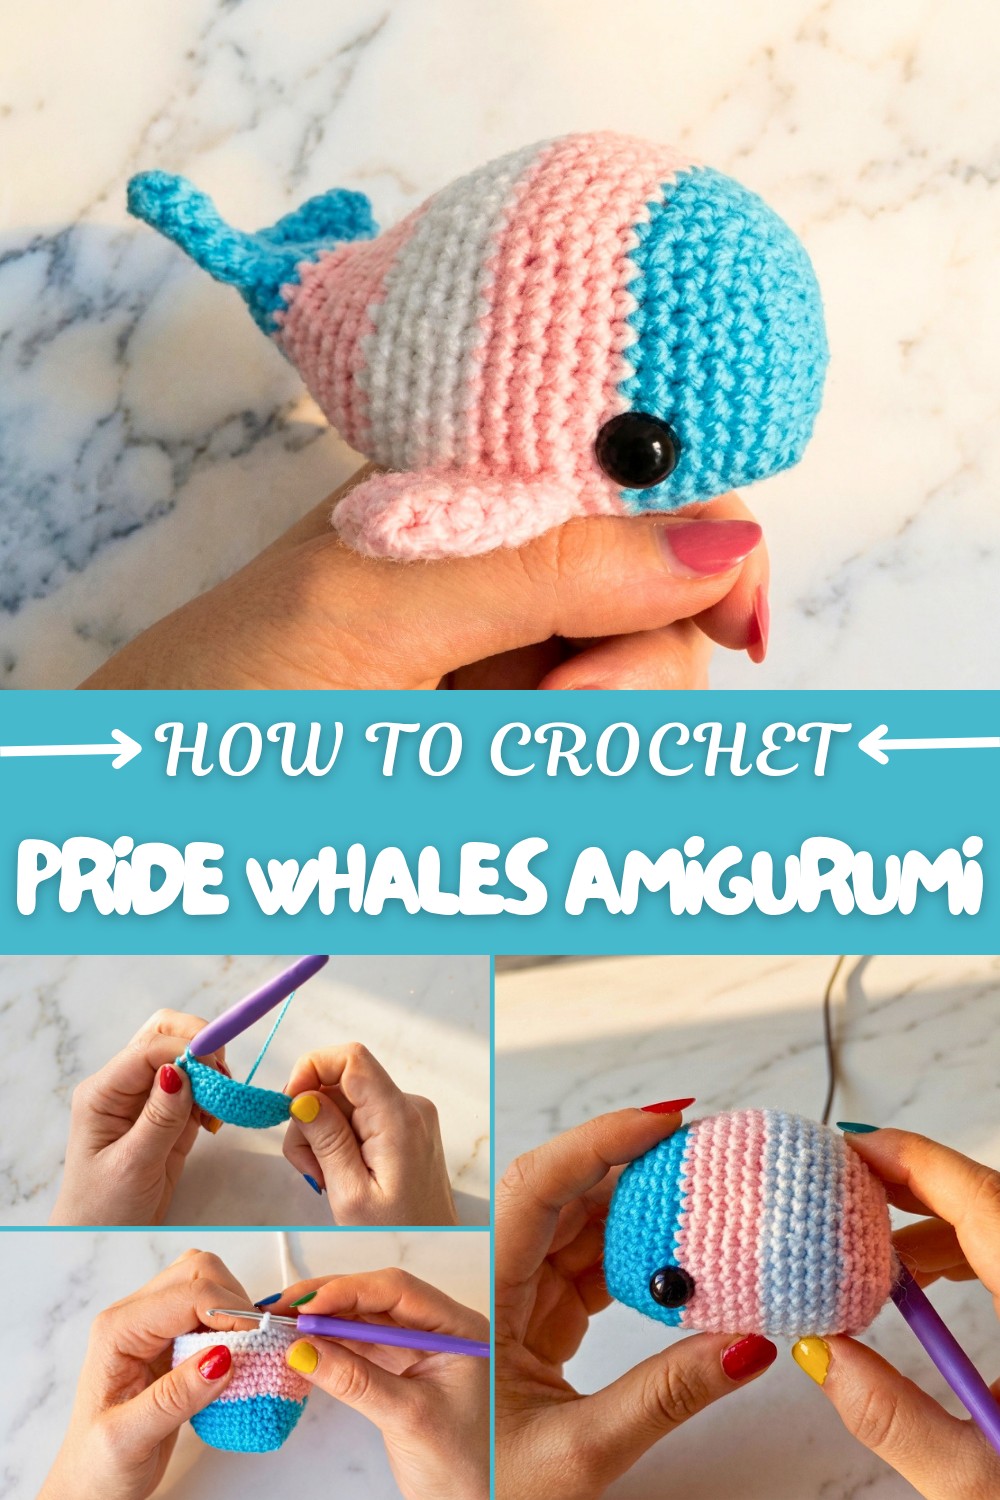
The texture is smooth and slightly squishy, making the whale pleasant to hold and display. Its compact shape makes it ideal as a desk buddy, shelf decoration, keychain, or small accent for bags and outfits. The simple yet bold striping and clean silhouette help the design stand out without feeling complicated.
This pattern is suitable for beginners and confident crocheters alike. The main stitch used is the basic single crochet, with easy increases and decreases to create the rounded whale shape. Because it is worked in the round, the project feels straightforward and manageable even if you are still learning.
Crochet Pride Whale Amigurumi Pattern
This pride whale amigurumi is a colorful and heartwarming project that celebrates diversity and inclusion with its radiant design. Featuring a sturdy, rounded body, charming fins, and a sweet tail, this adorable whale is perfect for gifts or personal keepsakes. Customizable with a variety of colors, it allows creative freedom while improving crochet skills.
Skill Level
Intermediate
This project involves techniques such as working in rounds, increasing, decreasing, shaping smaller parts like fins and tails, and assembly. It is suitable for crocheters who are comfortable with the magic ring technique and managing stitch changes for different shapes.
Materials
- Yarn:
- Multiple colors (e.g., light blue, white, pink).
- Hook:
- 3 mm crochet hook (or appropriate size for your chosen yarn).
- Additional Tools and Supplies:
- Toy stuffing (polyfill or fiberfill).
- Scissors.
- Pins (to assist with assembly).
- Tapestry needle (for attaching pieces).
- Thread (black thread for embroidered eyes if safety eyes are not used).
- 10 mm or 12 mm safety eyes (optional).
Special Stitches
1. Magic Ring (MR):
Form a loop with the yarn, insert the hook through the loop, yarn over, and pull through. Chain 1 to secure. Work the required number of stitches into the loop, and pull the tail to tighten and close the ring.
2. Increase (inc):
Work 2 single crochets into the same stitch to increase the stitch count.
3. Decrease (dec):
Insert the hook into the front loop only of the next two stitches, yarn over, and pull through both loops. Yarn over and pull through the two remaining loops on the hook to complete the decrease.
4. Slip Stitch (sl st):
Insert the hook into the stitch, yarn over, and pull through both loops on the hook to create a neat join.
Stitch Abbreviations
- MR: Magic Ring
- ch: Chain
- sc: Single Crochet
- sl st: Slip Stitch
- inc: Increase (2 sc in the same stitch)
- dec: Decrease (crochet 2 stitches together)
Useful Tips
- Track Your Rounds: Use a stitch marker to mark the beginning of each round when working in continuous rounds.
- Stuffing: Gradually fill the whale and its parts as you go to prevent uneven shapes or lumps. Use your fingers or a narrow tool to push stuffing evenly into smaller sections.
- Eye Placement: Place safety eyes between Rounds 6 and 7 of the body, spaced 6 stitches apart. If embroidering the eyes, use pins to mark their location before stitching for symmetry.
- Fold and Sew: Properly align and fold the fins and tail before stitching together to ensure clean edges.
- Assembly Preparation: Pin every piece before sewing to verify alignment and balance.
Pattern Instructions
1. Body
Foundation:
- Begin with a magic ring. Chain 9.
Rounds:
- R1: Starting from the second chain, work 7 sc across, then work 3 sc in the last chain. Turn to crochet on the opposite side: 6 sc, then 2 sc in the last chain. (Total: 18 stitches)
- R2: 1 inc, 6 sc, 1 inc, 1 sc, 1 inc, 6 sc, 1 inc, 1 sc (22 sc).
- R3: Work 1 sc in each stitch (22 sc).
- R4: 1 sc, 2 inc, 6 sc, 2 inc, 1 sc, 2 inc, 6 sc, 2 inc (30 sc).
- R5: Work 30 sc around.
- R6: (4 sc, 1 inc) repeat 6 times (36 sc).
- R7–8:
- R7: Work 36 sc around.
- R8: (5 sc, 1 inc) repeat 6 times (42 sc).
- R9–13: Work 42 sc per round.
- R14: Work 9 sc, (3 sc, 1 dec) repeat 6 times, then 3 sc (36 sc total).
- R15–16: Work 36 sc per round.
- R17: Work 8 sc, (2 sc, 1 dec) repeat 6 times, then 4 sc (30 sc total).
- R18: Work 30 sc around. (Insert safety eyes between R6 and R7, spaced 6 stitches apart).
- R19: (3 sc, 1 dec) repeat 6 times (24 sc).
- R20: (2 sc, 1 dec) repeat 6 times (18 sc).
- R21: Work 18 sc around.
- R22: (1 sc, 1 dec) repeat 3 times, (2 sc, 1 inc) repeat 3 times (18 sc total).
- R23: Work 18 sc around.
- R24: (1 sc, 1 dec) repeat 6 times (12 sc).
- R25: Work 12 sc around.
- R26: (2 sc, 1 dec) repeat 3 times (9 sc).
- R27: (1 sc, 1 dec) repeat 3 times (6 sc).
- R28: (1 sc, 1 dec) repeat 2 times (4 sc).
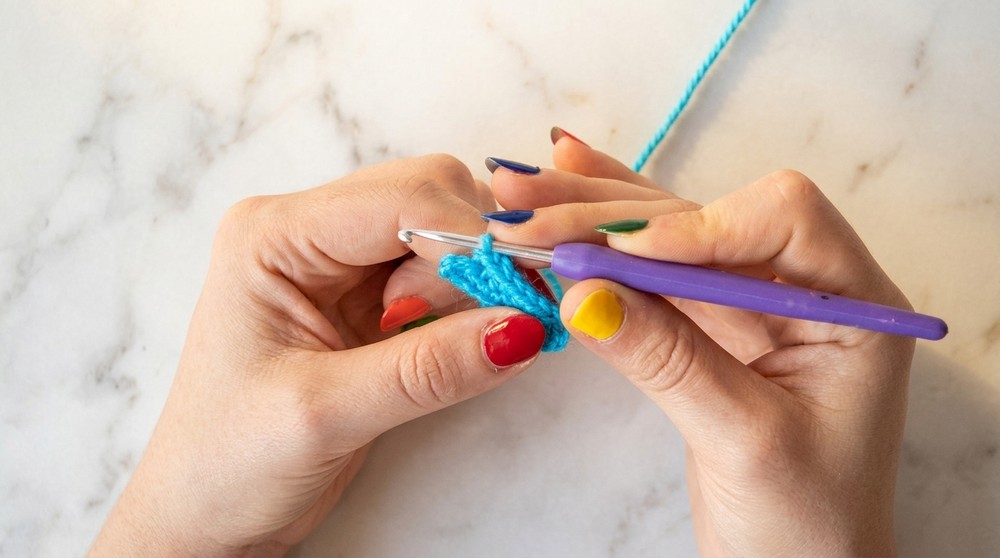
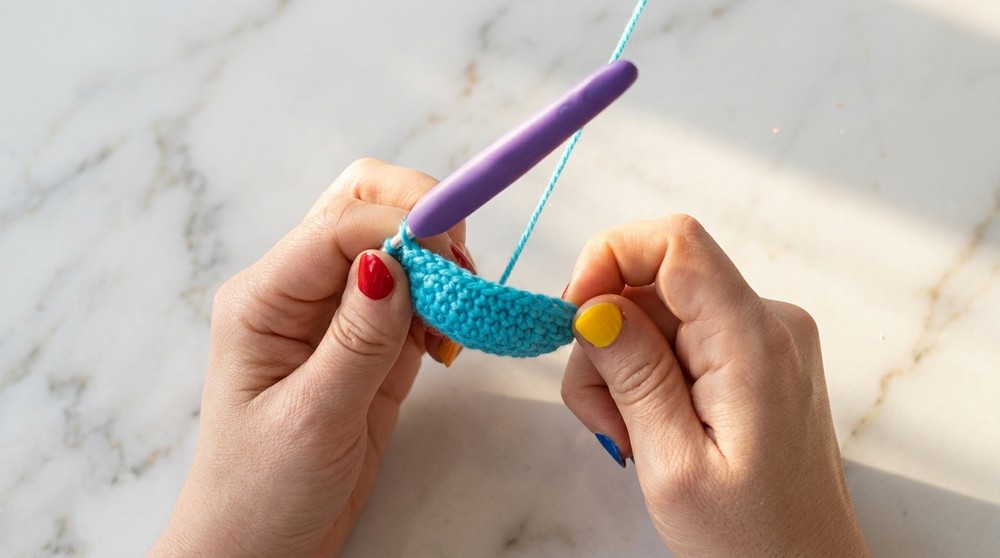
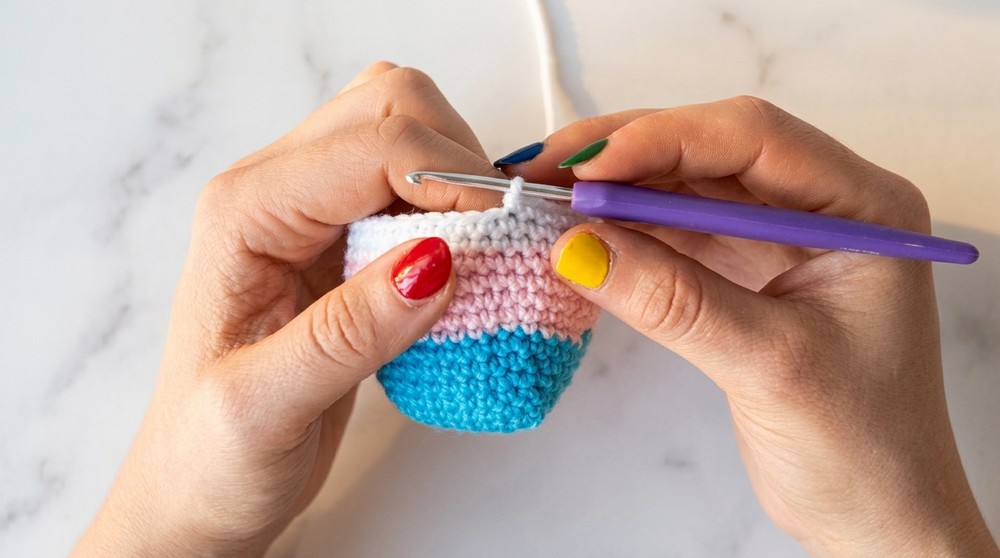
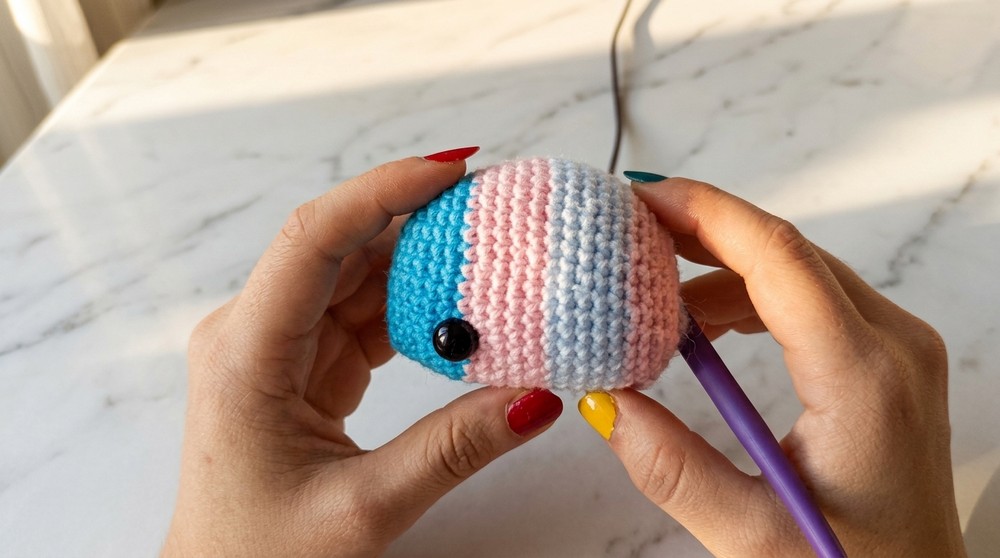
Finish with a sl st to close the body.
2. Fins (Make 2)
Foundation:
- Begin with a magic ring.
Rounds:
- R1: Work 6 sc into the ring.
- R2: Work 6 sc around.
- R3: Work 6 inc (12 sc).
- R4–6: Work 12 sc per round.
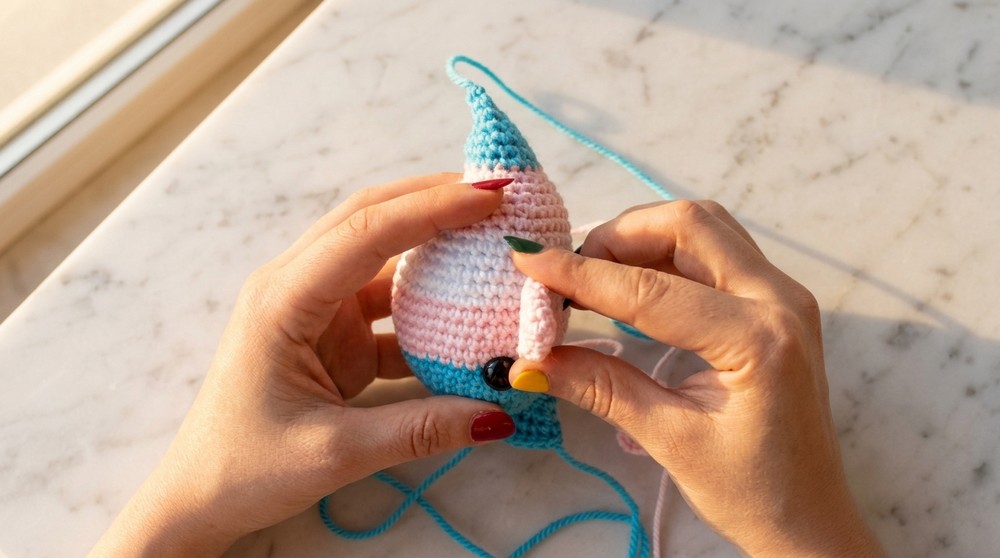
Finish:
- Fold the fin in half and sew the edges together using 5–6 sc stitches.
3. Tail
Foundation:
- Begin with a magic ring.
Rounds:
- R1: Work 6 sc into the ring.
- R2: Work 6 sc around.
- R3: (1 sc, 1 inc) repeat 3 times (9 sc).
- R4: Work 9 sc around.
Finish:
- Fold the tail in half and sew the edges together using 4 sc stitches.
Assembly and Sizing
- Attach Fins: Position each fin symmetrically on the sides of the whale’s body. Use pins to hold them in place before sewing securely.
- Sew the Tail: Attach the tail to the back of the whale. Pin to check the alignment before sewing.
- Stuff the Body: Add stuffing carefully through the open end of the body. Shape the whale thoroughly as you stuff, distributing material evenly such that the body and tail are firm but still soft.
The finished whale should be roughly 12–15 cm long, depending on your tension and yarn thickness.
Conclusion
This pride whale amigurumi is an engaging and colorful project that invites creativity through the use of vibrant yarns. The combination of structured rounds and rows, along with the assembly details, results in a joyful and meaningful display item or gift. Ideal for those who love crafting whimsical and unique pieces, this pattern is both enjoyable and rewarding to complete.