
Clip a Free Crochet Dinosaur Amigurumi Pattern to Bags
Work up a Free Crochet Dinosaur Amigurumi Pattern to create a sweet keepsake that tucks neatly into baby shower gift baskets for new parents.
Inspiration From World Of Amigurumi
Dinosaurs have always been fascinating creatures, from their towering heights to their mysterious extinction, and now they can be your source of creative play. This little yarn made dino promises hours of fun while also serving as a soft companion or thoughtful home décor. It’s like having a piece of history nestled in your hands, made just for smiles and cuddles.
This pattern is perfect for those who enjoy bringing life to their yarn stash using simple stitches like single crochets and the clever magic circle technique. While making this adorable piece, you’ll pick up techniques that help you shape the body, head, legs, and even tiny features like arms or tails. By the end, you’ll know how to join parts seamlessly, master basic increases and decreases, and feel more confident in working up 3D characters.
Free Crochet Dinosaur Amigurumi Pattern for Nightstands
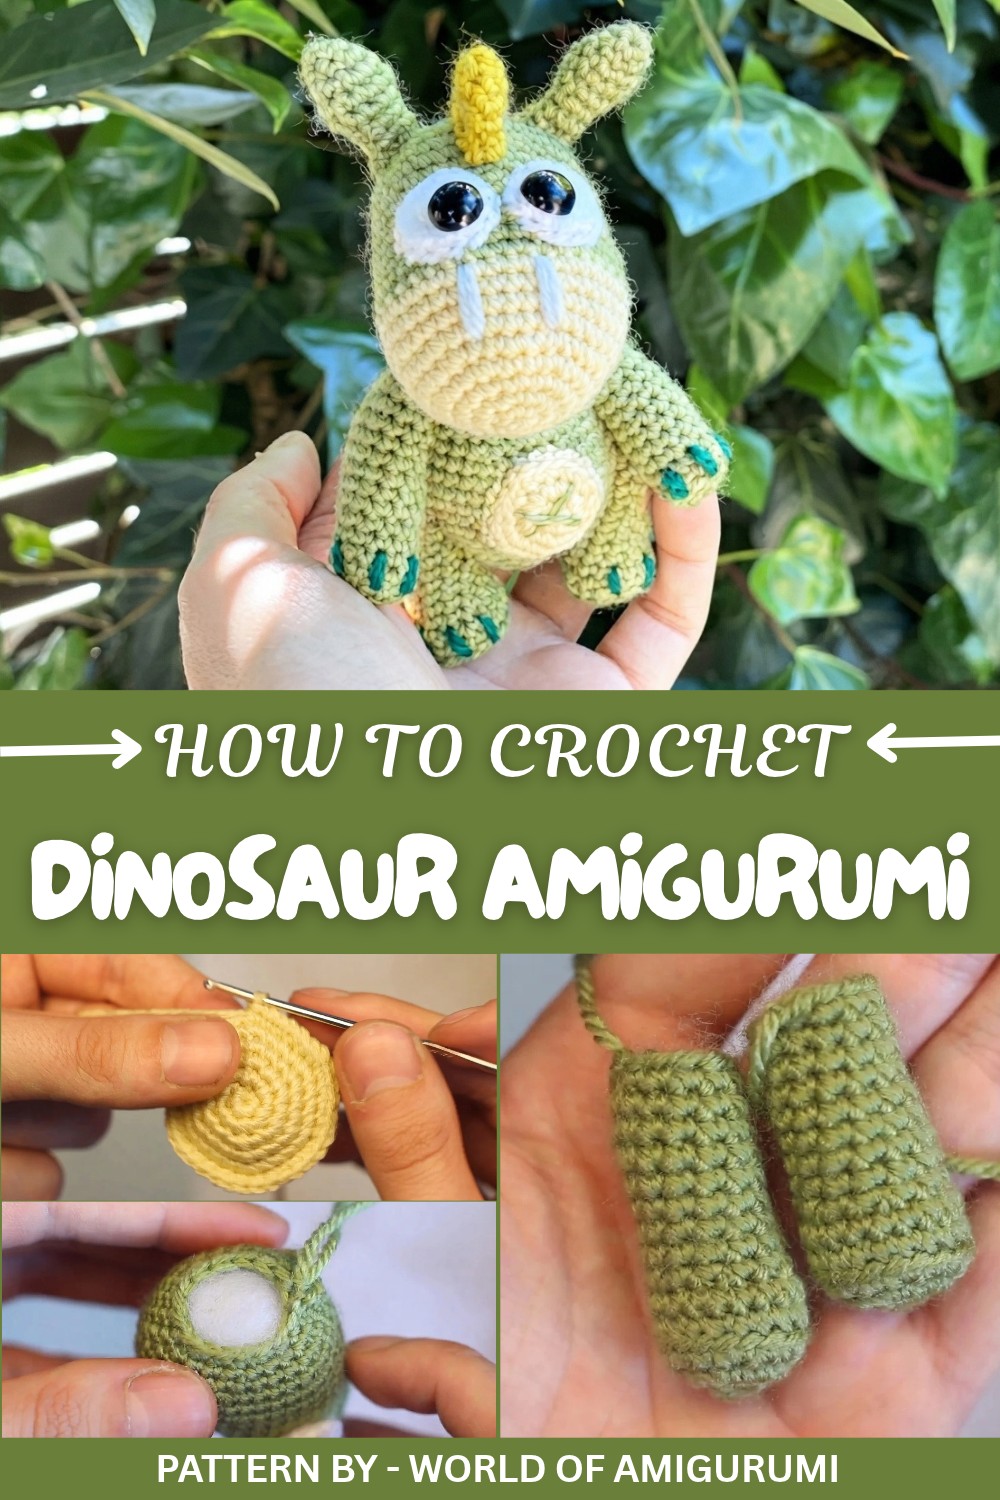
What’s exciting is the flexibility of the skills you’ll learn. The same steps can turn your creation into a baby dragon, a gentle turtle, or a shy stegosaurus simply by tweaking shapes or adding accessories like spikes and wings. You could even make an entire crew of prehistoric buddies to gift or use as playful decorations.
Take your yarn and turn something simple into something delightfully comical or sweet. Whether it’s with soft pastel greens or bold blues, this dino will be as unique as you want it to be.
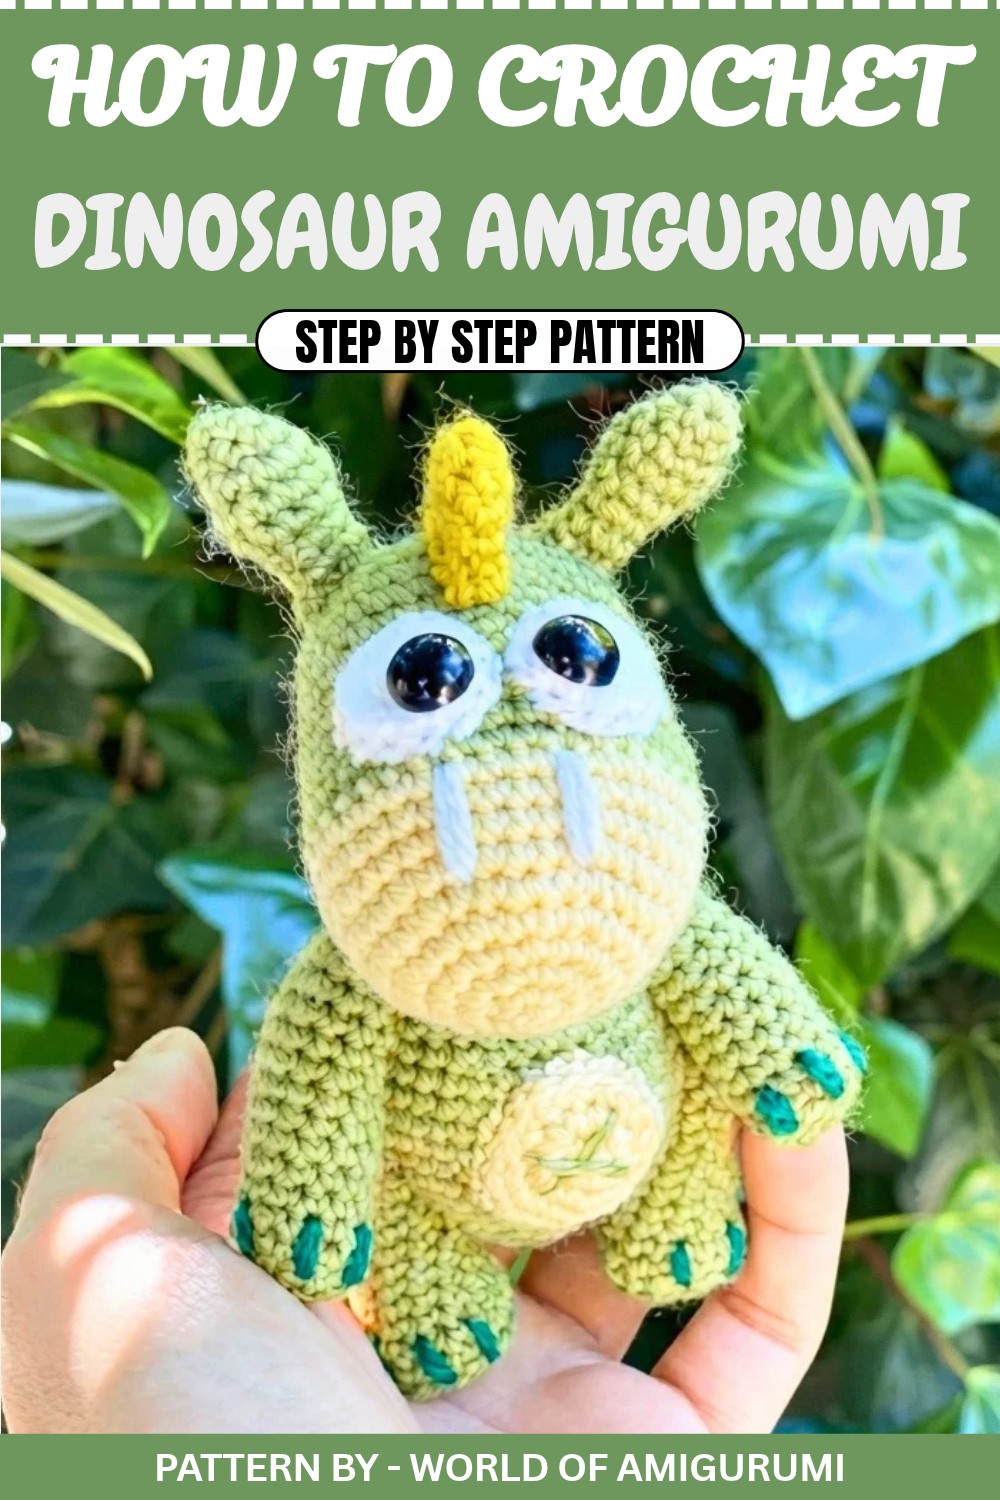
Crochet Dinosaur Amigurumi
Quick Overview Of Pattern
- Key Features:
- Realistic bracchiosaurus design made up of the following parts: head, body, tail, legs, and arms.
- Decorative pieces: bone plates and belly patch.
- Construction:
- Head (cream color)
- Eyes backed with white circles
- Green ears
- White belly patch with details
- Body, arms, legs, and tail in green.
Notes
- All rounds begin with a magic ring and are worked in continuous rounds unless stated otherwise.
- Use a stitch marker to mark the first stitch in each round for accurate counting.
- Stuff pieces as you go and ensure all parts are firmly packed for a neat finish.
- White inner ear accents can be added for extra detail.
- Optional details: dark green yarn for hand and foot accents, bone plates for the back and tail.
Skill Level
Intermediate:
Knowledge of the following techniques is required:
- Magic ring
- Single crochet (sc)
- Increase (inc) and decrease (dec)
- Back loop only stitches
- Sewing parts together to assemble amigurumi
Materials
- Yarn:
- Green for head, body, tail, arms, ears, and legs
- Cream color for head
- Yellow for bone plates
- White for belly patch and eye details
- Dark green for decorative details (optional).
- Tools and Supplies:
- Crochet hook size suitable for your yarn (e.g., 3–3.5 mm).
- Safety eyes (8–12 mm).
- Stuffing material (polyester fiberfill).
- Tapestry needle for sewing pieces.
- Scissors.
- Stitch markers.
Measurements / Sizing
- The finished bracchiosaurus will measure approximately 25–30 cm (10–12 inches) high.
Gauge
Gauge is not critical for amigurumi, but aim for tight stitches for consistent body shapes and to ensure stuffing does not show through the fabric.
Stitch Abbreviations
- MR – Magic Ring
- sc – Single Crochet
- sl st – Slip Stitch
- inc – Increase (2 sc in a stitch)
- dec – Decrease (2 sc together)
- ch – Chain
Special Stitches
Back Loop Only (Optional)
In sections where specified, work stitches through the back loop only (the loop furthest away from you). This creates a decorative ridge, adding texture to the design.
The Crochet Pattern
Eyes (White)
- R1: MR, 6 sc.
- R2: (Inc in each st) x 6 (12).
- Fasten off. (Make 2).
- Insert safety eye slightly to the side of the magic ring instead of in the center for added expression.
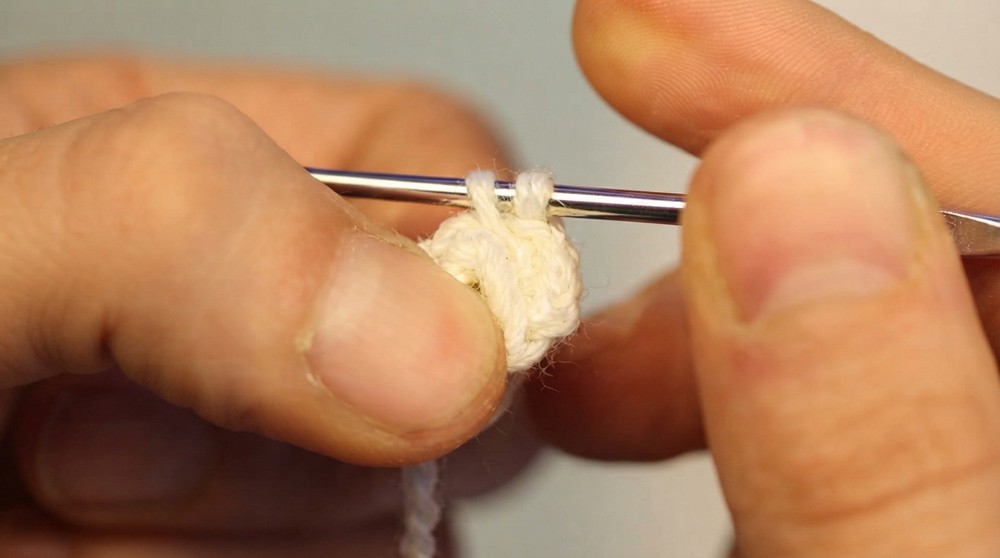
Head (Cream)
- R1: MR, 6 sc.
- R2: (Inc in each st) x 6 (12).
- R3: (1 sc, inc) x 6 (18).
- R4: (2 sc, inc) x 6 (24).
- R5: (3 sc, inc) x 6 (30).
- R6: (4 sc, inc) x 6 (36).
- Work 3 rounds of sc in each st (36).
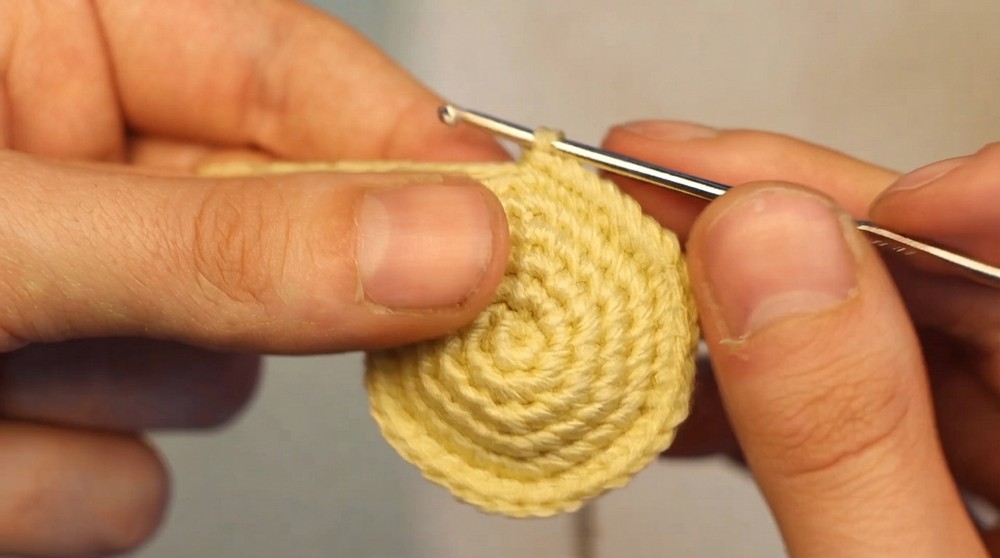
Switch to green yarn:
- Work 10 rounds of sc in each st (36).
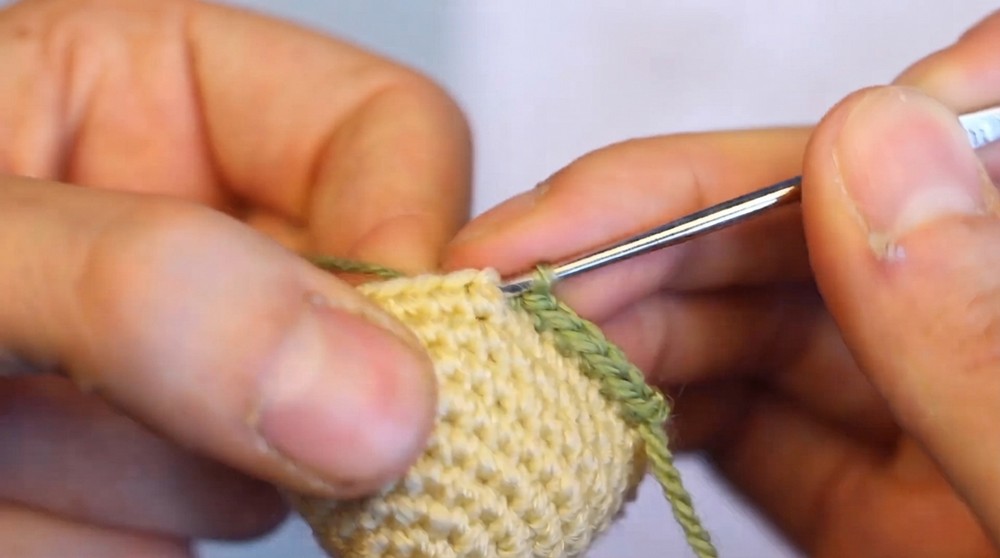
Attach the eyes: Position each eye on the third round from the green section and secure with safety backs.
Continue decreasing:
- R16: (4 sc, dec) x 6 (30).
- R17: (3 sc, dec) x 6 (24).
- R18: (2 sc, dec) x 6 (18).
Stuff the head firmly at this stage.
- R19: (1 sc, dec) x 6 (12).
- R20: 6 dec (6). Close hole using a tapestry needle.
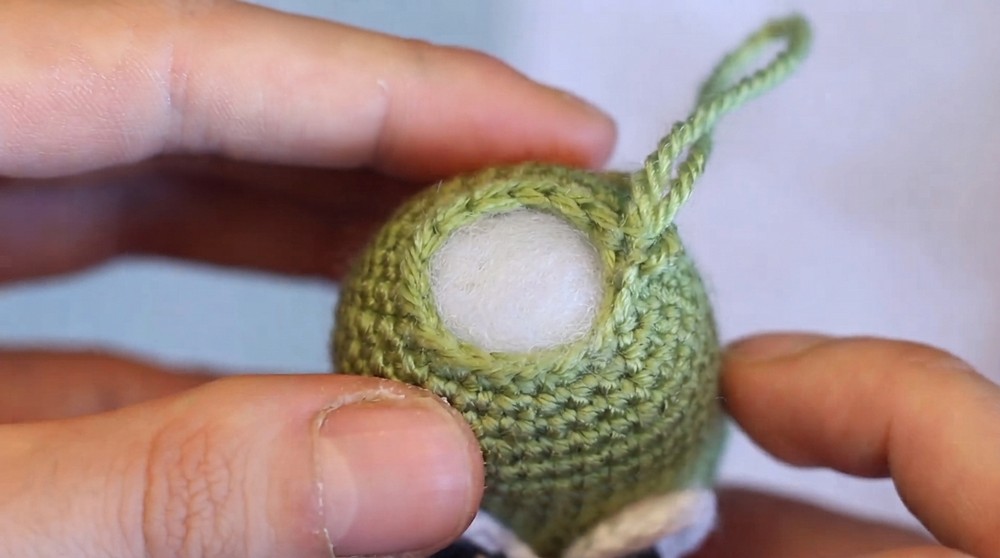
Ears (Green)
- R1: MR, 6 sc.
- R2: Work 6 sc in each st = 6 sc.
- R3: (1 sc, inc) x 6 (9).
- Work 2 rounds of sc in each st (9).
- R5: (1 sc, dec) x 3 (6).
- Work 2 rounds of sc in each st (6).
Close with sl st and fasten off. (Make 2).
Body (Green)
- R1: MR, 6 sc.
- R2: (Inc in each st) x 6 (12).
- R3: (1 sc, inc) x 6 (18).
- R4: (2 sc, inc) x 6 (24).
- R5: (3 sc, inc) x 6 (30).
- R6: (4 sc, inc) x 6 (36).
- R7: (5 sc, inc) x 6 (42).
- Work 4 rounds of 42 sc.
Decrease to shape:
- R12: (5 sc, dec) x 6 (36).
- Work 1 round of sc (36).
- R14: (4 sc, dec) x 6 (30).
- Work 1 round of sc (30).
- R16: (3 sc, dec) x 6 (24).
- Work 2 rounds of sc in each st (24).
- R18: (2 sc, dec) x 6 (18).
- Work 6 rounds of sc in each st, then fasten off. Stuff firmly.
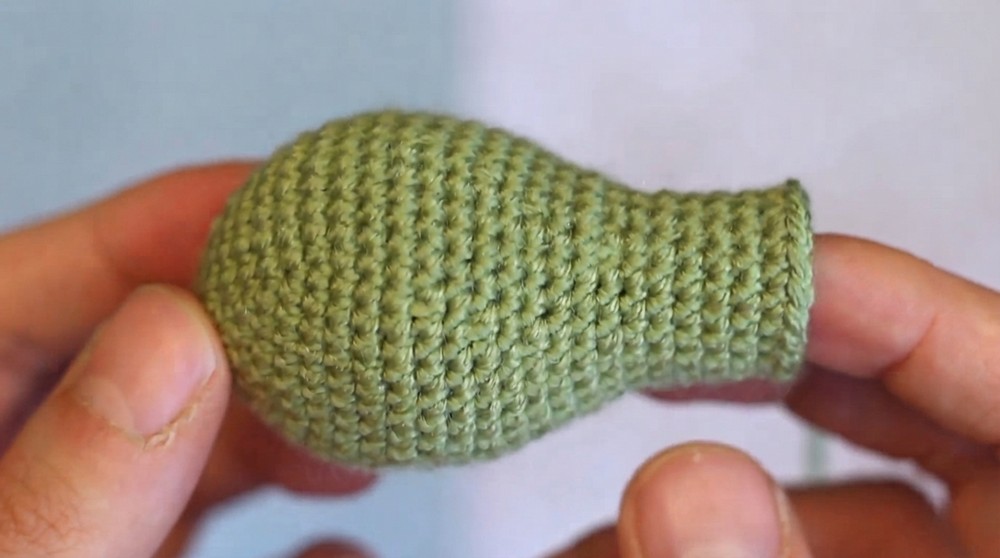
Arms (Make 2)
- R1: MR, 6 sc.
- R2: (Inc in each st) x 6 (12).
- R3: Work back loop only sc in each = 12 sc.
- R4–R16: Sc in each st around (12).
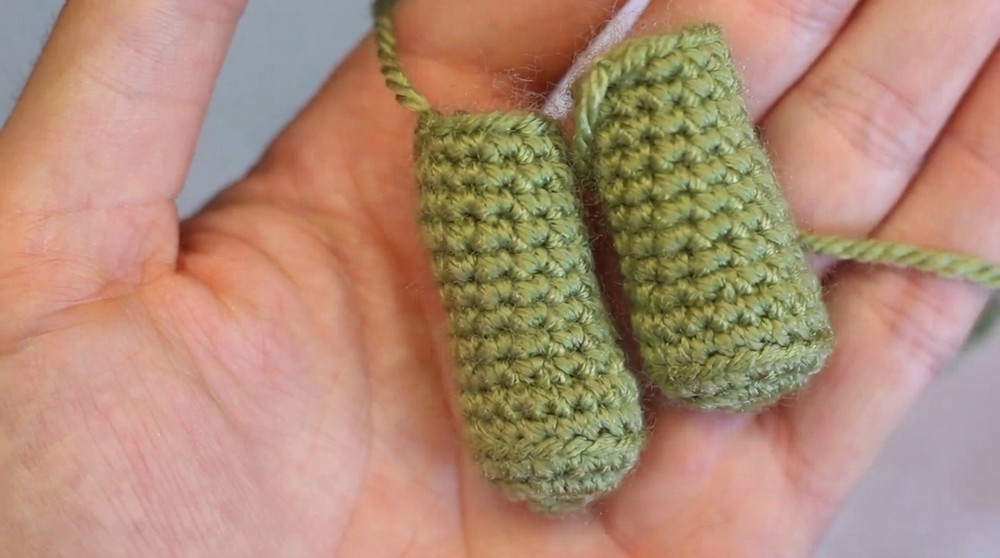
Close with sl st, fasten off, and lightly stuff.
Legs (Make 2)
- R1: MR, 6 sc.
- R2: (Inc in each st) x 6 (12).
- Work back loop only sc in each around (12).
- Work 8 rounds of sc normally in each stitch (12).
Close with sl st, fasten off, and stuff lightly.
Tail (Green)
- R1: MR, 6 sc.
- R2: Work sc in each st (6).
- R3: (1 sc, inc) x 6 (9).
- R4–R5: Sc in each st (9).
- R6: (2 sc, inc) x 6 (12).
- R7: (1 sc, inc) x 6 (18).
- R8–R9: Sc in each st (18).
- R10: (2 sc, inc) x 6 (24).
- Work 1 round of sc in each st (24).
- R12: (3 sc, inc) x 6 (30).
- Work 2 rounds of sc in each st.
Fasten off and stuff lightly.
Bone Plates (Yellow)
- R1: MR, 6 sc.
- R2: (Inc in each sc) x 6 (12).
- R3: (1 sc, inc) x 6 (12).
- R4: Work sc in each st (12).
- R5: (2 sc, inc) x 6 (12).
Make 4 bone plates and set aside for assembly.
Belly Patch (White)
- R1: MR, 6 sc.
- R2: (Inc in each sc) x 6 (12).
- R3: (1 sc, inc) x 6 (18).
Fasten off.
Assembly and Finished Size
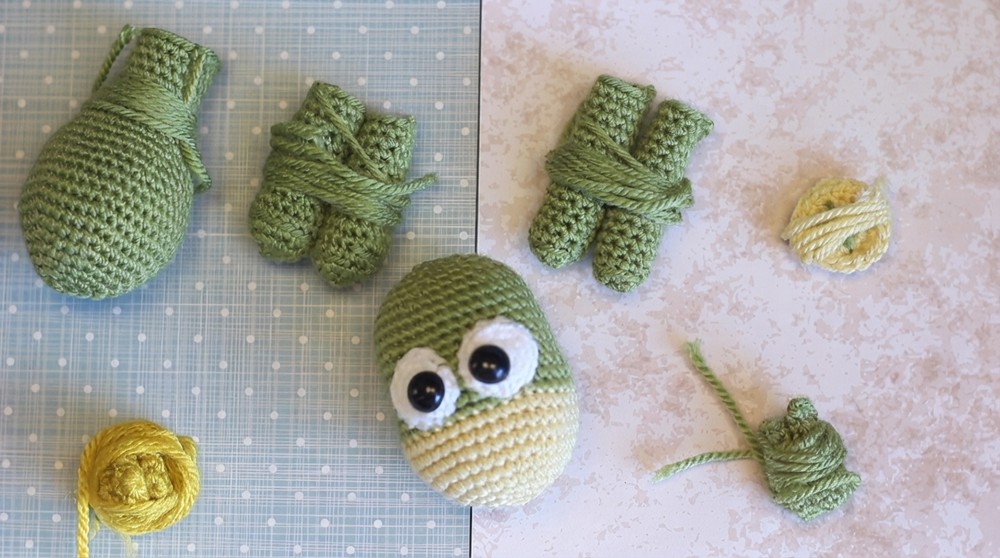
- Head and Body: Fold the neck section and sew the head securely to the body at the top.
- Eyes: Sew the eye pieces onto the head and secure with safety eyes.
- Ears: Attach the ears to the top sides of the head.
- Arms and Legs: Sew the arms onto the sides of the body, and the legs at the base.
- Belly Patch: Place the white belly patch on the front of the body and securely sew its edges.
- Tail: Sew the tail to the back of the bracchiosaurus.
- Bone Plates: Attach the yellow bone plates along the top of the neck, the head, and the back. Optionally, sew one on the tail for a full design.
- Decorative Details: Add darker green accents on the tips of the hands and feet using embroidery or stitching for additional detail.
Conclusion
Congratulations on completing your adorable bracchiosaurus amigurumi. This lovable dinosaur combines playful colors and fun details like the belly patch and bone plates to bring your creation to life. It’s a fantastic way to start a new series of amigurumi creations.
Feel free to experiment with different colors, add your own personal touches, or adapt the design for different kinds of dinosaurs.