
Budget-Friendly Crochet Pillow Pattern to Update Your Decor
Access a free crochet pillow pattern and stitch your way to unique, grab-and-go décor that transforms any seat into a statement piece.
Bringing a handmade touch to your home decor can make any space feel cozy and inviting. If wrapping your favorite cushion in a beautiful crochet cover that adds texture and style with every stitch. This pattern uses a special waffle stitch, which creates charming raised squares that look warm and tactile, perfect for brightening up living rooms, bedrooms, or reading nooks. The thick cotton yarn used for this project gives the pillow cover a sturdy feel, making it not only stylish but also practical and durable.
Crochet a Stunning Home Pillow with This Free Step-by-Step Pattern
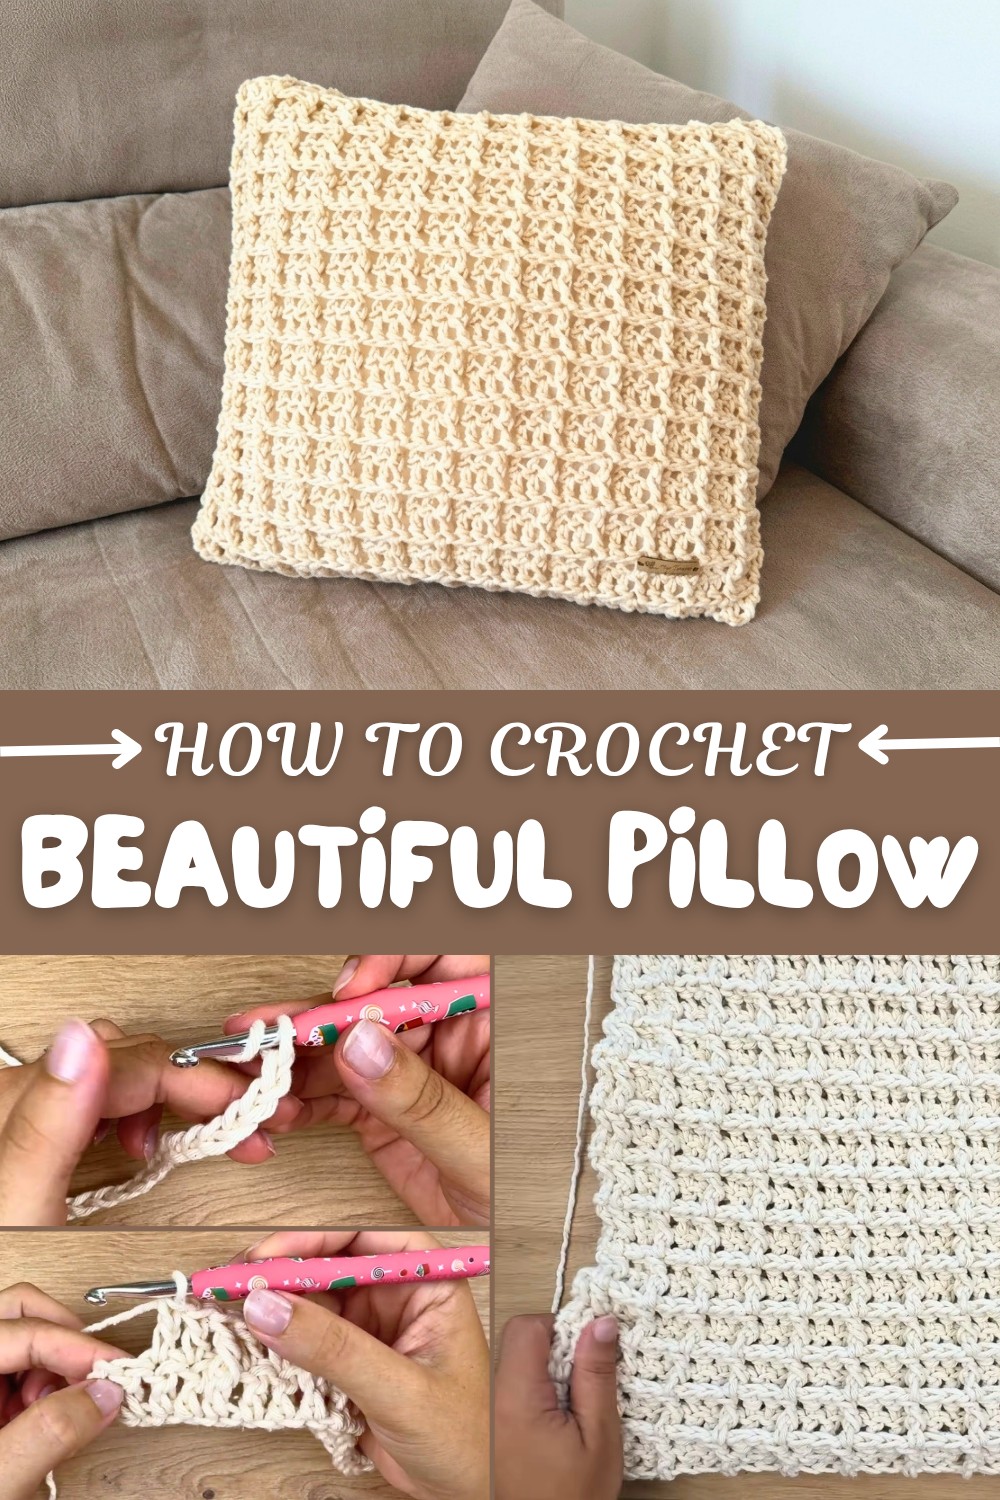
The pattern is made by crocheting a large rectangular strip, which you fold and sew to fit any square or rectangular pillow. This design leaves an opening in the back so you can easily remove the cushion for washing or swapping covers. You can close the cover with buttons, ties, or even decorative ribbons, adding a personal flair to your finished piece. The waffle stitch is worked by alternating between front post and regular double crochets, creating a textured grid that is satisfying to crochet and beautiful to behold. The repetitive pattern is easy enough for beginners to follow while being interesting enough to keep you engaged.
More Cozy Creations to Try
Once comfortable with the waffle stitch, you might enjoy making blankets, scarves, or even cozy bed runners using a similar textured pattern. These projects lend themselves well to the thickness and warmth of the stitch, and you can experiment with colors to match your style or home aesthetic. Creating a set of coordinating home accessories can turn your space into a stylish, handmade haven.
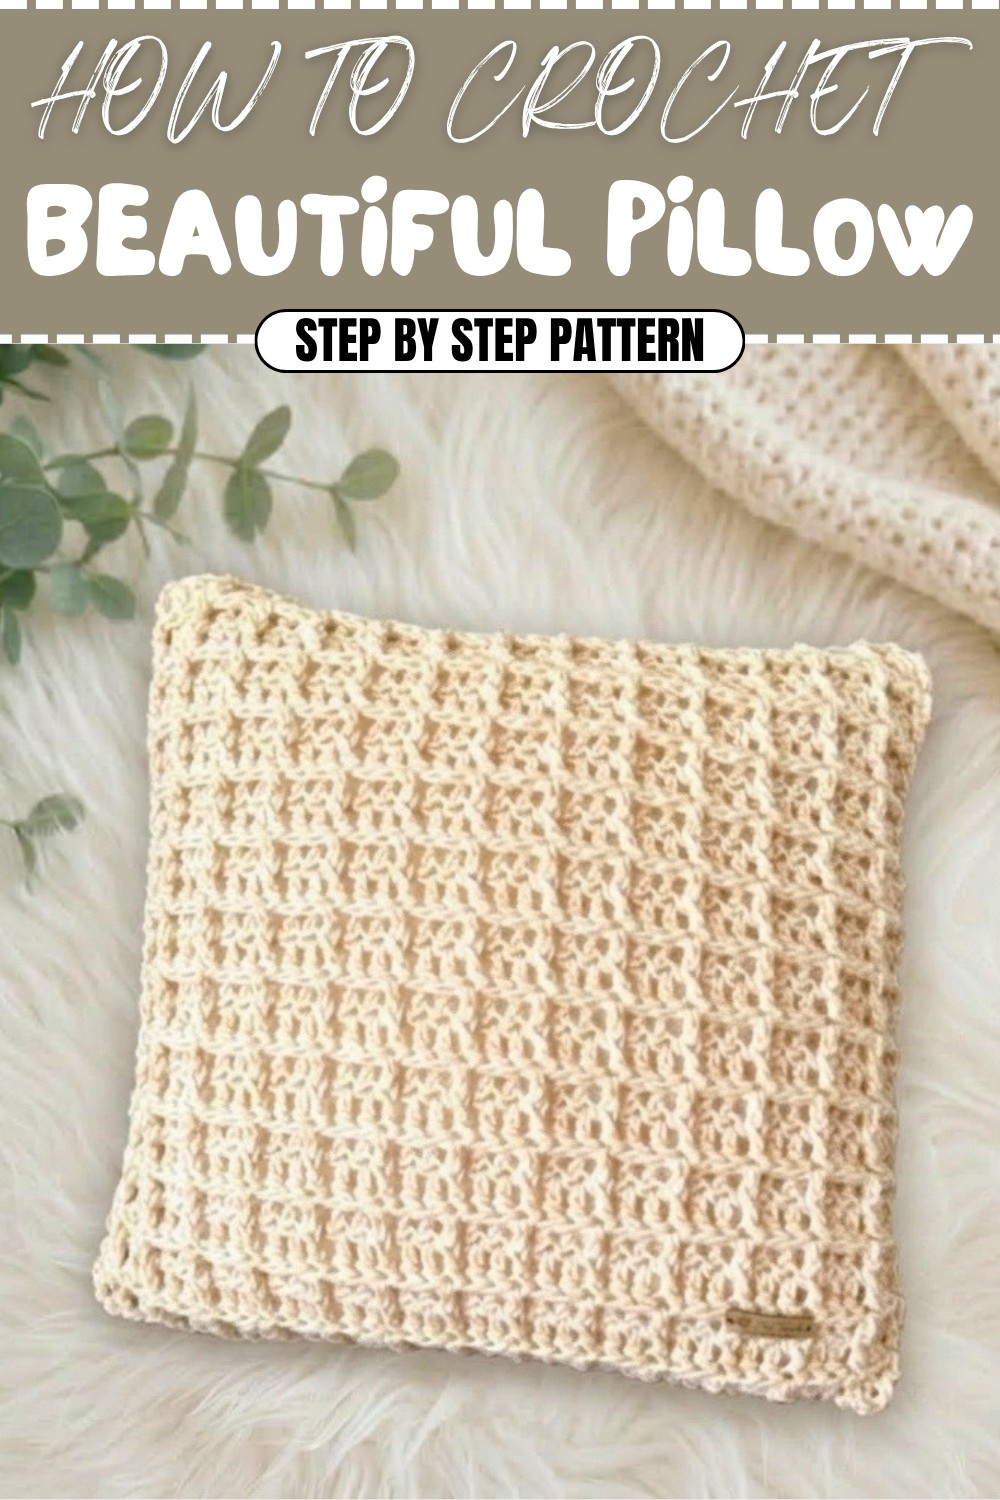
Step-by-Step Crochet Pattern: Waffle Stitch Cushion Cover
Introduction:
This Waffle Stitch Cushion Cover pattern is perfect for creating an elegant and textured pillow for your home décor. The waffle stitch creates a unique, quilted appearance, making this project ideal for cushions, bed runners, or decorative throws. The design involves constructing a long strip of connected waffle stitch rows, which is folded in half to form the front and back of the cushion cover, then sewn together at the seams. You can seal the opening with buttons, zippers, or ties for easy cushion removal.
What You'll Learn:
- How to create the textured waffle stitch using relief stitches and regular double crochet.
- Techniques for joining panels seamlessly using slip stitches or single crochet.
- How to add a closure mechanism like buttons or ties for securing a cushion cover.
- How to finish the edges of your pillow cover cleanly and professionally.
Skill Level & Terminology:
- Skill Level: Advanced Beginner
- Terminology Used: US crochet terms
Materials & Tools:
- Yarn:
- Barroco 8/8 yarn, 100% natural cotton (or another thick yarn).
- Note: Barroco 8 is a non-mercerized heavyweight cotton yarn, ideal for home decor.
- Crochet Hook: 5.5 mm. (Optional: Smaller hook, 4.5 mm, for seams.)
- Additional Tools:
- Measuring tape
- Stitch markers
- Tapestry needle (finishing needle for sewing ends)
- Scissors
- Buttons (approx. 5, if you choose this closure method) or a clasp or ties.
Gauge:
- Gauge: Waffle stitch pattern = 5 cm x 5 cm (2" x 2") square, made up of 4 rows.
Perform a test swatch of the waffle stitch to ensure the correct gauge for a snug cushion fit.
Abbreviations List:
- Ch: Chain
- Sc: Single Crochet
- Dc: Double Crochet
- Relief Dc (Front Post Double Crochet): Double Crochet worked around the post of the stitch from the previous row, inserted from front to back.
- Sl St: Slip Stitch
Special Stitch Instructions:
- Front Post Double Crochet (Relief Dc):
- Yarn over.
- Insert hook behind the vertical post of the stitch in the previous row (from front to back, then around the stitch).
- Yarn over and pull up a loop.
- Complete a double crochet as usual.
- Pattern Note:
- The waffle stitch pattern alternates between rows of 2 relief Dc and 1 Dc and rows of 1 relief Dc and 2 Dc. By flipping the combinations every row, the textured squares are created.
Finished Size:
The final cover fits a 45 cm x 45 cm (18” x 18”) square pillow but can be adjusted for larger or smaller cushions. For larger rectangular cushions, increase the number of chains in your foundation chain to match the width of the pillow.
Why You’ll Love This Pattern:
The waffle stitch creates an intricate texture without being overly complicated. You can use this pattern for multiple home décor projects and customize it with different colors and fastening options for a personal touch. Plus, the removable closure makes it functional and easy to keep clean!
The Pattern Itself
Step 1: Foundation Chain
- Start with a multiple of 3 chains.
- For a cushion measuring 45 cm wide, crochet enough chains to reach 45 cm (approximately 84 chains with a 5.5 mm hook).
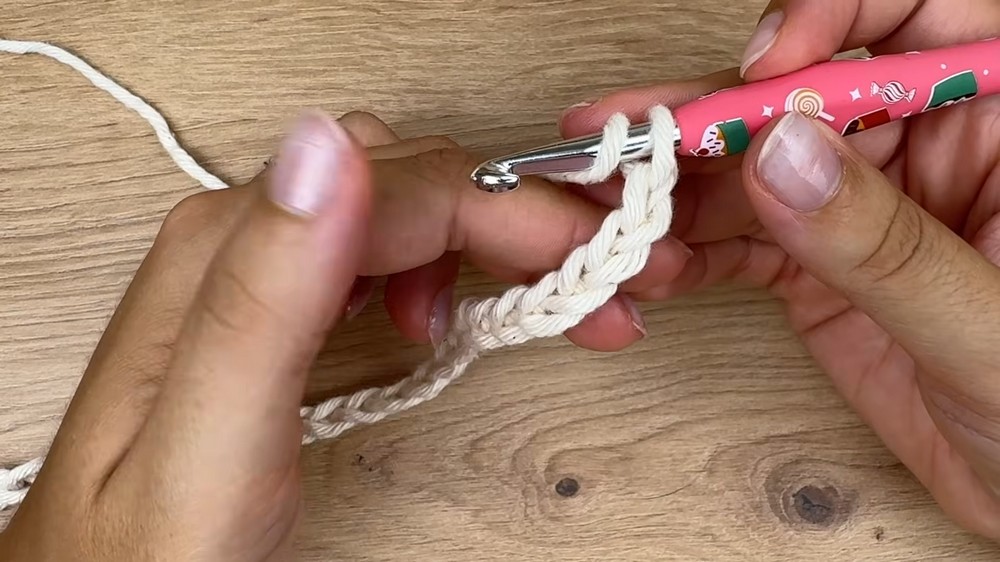
Tip for beginners: Keep your starting chains slightly loose to make working into them easier. Use a larger hook for the foundation chain if needed.
Step 2: Row 1 – Setup Row (Double Crochet Row)
- Dc in the 5th chain from the hook, worked into the top loop.
- Work 1 Dc in each chain across the row.
At the end of the row, turn your work for the next row.
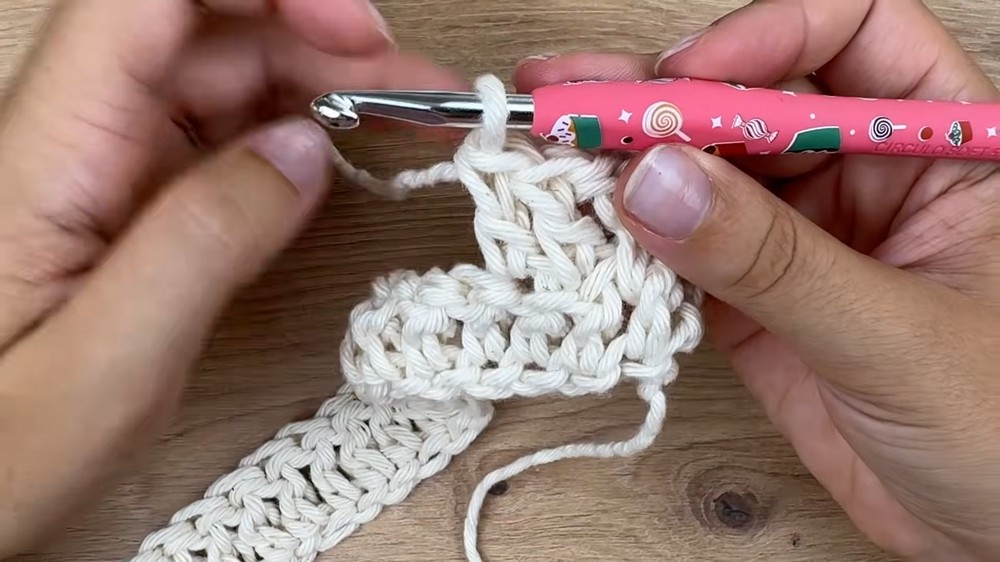
For those unfamiliar with patterns: Start with a simple row of double crochet (yarn over, insert the hook into the indicated chain, then complete your dc). This sets up your base row for the pattern that follows.
Step 3: Row 2 – Waffle Stitch Setup
- Ch 1, Sc in the first stitch, Ch 2 (counts as the first Dc).
- Work a Relief Dc around the next Dc from the previous row, followed by 2 regular Dc in the next 2 stitches. Repeat this pattern across until only 1 stitch remains.
- Finish the last stitch as a regular Dc. Turn your work.
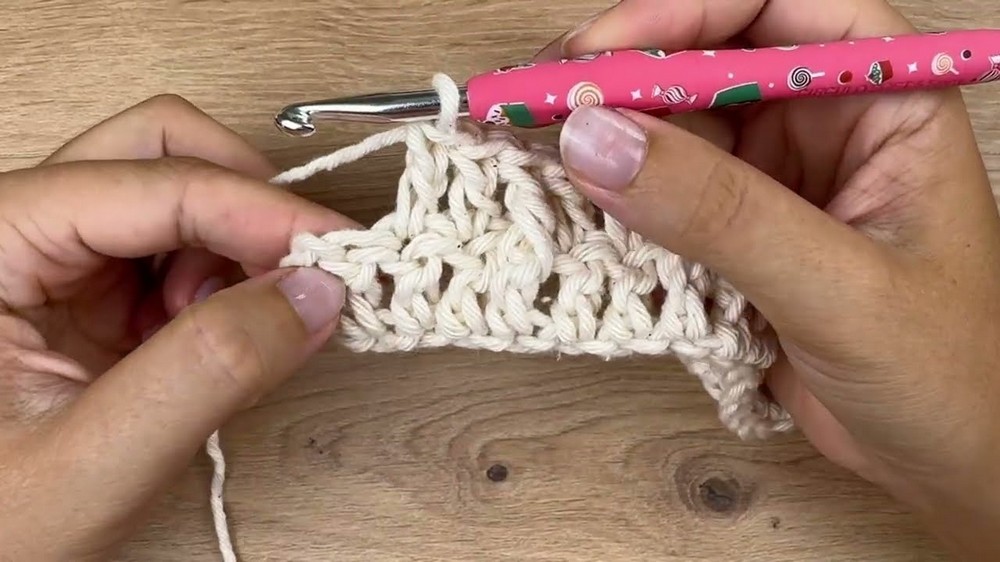
Simplified Description: For the waffle texture, insert your hook around the vertical post of the stitch instead of the top loops to create the relief stitch. Alternate between relief and normal Dc as described.
Step 4: Row 3 – Continue the Waffle Pattern
- Ch 1, Sc in the first stitch, Ch 2 (counts as the first Dc).
- Work a normal Dc in the first stitch, followed by 2 Relief Dc in the next 2 stitches.
- Repeat this pattern, ending with a Relief Dc and a regular Dc in the last stitch. Turn your work.
This row is the opposite of Row 2—start with a normal Dc and then alternate with Relief Dc.
Step 5: Repeat Rows 2 & 3
- Continue alternating Rows 2 and 3 until you have a strip of fabric long enough to wrap around your cushion.
- For a 45 cm x 45 cm pillow, make 60 rows (30 squares).
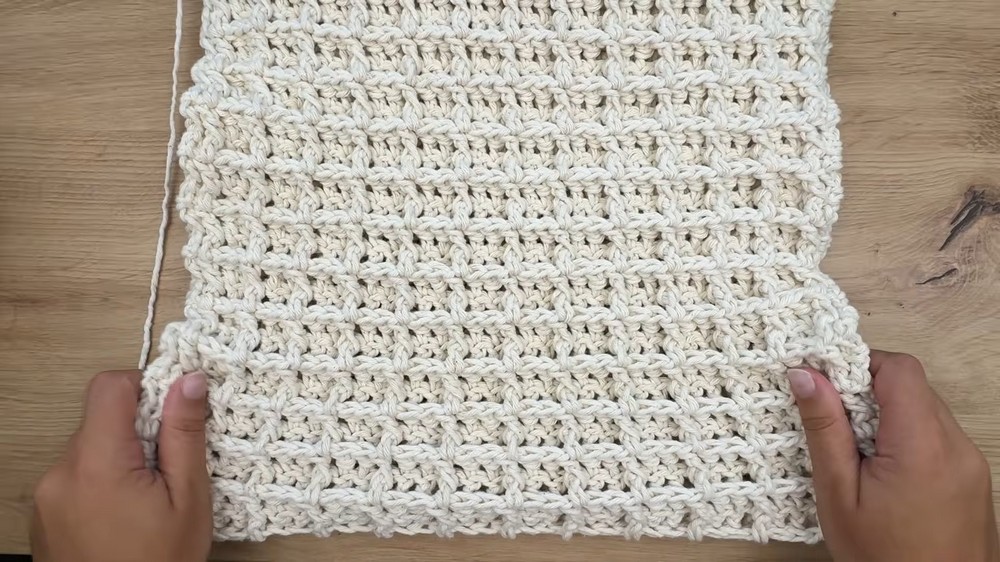
To avoid confusion, remember that each square is made up of 2 rows, and you always alternate relief and regular Dc stitches.
Assembly & Finishing
1. Fold and Seam the Sides:
- Fold the completed strip in half, aligning both ends so that the front and back squares match.
- Use stitch markers along the edges to hold the front and back together securely.
- Turn your piece inside out to begin seaming.
2. Seam with Slip Stitch or Single Crochet:
- Starting from one corner, use a smaller hook (suggested: 4.5 mm). Insert the hook into the edges of both front and back panels.
- Work a Sl St or Sc into the corresponding loops of the front and back panel.
- Continue seaming along 2 of the sides of the folded strip, leaving one side open to insert the cushion.
Explanation: The goal is to connect the edges to enclose 3 sides of the strip, leaving one side open for the cushion. Use slip stitches if you want a clean seam.
3. Add a Closure to the Open Side:
- Attach your chosen closure (buttons, clasps, ribbons, or ties) to the open side.
- You can use the holes created by the stitch pattern for buttonholes or create new ones if needed.
Buttons add charm and elegance to the piece while providing an easy way to remove the pillow cover for washing.
What to Do Next:
Once the seams are secure and closure is attached:
- Insert the pillow into the cover for a snug fit.
- Enjoy your beautifully textured waffle stitch pillow or make an entire matching set!
Final Thoughts:
This cushion cover pattern is simple to create yet looks intricate and stunning due to the unique waffle stitch. You'll love how versatile, functional, and elegant this pattern is for decorating your home or as a thoughtful handmade gift. Don’t forget to experiment with colors or different fastening methods to personalize your cushion cover!