
Simple Crochet Sedge Stitch Baby Blanket Pattern for Beginners
Check out a free crochet sedge stitch baby blanket pattern to quickly create a snug, textured blanket that little ones will love every day.
Creating something cozy and charming with your own hands can be incredibly satisfying. This baby blanket pattern features the lovely sedge stitch, giving it a textured ripple look that's both soft and visually interesting. The pattern combines three basic stitches: single crochet, half double crochet, and double crochet, making it perfect for beginners and those who want to practice stitch variations while working on a practical project.
Learn to Crochet Sedge Stitch Baby Blanket Pattern at No Cost
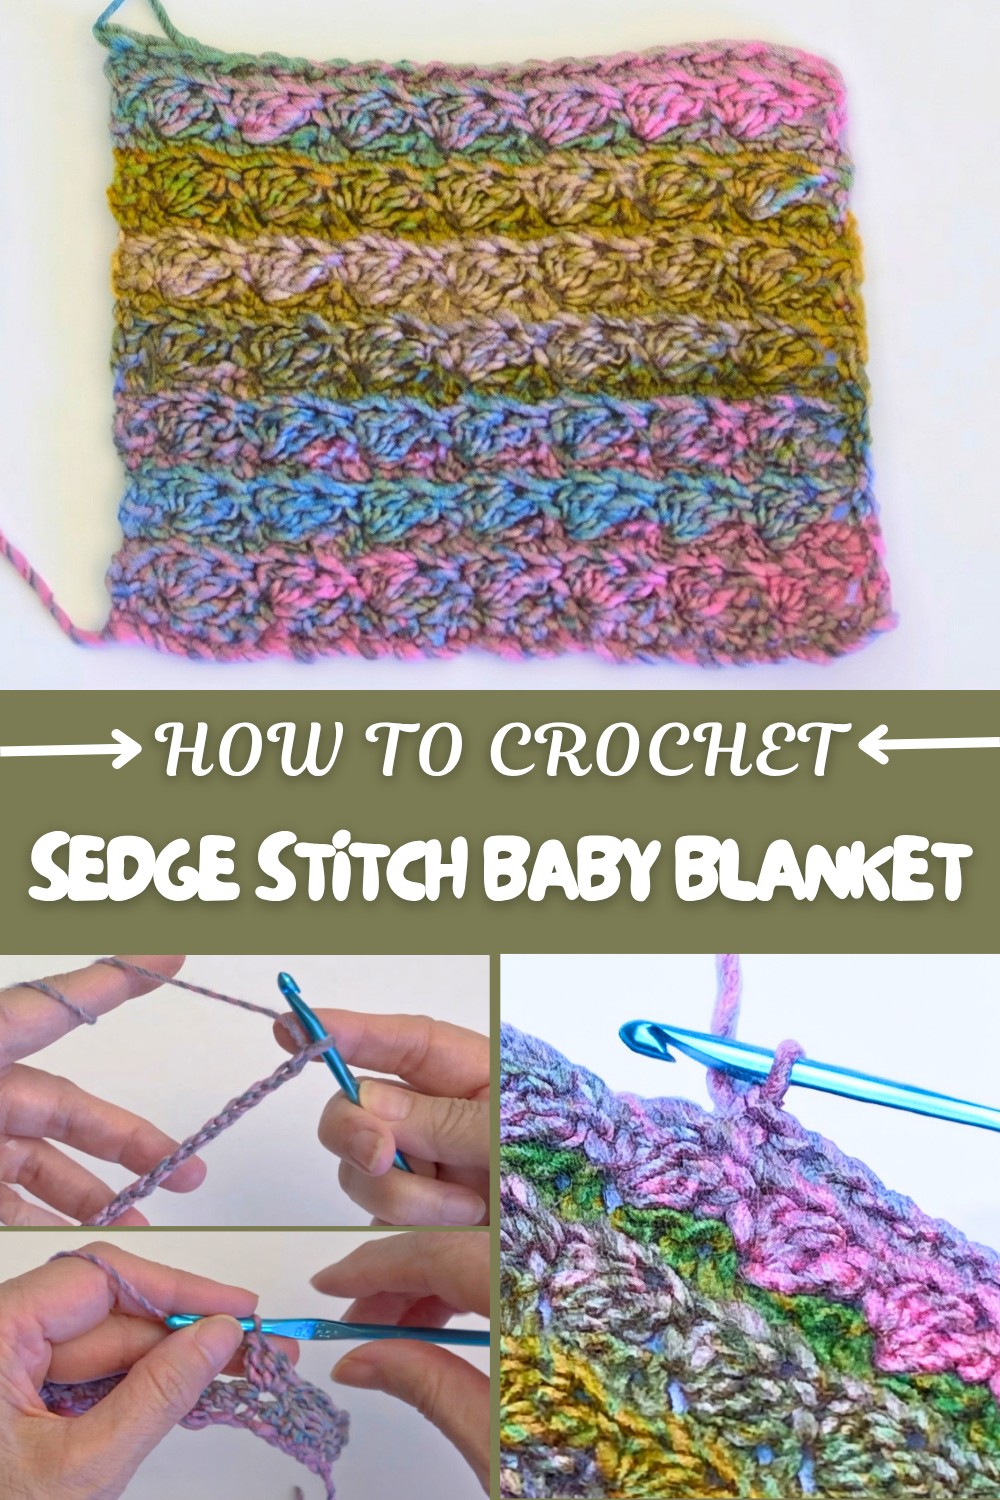
The alternating clusters of stitches in the sedge stitch form an eye-catching design that’s not just beautiful but also gentle for a little one’s skin. One of the best parts about this pattern is how it introduces texture and drape using simple techniques. The back loop single crochet in alternate rows adds softness and flexibility, so the blanket lays nicely without being too stiff. This makes your project practical for everyday use, whether as a stroller cover, a lap blanket, or a decorative nursery piece.
Beyond making this pattern, the stitches you learn here open up many creative possibilities. You could try your hand at other home accessories like cushion covers, scarves, or even cozy throws using the same stitch combo. The clusters and back loop stitches create an appealing pattern that works beautifully for projects needing both warmth and delicate style.
Crochet Pattern: Extended Sedge Stitch
Introduction
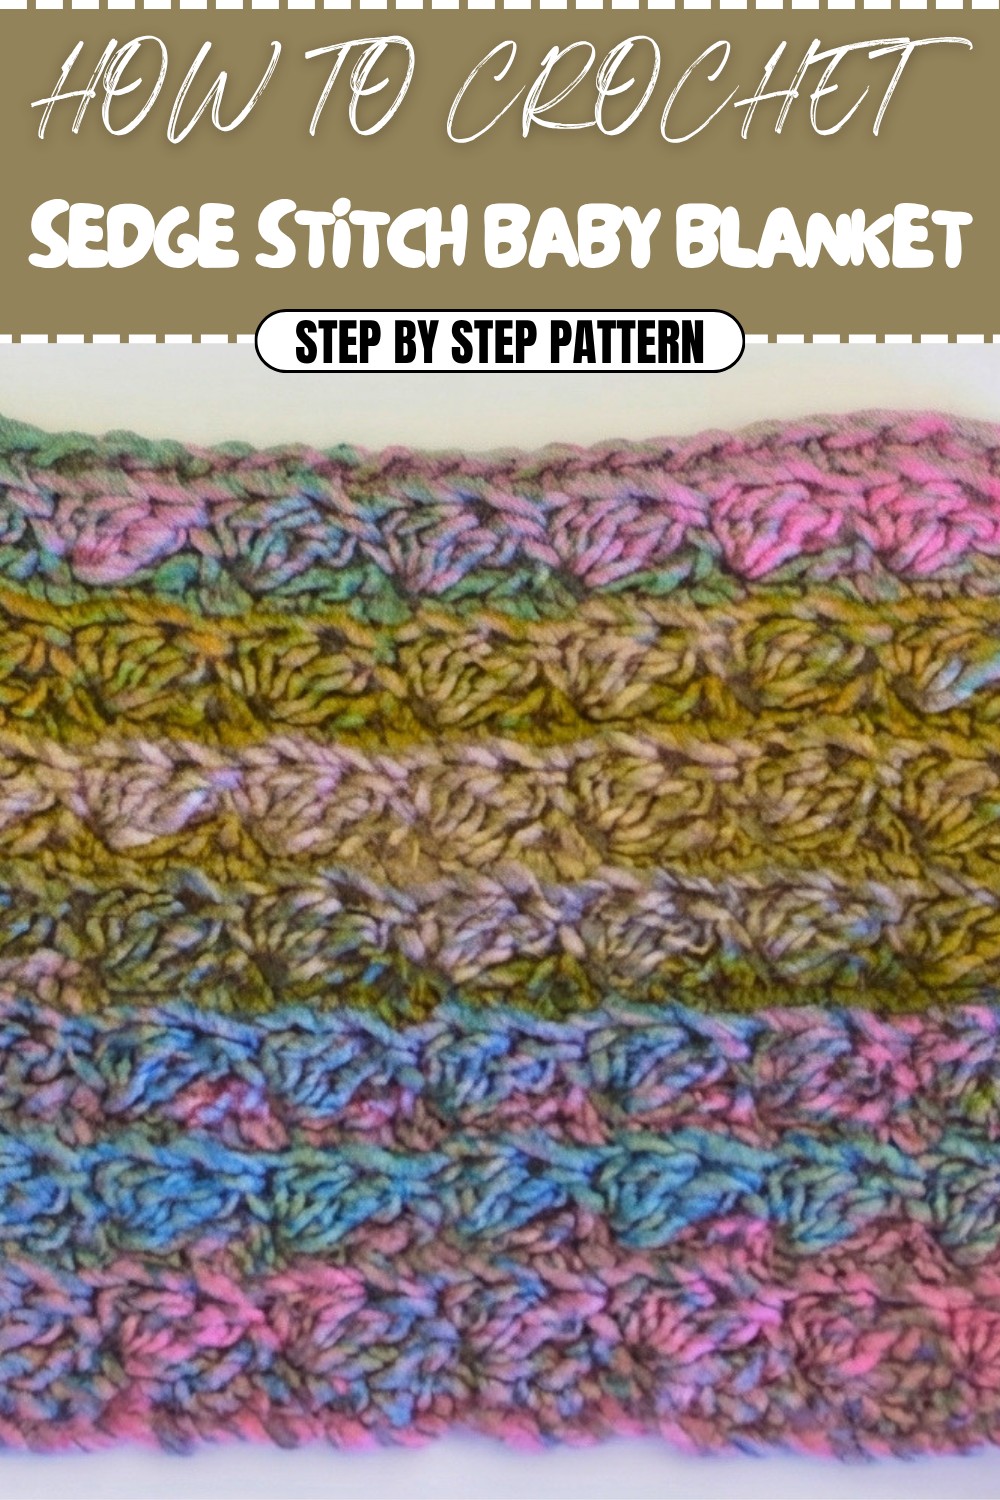
The Extended Sedge Stitch is a beautiful textured crochet pattern that combines single crochet, half double crochet, and double crochet stitches to create an elegant and versatile design. This stitch is perfect for projects like scarves, blankets, and shawls, as it produces a lovely rippled result with a soft texture and excellent drape.
This tutorial is perfect for crocheters who want to explore a new stitch while keeping things simple and rhythmic. The pattern alternates cluster rows with single crochet rows for a visually stunning finish.
Skill Level & Terminology
- Skill Level: Beginner to Intermediate
- Terminology: US Crochet Terms
Materials & Tools
- Yarn: Medium-weight Size 4 yarn (Red Heart Roll With It Melange yarn was used in the tutorial). Sample project used the “Green Room” colorway for a rippled look.
- Hook: 5 mm crochet hook.
- Optional: A stitch marker to keep track of the start of rows.
- Scissors: For trimming yarn.
Gauge
Gauge is not critical for this pattern. However, for reference, 2–3 repeats of the pattern worked with medium-weight yarn and a 5 mm hook should measure approximately 2 inches in height.
Abbreviations
- ch – Chain
- sc – Single Crochet
- hdc – Half Double Crochet
- dc – Double Crochet
- st(s) – Stitch(es)
- BL – Back Loop
Special Stitch Instructions
Magic Combination Stitch/Cluster (Extended Sedge Stitch):
In one stitch, work:
- sc,
- hdc,
- dc.
- This forms one cluster in the pattern.
Back Loop Only (BL):
Instead of inserting your hook under both loops of the stitch, insert into only the back loop to create a subtle ridged texture.
Finished Size
The size of the finished project will vary depending on the number of chain stitches you start with and the number of rows you complete.
For practice, the example swatch was 23 stitches wide and approximately 6 inches in height after several repeats.
How to Start
This pattern begins with a foundation chain worked in multiples of 3 + 2. The stitch uses single crochet, half double crochet, and double crochet, with back-loop-only rows interspersed to enhance the texture and drape.
What You’ll Learn from This Pattern
- Combining three basic stitches (sc, hdc, dc) in a single stitch to create texture.
- Working into the back loops to enhance the drape and texture of your project.
- Creating a versatile ripple effect that’s simple yet visually striking.
The Pattern
Foundation Row
- Step 1: Chain a multiple of 3 + 2. For the swatch, chain 23.
- Step 2: Working in the second chain from the hook, sc across the row. This will give you 23 single crochet stitches.
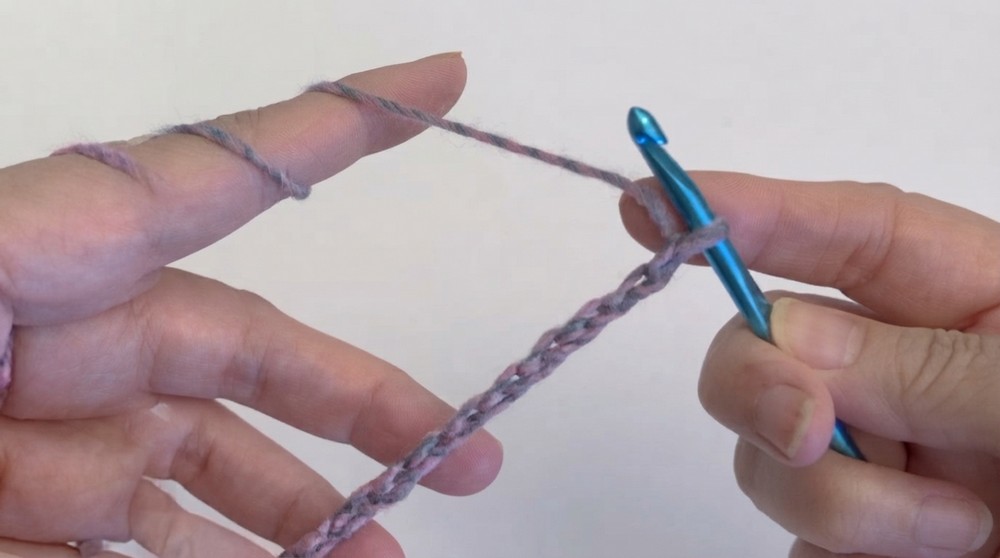
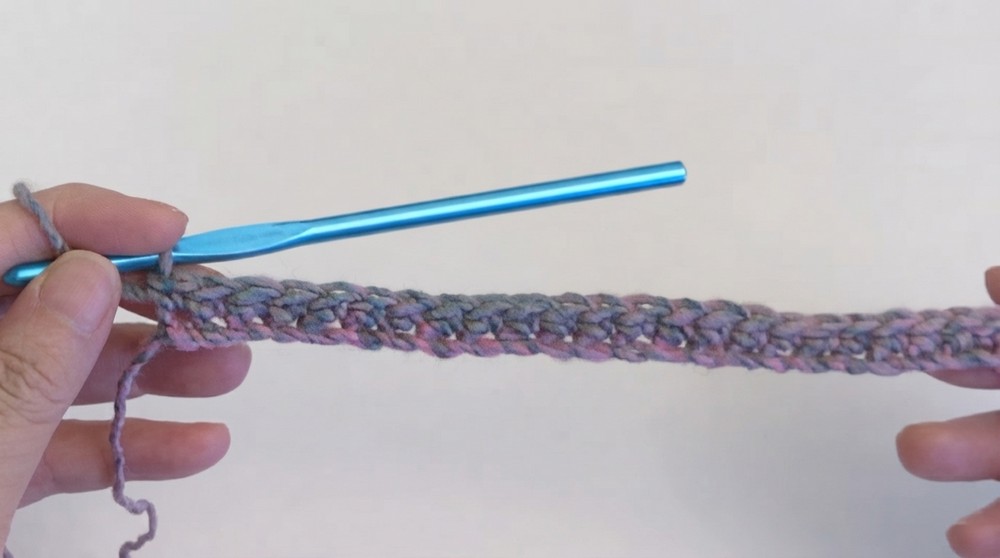
You’ll create a sturdy base with this foundation row of single crochets.
Row 2: Cluster Row
- Step 1: Ch 2, turn your work. The ch-2 counts as an hdc.
- Step 2: In the next stitch, work:
- 1 sc,
- 1 hdc,
- 1 dc (this forms a cluster).
- Step 3: Skip 2 stitches, then work a cluster (sc, hdc, dc) in the next stitch.
- Repeat: Continue the skip 2, cluster sequence across the row.
- Step 4: In the last stitch of the row, work a hdc.
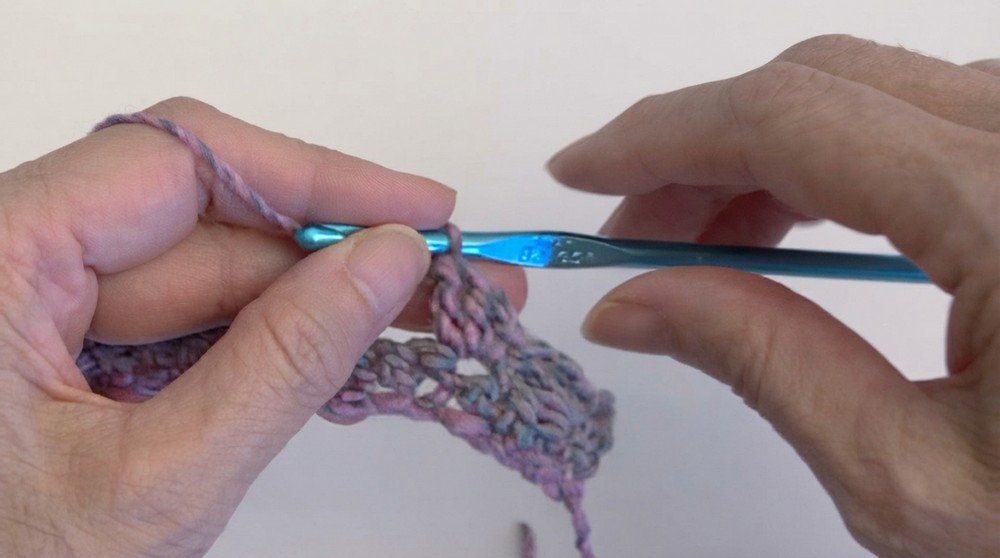
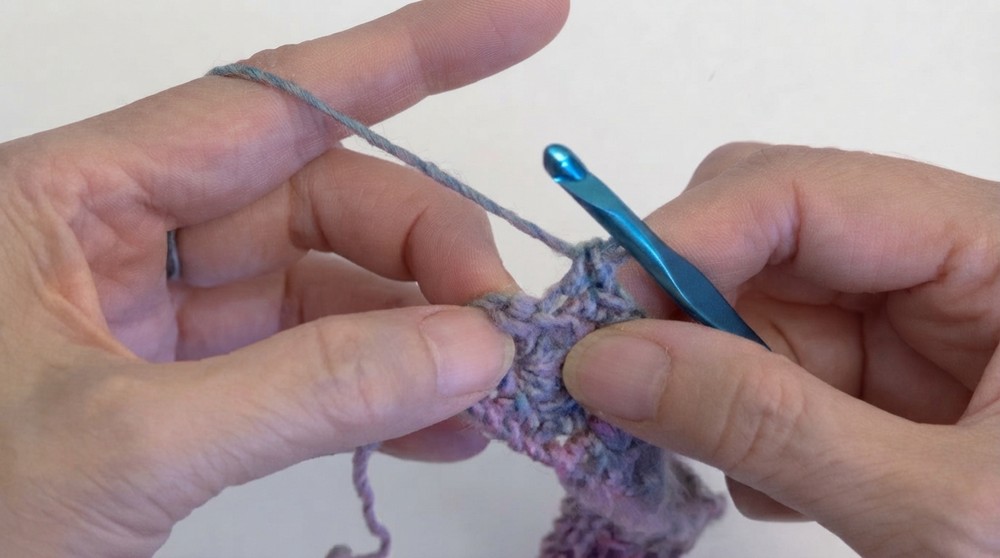
Row 2 sets the stage for the textured ripple effect. Clusters give the pattern its unique appearance.
Row 3: Back Loop Single Crochet Row
- Step 1: Ch 1, turn your work.
- Step 2: In the BL of the first stitch, work 1 sc.
- Step 3: Continue to work 1 sc in the BL of each stitch across the row.
- Step 4: To finish the row, work 1 sc into the top of the ch-2 from the previous row.
Working into the back loops creates a ridged texture and improves the drape of the finished piece.
Row 4: Cluster Row (Repeat of Row 2)
- Step 1: Ch 2, turn your work. The ch-2 counts as an hdc.
- Step 2: In the next stitch, work:
- 1 sc,
- 1 hdc,
- 1 dc (this forms a cluster).
- Step 3: Skip 2 stitches, then work a cluster (sc, hdc, dc) in the next stitch.
- Repeat: Continue the skip 2, cluster sequence across the row.
- Step 4: In the last stitch of the row, work a hdc.
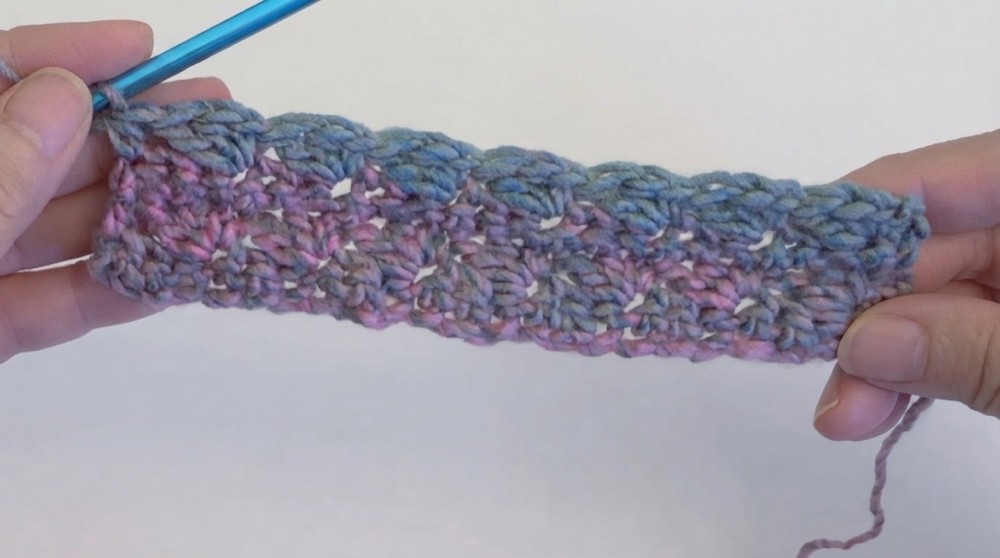
Your clusters from this row will line up vertically for a neat, uniform look.
Row 5: Back Loop Single Crochet Row (Repeat of Row 3)
- Step 1: Ch 1, turn your work.
- Step 2: In the BL of the first stitch, work 1 sc.
- Step 3: Continue to work 1 sc in the BL of each stitch across the row.
- Step 4: To finish the row, work 1 sc into the top of the ch-2 from the previous row.
This provides contrast to the texture of the cluster row.
Repeat Rows 2 and 3
- Row 6: Follow instructions for Row 2 (Cluster Row).
- Row 7: Follow instructions for Row 3 (Back Loop Single Crochet Row).
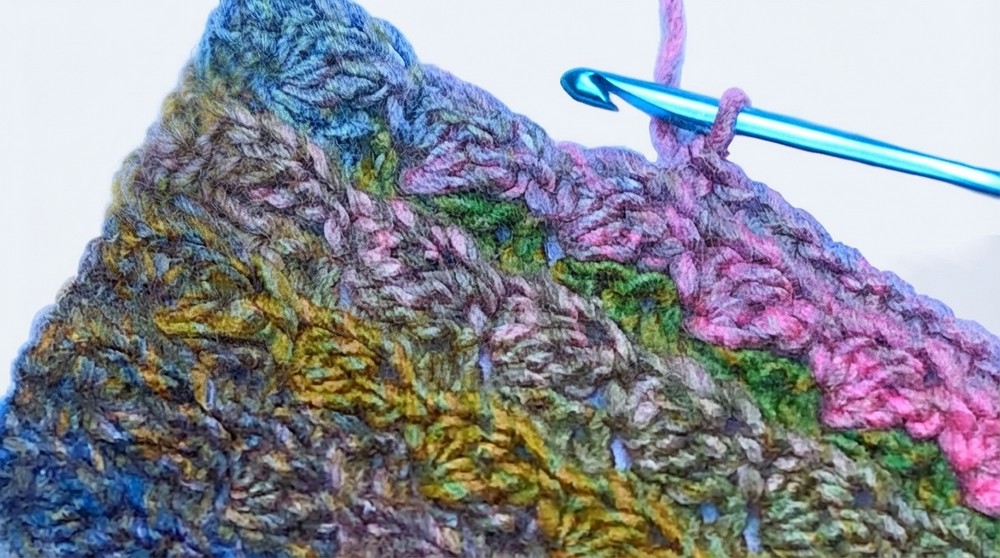
Continue alternating between Rows 2 and 3 for your desired length.
Assembly & Finishing
There is no additional assembly required for this pattern. However:
- To Finish the Piece: End on a Row 3 (Back Loop Single Crochet Row) for a cleaner edge.
- Fasten Off: After the final stitch, cut the yarn and pull through to secure.
- Weave in Loose Ends: Use a tapestry needle to hide any tails along the edges.
Pattern Difficulties and Solutions
Difficulties
- Identifying and working in the back loops: For Row 3, beginners may find it tricky to consistently identify the back loop of each stitch.
- Stitch placement for clusters: Ensuring clusters align vertically and skipping the correct stitches can be confusing.
- Even tension: The mix of single, half double, and double crochets may cause uneven tension, especially for new crocheters.
Solutions
- Back loops: Focus on the ridged appearance of stitches; the back loop is always the furthest one from you. A light-colored yarn can help you identify loops more clearly.
- Clustering: Use stitch markers every few stitches to help with placement and alignment of clusters across rows.
- Even tension: Practice with a small swatch first to develop consistent movement with all three stitches.
Why You’ll Love This Pattern
The Extended Sedge Stitch is flexible and adaptable for many projects, from cozy scarves to elegant home décor. Its alternating textures give it a stunning look while remaining easy to memorize and relaxing to crochet. The subtle rippled lines and drapey fabric it creates are a joy to work on and admire.