
Cute and Easy Crochet Mini Boots Pattern for Dolls and Décor
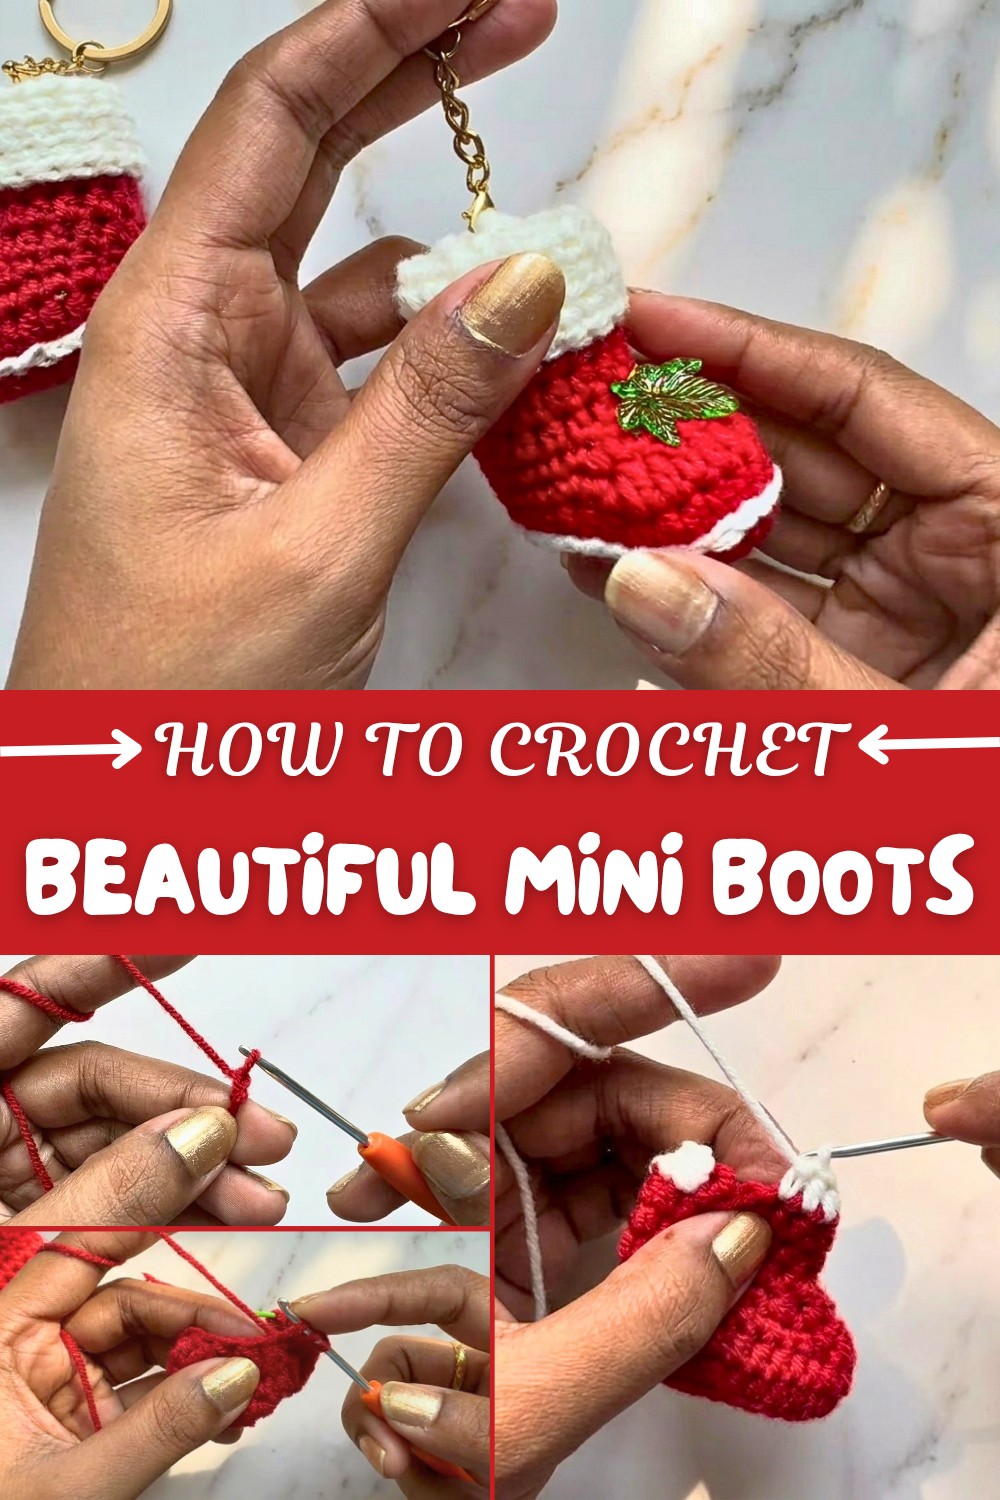
Enjoy a free crochet mini boots pattern for cute little shoes you can use as keychains, gifts, or fun decorations at home or school.
Making tiny boots by hand brings a special kind of joy, especially when they turn out as cozy and cute as these mini crochet boots. Using simple stitches like half double crochet, double crochet, and slip stitch, this pattern builds up a firm but soft fabric that holds shape beautifully. The mix of increases and decreases carefully shapes the boots, giving them a perfect little puff that feels just right in your hands.
Working round by round, you’ll find the instructions gentle and easy to follow, perfect for anyone new to crochet. Each stitch adds up to a lovely, festive pair of boots that can be used in so many ways. Stuffed lightly with cotton fiber, they gain a soft fullness that makes them even more charming. Besides being a fun project, these mini boots can serve as keyrings, decorations for holiday trees, or tiny shoes for dolls. Playing with color combinations and adding small details can personalize your work, making every pair distinctive and special.
Free and Simple Crochet Mini Boots Pattern for Beginners
Other Fun Projects Using These Stitches
These basic stitches open a door to many other small crochet projects. Trying out this pattern’s techniques, you can make mini hats, tiny mittens, or cute ornaments that suit different seasons and celebrations. The skills developed here lay down a great foundation for many small, delightful handmade creations.
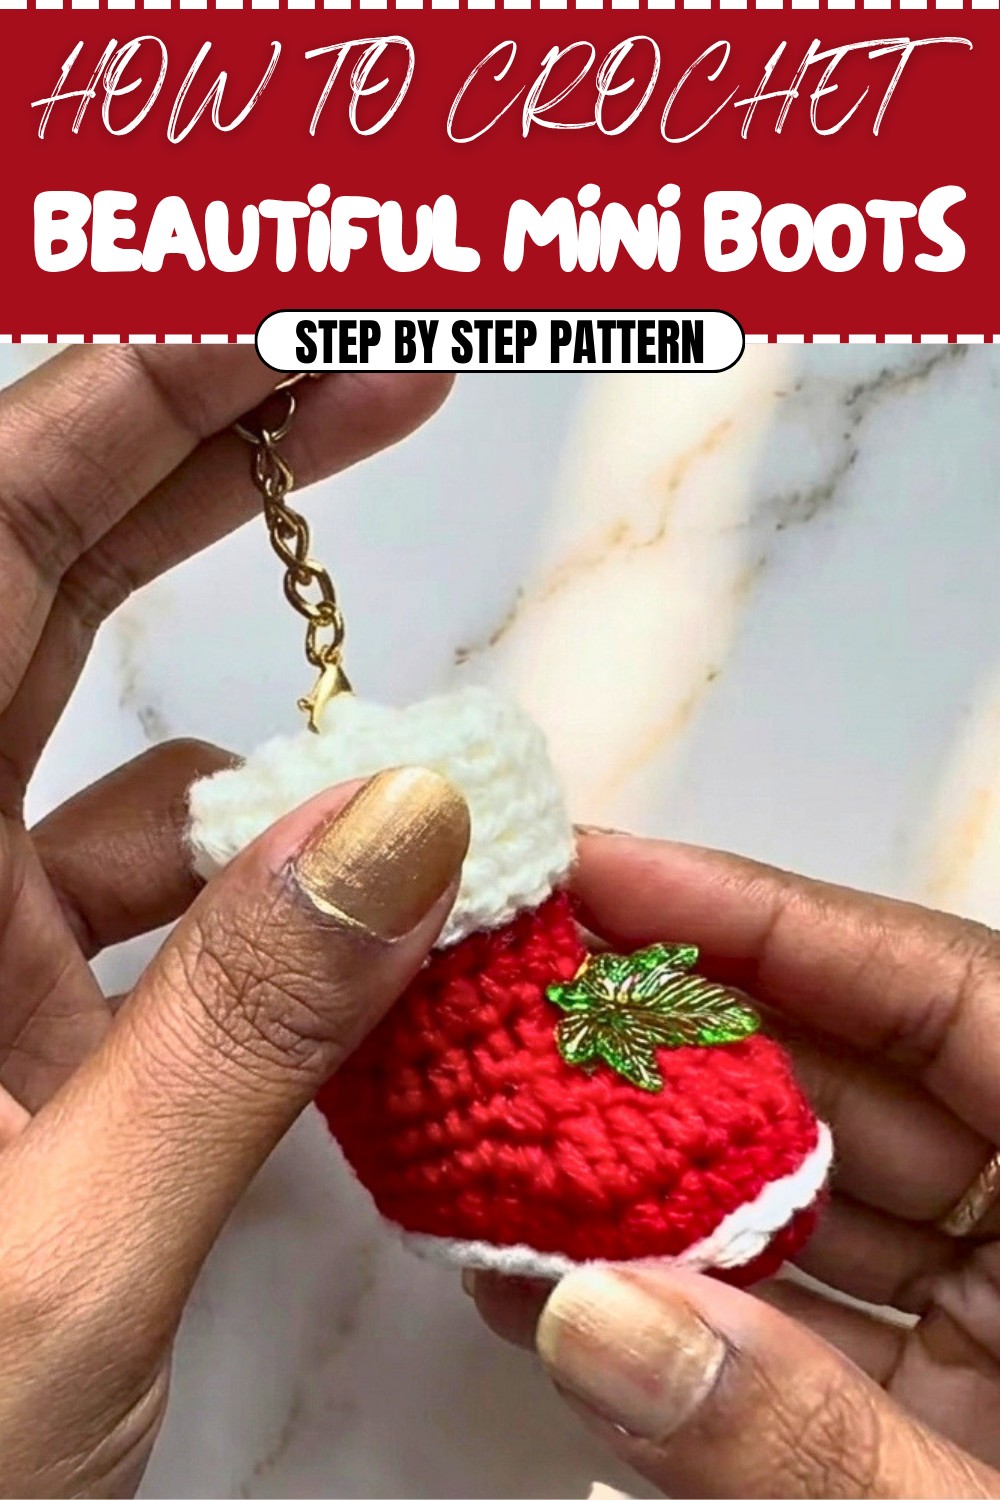
Crochet Pattern: Claus Mini Shoe Keyring
The mini shoe keyring is an adorable crochet project that makes a great Christmas gift or decoration piece. Not only can you use it as a keyring, but you can also turn it into bag tags, car hangings, doll shoes, or holiday decorations like tree hangings. With simple stitches and a compact design, this quick project is perfect for beginner crocheters or anyone looking for an easy-to-make, thoughtful gift for loved ones during the holiday season.
What You'll Learn from This Pattern
- How to work half double crochet (hdc) and create basic increases and decreases.
- Changing colors to create clear borders and decorative accents.
- Closing amigurumi projects with slip stitches and decreases.
- Adding decorative stitching and assembling keyring attachments creatively.
Skill Level & Terminology
- Skill Level: Beginner
- Terminology: US Crochet Terms
Materials & Tools
- Yarn: 4-ply mixed cotton yarn (cotton + acrylic blend) in two colors:
- Red (for the main body of the shoe).
- White (used for decoration and finishing touches).
- Hook:
- 2.5 mm crochet hook (ensures tight stitches).
- Additional Materials:
- Scissors.
- Yarn or tapestry needle (for sewing and hiding ends).
- Fiberfill for stuffing inside the shoe.
- Keyring or hanging attachment (lobster clasp, jump ring, or anything similar).
- Optional: Embroidery thread for decorative details.
Gauge
Gauge is not critical for this project since it’s small and fits its purpose regardless of size. However, ensure tight tension to avoid gaps and holes, as this project uses stuffing.
Abbreviations
- Hdc – Half Double Crochet
- Dc – Double Crochet
- sc – Single Crochet
- inc – Increase (2 stitches in the same stitch)
- sl st – Slip Stitch
- ch – Chain
Special Stitch Instructions
Half Double Crochet (Hdc):
- Yarn over and insert the hook into the stitch.
- Pull up a loop (3 loops on your hook).
- Yarn over and pull through all 3 loops on your hook.
Half Double Crochet Decrease:
- Yarn over and insert your hook into the next stitch.
- Pull up a loop (3 loops on your hook).
- Insert your hook into the next stitch and pull up another loop (4 loops total on your hook).
- Yarn over and pull through the first 3 loops.
- Yarn over and pull through the remaining 2 loops.
Finished Size
Approximately 3–3.5 inches tall. Adjust hook size or yarn type to modify the size.
How to Start
This mini shoe is worked in the round and uses basic stitches like single crochet, half double crochet, and double crochet. It begins at the base of the shoe with a slip knot and chains, moves into shaping with increases and decreases to form a three-dimensional shoe, and is completed with a decorative edge. The project is quick and easy, making it a great choice for holiday gifting.
The Pattern
Base and Body of the Shoe
Round 1: Base
- Step 1: Create a slip knot and ch 8.
- Step 2: Skip the first 2 chains; work 2 hdc in the 3rd chain.
- Step 3: Work 1 hdc in each of the next 4 chains.
- Step 4: In the last chain, work 4 hdc.
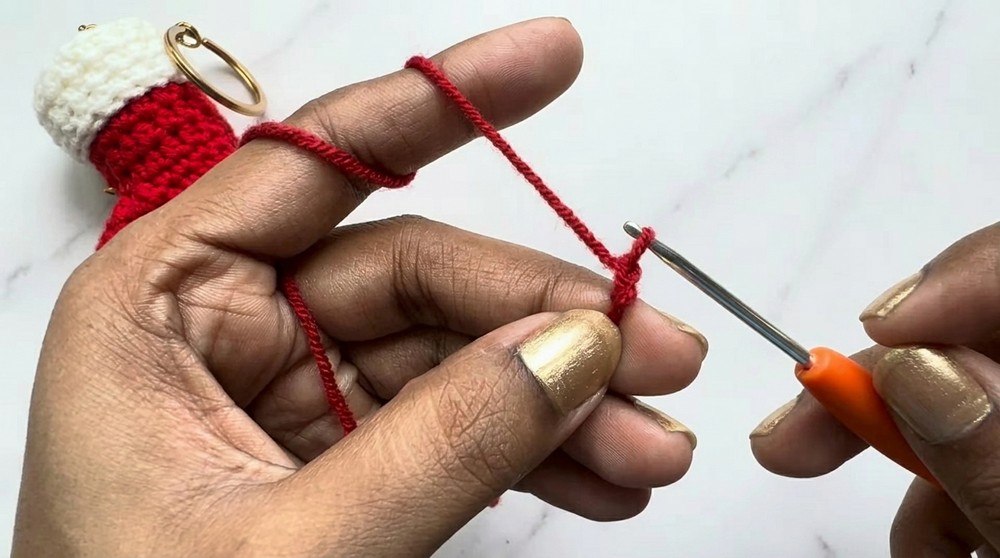
You’ve now reached the other side of the chain.
- Step 5: 1 hdc in each of the next 4 chains on this side.
- Step 6: In the final stitch, work 2 hdc.
- Step 7: Skip the next stitch and sl st into the last stitch.
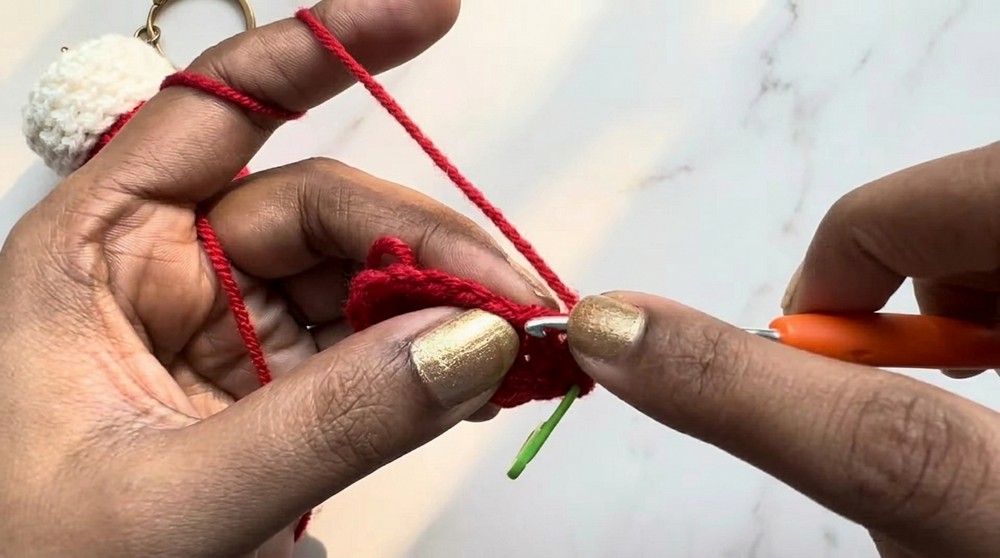
Your first round forms the base of the shoe and starts to build its shape.
Round 2: First Increase
- Step 1: Ch 1 (counts as the first stitch).
- Step 2: In the same stitch, work 2 hdc and place a stitch marker.
- Step 3: Work 2 hdc in the next stitch.
- Step 4: 1 hdc each in the next 3 stitches.
- Step 5: Work 2 hdc in the next 4 stitches (8 hdc total).
- Step 6: Work 1 hdc each in the next 3 stitches.
- Step 7: 2 hdc in the next 2 stitches.
End the round with a sl st into the last stitch and ch 1.
Round 2 increases the size and starts creating the height of the shoe.
Round 3: Steady Rows
- Step 1: Work 1 hdc in each stitch around.
- Step 2: Sl st into the last stitch and ch 1 when the round is complete.
This row continues to add more height to the shoe.
Rounds 4–8: Build the Shape
For Rounds 4–8, work 1 hdc in each stitch around to continue building the height of the shoe. Sl st at the end of each round and start with ch 1.
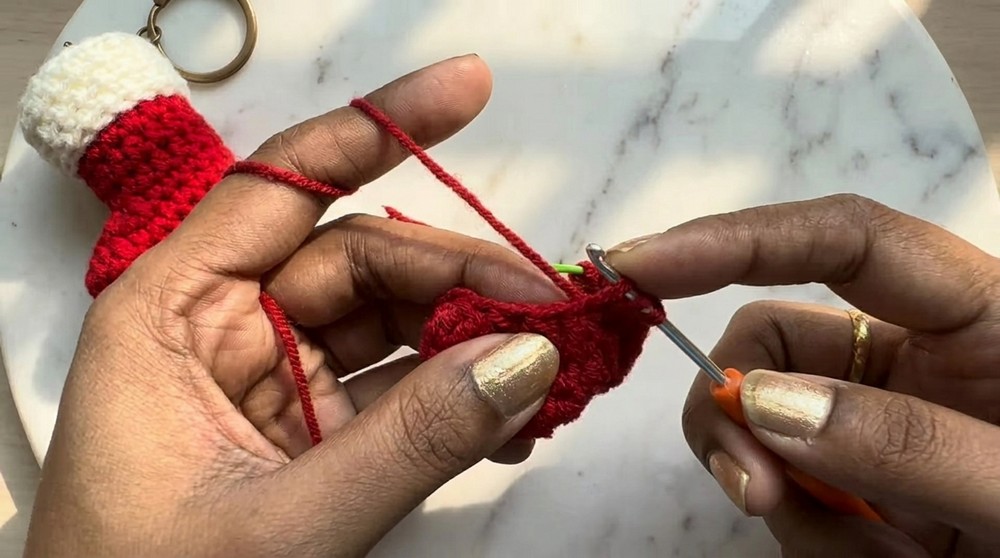
Adding the Border
Round 9:
- Switch to white yarn.
- Step 1: Ch 1. Work 1 hdc in each stitch across all rounds.
- Step 2: Sl st into the first stitch after completing the round.
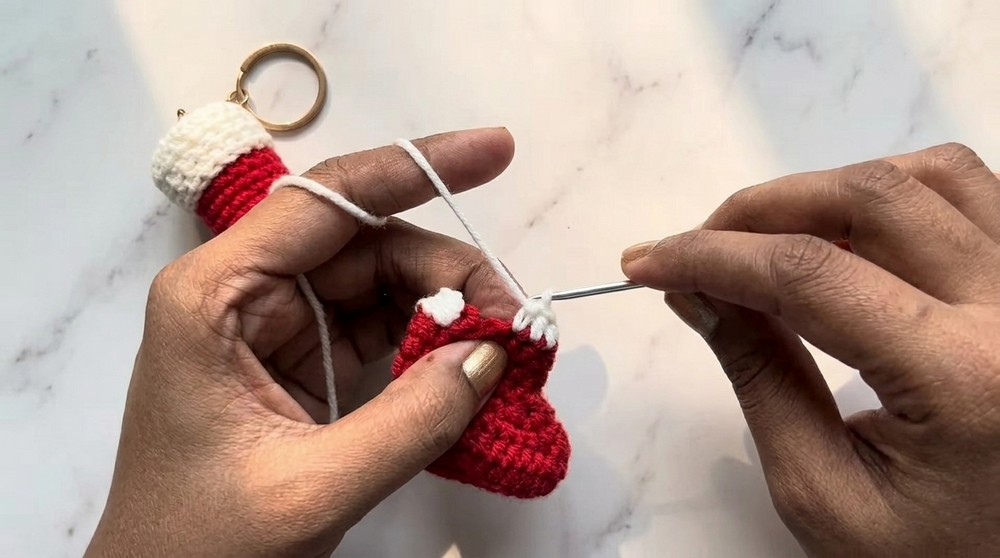
The white yarn forms the decorative border of the shoe.
Repeat Round 9 instructions for Rounds 10–12, ensuring tight stitches to keep the border clean.
Closing the Shoe
Round 13: Closing the Sole
- Work on the remaining back loops from Round 11.
- Step 1: Attach white yarn with a sl st into one of the loops.
- Step 2: Ch 1, then:
- Alternate between 1 sc and decreases (see Special Stitches section for decrease instructions).
Once the shoe is sufficiently tight at the sole, use a hook or tapestry needle to make additional decreases until the back loop space is completely closed.
Stuff the shoe before closing the sole to achieve that nice, rounded look.
Adding the Border Stitch
- Use a length of white yarn and thread your tapestry needle.
- Insert the needle through the stitches of Round 2 to create a clean stitch line around the shoe’s base.
- This decorative addition gives the shoe its finished appearance.
Adding the border enhances the overall aesthetic of the mini shoe, making it elegant and professional-looking.
Finishing Touches
- Hide all loose yarn ends using a yarn needle, trimming off any excess yarn.
- Attach keyring or hanging attachments with a jump ring or lobster clasp.
- Add cotton fiber stuffing to the shoe to give it a rounded, plush shape.
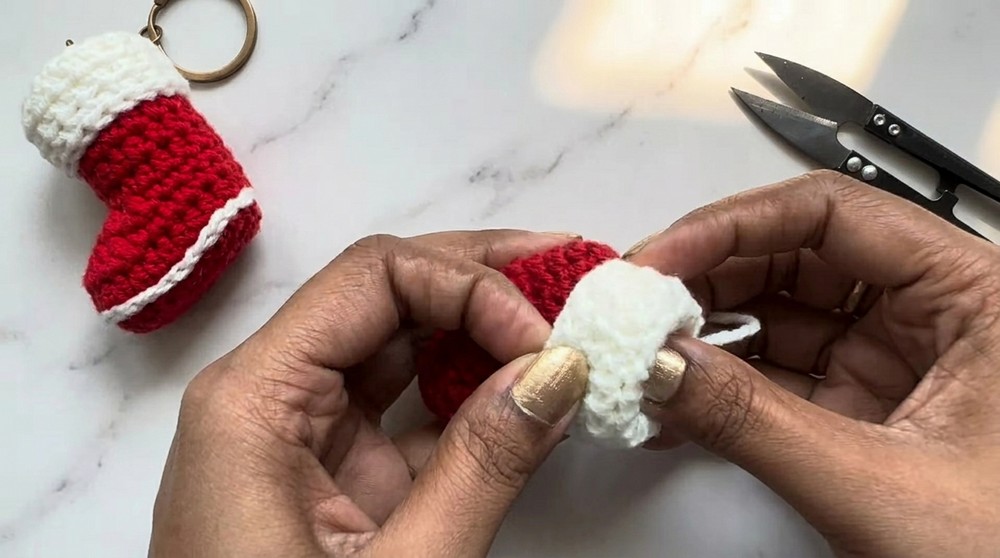
Your mini shoe is now complete! Add additional decorations, colors, or embellishments based on your creative preference.
Assembly & Finishing
- Fill the Shoe: Stuff the mini shoe with fiberfill or scrap yarn to keep it firm and give it a rounded look.
- Attach Keyring: Use a needle or pliers to attach a keyring or similar accessory to the top of the shoe for hanging.
- Shape the Shoe: Adjust the final shape by pinching or hand-molding for the desired rounded look.
Why You’ll Love This Pattern
The Claus Mini Shoe Keyring is a quick and festive project that’s perfect for holiday gifting or decorative purposes. With simple steps and impressive results, it’s an excellent handmade piece that will leave your loved ones smiling. Whether for a Christmas tree, bag tag, or even as doll shoes, this pattern is versatile, creative, and fun.