
Effortless Crochet Butterfly Earrings Pattern for Chic Results
Brighten your look and skip boring studs with a Free Crochet Butterfly Earrings Pattern that adds playful wings to any outfit.
There’s a special joy in wearing something handmade that feels light and full of life, like these delicate crochet butterfly earrings. These earrings catch the eye with their airy wings and charming shape, making them a perfect accessory for brightening any outfit. They are made using simple stitches such as the slip knot, double crochet, and medium and high point double crochet loops that add texture and dimension to each tiny butterfly. The pattern is quick to make and beginner-friendly, so even someone new to crochet can follow along and create a lovely, wearable piece.
Playful Crochet Butterfly Earrings Pattern for Everyday Spark
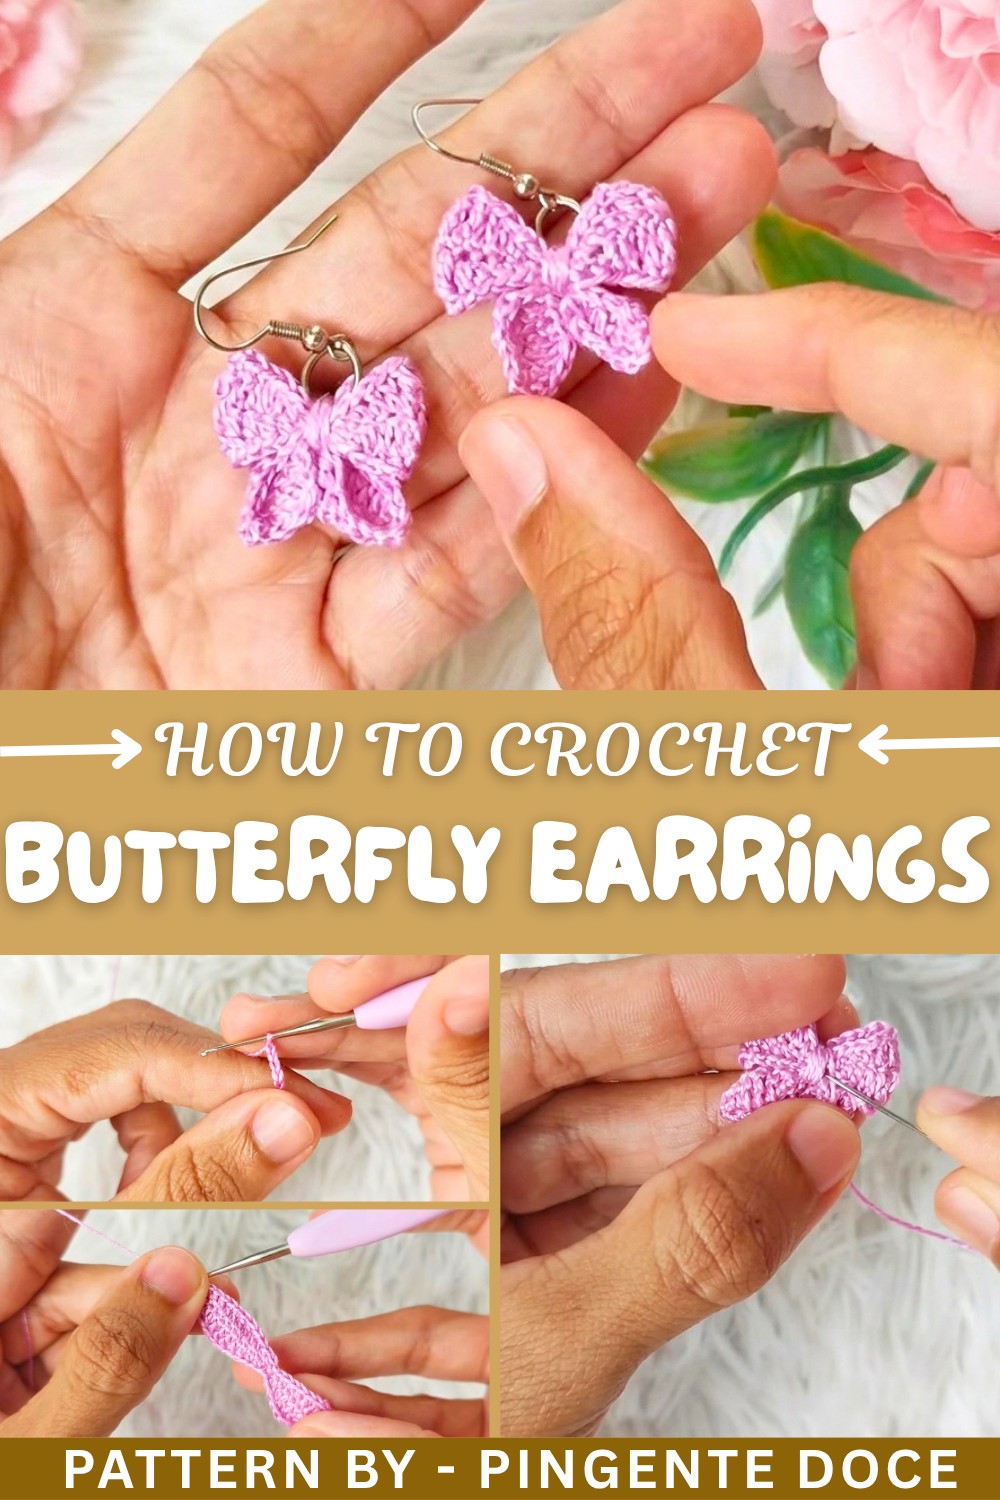
This pattern uses basic chains and crochet loops that build up the butterfly’s wings with a gentle structure, giving a beautiful lacy effect. The result is a pair of earrings that are both elegant and playful, perfect for daytime wear or special occasions. Thanks to these straightforward steps, you can complete the earrings without feeling overwhelmed, making this a satisfying project for all skill levels.
More Things You Can Make with This Pattern
Beyond earrings, the stitches and shapes from this pattern lend themselves nicely to other small accessories. You could turn these butterflies into brooches, hair clips, or small decorations for bags and clothes. Changing the size or colors allows for butterfly garlands or embellishments on pillows too. These ideas offer simple ways to add a fresh and delicate butterfly touch to many different crafts!
Crochet Bow Earrings Pattern
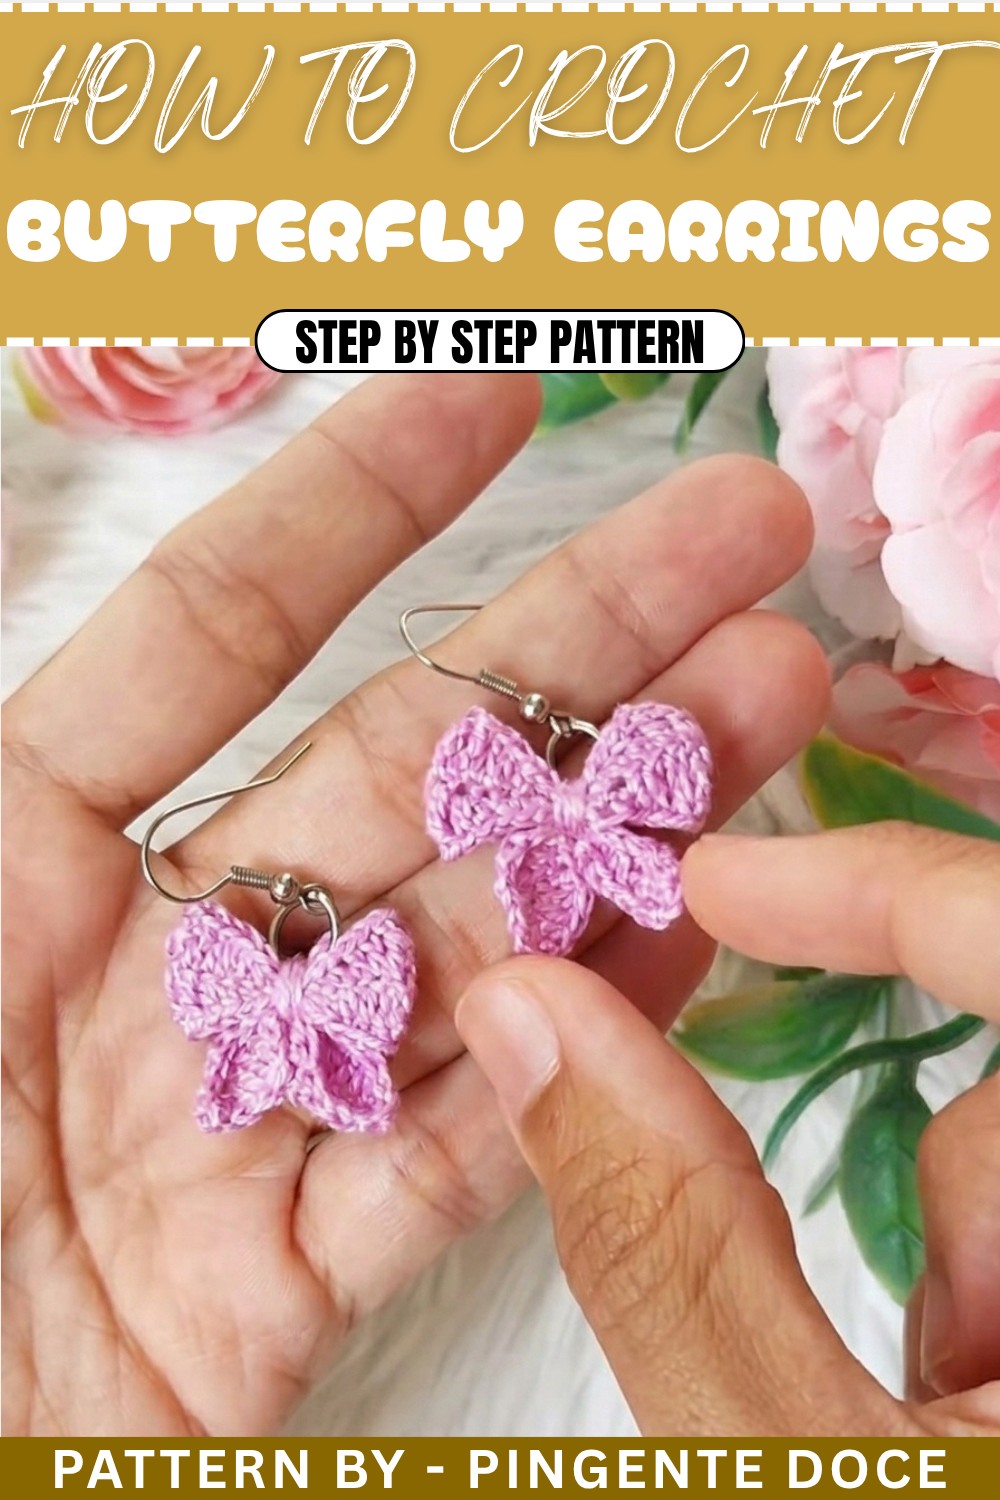
This beginner-friendly pattern guides you step-by-step to crochet two interlocking bow-shaped parts, which together form elegant earrings. Whether for personal use, gifting, or as an addition to your handmade business, this pattern showcases creativity and charm.
Introduction
This pattern for crochet bow earrings offers a delightful way to express your style and crochet skills. You’ll learn how to construct the larger and smaller pieces that comprise the bow, how to assemble them, and how to finish it off with earring hardware.
Uses of This Pattern
- Fashionable Accessory: A stylish, lightweight handmade earring design.
- Gifts: Perfect for holidays, birthdays, or thoughtful tokens of appreciation.
- Decorative Element: Can also be scaled up for headbands, pins, or other accessories.
Skill Level & Terminology
- Skill Level: Beginner
- Terminology: U.S. Crochet Terms
Materials & Tools
- Yarn:
- Super fine yarn in your preferred color(s). Recommended brands: Enco or similar.
- Crochet Hook: 1 mm.
- Finishing Tools:
- Needle and sewing thread.
- Scissors for trimming yarn.
- Pliers for attaching earring hoops.
- Earring hoops/hooks for assembly.
Gauge
Gauge is not essential for this project, but keeping consistent tension will ensure your bow parts are proportional and cleanly finished.
Abbreviations List
- ch: Chain
- sc: Single Crochet
- hdc: Half Double Crochet (medium stitch)
- dc: Double Crochet
- sl st: Slip Stitch
- loop: Yarn over
Special Stitch Instructions
Half Double Crochet (hdc):
- Yarn over, insert the hook into the next stitch, and draw up a loop (3 loops on hook).
- Yarn over, pull through all 3 loops on the hook simultaneously.
Double Loop Double Crochet (dc using 2 loops):
- Yarn over twice, insert hook into the next stitch, and pull up a loop.
- Yarn over and pull through 2 loops at a time until only 1 loop remains on the hook.
Finished Size
The completed crochet bow earrings will measure approximately 2.5 inches in length and 1.5 inches wide.
Pattern Overview
This pattern involves crocheting two sections: a larger bow and a smaller bow that fits through the center of the larger bow. Each section combines basic stitches (chains, single crochet, half double crochet, double crochet) and structuring techniques. The completed crochet piece is then folded and sewn together, creating the bow shape. Earring hoops are attached to make them wearable.
Step-by-Step Pattern
Part 1: Crochet the Larger Bow
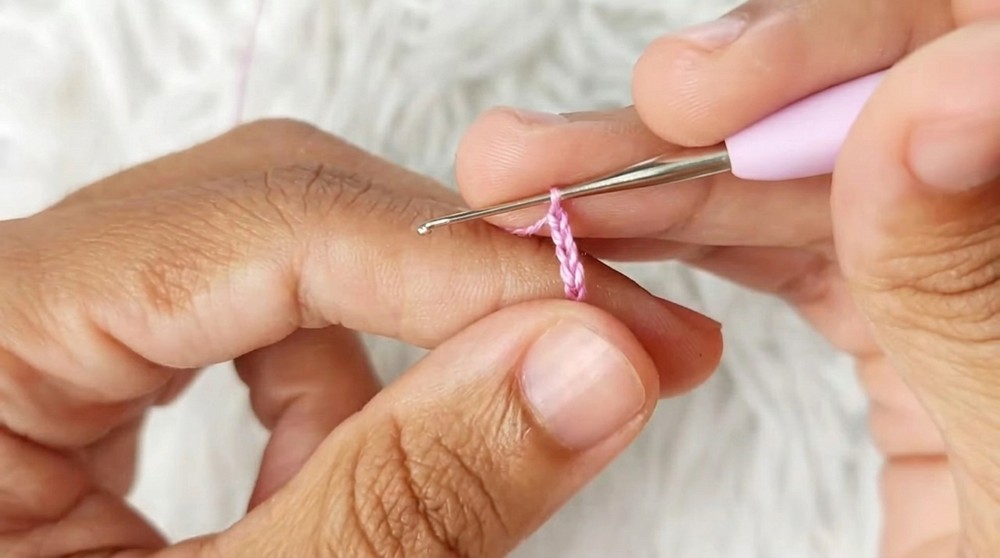
- Foundation Chains:
- Begin with a slip knot and crochet 25 chains (ch).
- Begin with a slip knot and crochet 25 chains (ch).
- Work Across the Chains:
- Skip the first chain and in the next chain, crochet:
- 1 double crochet (dc) in the second chain
- 1 half double crochet (hdc) in the third chain
- 1 hdc in the fourth chain
- 1 dc in the fifth chain
- 1 dc in the sixth chain
- 2 double loop double crochets (dc) in the next two chains.
- Skip the first chain and in the next chain, crochet:
- Building Rows:
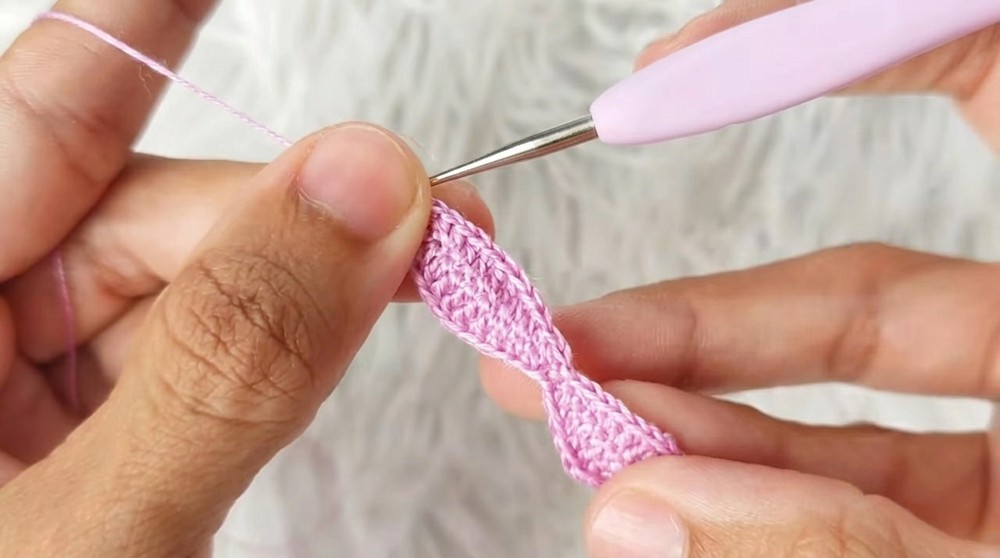
- Continue working straightforward stitch sequences:
- 2 double crochets (dc) in the next two stitches.
- 2 hdc in the next two stitches.
- 2 slip stitches in the next two stitches.
- Continue working straightforward stitch sequences:
- Second Side of the Chain:
- You will now turn the piece to work in the loops opposite of the chains:
- 2 hdc in the first two stitches.
- 2 dc in the next two stitches.
- 2 double crochets into the next three stitches.
- You will now turn the piece to work in the loops opposite of the chains:
- Repeat Rows & Build Structure:
- Continue this sequence, repeating hdc, dc, slip stitch across the rows.
- Finishing the Larger Bow:
- In the final chain row, crochet 3 double crochets into one stitch.
- Secure the yarn with a slip stitch and leave a long tail for finishing.
→ Your larger bow piece is complete! Time to move on to the smaller bow that will complement this design.
- In the final chain row, crochet 3 double crochets into one stitch.
Part 2: Crochet the Smaller Bow
- Foundation Chains:
- Start with a slip knot.
- Work 15 chains (ch).
- Work Across Chains:
- Skip the first chain and work the sequence:
- 1 dc in the second chain.
- 1 hdc in the third chain.
- 2 double crochets (dc) in the next two chains.
- 2 double loop double crochets in the next two chains.
- Skip the first chain and work the sequence:
- Repeat Rows and Shape:
- Continue working alternating hdc, dc, and slip stitches across the chains.
- In the final chain, make 3 double crochets, flipping the piece to work the loops on the other side, duplicating the sequence.
- Complete Smaller Bow:
- Secure the yarn with a slip stitch and leave a long tail for finishing.
→ You now have both sections needed for this delightful bow. Next, we’ll shape and sew them together.
- Secure the yarn with a slip stitch and leave a long tail for finishing.
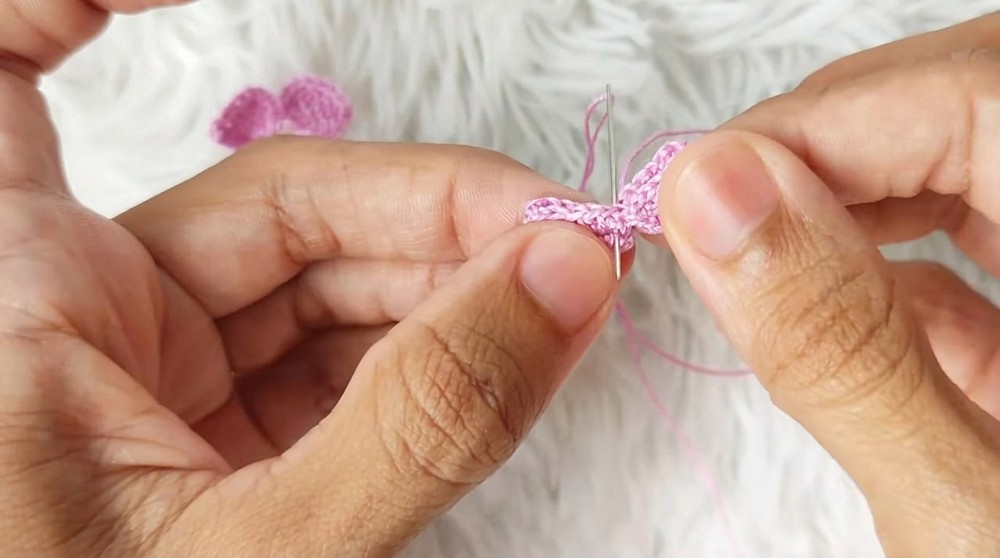
Part 3: Assembly
- Shape the Larger Bow:
- Fold the edges of the larger bow inward and sew the ends together with the yarn tail using your sewing needle.
- Make 1 or 2 stitches at the center front to hold it in place.
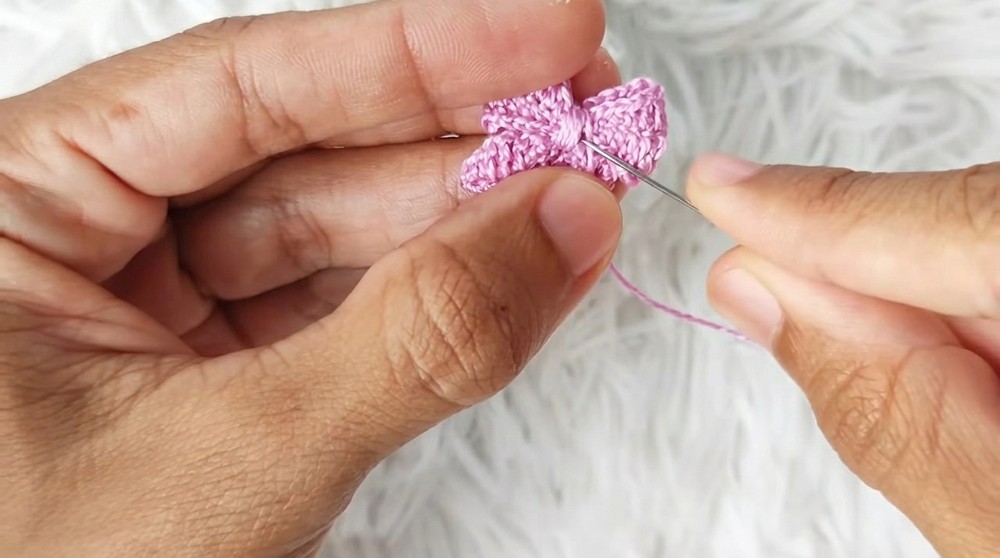
- Attach the Smaller Bow:
- Place the smaller bow through the center of the folded larger bow, aligning it vertically.
- Wrap the yarn tail tightly around the center of both bows to secure them together.
- Finish Securing:
- Continue wrapping the thread around the bow’s center, creating a neat “knot” look. Secure the yarn by making stitches on the back side and hiding excess thread within the bow.
→ Your crochet bow is now assembled! The delicate but secure knot makes this accessory sturdy and fashion-forward.
- Continue wrapping the thread around the bow’s center, creating a neat “knot” look. Secure the yarn by making stitches on the back side and hiding excess thread within the bow.
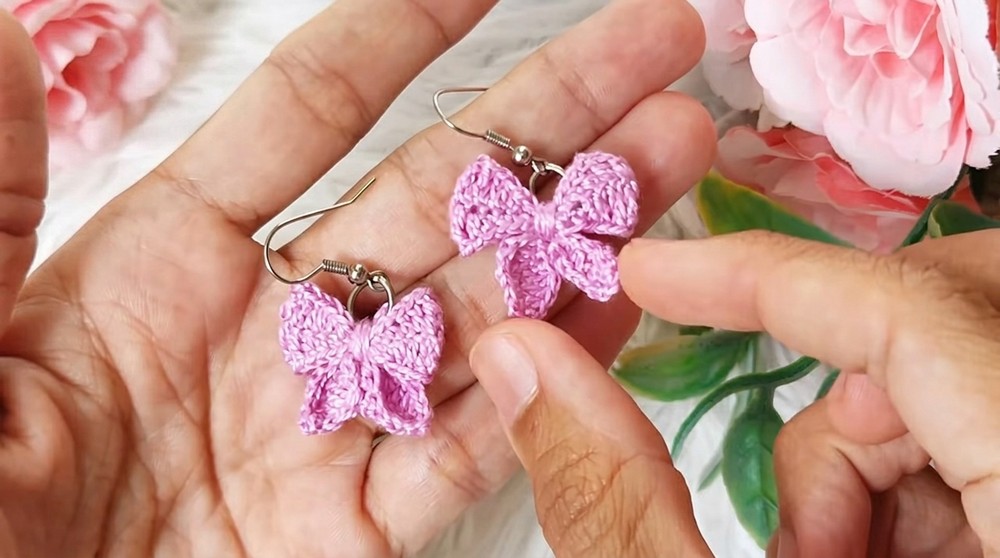
Part 4: Add the Earring Hardware
- Attach the Hoop & Hook:
- Using pliers, attach the earring hoop at the top of the bow.
- Add the earring hook to the hoop and ensure it is attached securely.
- Final Finish:
- Trim any loose threads or yarn ends.
- Test the bow’s sturdiness and hardware for reliability.
→ Your crochet bow earring is complete! Go ahead and repeat the process for the second earring.
- Trim any loose threads or yarn ends.
What You’ll Learn
- Shaping Techniques: Learn how folding and sewing create eye-catching 3D structures.
- Alternating Stitches: Understand transitions between slip stitches, half double crochets, and double crochets for texture.
- Earring Assembly: Gain confidence integrating crochet pieces into wearable accessories.
Difficulties and Solutions
Common Challenges
- Uneven Tension:
- Inconsistent stitch tension can distort the bow’s symmetry.
- Solution: Focus on keeping an even tension throughout, and block the completed piece if necessary.
- Slipping Hardware:
- Loosely secured earring hooks and rings may come apart.
- Solution: Use pliers to ensure a tight grip; consider adding a dab of glue if needed.
Why You’ll Love This Pattern
This crochet bow earrings pattern is quick, easy, and creates a polished product ideal for gifting or personal use. The soft yarn and simple stitches make for a lightweight pattern, while the assembly process lets you develop your crochet finishing skills.