
Budget-Friendly Crochet Bubble Baby Blanket Pattern You’ll Love
Follow a free crochet bubble baby blanket pattern for a sweet, snuggly blanket that babies will love to touch, cuddle, and nap with.
Feeling the joy of creating something soft and squishy by hand can brighten your day. This baby blanket pattern showcases adorable bubble textures made from simple crochet stitches that add a playful 3D effect on both sides of the fabric. It’s a wonderful way to learn how to work with single crochet and extended double crochet stitches, which build the charming bubbles that really make the blanket stand out. The texture is not only cute but also highly practical for a baby’s blanket because it feels gentle and comforting. The bubbles appear like little puffed stitches, and the pattern works up quickly, so you won’t be waiting long to enjoy your cozy creation.
Modern Crochet Bubble Baby Blanket Pattern for Free and Surprise a New Mom
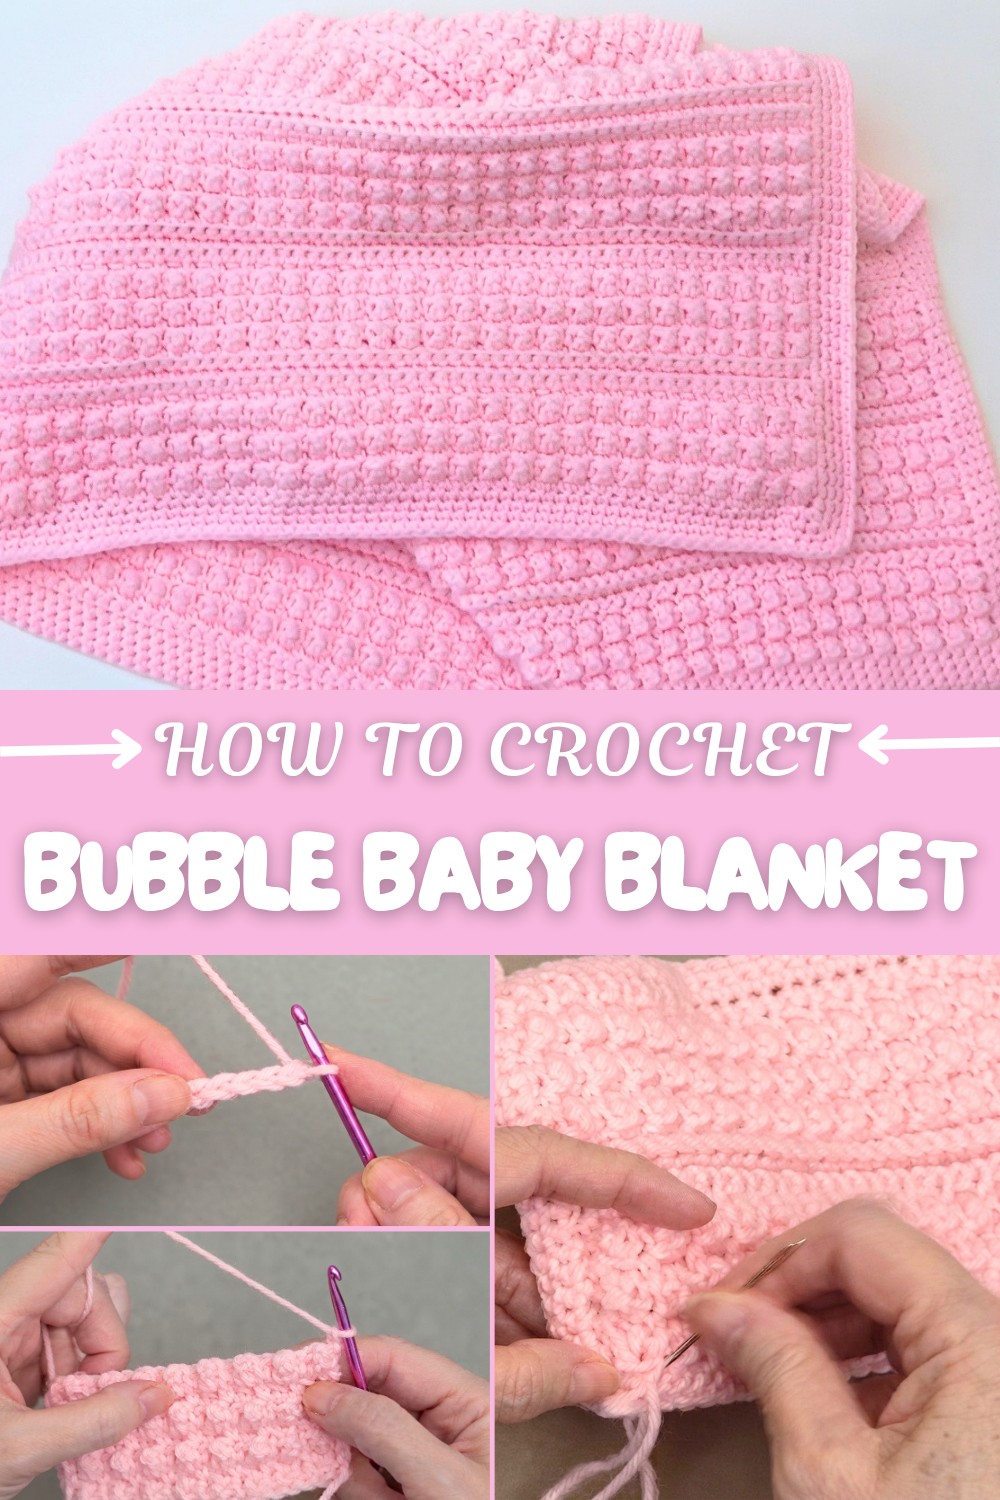
This blanket’s pattern combines rows of bubbly clusters with smooth sections of single crochet to add a nice variation in texture and thickness. The stitches placed in the back loops add softness and flexibility, helping the blanket to drape beautifully and making it perfect for snuggling.
Other Fun Projects from This Pattern
The stitches you learn with this bubble pattern aren’t just great for blankets. You can also create cute scarves, hats, cushion covers, or even cozy afghans with the same bubble stitch technique. This pattern’s combination of bubbles and simple stitches gives your projects a unique look and a fun texture that adds interest while keeping each piece soft and wearable. Whether for gifts or your own comfort, these stitches open doors to many charming crochet ideas!
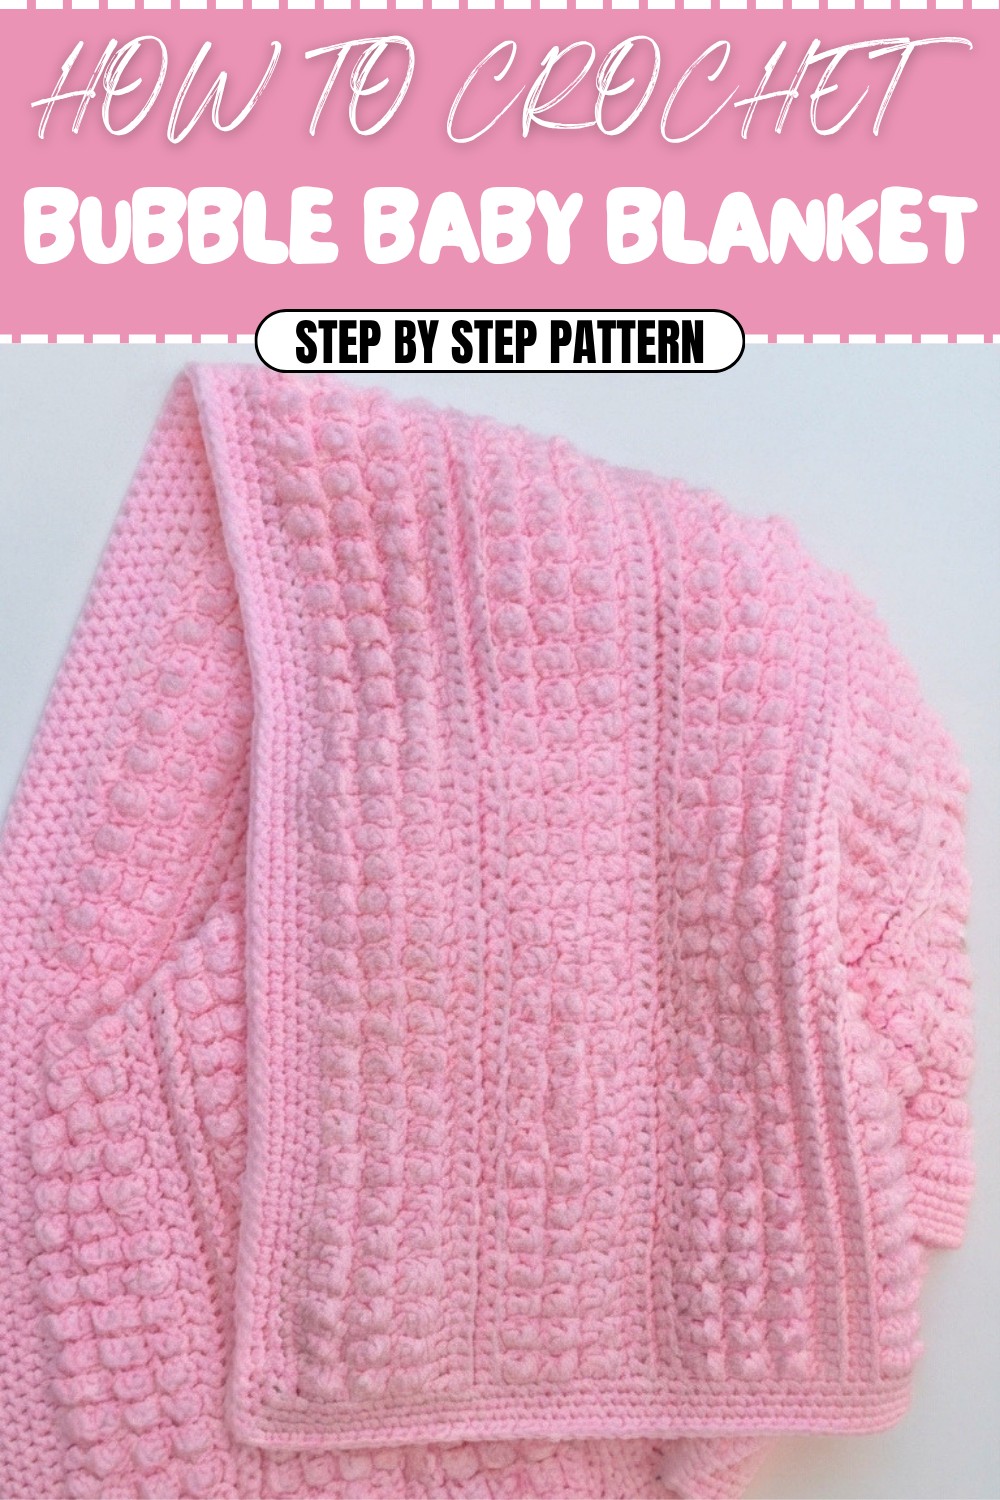
Crochet Pattern: Bubble Baby Blanket
Introduction
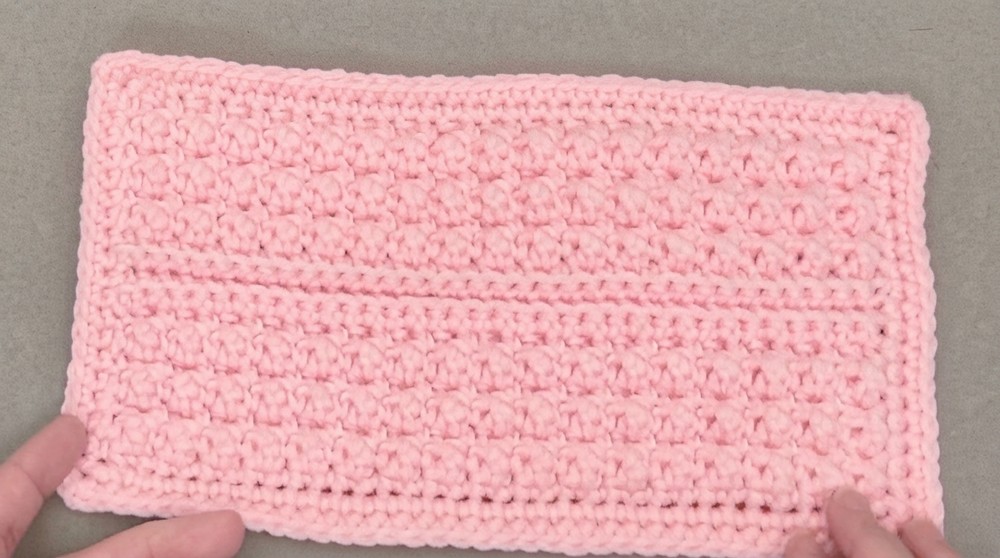
This Bubble Baby Blanket is soft, squishy, and features a unique bubble texture that appears on both sides of the blanket. The pattern alternates between bubble rows and single crochet variations to create a delightful texture and drape. What’s more, the blanket works up quickly and can be completed in just a couple of days for experienced crocheters. It’s perfect for gifting or keeping a little bundle of joy cozy.
What You’ll Learn from This Pattern
- Combining basic stitches (sc and extended dc) to create texture.
- Working with back loops only to improve your texture skills.
- Adding a clean edge and weaving loose ends for a polished finish.
Skill Level & Terminology
- Skill Level: Beginner to Intermediate
- Terminology: US Crochet Terms
Materials & Tools
- Yarn:
- Bernat Baby Sport (Size 3 lightweight yarn, 1400 yards).
- Sample uses 1.5 skeins in "Baby Spot" colorway.
- Hook: 4 mm crochet hook.
- Optional Tools:
- A darning needle for weaving ends.
- A pair of scissors for trimming yarn.
Gauge
- 6 single crochet stitches x 4 rows of single crochet = 1 inch.
Gauge is important to ensure the proper size of the blanket. Adjust hook size if needed to achieve the correct stitch measurements.
Abbreviations
- ch – Chain
- sc – Single Crochet
- ext dc – Extended Double Crochet
- st(s) – Stitch(es)
Special Stitch Instructions
Extended Double Crochet (ext dc):
- Yarn over, insert the hook into the stitch, and pull up a loop.
- Yarn over and pull through 1 loop only (this creates the extended height).
- Yarn over and pull through 2 loops.
- Yarn over again and pull through the final 2 loops to complete the stitch.
The extended double crochet is thicker and taller than a regular double crochet, creating the "bubble" effect.
Finished Size
- Width: 28 inches
- Height: 36 inches
The finished size is perfect for a baby blanket. Adjust the foundation chain (in multiples of 2, plus 1) to customize the size.
How to Start
This bubble texture blanket is created with alternating rows of single crochet and bubbles formed by extended double crochet stitches. Begin with a foundation chain (multiples of 2 + 1) and follow the row-by-row instructions.
The Pattern
Foundation Chain
- Start with a foundation chain in multiples of 2 + 1.
- For the sample swatch, ch 35.
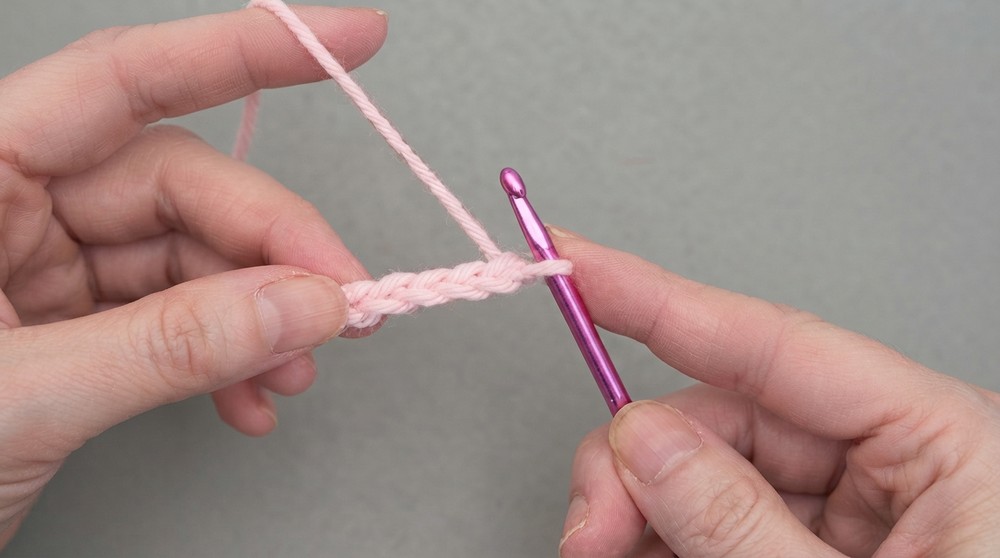
This chain sets the width of your blanket. Adjust the chain length to change the size.
Row 1: Single Crochet Row
- Step 1: Ch 1, skip the first chain.
- Step 2: Sc in the next chain and continue working 1 sc in each chain across the row.
- You should finish with 35 sc (or the same number as the starting chain).
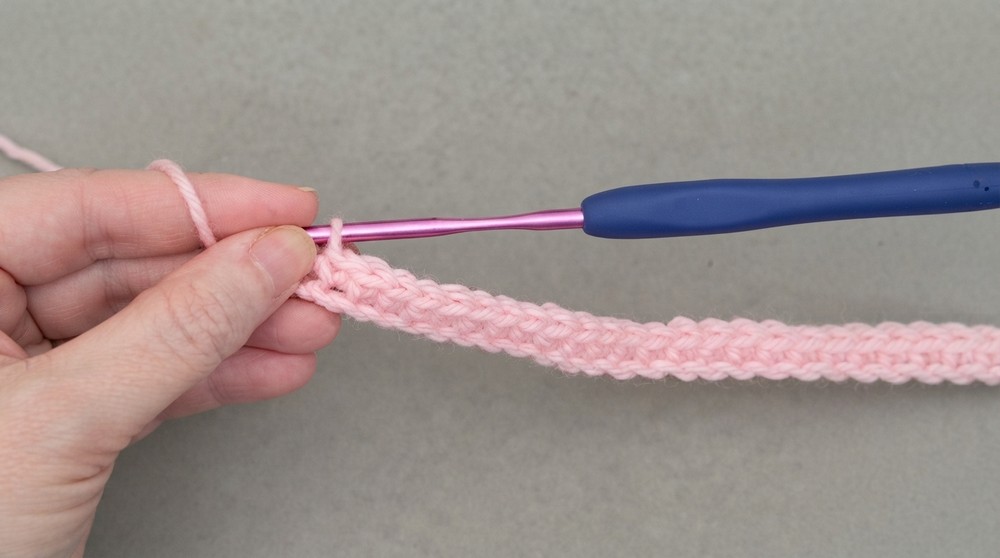
This creates a strong foundation for the bubble pattern.
Row 2: Bubble Row (Alternating Single Crochet and Extended Double Crochet)
- Step 1: Ch 1, turn your work.
- Step 2: Work 1 sc in the first stitch.
- Step 3: In the next stitch, work 1 ext dc (refer to Special Stitch Instructions above).
- Step 4: Alternate between 1 sc and 1 ext dc across the row.
- Step 5: End the row with 1 sc in the last stitch.
The bubbles begin to appear on the back side of this row. Make sure to alternate sc and ext dc all the way across.
Row 3: Repeat of Bubble Row
- Step 1: Ch 1, turn your work.
- Step 2: Work 1 sc on top of each sc from the previous row.
- Step 3: Work 1 ext dc on top of each ext dc from the previous row.
- Step 4: Alternate the stitches as instructed across the row.
The texture will build row by row. You’ll see the bubbles begin forming on both sides of the blanket.
Rows 4–13: Adding Variation (Blocks of Single Crochet Rows)
- Step 1: After completing 3 bubble rows, ch 1, turn your work.
- Step 2: Work 1 sc across the row in each stitch.
- Step 3: Repeat a total of 4 rows of sc.
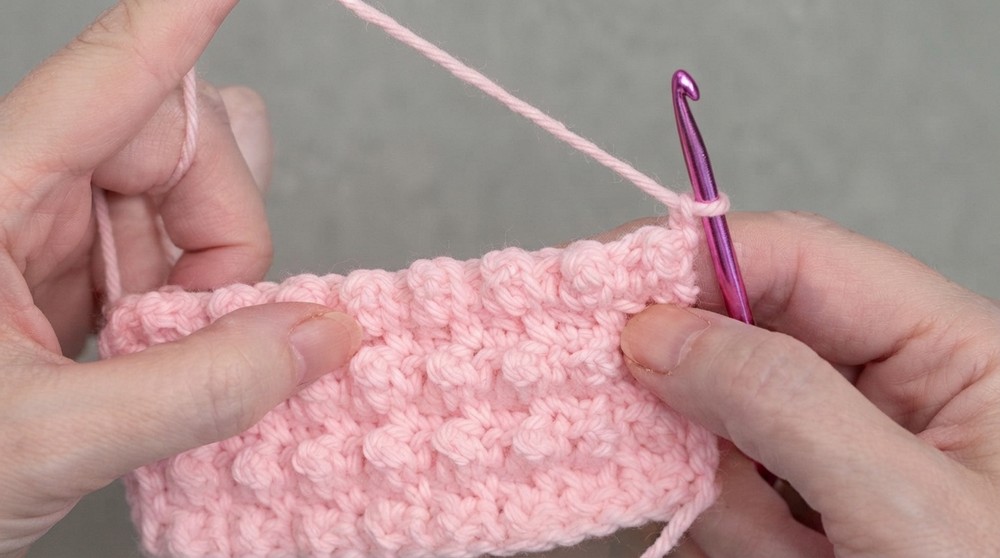
For Rows 9–11, work sc in BL only to enhance the texture and add softness to the drape.
This section adds balance to the pattern and gives your blanket a soft ridged texture.
Repeating Section
- Alternate between:
- 6 rows of bubble pattern (Repeat Rows 2 and 3).
- 4 rows of single crochet variation (Rows 4–13).
- Repeat this sequence until your blanket reaches the desired length.
Edging
To finish, add a clean edge around the blanket:
- Step 1: Start at a corner space. Ch 1 (counts as 1 sc).
- Step 2: Ch 2 (to form the corner), then work 1 sc in the same corner space.
- Step 3: Work 1 sc evenly along the edge, placing each stitch as evenly as possible.
- When working into corner spaces, add 1 sc, ch 2, and 1 sc.
- Continue around the blanket edges, maintaining the corner pattern.
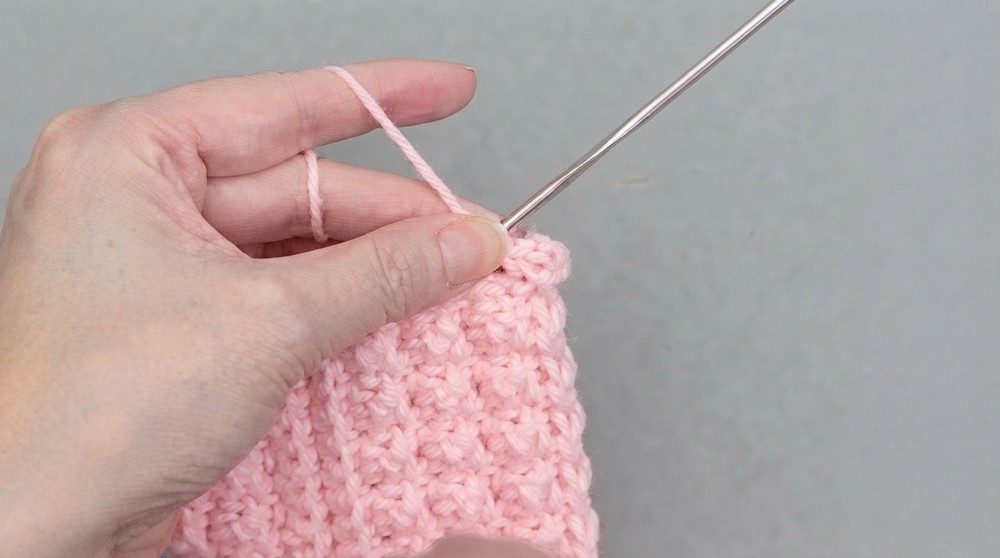
This edge ensures a polished, uniform finish to the blanket.
Weaving in Ends
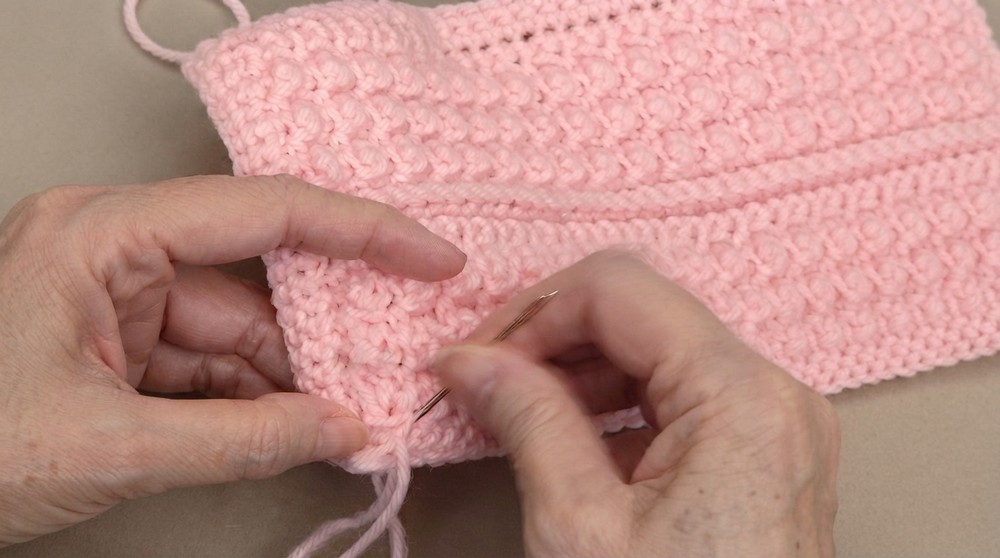
- After completing the edging, use a darning needle to weave in all loose yarn ends securely. Cut off any excess yarn.
Difficulties and Solutions
Difficulties:
- Alternating sc and ext dc: Beginners might forget to alternate the stitches.
- Even stitch placement for the edging: Maintaining even spacing for stitches along the side edges can be tricky.
Solutions:
- Stitch Markers: Use stitch markers to keep track of repeating patterns for the bubble rows.
- Practice: Take your time with the edge to ensure stitches are evenly spaced.
Why You’ll Love This Pattern
The Bubble Baby Blanket is quick to make, versatile, and perfect for gifting. The combination of bubble rows and single crochet variations creates a stunning, squishy texture that is as cozy as it is beautiful. Once completed, this piece becomes a timeless, handmade treasure.