
Crochet Cowl Neck Warmer Scarf Pattern for Everyday Comfort
Check the Free Crochet Cowl Neck Warmer Scarf Pattern and make a soft, comfy scarf that helps you stay warm and happy all winter.
Wrapping yourself in a soft, handmade accessory can instantly brighten up a chilly day, and this free crochet cowl neck warmer pattern lets you do just that with ease. Featuring the lovely Moss stitch, a gentle mix of single crochet and chain stitches, this project creates a beautifully textured fabric that feels both cozy and flexible. It’s a great pattern for beginners looking to develop their skills while making something stylish and practical.
Learn this Crochet Cowl Neck Warmer Scarf Pattern for Snuggly Moments
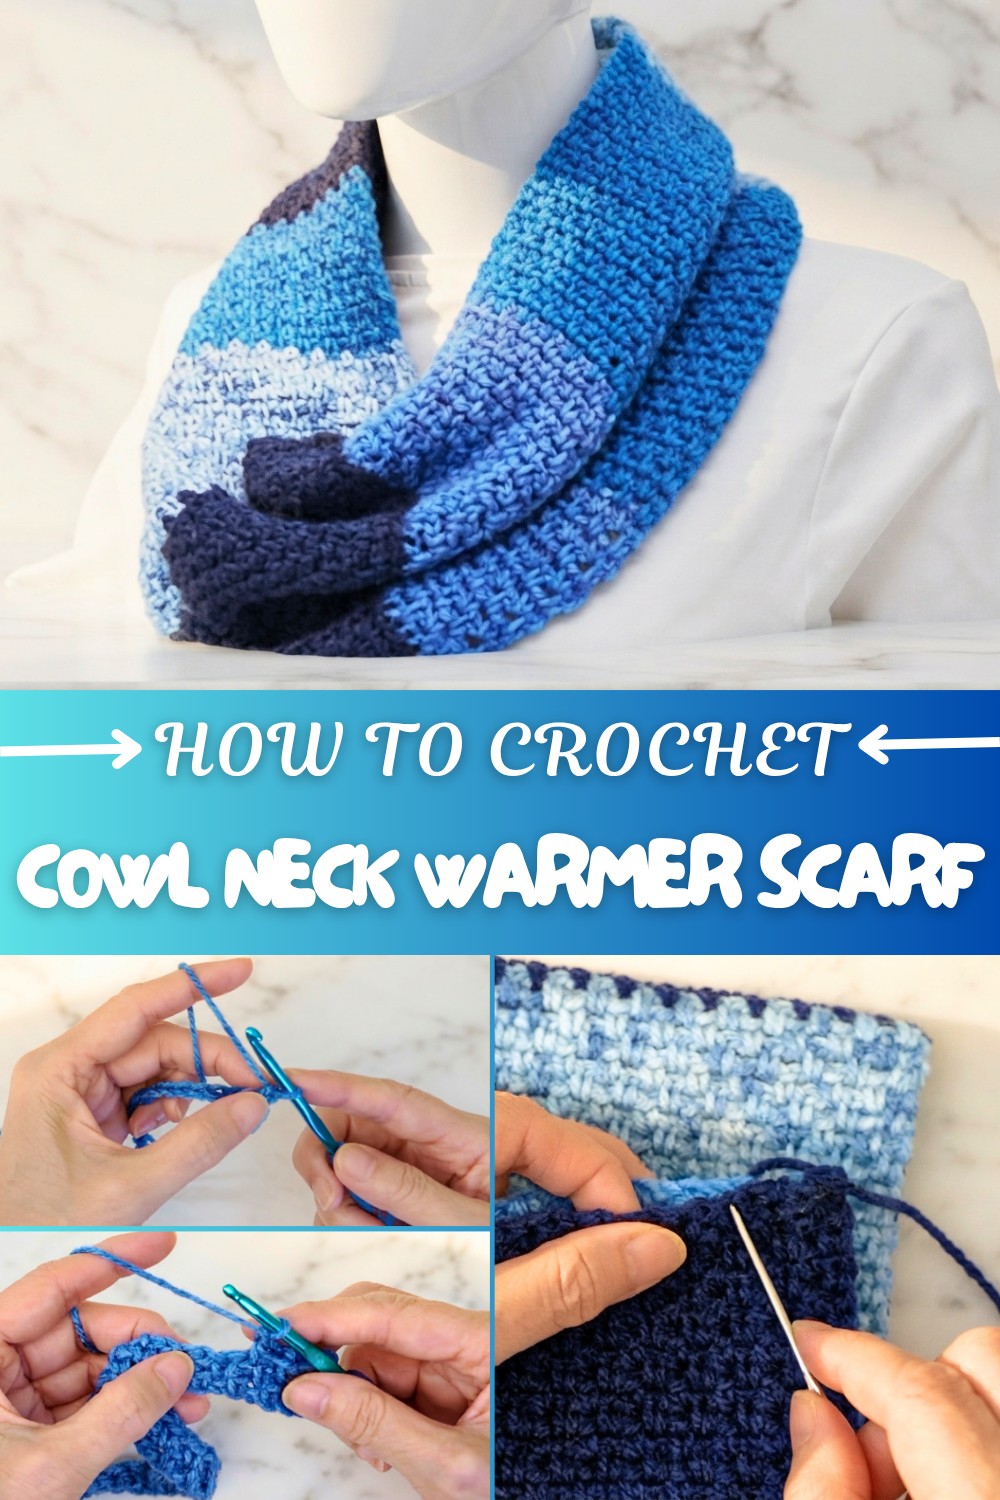
The Moss stitch fabric offers a nice balance. It’s dense enough to keep out the cold, yet soft enough to drape comfortably around your neck. Measuring about 12 inches wide and 30 inches long, this cowl is perfect for folding or wearing loose, depending on your mood. While working on it, you’ll practice important crochet basics like creating consistent stitches, working with chain spaces, and joining ends smoothly. The pattern also guides you on how to add your own flair with color changes, giving you room to be creative.
What Else You Can Make from This Pattern
Once you’re comfortable with the Moss stitch, you can apply it to a range of other projects such as scarves, textured blankets, or even cute potholders. The combination of single crochet and chain stitches is very versatile, making your crochet journey full of possibilities. Whether you’re crocheting for yourself or making gifts, this pattern is a wonderful way to build your confidence and enjoy beautiful handmade creations.
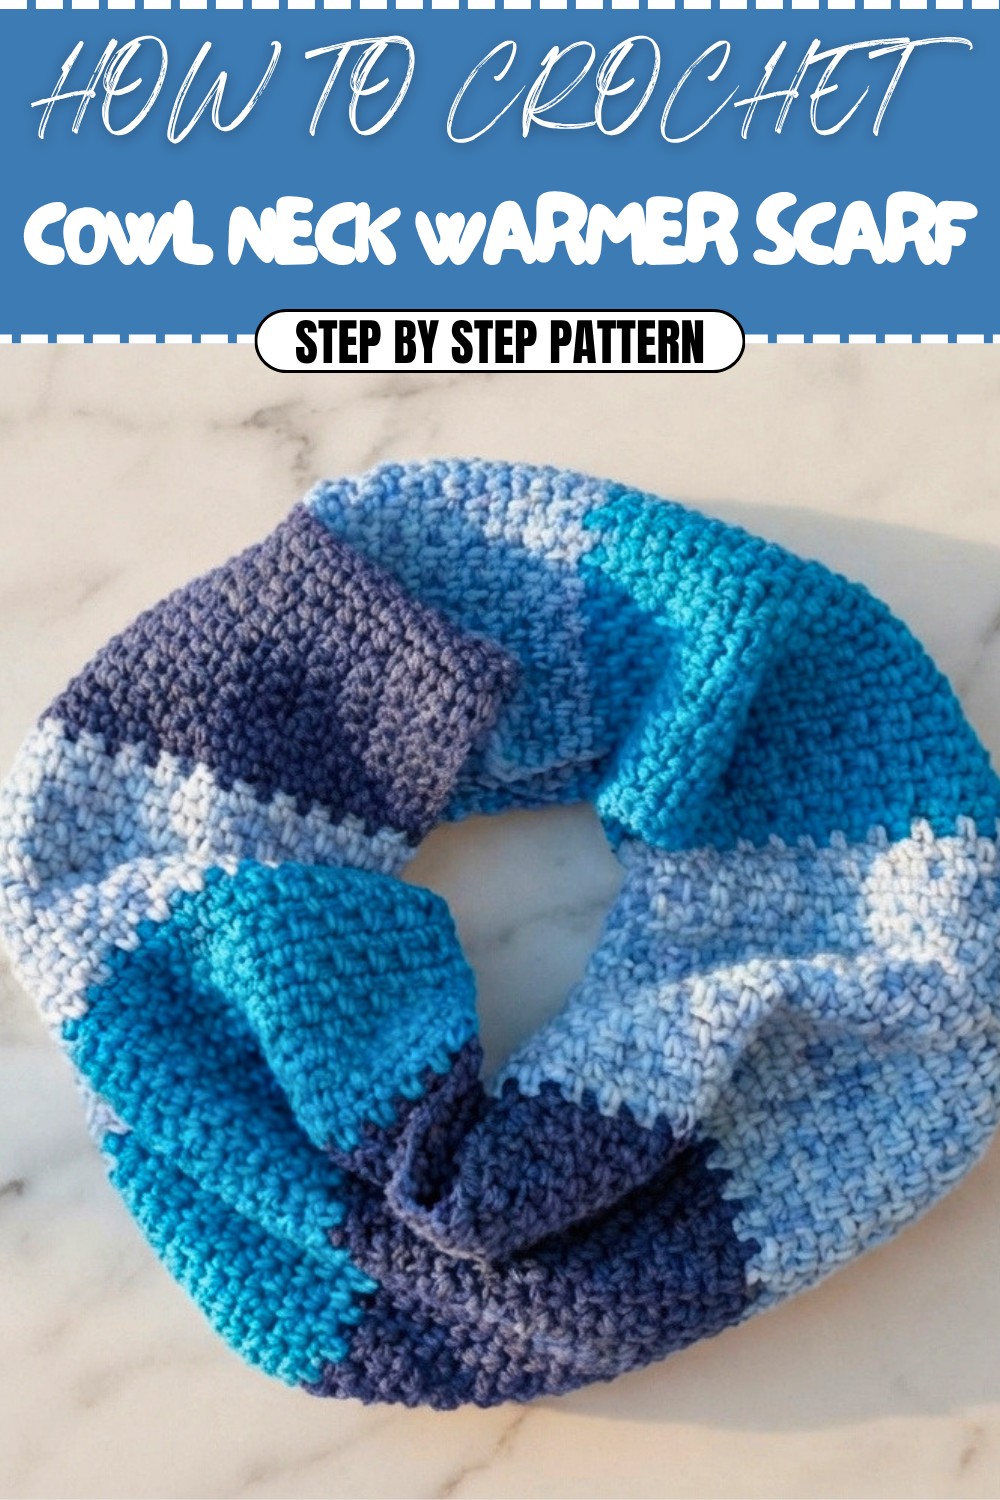
Moss Stitch Cowl Crochet Pattern
The Moss Stitch Cowl is a versatile and stylish accessory perfect for keeping you warm during chilly days. Using the moss stitch, a combination of single crochet (sc) and chain stitches (ch), this pattern creates a solid yet soft fabric with beautiful drape. It’s great for beginners looking to explore textured stitches and color changes in a project. So grab your yarn and hook, and let’s dive into crafting this cozy and beautiful cowl!
Skill Level & Terminology
Skill Level:
Beginner – This pattern incorporates basic stitches with straightforward instructions, making it accessible to those new to crochet.
Crochet Terminology:
The pattern uses US terminology for all stitches and techniques.
Materials & Tools
- Yarn:
– Size 4 medium-weight yarn (acrylic/wool blend).
– Total weight of 5.5 ounces needed. - Hook:
– Crochet hook size 5.0 mm or as recommended for your yarn. - Other Tools:
– Tapestry needle (for weaving and joining ends).
– Scissors.
– Stitch marker (optional, for marking end of foundation chain).
Gauge
Gauge may vary based on yarn type, hook size, or your personal tension. Create a swatch using the moss stitch: 10 sc + 10 ch rows = 4 inches. Adjust hook size if needed to match the desired cowl width.
Abbreviations List
Here’s a quick glossary for the stitches used in this pattern:
- ch: chain
- sc: single crochet
- sl st: slip stitch
- rep: repeat
Special Stitch Instructions
Moss Stitch:
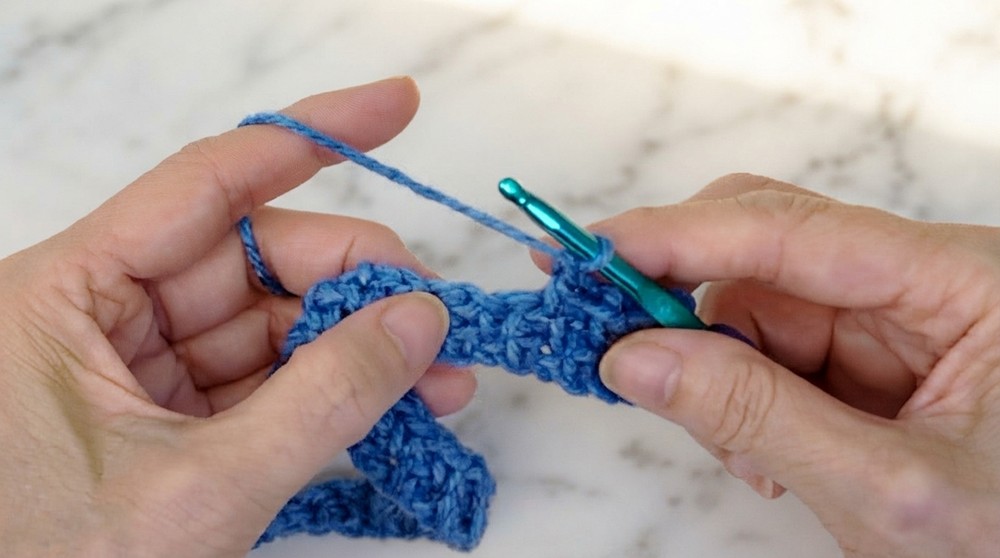
The moss stitch alternates between single crochet (sc) and chain stitches (ch) to create a textured fabric:
- Insert hook into stitch, pull up a loop, yarn over, and pull through both loops (<em>sc</em>).
- Ch 1, skip the next stitch, and crochet into the subsequent stitch.
This creates a sequence of alternating stitches that adds dimension.
Finished Size
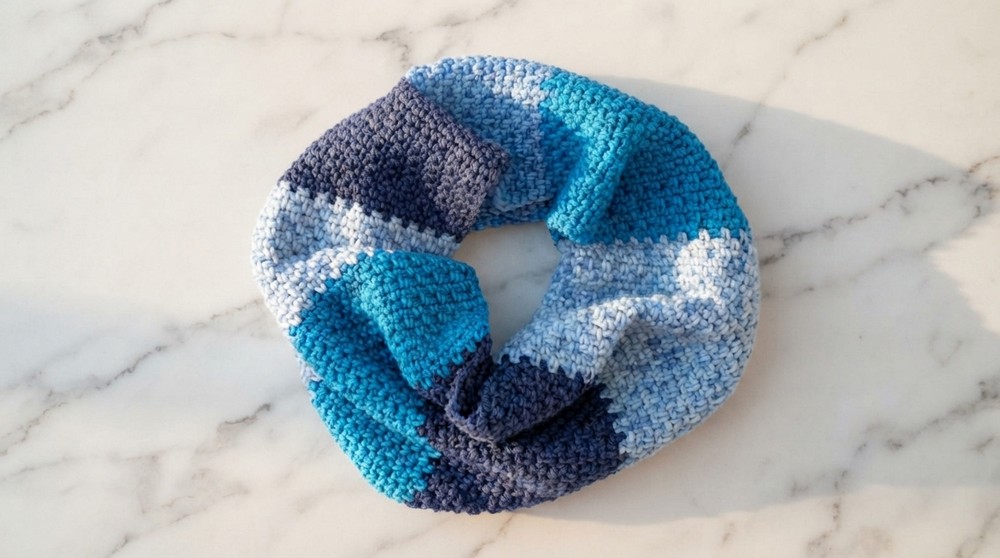
The completed cowl measures approximately 12 inches wide by 30 inches long. Folded in half, it drapes beautifully around the neck with a seamless and elegant texture.
What You’ll Learn From This Pattern
- Mastering Moss Stitch:
- Explore alternating single crochet and chain stitches for a textured design.
- Color Transitions:
- Learn to create clean color blocks for bold accents.
- Seamless Joining:
- Practice the whip stitch method for an invisible and sturdy seam.
The Pattern Itself
Here’s the detailed guide to crafting your moss stitch cowl:
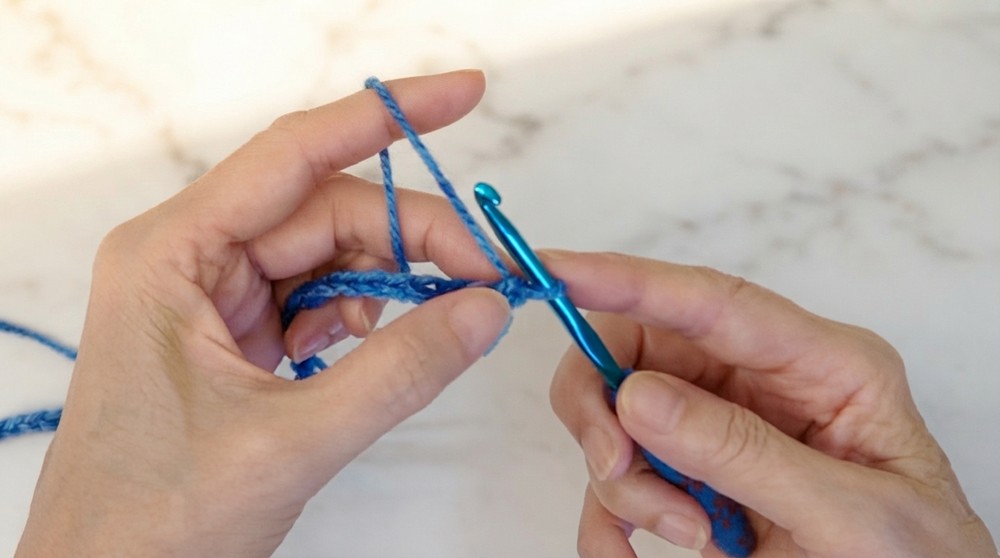
Part 1: Foundation Chain
Instructions
- Foundation Chain:
- Begin with an even-numbered chain. Ch 46 for a width of 12 inches.
- Measure and Adjust:
- Confirm the width with a ruler or measurement tape. If the width doesn’t match your desired size, increase or decrease the number of chains in even increments.
- Mark your last stitch with a stitch marker to secure the chain.
Simplified Notes:
Start by creating the foundation chain to set the width of your cowl. Adjust as needed by adding or subtracting stitches in even numbers for a custom-sized project.
Part 2: Rows of Moss Stitch
Instructions
- Row 1:
- Ch 1, skip the first stitch, and crochet 1 sc into the next stitch (the marked stitch).
- Ch 1, skip the next stitch, and make 1 sc into the subsequent stitch.
- Rep this sequence until the end of the row: [Ch 1, skip, sc].
- Final Steps:
- At the last 2 stitches: Ch 1, skip 1 stitch, and make 1 sc into the final stitch. Turn your work.
- Row 2:
- Start with Ch 1, skip the sc from the previous row, and crochet 1 sc into the next chain space.
- Ch 1, skip the next sc, and make *1 sc into the next chain space.
- Rep sequence [Ch 1, sc into chain space] across the row.
- Repeat Rows:
- Continue alternating single crochet into chain space, skipping stitches below, until the desired length is achieved (approx. 30 inches).
Simplified Notes:
The moss stitch is the highlight of this cowl, forming a textured fabric with alternating single crochet and chain stitches. Maintain consistent tension for a clean and polished finish.
Part 3: Custom Color Blocks
Instructions
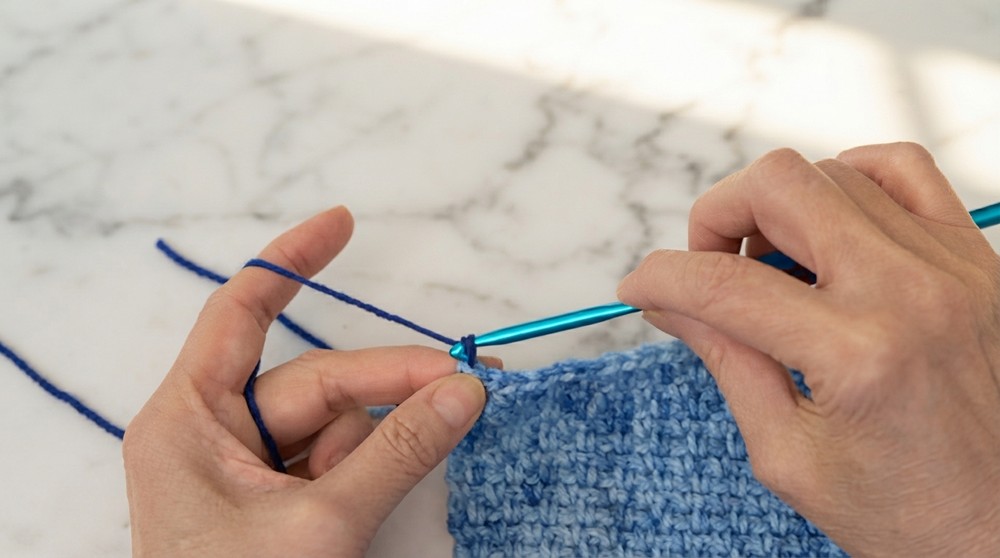
- Color Changes:
- To change yarn color:
- Complete your last stitch of the row by pulling up a new color instead of the existing yarn.
- Cut the previous yarn, leaving a 5–6 inch tail to weave in later.
- To change yarn color:
- Start New Rows:
- Begin the next row with the new color and continue alternating stitches as per the moss stitch pattern.
Simplified Notes:
Create beautiful color blocks by changing your yarn at the end of each row. This adds depth and personalization to your project.
Part 4: Joining Both Ends
Instructions
- Joining Ends:
- Once the desired 30-inch length is achieved, fold the cowl in half with ends aligned.
- Cut yarn, leaving a tail that’s 3x the width of the cowl for sewing.
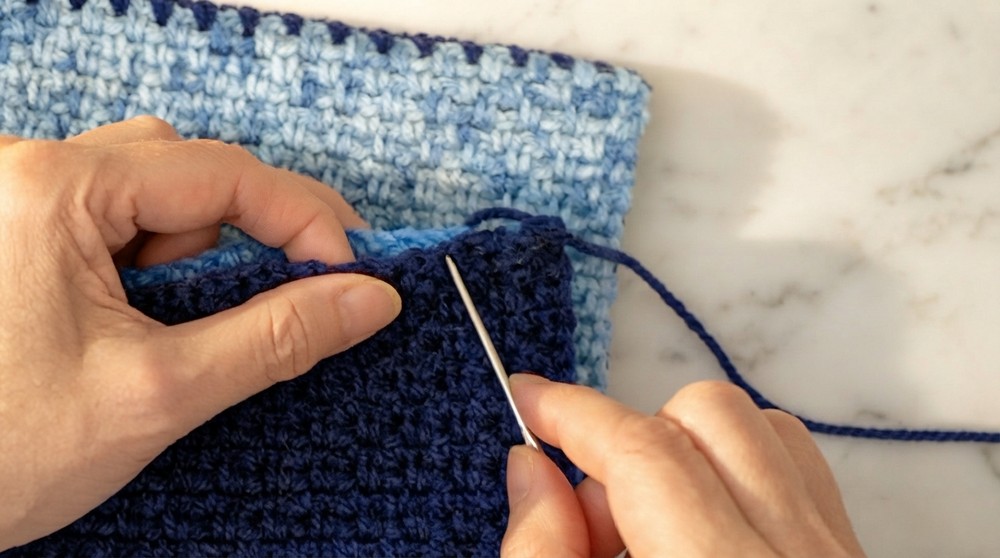
- Whip Stitch Method:
- Thread your tapestry needle and align stitches on each side.
- From the inside, insert the needle through the last stitch on one end into the corresponding stitch on the opposite end and pull through.
- Repeat inserting the needle into the center of adjoining stitches, ensuring to grab front and back loops for a secure seam.
- Finishing:
- At the final stitch, secure with a slip knot and weave in loose ends.
Simplified Notes:
The whip stitch method creates a nearly invisible seam, ensuring the cowl looks flawless when joined into a circle.
Part 5: Weaving Ends
Instructions
- Weaving In Ends:
- Use a tapestry needle to weave leftover yarn tails into the stitches.
- Follow the natural pattern of the moss stitch for about 2–3 inches to hide cuts securely.
Simplified Notes:
Weaving in ends is the finishing touch that tidies up your project, leaving a neat and professional look.
Assembly & Finishing
With the ends secured and woven in, your cowl is ready to use! Test the drape and size around your neck to ensure comfort and finish any last-minute adjustments.
Why You'll Love This Pattern
The Moss Stitch Cowl is not just functional but fashionable, with a texture that adds depth and sophistication. The easy-to-follow pattern allows you to explore creative color combinations and perfect your crochet techniques. Whether you wear it or gift it, this project will always be a cozy, handmade treasure.
Difficulties and Solutions
Difficulty: Beginners may struggle with maintaining an even gauge, especially when working the moss stitch, as alternating between stitches can occasionally create uneven tension. Additionally, cleanly transitioning between colors without causing bulk at the seams might also pose a challenge.
Solution: To address tension issues, practice a swatch before starting the project to get comfortable with the pattern. Use stitch markers to mark chain spaces and ensure consistency. For seamless color changes, always introduce the new yarn at the last yarn-over of the previous row and securely weave in the ends using a tapestry needle. These small adjustments will ensure a tidy and polished result.