
How to Easily Crochet Cuddly Blanket Pattern for Winters
Instantly solve chilly nights by wrapping up in this irresistibly soft Free Crochet Cuddly Blanket Pattern for cozy comfort.
Have you ever wanted to crochet something warm, soft, and full of color with your own hands? Crocheting a blanket might seem tricky at first, but there’s a simple pattern that makes it enjoyable and perfect for beginners. This cuddly blanket pattern is not only beautiful but also practical. It’s made using a special drop stitch and double crochet stitch, which gives it a tight and neat texture, ideal for keeping cozy on chilly nights. Plus, working with three or more contrasting colors makes your project pop with personality and charm!
Want a Cozy Throw Learn This Free Crochet Cuddly Blanket Pattern
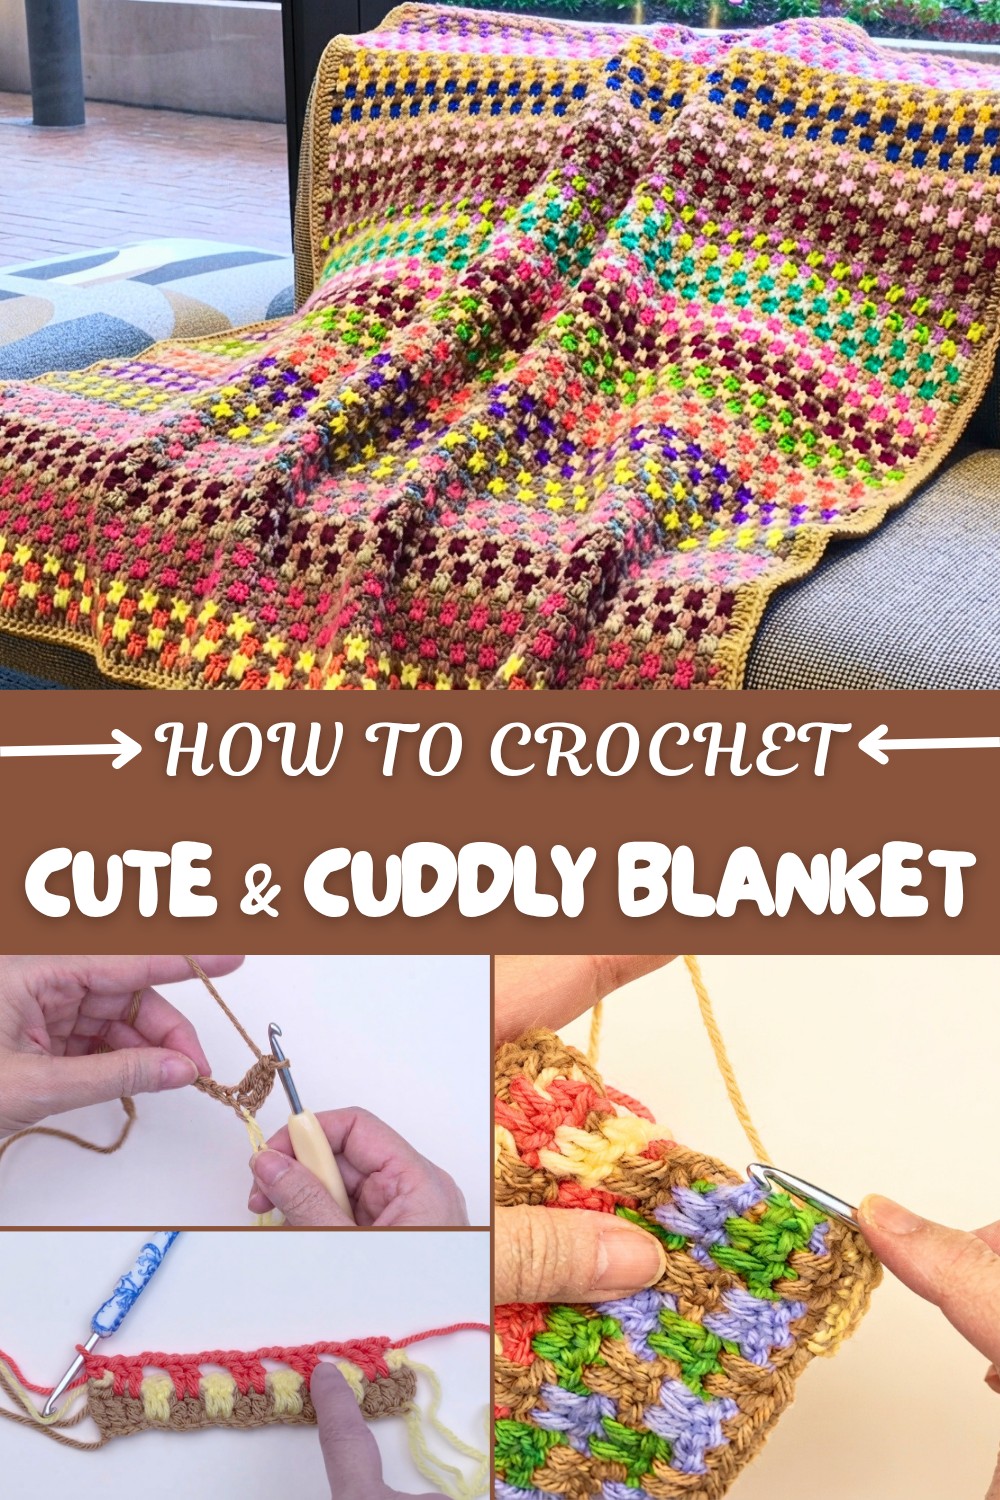
The magic of this blanket lies in its combination of double crochet stitches and the unique drop double crochet stitch. These stitches create a lovely pattern that looks intricate but is easy to follow, especially if you’re just starting out. The blanket has a rhythmic flow — alternating rows of solid double crochets with the fun drop stitches in between. This gives the blanket a little texture and interest, making it more than just a flat piece of fabric. It’s soft, stretchy, and perfect for cuddling on the couch or adding a splash of handmade beauty to any room.
One of the best parts is that you can play with colors! Using contrasting yarn colors helps highlight the special stitch pattern and makes each row stand out. This project is perfect for beginners because it teaches you how to count stitches carefully and introduces you to working with multiple yarns without getting tangled. By following the easy instructions, you’ll end up with a cozy and eye-catching blanket that you can feel proud of.
Other Creative Projects Using This Pattern
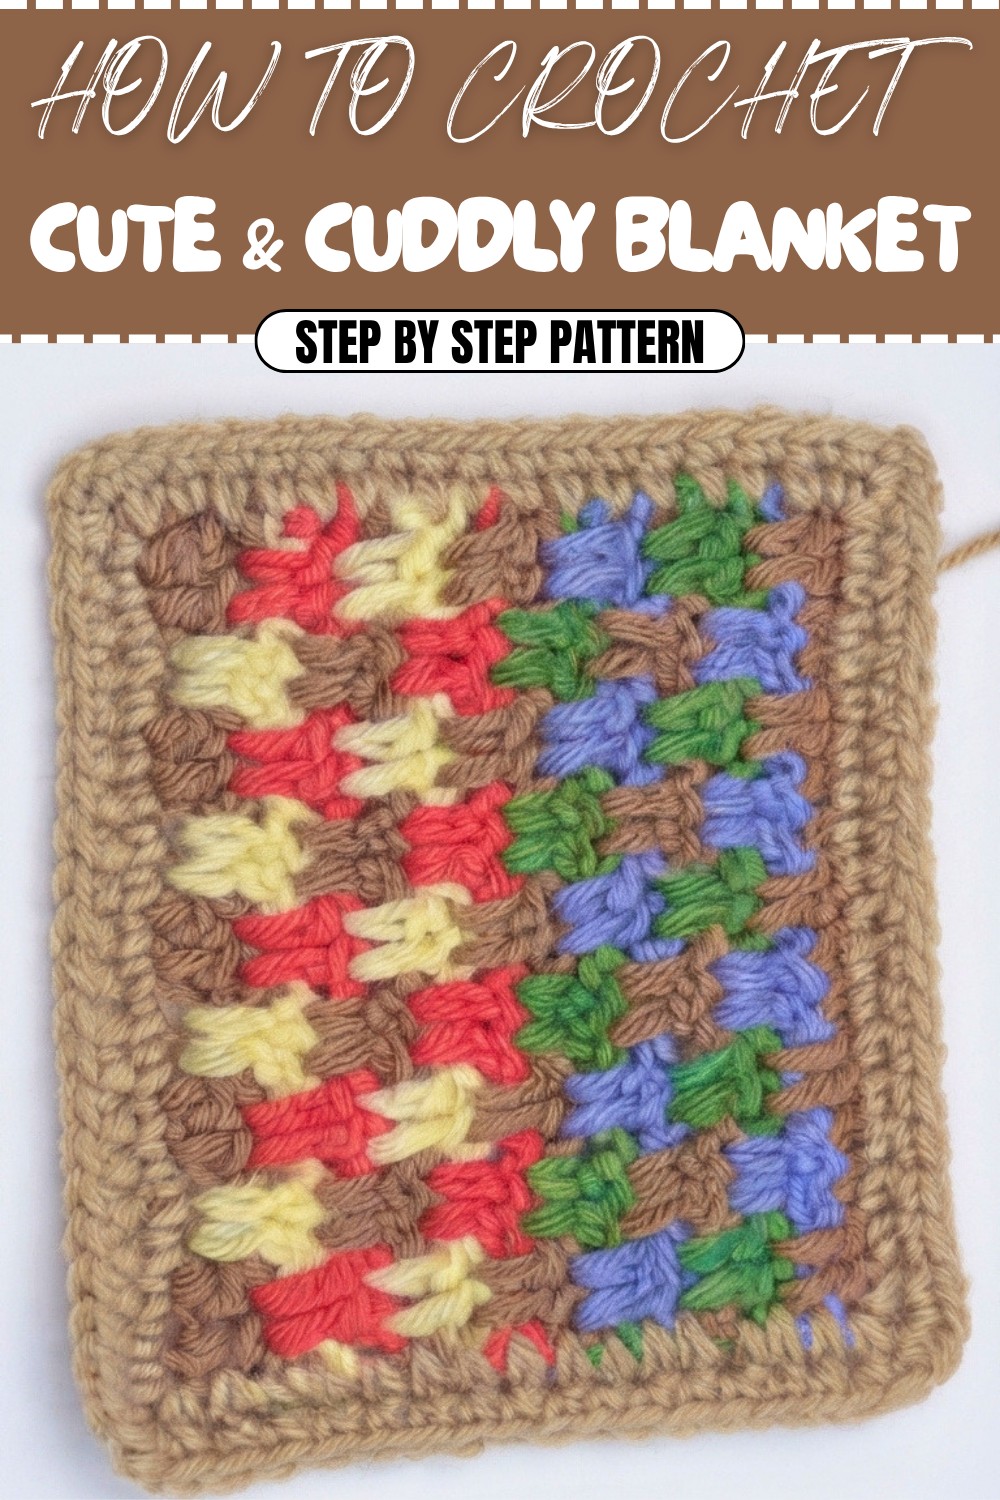
Besides blankets, this pattern is incredibly versatile. You can use these same stitches to crochet other things like cozy scarves, vibrant cushion covers, or even fun bags. The drop double crochet adds texture and interest, which makes any project more exciting. So whether you’re making gifts or treating yourself, this pattern gives you a solid foundation to create many lovely crochet items!
Crocheted Blanket Pattern: Step-by-Step Detailed Guide
In this step-by-step pattern, we’ll be creating a cute and cuddly blanket using tight stitches, ideal for both warmth and style. This project uses a lovely combination of drop stitches, double crochet, and single crochet to produce an eye-catching texture. Follow along to master this beginner-friendly project!
Crochet this unique and cozy blanket designed with tight stitches and contrasting colors for stunning visual appeal. It’s a versatile project that works perfectly as a gift, home décor, or snuggle blanket. The repeating pattern ensures both interest and simplicity!
Skill Level:
Beginner
Terminology:
This pattern uses US crochet terms.
What You’ll Learn From This Pattern
- Step-by-step guidance in using the drop stitch.
- How to create a smooth, professional border for your crochet blanket.
- Strategies for working with multiple colors in crochet projects.
This project teaches foundational skills while helping you tackle more advanced techniques seamlessly. You’ll love the outcome—a beautifully textured, color-contrasted blanket!
Materials & Tools
- Yarn: Choose at least three contrasting colors of worsted-weight yarn.
- Crochet Hook: Size H/5 mm.
- Notions: Yarn needle for weaving in ends, stitch marker (optional).
- Scissors.
Gauge
10 stitches x 4 rows (in double crochet) = 4 inches.
Abbreviations List
Below are the abbreviations used in this pattern:
- ch: Chain
- sc: Single Crochet
- dc: Double Crochet
- dtr: Drop Stitch (Double Crochet in the chain below the two chains)
- st(s): Stitch(es)
- sl st: Slip Stitch
Special Stitch Instructions: Drop Stitch (dtr)
The drop stitch involves working into a chain below the top row to create a weave-like effect. Here's how to do it:
- Yarn over the hook.
- Insert hook into the chain below the top two chains.
- Pull up a loop from behind the top chains.
- Yarn over and pull through two loops. Repeat yarn-over and pull through the remaining two loops.
Finished Size
Approx. 36 x 40 inches (adjustable based on the number of chains).
The Pattern Itself
Starting Your Project
Begin by selecting three contrasting yarn colors to create visual depth. The main stitches used in this pattern include single crochet (sc), double crochet (dc), and drop stitch (dtr). This pattern consists of repeating rows (rows 2-3) to build the desired length, with a slight modification on the final row for a finished look.
Step-by-Step Pattern
Foundation Chain:
- Start: Using your first color, create a slipknot and chain an even number of sts. (For this pattern, chain 20 sts.)
- Mark the last chain with a stitch marker to maintain a proper stitch count.
A foundation chain provides the base for your blanket. For beginners, 20 sts are easier to work with, but you can adjust for the desired width.
Row 1: Establish the Base Pattern
- Chain 3 (counts as the first double crochet—dc).
- Work 2 dc in the next 2 chains.
- Chain 2, then skip 2 chains.
- Work 2 dc in the next 2 chains.
- Repeat this pattern across the row: 2 dc, chain 2, skip 2 chains, until you reach the last st.
- End the row with a dc in the final chain.
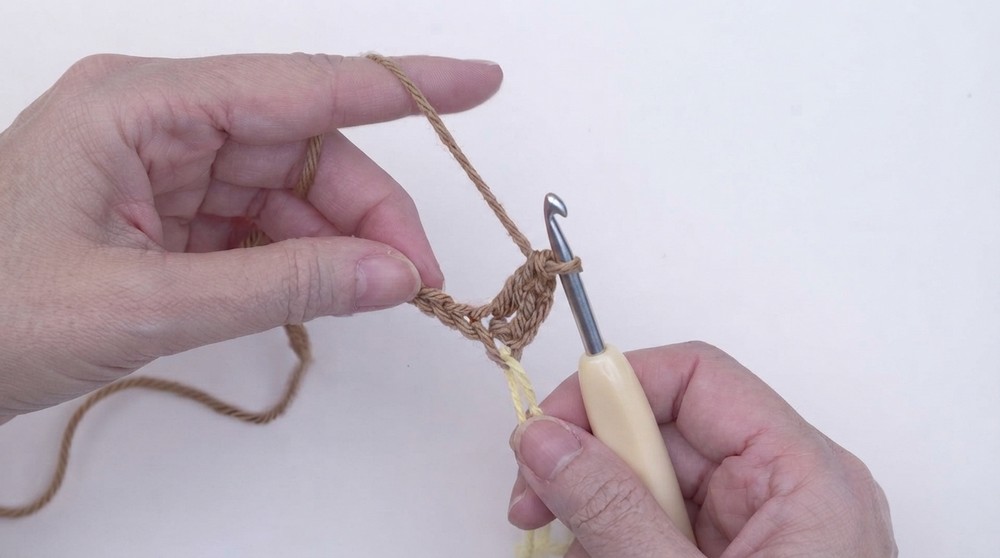
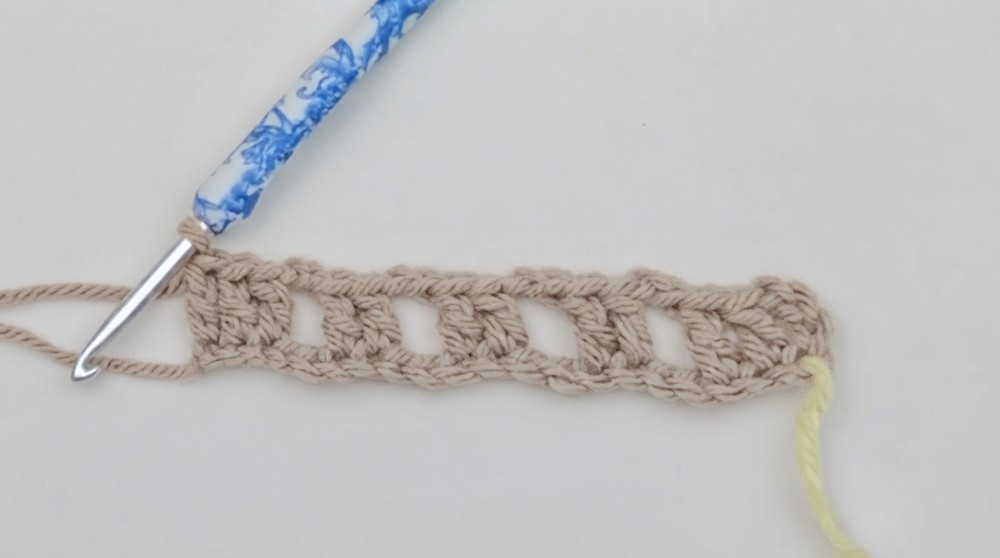
Row 1 forms the groundwork for your blanket, alternating clusters of double crochet and spaces for visual texture.
Row 2: Introducing Drop Stitches
- Switch to a new yarn color (pull the new yarn through the last stitch).
- Tighten the previous yarn and do not cut it—we’ll use it later.
- Chain 1 (counts as the first single crochet—sc); turn your work.
- Chain 2 for spacing.
- Work 2 drop stitches (dtr) by inserting your hook into the chain space below the top two chains:
- First dtr: Yarn over, insert into chain below, pull loop up behind top chains, yarn over through two loops twice.
- Second dtr: Follow the same steps in the next chain.
- Chain 2, repeat the drop stitch pairs across the row.
- Close the row with a single crochet (sc).
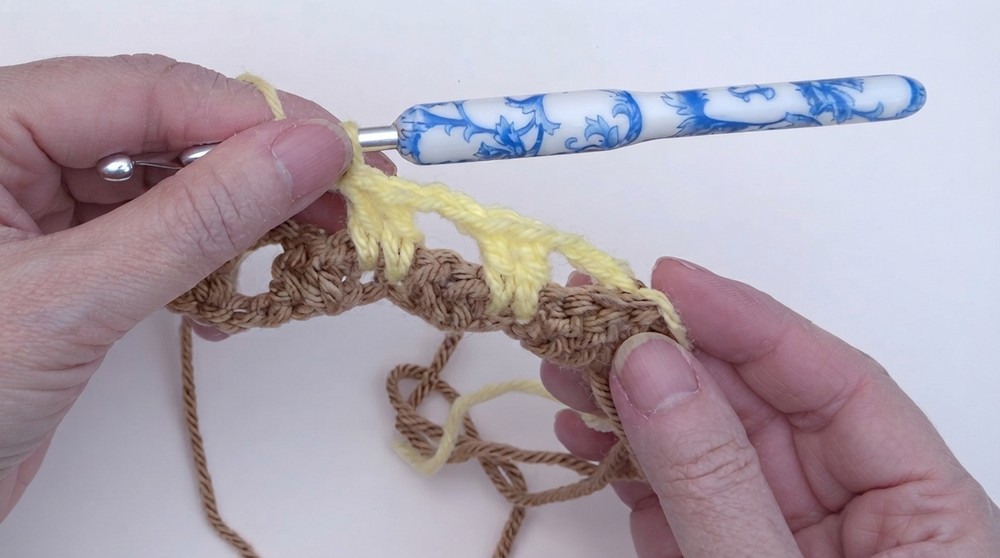
This row introduces the gorgeous drop stitch, which adds texture and depth.
Row 3: Repeat Base Pattern
- Pull a new color yarn through the last stitch (tighten the previous yarn).
- Chain 1 (counts as sc); turn your work.
- Work 2 dc directly on the 2 dc from the previous row.
- Chain 2 and repeat the 2 dc clusters across the row.
- End the row with sc.
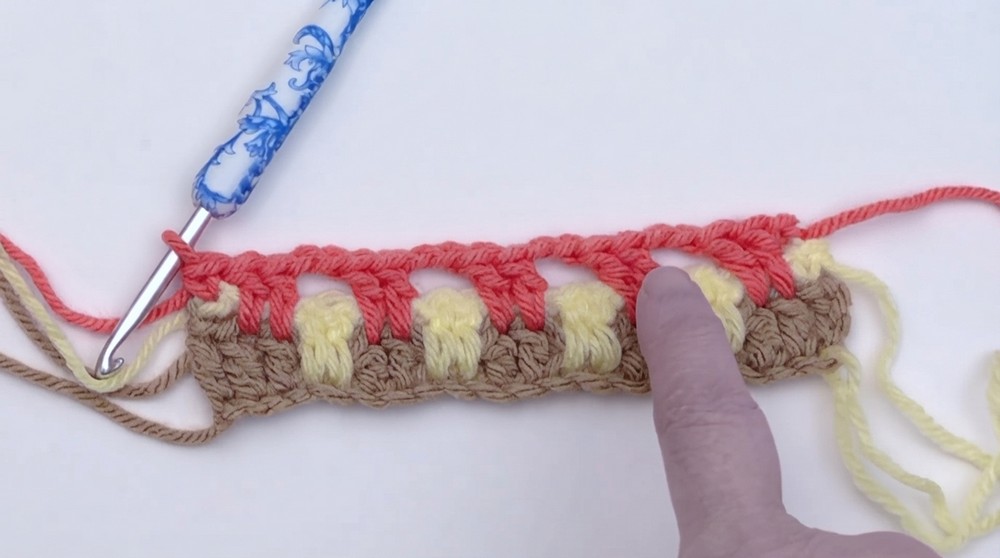
Repeating this row alternates with the drop stitch row to create your blanket texture.
Rows 4 and Beyond
- Repeat Row 2 (drop stitches) and Row 3 (double crochet clusters) until you reach your desired blanket length.
Each row alternates techniques to build texture and design. Feel free to experiment with how often you change colors to suit your style!
Final Row: No Spaces for Closer Finish
- Pull the last yarn color through the previous stitch.
- Chain 1 (counts as sc); turn.
- Instead of chain spaces, work 2 single crochets directly on the next 2 dc stitches.
- Continue this pattern (2 sc in place of chain spaces) till the row ends.
- Close with a sc for a solid, clean edge.
This modification eliminates gaps in the final row for a polished finish.
Border Instructions
- Create a slip knot and pull the yarn through any side of the blanket.
- Work single crochet (sc) evenly along all sides:
- For corners, add 3 scs in the same stitch (1 sc, chain 1, 1 sc).
- For uneven edges, aim to crochet evenly below each stitch.
- Add 2 more rows of single crochet for a smooth, reinforced border.
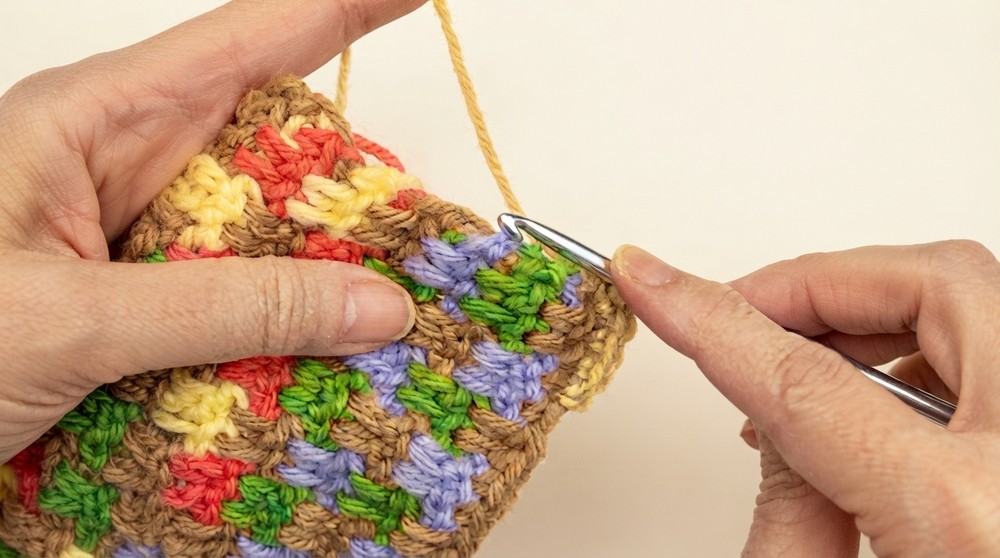
Adding a border ensures all edges are neat and professional-looking.
Assembly & Finishing
- Weave in all loose ends using a yarn needle.
- Block your blanket to ensure it lays flat (optional but recommended).
Why You'll Love This Pattern
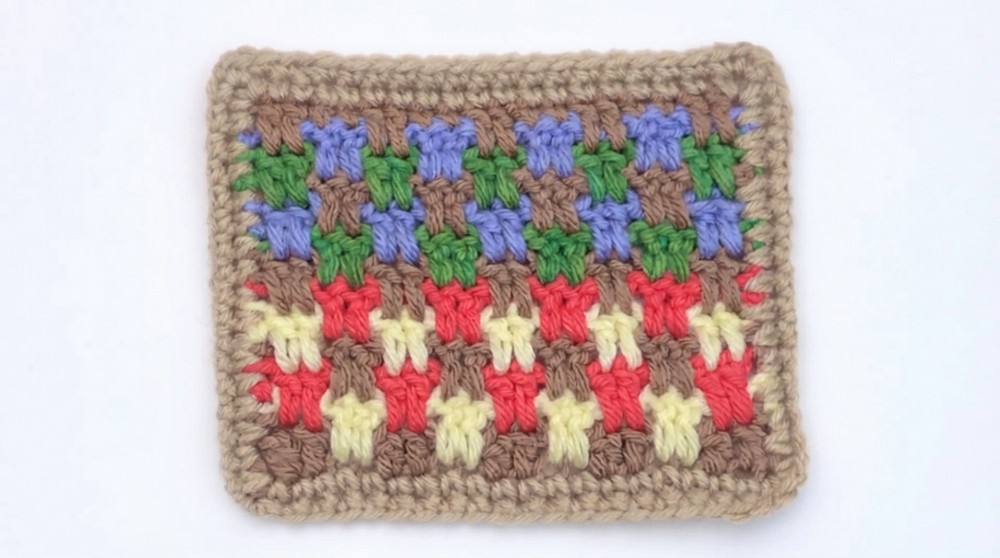
You’ll adore this pattern because it combines simplicity with sophistication. The use of contrasting colors and textures makes the design pop, while the rhythmic stitch repeats ensure a relaxing crochet experience. It’s both beginner-friendly and visually impressive!