
Free Crochet Off Shoulder Crop Top Pattern Youthful Fashion
Make your first fashion piece with this free crochet off shoulder crop top pattern which uses basic stitches and easy steps for teen crocheters,
Featured By Elif Kandemir
Turn heads this season with a handmade creation that screams style and comfort. This free crochet off shoulder crop top pattern is your gateway to crafting a charming, fashion forward piece designed for sunny adventures, cooler evenings, and everything in between. Whether it's a casual brunch with friends or a spontaneous beach getaway, this off shoulder top effortlessly adds a touch of elegance and playful flair to any outfit.
This crop top’s beauty lies in its timeless silhouette and customizable fit. The off shoulder design exudes a subtly flirty vibe, while the snug, ribbed structure ensures a secure and comfortable feel. Pair it with high waisted shorts for a breezy summer look, or layer it under a jacket for cozy fall vibes, it’s as versatile as your wardrobe demands.
Free Crochet Off Shoulder Crop Top Pattern Casual Day Use
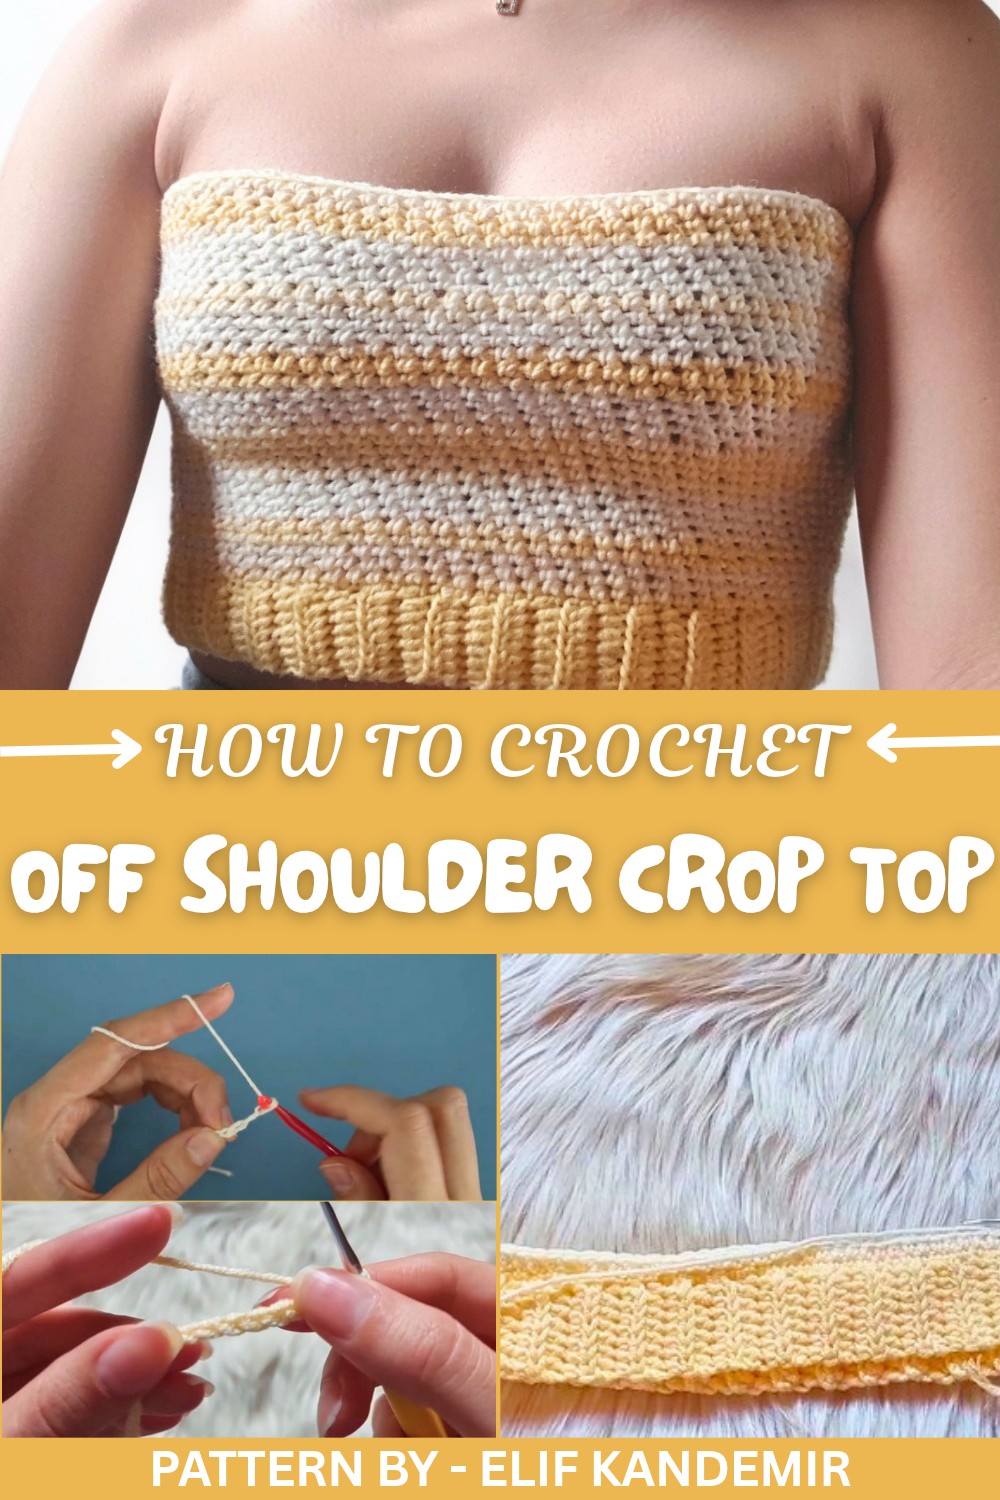
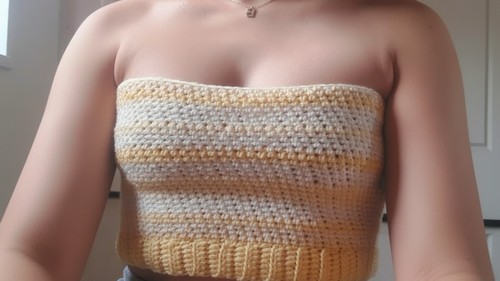
Crocheted with soft, skin friendly yarn, the top features a texture that feels light and breathable. The charming striped pattern, achieved with seamlessly blended shades of yellow and cream, gives it an effortlessly chic and polished finish. Whether you're a beginner eager for a fun challenge or a skilled crocheter looking for your next masterpiece, this pattern delivers a rewarding experience.
Ready to make your own? Dive into the full pattern and watch your creativity come to life.
Crochet Pattern: Stylish Crochet Crop Top with 3 Colors
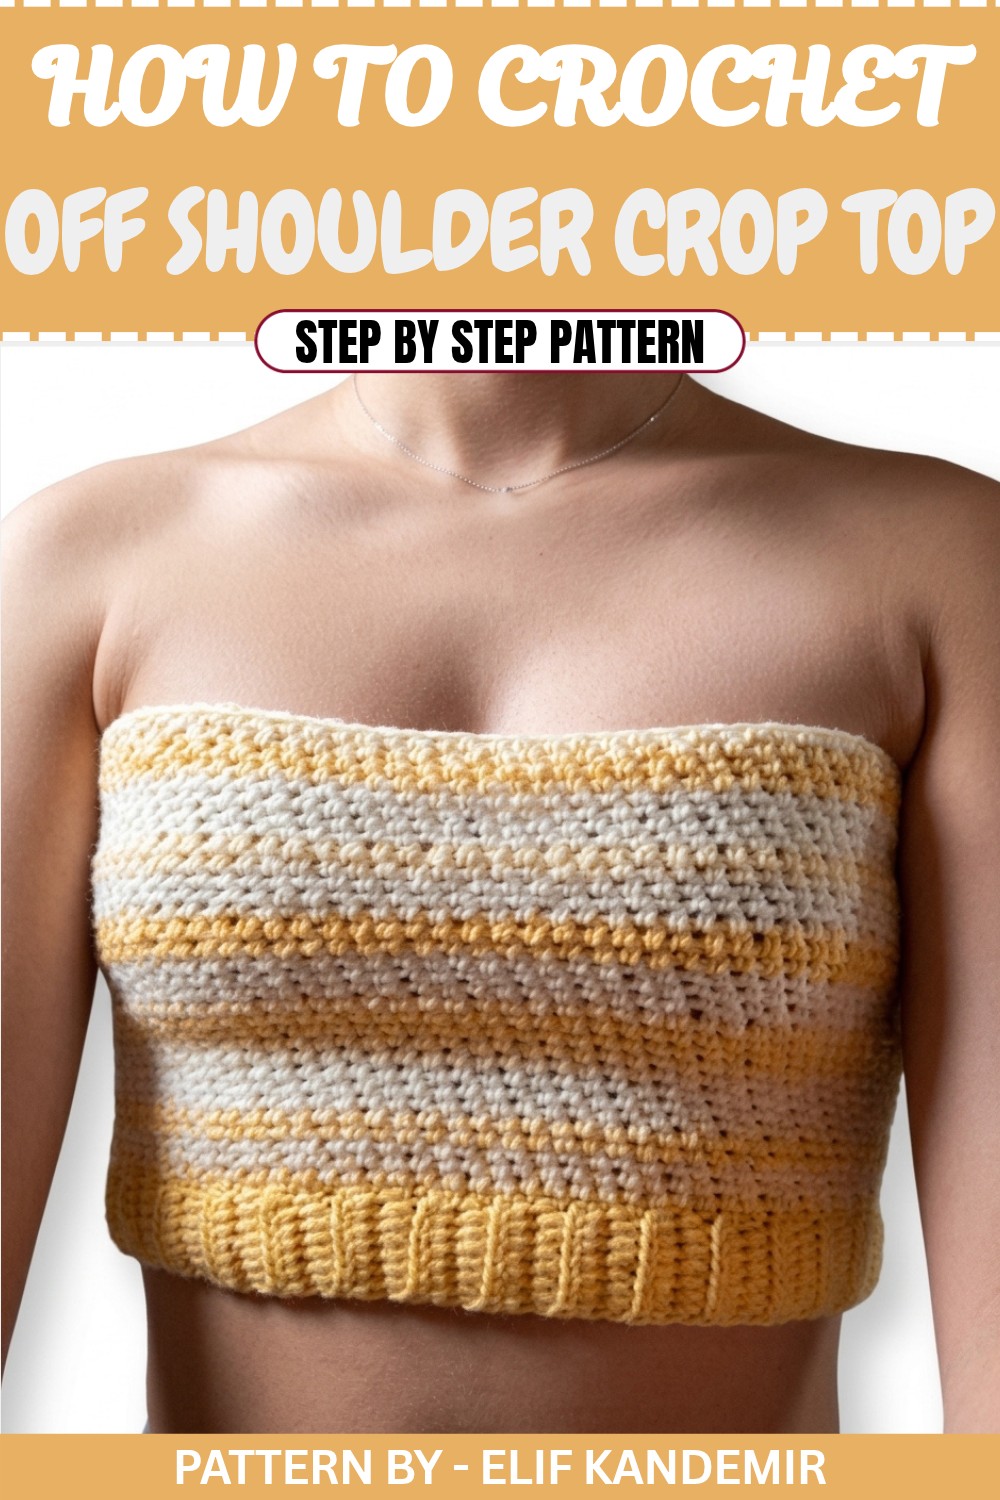
This fun and creative crochet tutorial make an adorable 3 colored crochet crop top. This project is beginner friendly and includes clear instructions for creating ribbing, seamless color changes, and a customizable fit.
Quick Overview of the Pattern
- Project Type: Crochet crop top
- Difficulty Level: Easy – beginner friendly
- Crochet Hook: 2mm
- Yarn Used: Alize Baby Best in three colors – Dark Yellow, Light Yellow, and Cream
- Techniques: Chain stitch, single crochet (sc), half double crochet (hdc), joining, and ribbing
- Customization: Adjustable to any bust size and desired length
- Finished Dimensions: Based on your personal measurements
Notes
- Always measure as you go to ensure the crop top fits properly.
- Keep consistent tension throughout the project for even stitches.
- The ribbing is optional but adds structure to the garment.
Skill Level
Beginner – Simple stitches and techniques are used throughout the pattern.
Materials
- Crochet Hook: 2mm
- Yarn:
- Dark Yellow – Alize Baby Best (approx. 240m/100g)
- Light Yellow – Alize Baby Best
- Cream – Alize Baby Best
- Scissors
- Tape Measure
- Darning Needle
Measurements / Sizing
- Ribbing: Adjust the foundation chain for a snug fit around your waist.
- Length of the body: Customizable to your preferred crop top length.
Gauge
This pattern is freeform, so exact gauge is not required. Adjust the foundation chain and overall length to fit your measurements.
Stitch Abbreviations
- ch – Chain
- sc – Single Crochet
- hdc – Half Double Crochet
- sl st – Slip Stitch
The Crochet Pattern
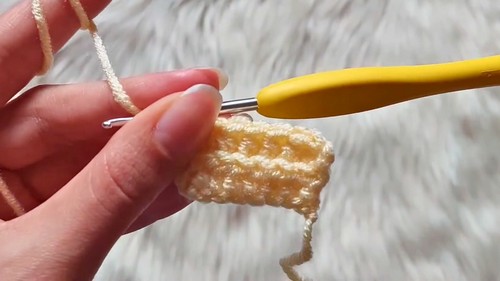
Step 1: Creating the Ribbing for the Waistband
- With dark yellow yarn, create a slip knot and:
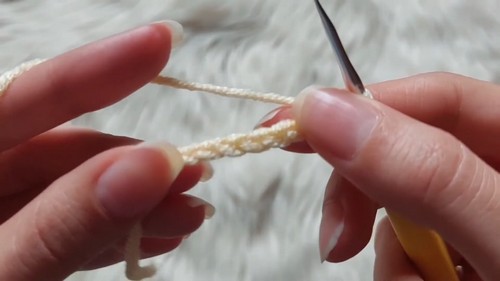
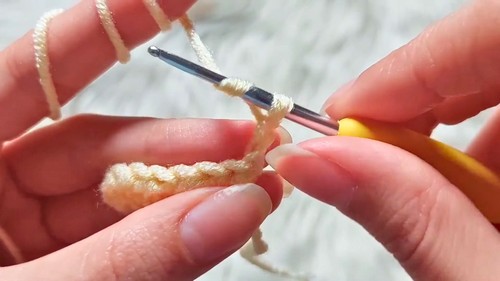
- Chain 8 stitches. (This will determine the width of the ribbing.)
- Row 1:
- Insert the hook into the second chain from the hook, and work 1 sc.
- Continue making sc in each chain across (7 sc total).
- Row 2:
- Turn your work and chain 1.
- Work 1 sc in the back loop only (BLO) in each stitch across.
- Repeat Row 2 until the ribbing is long enough to wrap snugly around your waist.
- Tip: Make sure the ribbing isn’t too loose or tight by wrapping it around your waist to check the fit.
Step 2: Joining the Ribbing into a Loop
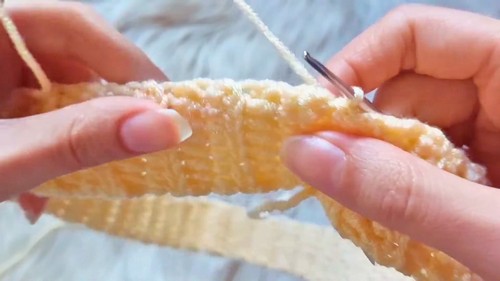
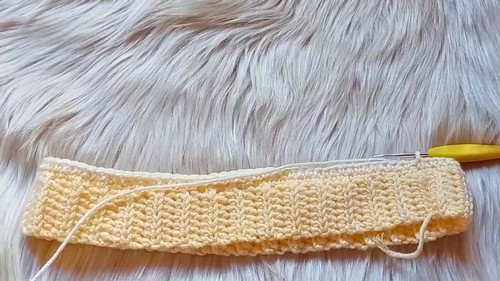
- Fold the ribbing in half so the starting edge lines up with the working edge.
- Insert your hook through the first stitch of the starting edge and the first stitch of the working edge.
- Work sl st across both edges to join the ribbing into a loop.
Step 3: Creating the Base for the Body
- Once the ribbing is joined, do not fasten off the yarn.
- Round 1:
- Chain 1 and begin working sc evenly around the top edge of the ribbing.
- Ensure you place one single crochet stitch in each row of ribbing.
- When you’ve gone all the way around, join with a sl st to the first sc.
Step 4: Working the Body (Dark Yellow Section)
- Round 2:
- Chain 1.
- Work 1 sc into the first stitch.
- Work 1 hdc into the next stitch.
- Repeat the pattern of 1 sc, 1 hdc around.
- Join with a sl st to finish the round.
- Continue working this alternating stitch pattern (sc, hdc) in rounds until you’re ready to switch to the next color.
Step 5: Switching to Light Yellow Yarn
- To change to light yellow yarn, fasten off the dark yellow, leaving a small tail to weave in later.
- Join the light yellow yarn to the same stitch where you finished the previous round with a sl st.
- Round 1 (Light Yellow):
- Chain 1.
- Continue the same alternating stitch pattern (1 sc, 1 hdc) all the way around.
- Join with a sl st to complete the round.
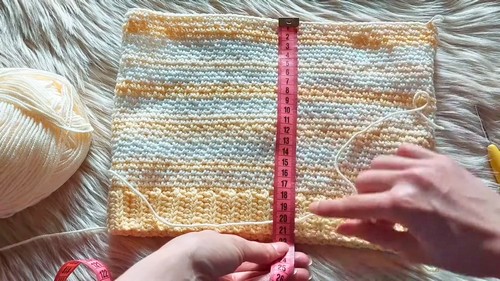
- Work as many rounds as you like in light yellow, until you’re ready to switch to the cream yarn.
Step 6: Cream Yarn and Final Length
- Attach the cream yarn with a sl st, just like before.
- Continue the sc, hdc pattern in rounds using the cream yarn.
- To finish the body:
- Stop when the garment reaches your desired crop top length.
- Fasten off the cream yarn, leaving a tail to weave in.
Step 7: Adding Ribbing to the Top Edge
- Attach dark yellow yarn to the top edge of the crop top using a sl st.
- Begin Ribbing:
- Chain 8.
- Work 1 sc in the second chain from the hook, then sc across (7 sc total).
- To attach ribbing to the top edge:
- Insert your hook into the next stitch of the top edge and work a sl st.
- Slip stitch into the next stitch of the top edge, then turn your work.
- Next Row: Work sc in BLO across the 7 stitches of the ribbing.
- Repeat this process of sc ribbing and attaching it to the top edge, working your way around the entire circumference of the crop top.
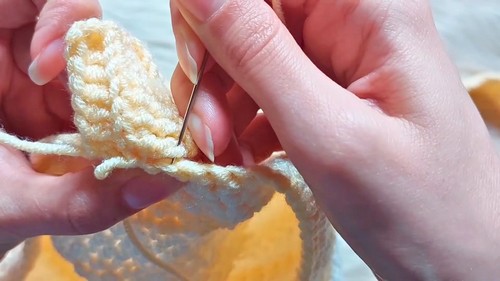
- Once the ribbing is complete, fasten off yarn and weave in all loose ends.
Assembly & Finished Size
- Weave in all loose ends neatly with a darning needle.
- Make sure all seams and ribbing are secure.
- Block the garment if necessary to smooth out stitches and finish the look.
Conclusion
Congratulations, You’ve created a stunning handmade crochet crop top in three beautiful colors. Its ribbed waistline and edging add structure and charm to this stylish piece. Whether paired with jeans, skirts, or shorts, your crop top is sure to turn heads.