
Free Crochet Aurora Off Shoulder Top Pattern Everyone Admires
Follow this gorgeous and free crochet pattern to create the Aurora Off Shoulder Top for a handmade wardrobe essential that’s totally in style.
Pattern By Christine Manaloto
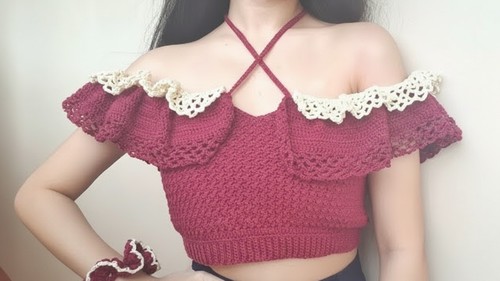
Walking into a sunny park or heading to a weekend brunch, you’d love wearing something stylish, right? That’s where this adorable Aurora Off Shoulder Top comes in, it’s the perfect mix of fashion and comfort. Its breezy design keeps you cool and effortlessly chic all day long. With a flattering off shoulder look and soft ruffles, this top is a showstopper. You’ll want to pair it with jeans, shorts, skirts, or even over your favorite swimsuit for an extra touch of elegance. And the best part? You can make it yourself with easy steps.
Beautiful Aurora Off Shoulder Crochet Free Outfit for Summer
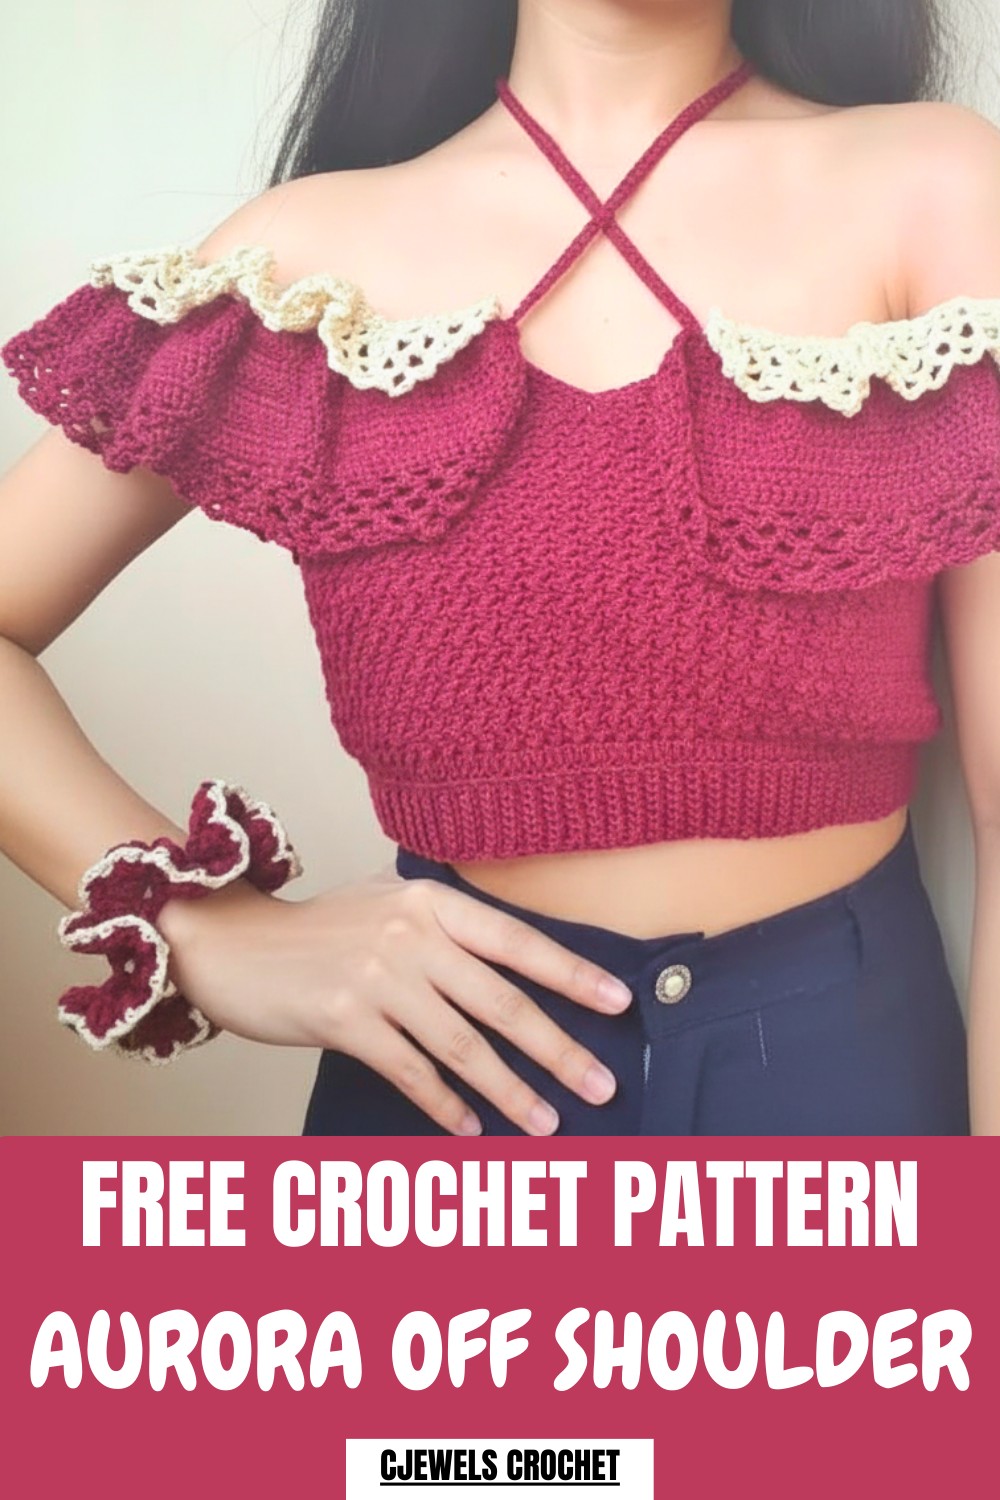
By following this project, you'll get to master the beautiful Suzette Stitch, which is super simple yet looks really fancy. This stitch combines single and double crochet to give the fabric a lovely texture you won’t want to stop touching. It’s perfect for beginners and will help build your confidence if you’re new to using hooks and yarn. Along the way, you'll learn how to shape the neckline, make soft ruffles, and add decorative touches to make your top unique.
But this top is just the start, you can use the same stitching technique for loads of other ideas once you’re done. Think about turning the Suzette Stitch into cozy scarves for chilly evenings, trendy handbags, or even cute throw pillows for your living room. It’s a fun way to experiment with texture and style, all while making something totally personal. From the first stitch to the last, this is a project you’ll enjoy every step of the way.
Aurora Off Shoulder Crochet Top Pattern
Materials Needed
- Yarn: Medium weight yarn of your choice.
- Hook: 5mm crochet hook (or the recommended size for your yarn).
- Stitch Markers: To mark decreases and key positions.
- Tapestry Needle: For weaving in ends.
- Measuring Tape: To ensure the perfect fit.
- Scissors
Abbreviations Used
- ch: Chain
- sc: Single Crochet
- dc: Double Crochet
- sl st: Slip Stitch
- st: Stitch
Notes
- Remember to start with an even number of foundation chains for symmetry.
- Use stitch markers to indicate key elements such as decrease rows and lace edges.
- Adjust measurements of rows and chains to fit your size.
Pattern Instructions
Step 1: Foundation and Middle Body
- Foundation Chain
- Create a slipknot and start with an even number of chains based on your size. For size small, chain 144 chains.
- Foundation Row
- Add 3 extra chains as a turning chain at the end of the foundation chain.
- Double crochet into the third chain from the hook.
- Continue working double crochet into every stitch across the row. This will form the base of your project.
- Suzette Stitch Rows
- Row 1: Chain 1, turn your work.
- Single crochet into the first stitch and double crochet into the same stitch.
- Skip 1 stitch, single crochet into the next stitch, and double crochet into the same stitch.
- Repeat the pattern across the row until you reach the last two stitches. On the final stitch, make a single crochet.
- Row 2–End of Middle Body:
- Continue repeating Suzette Stitch rows (as described above).
- The middle body section consists of 26 rows of Suzette Stitch, but you can adjust this based on your desired length.
- Row 1: Chain 1, turn your work.
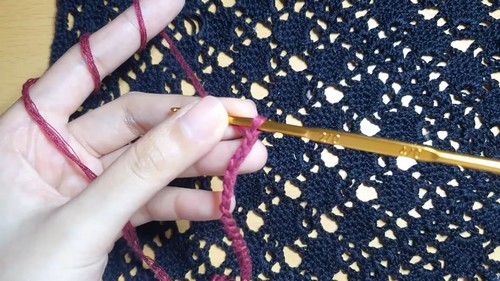
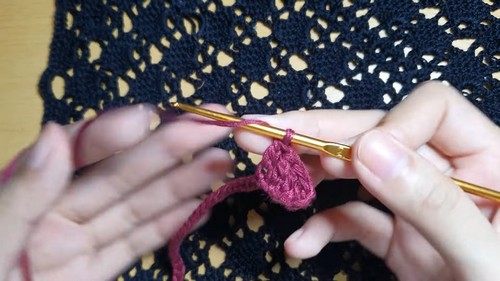
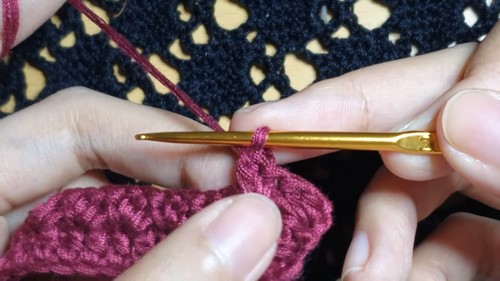
Step 2: Shaping the V-Neck
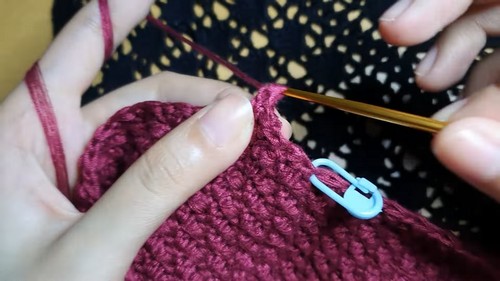
- Mark the Center
- Fold your work and identify the center stitch. Place a stitch marker to indicate the middle point where the V-neck begins.
- First Half of V-Neck
- Work the Suzette Stitch starting from one edge and stop at the stitch marker. Single crochet into the marked stitch and remove the marker.
- To create the decrease:
- Chain 1, turn your work, and skip the first two stitches. Begin the Suzette Stitch on the third stitch.
- Repeat this decrease along the neck edge at the start of each row. Work 9 rows of decrease to shape the V-neck.
- Fasten off.
- Second Half of V-Neck
- Repeat the same steps for the opposite half of the V-neck. Attach the yarn on the other side of the center and work decreases along the neck edge until both sides are symmetrical.
Step 3: Border and Ties
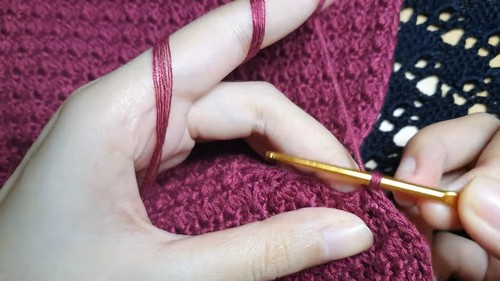
- Single Crochet Border
- Work a row of single crochet around the entire piece to create clean edges.
- Bottom Border
- Create the bottom border with chain extensions:
- Chain 7, then chain an additional 3 chains (10 total).
- Work single crochet into the 3rd chain from the hook and into the remaining chains.
- Slip stitch into the edge of the top to attach the chain extension, turn, and work a row of back loop single crochet for added texture.
- Create the bottom border with chain extensions:
- Waist Detail
- For the waist detail, work double crochet, followed by chain 2, skip 2 stitches, and continue this pattern along the edge.
- Create a long chain for the tie. For example, make 280 chains (you can adjust the length as desired).
Step 4: Off Shoulder Ruffles
- Mark the Arm Areas
- Use stitch markers to indicate where the off shoulder ruffles will begin and end.
- Ruffle Base
- Work double crochet into the back loops only along the top edge to prepare for ruffle placement.
- Ruffle Increase Rows
- Measure your arm and chain an appropriate number (e.g., 38 chains).
- Begin by working double crochet in every stitch of the chain.
- For the next row:
- Increase the ruffles by working 2 dc in the first stitch, 2 dc in the second stitch, and 3 dc in the third stitch, and repeat this pattern across the row.
- Work an additional 5 rows of double crochet to complete the ruffles.
- Ruffle Edging
- Finish the ruffles with chain space edging:
- Chain 4, skip 2 stitches, and single crochet into the next stitch.
- Add rows of chain 5 loops for a delicate scalloped edge.
- Finish the ruffles with chain space edging:
Step 5: Lace Details and Straps
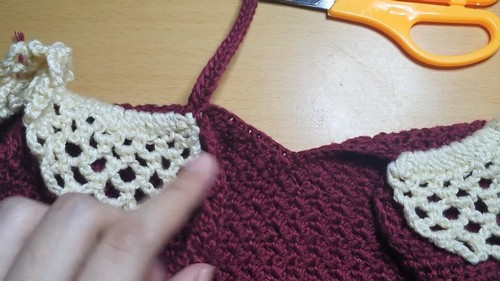
- Lace Border
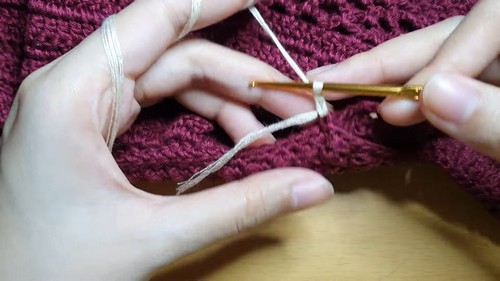
- Use the front loops left open during the ruffle foundation to create decorative lace details.
- Work 2 double crochets into each loop for the lace base.
- Follow with rows of chain arches:
- Row 1: Chain 3, single crochet into the next loop.
- Row 2: Chain 4, single crochet into the next loop.
- Row 3: Chain 6, single crochet into the next loop.
- Straps
- Create adjustable straps by chaining 140 chains and working single crochet back along the chain.
- Securely attach the straps to the top at the designated points.
Assembly and Finishing
- Attach all components securely to ensure symmetry and durability.
- Weave in any loose ends with a tapestry needle.
Conclusion
Congratulations, You’ve completed the Aurora Off Shoulder Crochet Top. With its textured Suzette Stitch, elegant ruffles, and delicate lace details, this top is perfect for both casual and formal occasions. Customize it further by experimenting with colors or embellishments.