
Free Crochet Amigurumi Butterfly Pattern for Your Collection
Bring a flutter of springtime magic to your desk by stitching a tiny crochet butterfly buddy with colorful wings that never fly away from your bookshelf.
Butterflies have a magical way of catching the eye and adding charm to any space. This free crochet amigurumi butterfly pattern brings that same whimsy to yarn, letting you make a fluttery little companion in no time. With soft curves and stitched textures, these delightful butterflies boast rounded bodies and intricately detailed wings that capture their enchanting beauty. They’re playful yet elegant, making them perfect for decorating, gifting, or simply keeping as cheerful desk buddies.
Crochet This Playful Amigurumi Butterfly Pattern for Kids
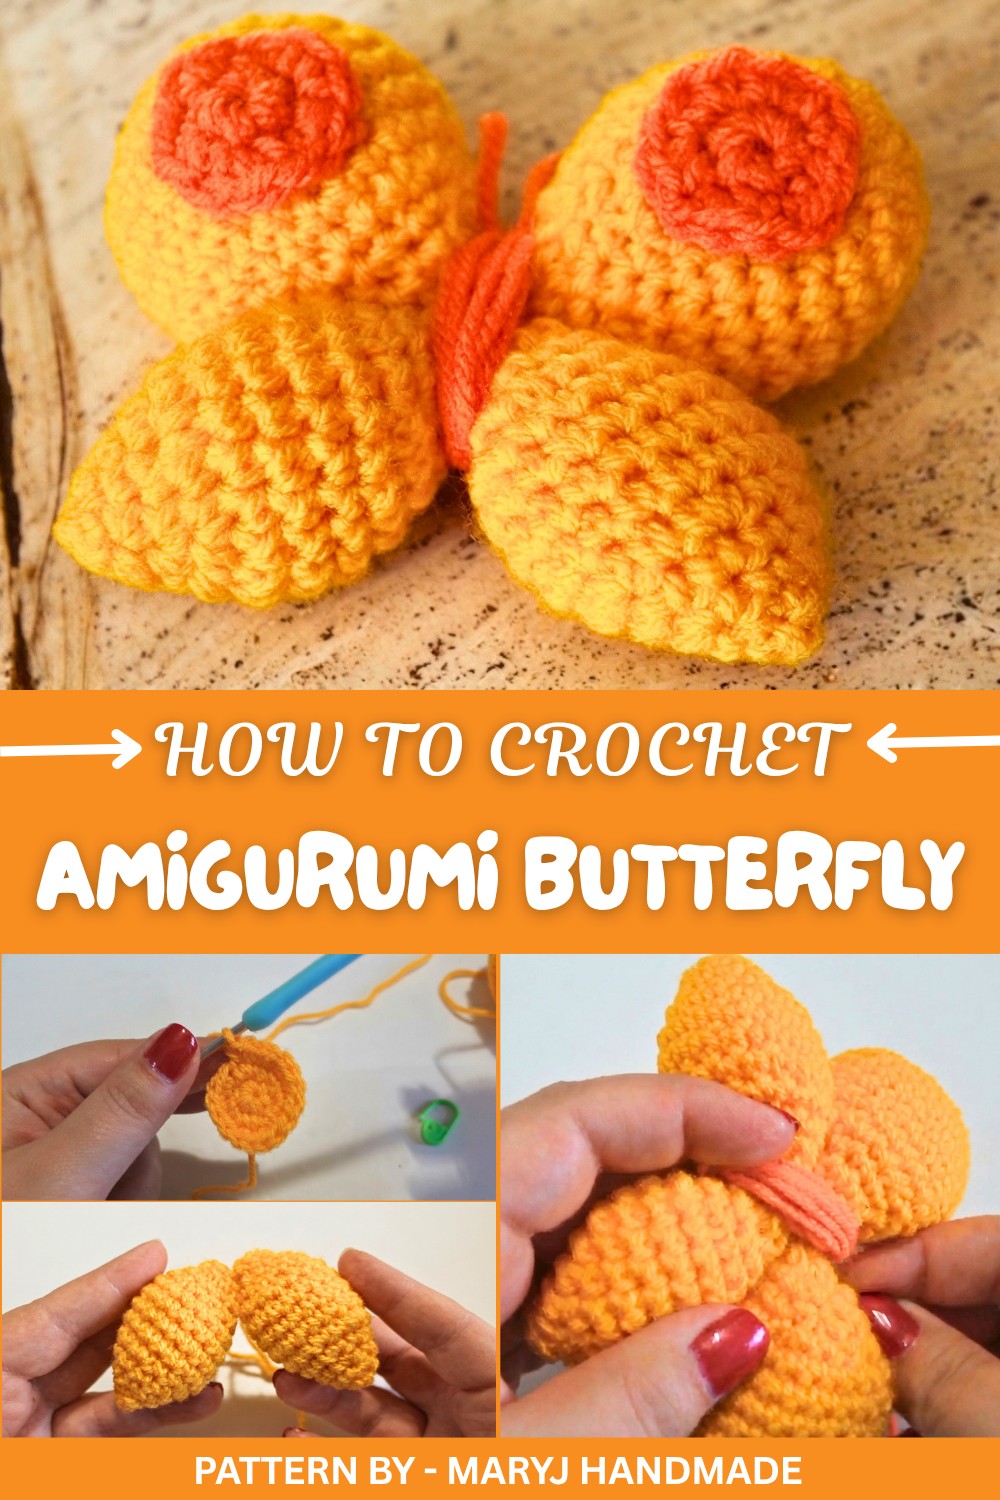
One of the highlights of this project is the versatility in style and size. Depending on your choice of yarn and hook, you can make a tiny version to adorn a keychain or a larger butterfly to hang in a nursery or create a colorful wall piece. Switch up the colors, perhaps soft pastels for a delicate vibe or brighter shades for a bold, summery look and watch your butterfly transform with personality.
Featured By MaryJ Handmade
The process is broken into simple pieces: the body and wings are worked separately before being stitched together. For extra charm, add long antennae and decorate the wings with embroidered accents or tiny pom poms. A helpful tip is to choose yarn that feels light but firm, such as cotton, for sharper surface detail, which makes this little critter’s texture pop beautifully.
Inspired by the gentle grace and vibrant colors of butterflies, this amigurumi project is perfect for anyone wanting to add a flutter of joy to their surroundings. From birthday gifts to thoughtful tokens for a friend, these butterflies are both adorable and meaningful. So, grab your favorite yarn and find your own unique take on this lovable little design, every stitch is a chance to create something truly special.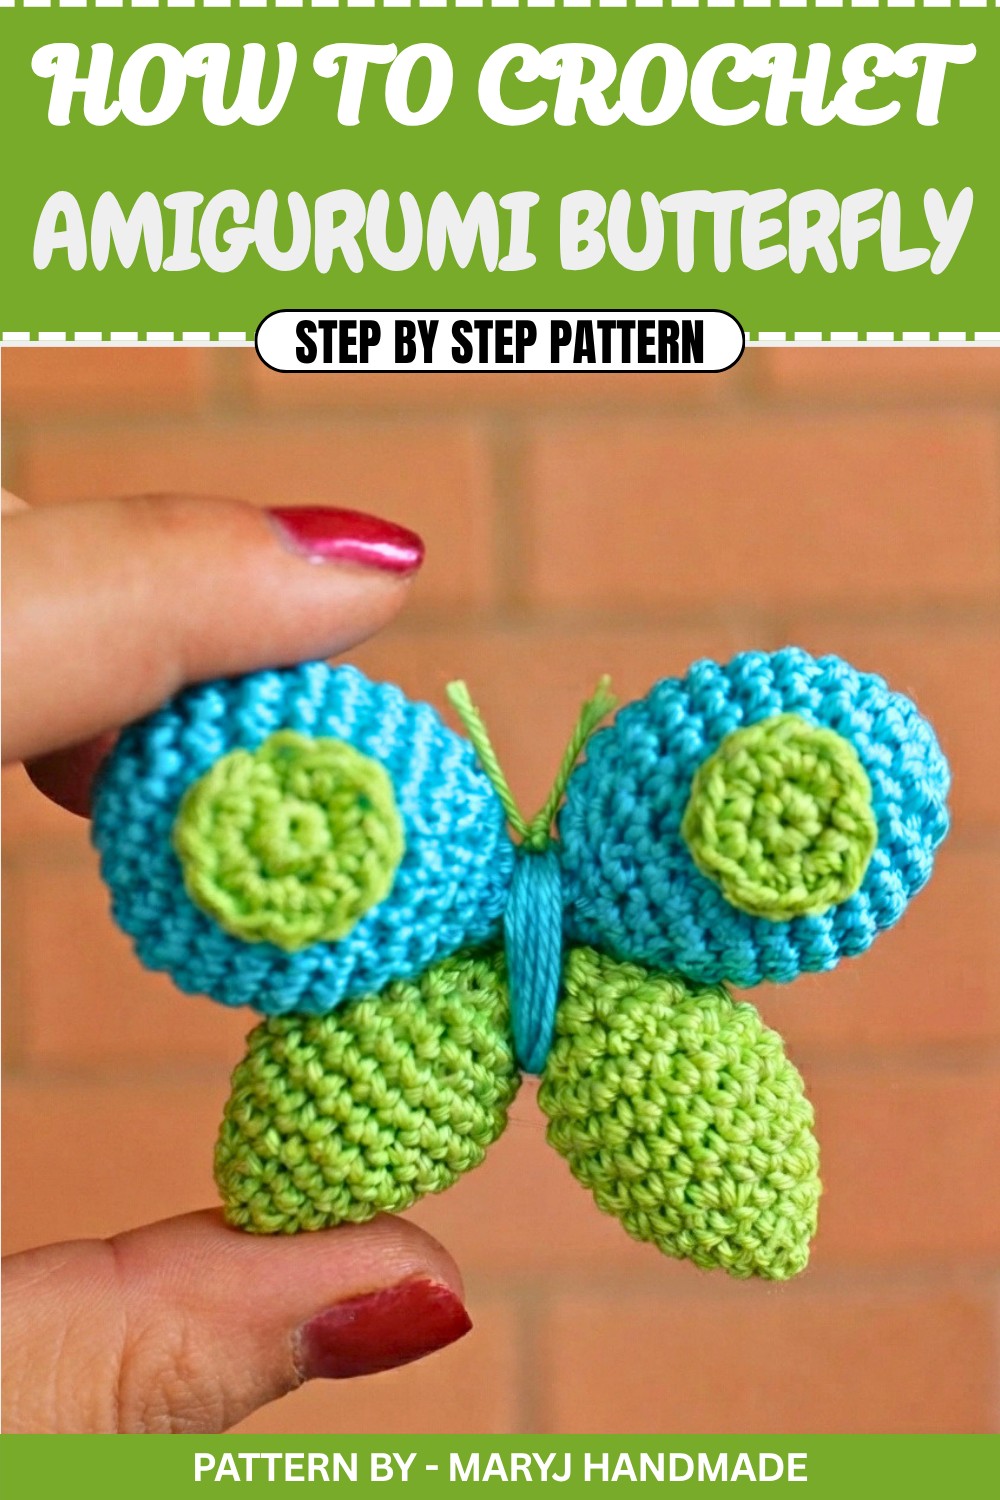
Free Crochet Amigurumi Butterfly Pattern
Quick Overview Of Pattern
- Two big wings worked in the round from a magic loop
- Two small wings worked in the round from a magic loop
- Two small circles (body/decoration) made from the first two rounds of the big wing
- All pieces lightly stuffed (wings) and sewn together
- Uses single crochet, increases, and invisible decreases
- Very quick and flexible: can be made in various sizes with different yarn weights
Notes
- The wings are worked in continuous rounds (spiral), not joined rounds.
- Use a stitch marker in the first stitch of each round to keep track.
- The pattern is amigurumi style: tight single crochet stitches, worked in the round, lightly stuffed.
- Increases are always 2 single crochet in the same stitch.
- Invisible decreases are worked through the front loops only of the next two stitches.
- The small circles are simply Round 1 and Round 2 of the big wing pattern.
- The pattern below keeps the structure and order of the transcription; when the audio is incomplete, only what is explicit in the video is written.
Skill Level
Easy / Advanced Beginner
You should be comfortable with:
- Working a magic loop / magic ring
- Single crochet in the round
- Increasing and decreasing
- Using a stitch marker
- Basic hand sewing of crocheted pieces
Materials
As in the video:
- Yarn / Thread (any weight; size determines final butterfly size)
- Example small: cotton thread size 5
- Example medium: cotton thread size 3
- Example large: acrylic yarn
- Hook size (match yarn or thread):
- 1.5 mm for fine cotton thread (small)
- 2 mm for cotton size 3 (medium)
- 2.5 mm for acrylic yarn (large, as in tutorial)
- Stuffing: polyester fiberfill (for wings, lightly)
- Stitch marker
- Yarn/tapestry needle
- Scissors
Measurements / Sizing
Exact measurements are not given in the video, as they depend on yarn and hook. Approximate sizes:
- Using cotton thread size 5 and 1.5 mm hook: small butterfly
- Using cotton size 3 and 2 mm hook: medium butterfly
- Using standard acrylic yarn and 2.5 mm hook: larger butterfly
You can easily change size by changing hook or yarn thickness.
Gauge
Gauge is not critical for this project, because it is an amigurumi decoration rather than a garment.
However:
- Use a hook size that produces a tight fabric so stuffing does not show.
- If your stitches are loose, go down a hook size.
Stitch Abbreviations
(US crochet terms)
- MR = Magic Ring / Magic Loop
- st(s) = stitch(es)
- sc = single crochet
- inc = increase (2 sc in the same stitch)
- dec (inv dec) = invisible decrease (single crochet decrease using front loops only)
- sl st = slip stitch
Special Stitches
Magic Ring (MR)
Form a loop with the yarn, insert the hook under the loop, yarn over and pull up a loop, chain 1 if desired, then work the required number of single crochets into the loop. Pull the tail to close the ring.
Invisible Decrease (inv dec)
Used in the video to shape the wings:
- Insert hook into the front loop only of the next stitch.
- Insert hook into the front loop only of the following stitch.
- Yarn over, pull through both front loops (two loops on hook).
- Yarn over, pull through both loops on hook.
This creates a neater, less bulky decrease.
The Crochet Pattern
BIG WING (Make 2)
You will make two identical big wings. Work in continuous rounds, using a stitch marker to mark the first stitch of each round.
1.Round 1:
- Make a magic ring (MR).
- Work 6 sc into the ring.
- Pull the tail to close the loop tightly.
- You now have 6 sts.
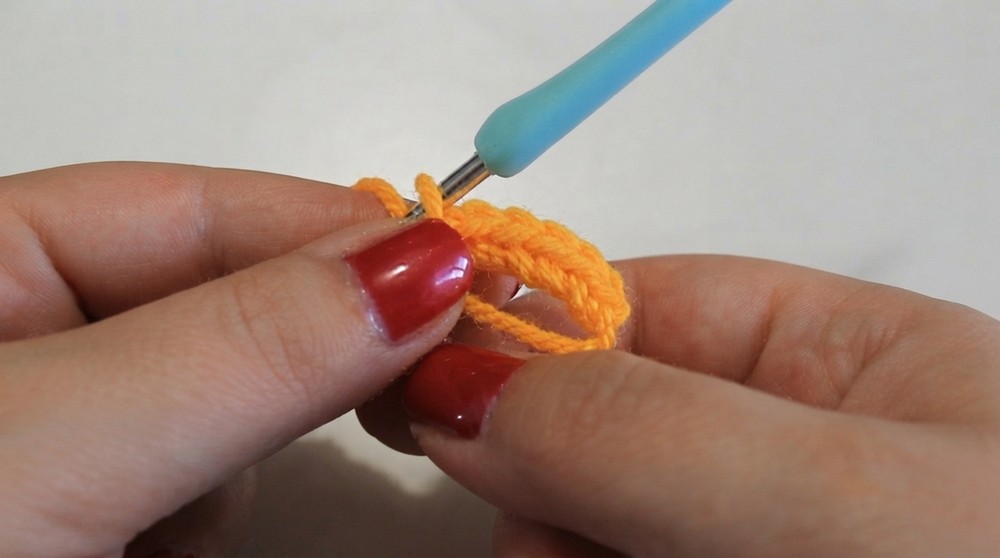
2.Round 2: 6 increases
- Work 2 sc in each stitch around.
- Place your marker in the first stitch of the round.
- Repeat: inc in every st.
- End of round: 12 sts.
3.Round 3:
- Pattern: 1 sc, 1 inc repeated around.
- 1 sc in the first st, place marker.
- 2 sc in the next st (inc).
- Repeat around: 1 sc, 1 inc until end.
- End of round: 18 sts.
4.Round 4:
- Pattern: 1 sc in each of the first 2 sts, then 1 inc, repeat.
- 1 sc in first st, 1 sc in second st, 2 sc in third st (inc).
- Repeat: 2 sc, 1 inc around.
- End of round: 24 sts.
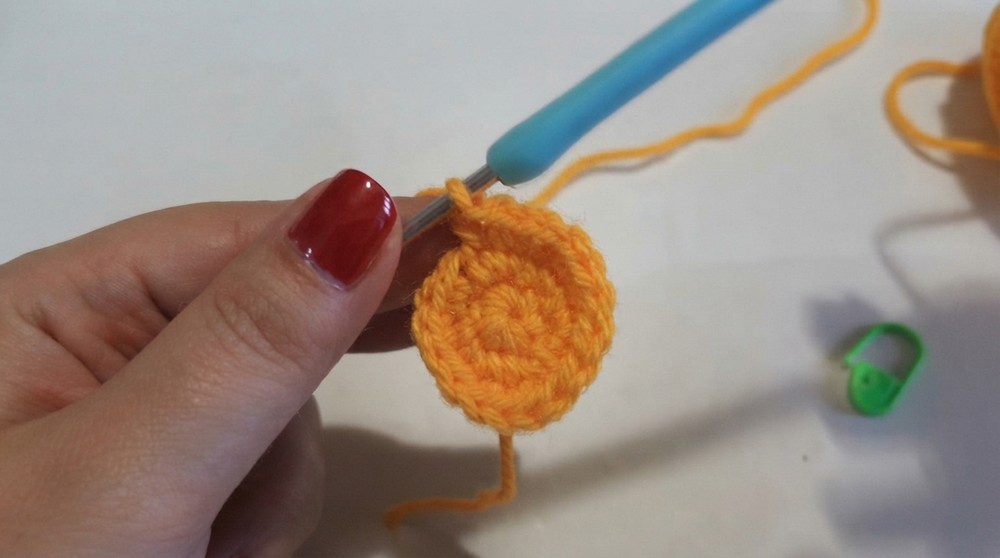
5.Rounds 5–9:
- Work 1 sc in each stitch around (no increases).
- Keep 24 sts for 5 rounds.
- After Round 9, you still have 24 sts.
6.Round 10: Decrease round
- Pattern (as in video): 2 sc, 1 invisible dec, repeated 6 times.
- 1 sc in next st, 1 sc in next st (2 sc total).
- 1 inv dec over the next 2 sts (see Special Stitches).
- Repeat: 2 sc, 1 inv dec around.
- End of round: 18 sts.
7.Round 11: Decrease round
- Pattern: 1 sc, 1 invisible dec repeated 6 times (as stated: one sc and one inv dec six times).
- 1 sc in next st.
- 1 inv dec over the next 2 sts.
- Repeat around: 1 sc, 1 inv dec for a total of 6 repeats.
- End of round: you continue shaping to fewer sts (video notes 18 sts before this round; after 6 decreases you would have 12 sts).
At the end of Round 11:
- Start stuffing the wing lightly.
- Do not over stuff; the designer wants the wing a bit flat, not fully round.
8.Round 12:
- The transcription states: “In round 12 I’m going to make one single crochet in each stitch.”
- Work 1 sc in each stitch around (no increases, no decreases).
9.Round 13 (Last round for big wing):
- “Round 13 is our last round and we have to work six decreases.”
- Work 6 inv dec evenly around until the opening is closed or nearly closed.
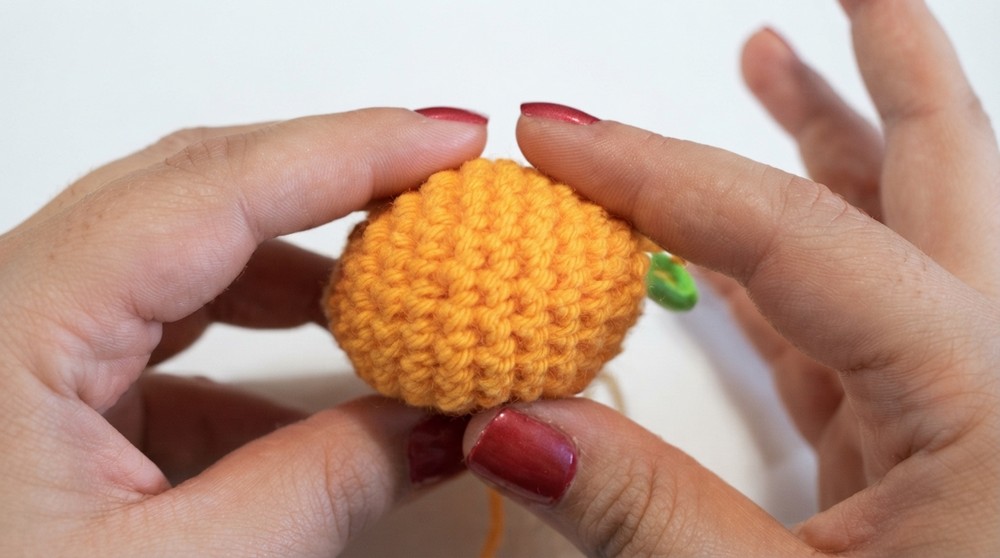
Finishing big wing:
- When Round 13 is finished, slip stitch (sl st) into the next stitch.
- Cut the yarn, leaving a long tail for sewing.
- Fasten off.
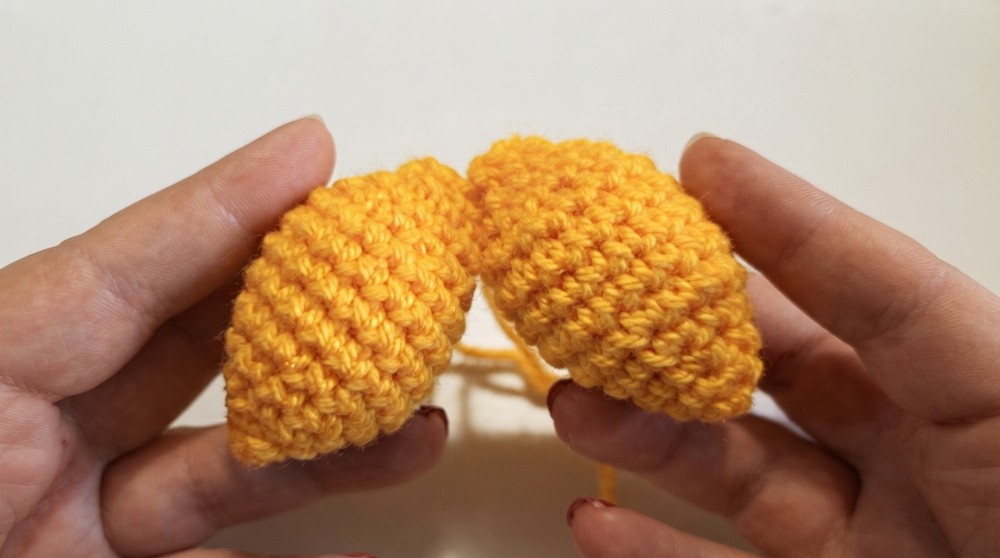
Repeat all steps to make a second big wing.
SMALL WING (Make 2)
Again, worked in continuous rounds with a stitch marker.
1.Round 1:
- Make a magic ring.
- Work 4 sc in the ring.
- Pull tail to close.
- End of round: 4 sts.
2.Round 2:
- Pattern: 1 sc, 1 inc repeated 2 times.
- 1 sc in first st, place marker.
- 2 sc in next st (inc).
- 1 sc in following st.
- 2 sc in next st (second inc).
- End of round: 6 sts.
3.Round 3:
- Pattern: 1 sc, 1 inc for a total of 3 repeats.
- Work: 1 sc in first st, 2 sc in next (inc), repeat 3 times.
- End of round: 9 sts.
4.Round 4:
- Pattern: 1 sc in first 2 sts, 1 inc in third st, repeat.
- 1 sc in first st, 1 sc in second st, 2 sc in third st (inc).
- Repeat this sequence around.
- End of round: 12 sts.
5.Round 5:
- Pattern: 1 sc, 1 inc for 6 times.
- 1 sc in next st, 2 sc in next st (inc), repeated 6 times.
- End of round: 18 sts.
6.Rounds 6–9:
- Work 1 sc in each of the 18 sts around.
- Continue for 4 rounds.
At the end of Round 9:
7.Round 10:
- “In the next round I’m going to work one single crochet and one invisible decrease for six times.”
- Pattern: 1 sc, 1 inv dec repeated 6 times.
- End of round: (18 – 6) = 12 sts.
The video then says: “I finished round 11 and at this point we can start stuffing our wing.”
This aligns with the count: after the decrease round, start stuffing.
- Stuff lightly, as with the big wings, keeping them slightly flat.
8.Round 11 (as corrected in video narration)
- “In round 11 I'm going to make one single crochet in each stitch.”
- Work 1 sc in each st around.
9.Round 12 (Last round for small wing):
- “Round 12 is our last round and we have to do six decreases.”
- Work 6 inv dec around to close the top.
Finishing small wing:
- Slip stitch into the next st.
- Cut yarn leaving a long tail for sewing.
- Fasten off.
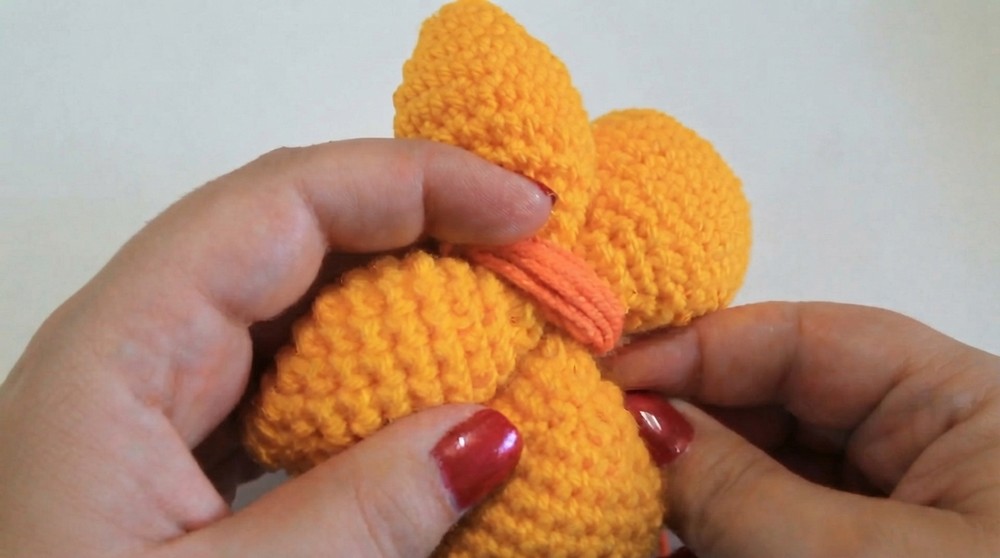
Make a second small wing the same way.
SMALL CIRCLES (Make 2)
The video states:
“To make the two circles repeat the first two rounds of big wing.”
So:
Round 1:
- MR, 6 sc into ring, pull tight.
Round 2:
- Work 2 sc in each stitch around (6 inc).
- End of round: 12 sts.
Then:
- Slip stitch in next stitch.
- Cut yarn, leaving a long tail for sewing.
- Fasten off.
Make two circles. These are used as decorative parts (often for the body or accents of the butterfly).
Assembly & Finished Size
After all parts are made:
- 2 big wings
- 2 small wings
- 2 small circles
Follow the video’s process:
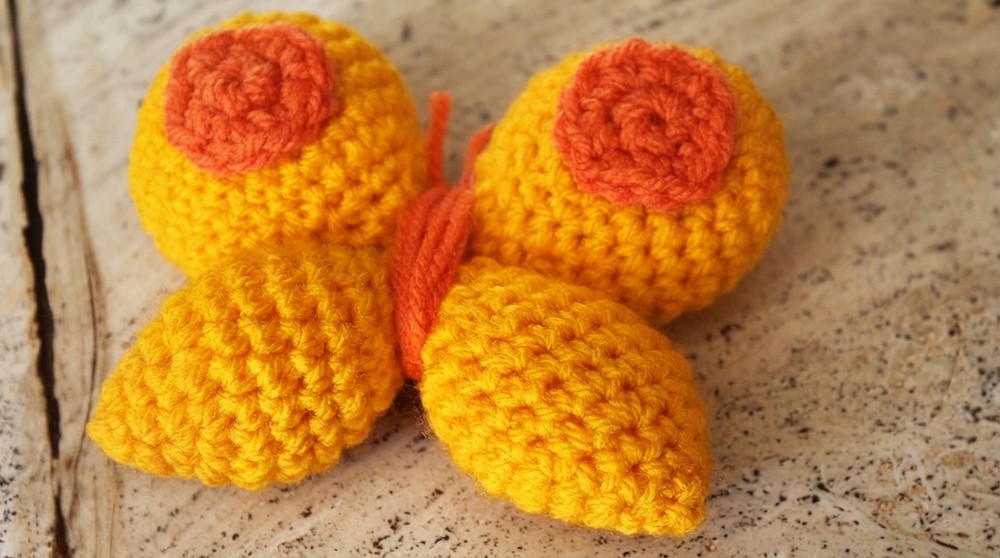
- Lay out the pieces in a butterfly shape:
- Big wings on top (left and right).
- Small wings below them (left and right).
- Circles placed where desired (often in the center to form the body or decorative spots).
- Thread a needle with one of the yarn tails from a big wing.
- Sew the wings together:
- Join the two big wings side by side at their inner edges.
- Attach the small wings beneath the big wings so they form a natural butterfly shape.
- Sew the circles:
- Position the two circles in the center or where Mary shows in the video.
- Sew them securely to the wings/body.
- Weave in any remaining ends and trim excess yarn.
The finished size will depend on your yarn and hook:
- Fine thread + small hook = small delicate butterfly.
- Medium cotton + 2 mm hook = medium size.
- Acrylic yarn + 2.5 mm hook = larger decorative butterfly.
Conclusion and Ending Words
Your beautiful crochet butterfly is now complete. The pattern is quick, simple, and very adaptable: you can play with colors, yarn sizes, and even add embellishments like beads or embroidery. As Mary says in the tutorial, she hopes you enjoy the project and find it useful.