
Free Butterfly Crochet Pattern That’s Fast and Fun to Create
Add a touch of natural beauty to your clothes or hair accessories by stitching a tiny butterfly using this wonderfully simple and free crochet pattern.
A small crochet butterfly can turn any simple item into something special and charming. With its pretty wings and tiny body, it looks delicate yet playful, and it works well as a decoration for many different projects. You can sew it on baby vests, jackets, hats, or use it on bags to add a cute, handmade touch that stands out.
In the pattern, shows how to start with a magic ring and build the wings with chains and cleverly gathered loops on the hook. The larger wings are shaped by first working with more chains and then decreasing, which creates a soft, leaf like curve. The smaller wings are made with fewer chains and kept at the same size, giving the butterfly a balanced and realistic look with two big wings on top and two little ones below.
Free Quick Crochet Butterfly Pattern to Brighten Your Day
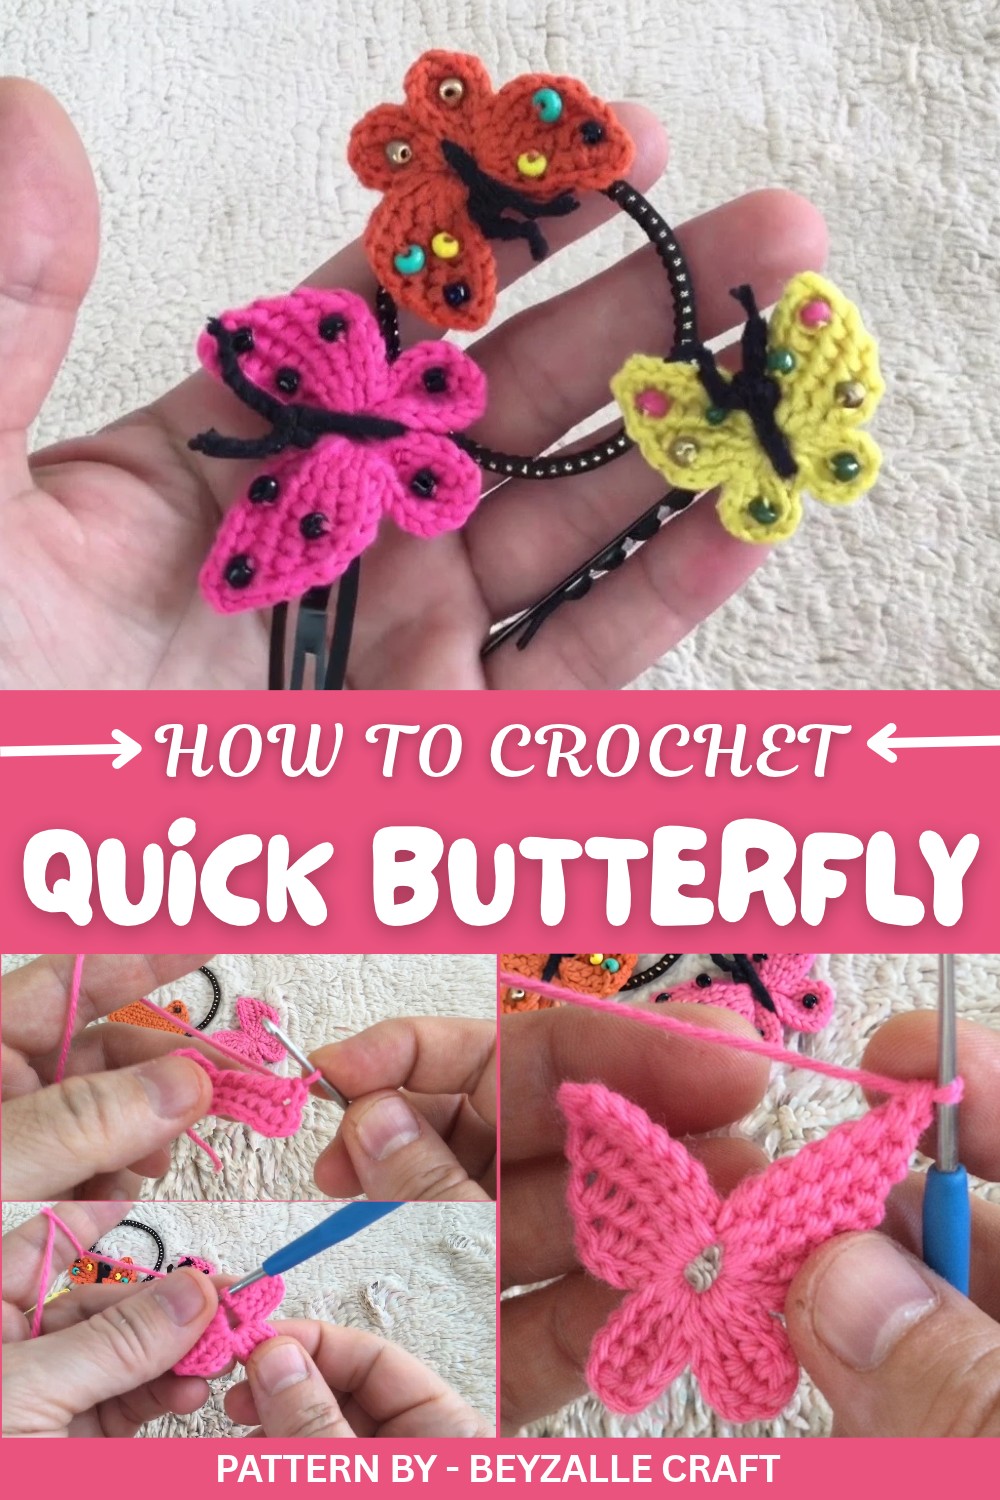
One of the most attractive parts of this design is the neat body and antennae. After finishing the wings, Beyzalle uses black yarn and about 35 chains to wrap the center and form the butterfly’s body. She then trims the ends to make cute antennas, which complete the character of the piece. This simple method makes the butterfly look detailed without being hard to crochet.
Beyzalle CRAFT shows how easily you can turn these butterflies into hair clips, brooches, or magnets. You can leave them plain for a clean look, or sew on tiny beads and use different colors of yarn to make them bright and fun. Her clear teaching style and creative ideas make this free pattern a great choice for anyone who wants to add pretty handmade touches to their crochet projects.
Free Crochet Pattern: Versatile Butterfly Accessory
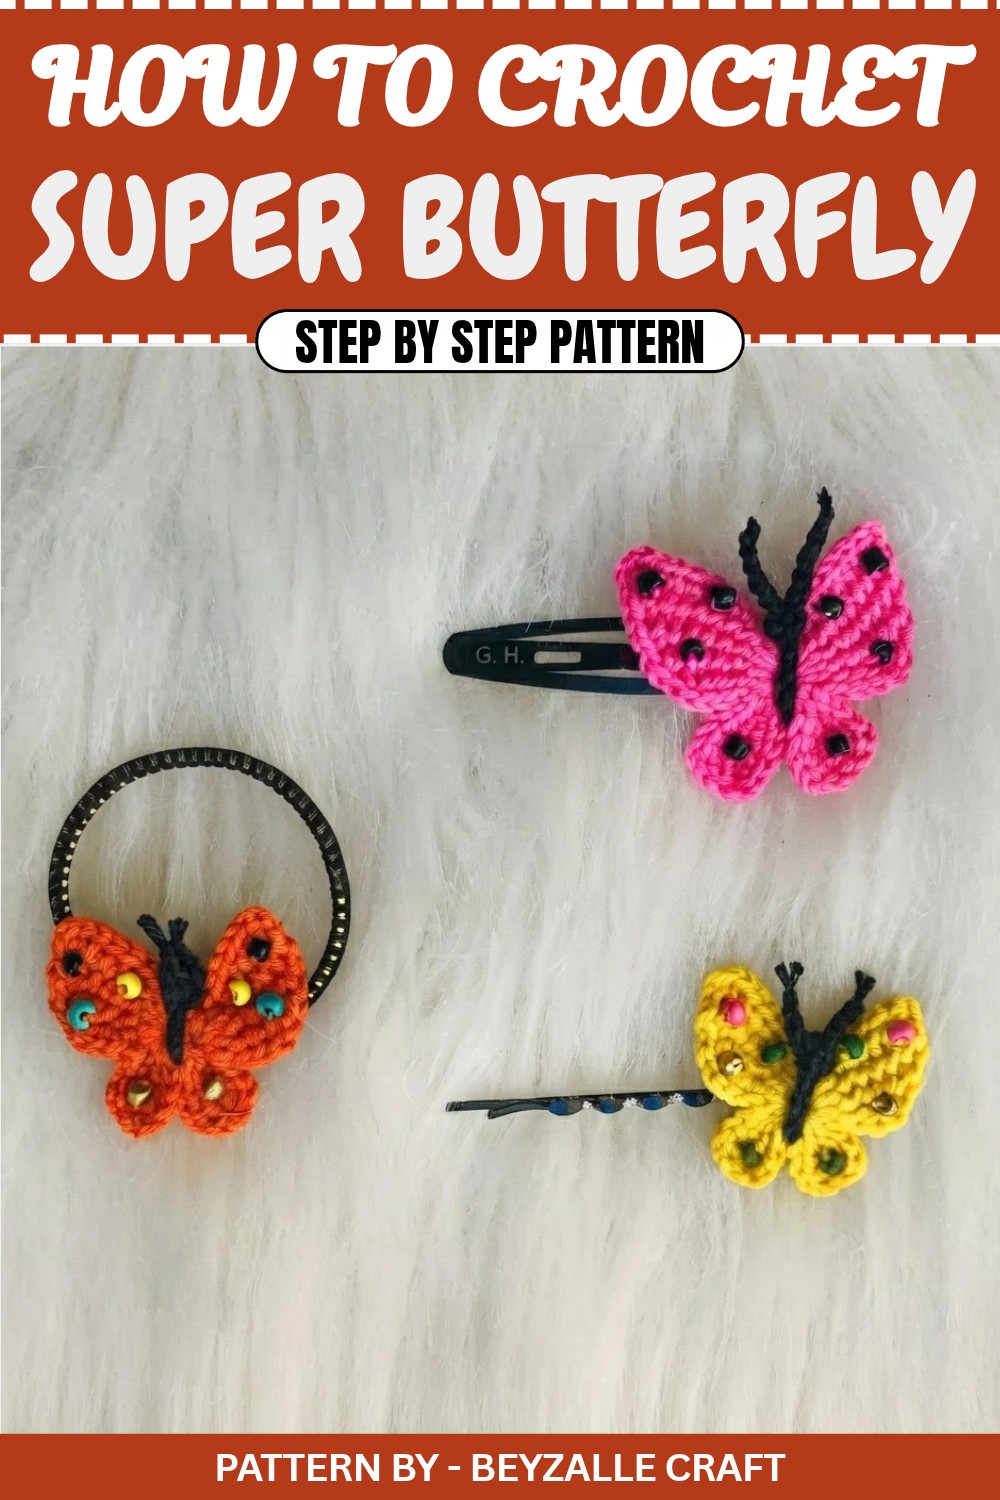
This crochet tutorial will guide you in creating a stunning butterfly that can be used as brooches, magnets, hair clips, bag decorations, baby clothing embellishments, or anywhere you desire. With its versatility and charm, this project lets your creativity soar. Follow along to craft these gorgeous butterflies effortlessly and add a handmade, decorative touch to your favorite items.
Quick Overview of the Pattern
- Project: Versatile crocheted butterfly
- Difficulty Level: Beginner friendly
- Techniques Used: Magic ring, chain stitches, slip stitches, and gathered loops
- Key Highlights:
- Perfect for accessorizing various items—bags, clothes, and home décor.
- Easily customizable in colors and sizes for unique designs.
- Simple instructions make it ideal for all skill levels.
Notes
- Ensure relaxed tension while working with chains to make looping and assembly easier.
- Use bright or contrasting yarn colors for vibrant results.
- You can embellish the butterfly with beads, buttons, or embroidery stitches for a personalized touch.
Skill Level
Beginner – Basic knowledge of chain stitches, slip stitches, and working with loops is required.
Materials
- Yarn:
- Main color for butterfly wings (medium weight yarn)
- Black or dark yarn for the body and antennae
- Hook: 2.0 mm crochet hook
- Scissors: To trim yarn ends
- Tapestry Needle: For finishing off and optional embellishment
- Optional: Beads or small decorations for wings
Measurements / Sizing
- Completed butterfly measures approximately 6–8 cm, depending on yarn and hook size.
Gauge
Gauge isn’t critical for this project. Use evenly spaced, relaxed stitches for a clean look.
Stitch Abbreviations
- MR: Magic Ring
- CH: Chain
- SL ST: Slip Stitch
- SC: Single Crochet
Special Stitches
- Gathered Loops: Yarn pulled through multiple loops to shape the butterfly wings.
The Crochet Pattern
Butterfly Wings
Large Upper Wings
- Start: Create a Magic Ring. Work into this ring.
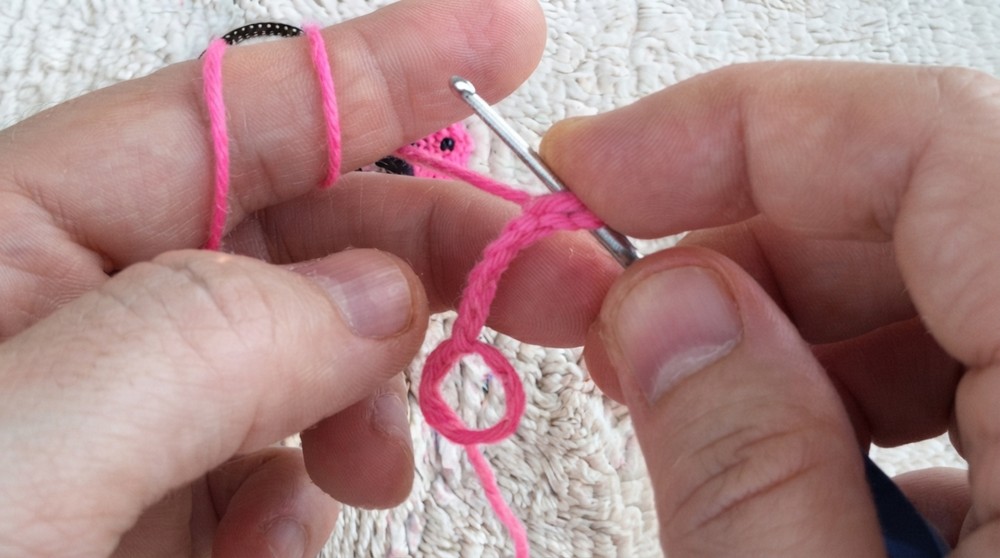
- Step 1 - Chains: CH 17. Keep chains relaxed to avoid pulling the stitches too tightly.
- Step 2 - Foundation Back Loop: Rotate the CH and work into the back loops of each stitch as follows:
- Insert your hook into the second chain and pull up loops. Repeat 7 times until the working yarn holds 8 gathered loops.
- Pull yarn through all loops simultaneously and secure with a SL ST into the magic ring.
- Step 3 - Reduce Loops for Wing Tapering:
- Repeat the process, but work into 7 back loops, leaving one loop off.
- Pull yarn through all loops at once and secure with another SL ST into the magic ring.
- Step 4 - Repeat with Fewer Loops:
- Work into 6 back loops on the chain, pull the yarn through all loops, and secure.
- Continue reducing loops until you’ve completed one tapered wing edge.
- Finish: Add IL SL ST along the wing edge to connect back to the magic ring.
Small Lower Wings
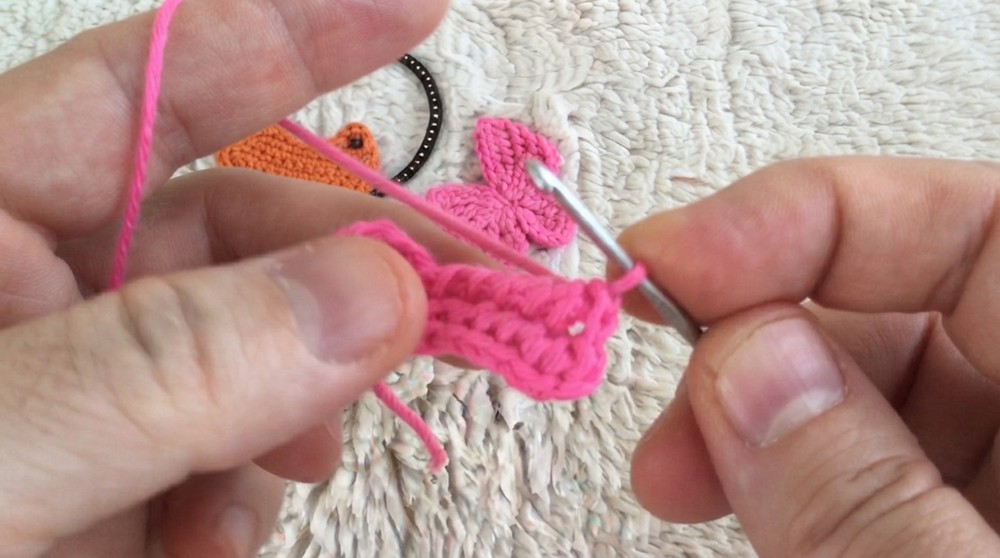
- Create another CH 4 for the lower wing.
- Back Loop Gathering: Work into the back loops as follows:
- Start with 5 gathered loops, pull through, and secure.
- Repeat the same process to make the second small wing, working 4 loops each time.
- Assembly: Secure each wing with a SL ST into the magic ring.
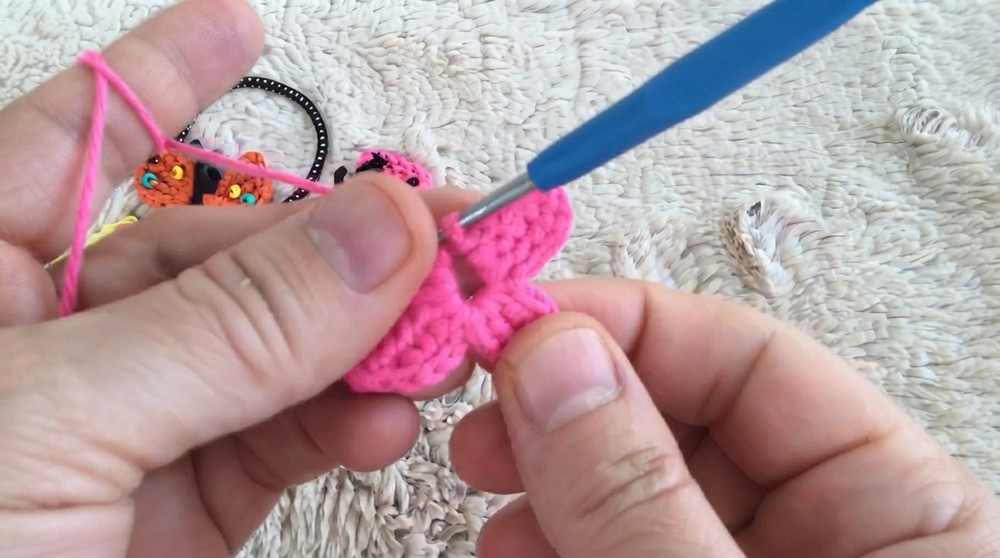
Second Large Wing Set
Repeat the steps for the large upper wings on the opposite side of the magic ring to complete the butterfly's opposite wing set.
Butterfly Body and Antennae
- Switch to black or dark yarn for the body.
- Step 1 Body Chain: CH 35 for the butterfly’s body and antennae.
- Step 2 Tie: Wrap this chain securely around the middle of your butterfly where the magic ring holds all wings together.
- Step 3 Knot: Create a tight knot at the center. Adjust placement to form the head and body neatly.
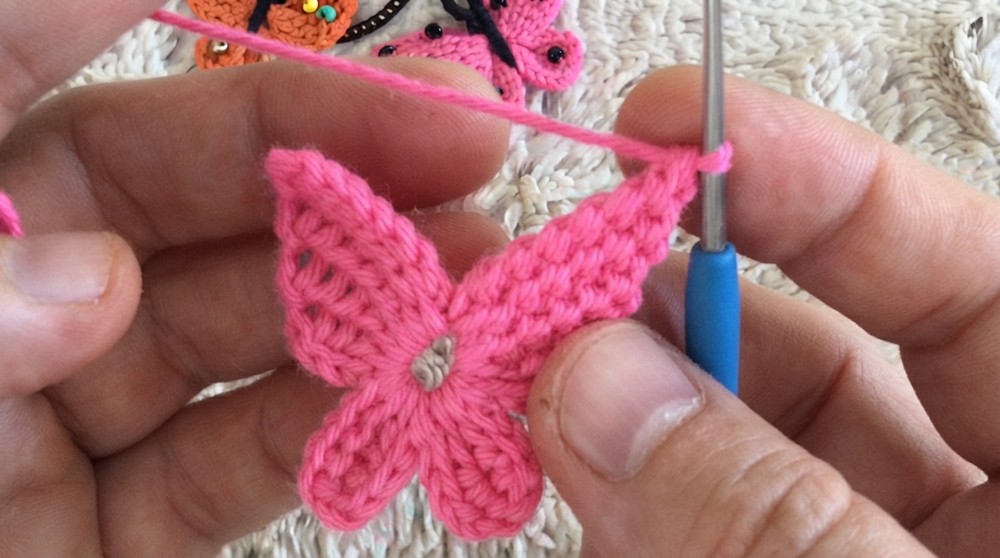
Antennae Tips
- Trim the chain ends to your desired antenna length.
- Fray the tips slightly by separating the yarn strands for a whimsical look.
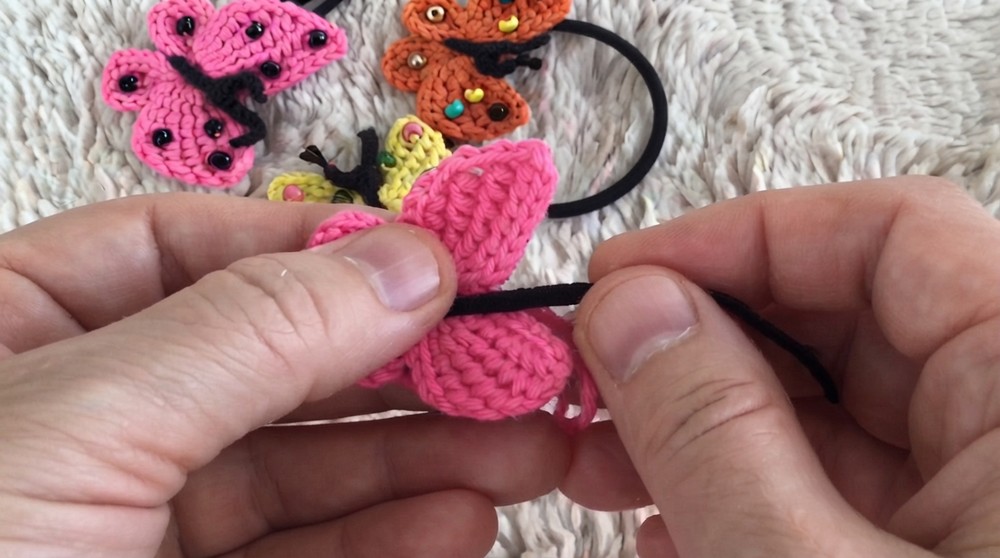
Optional Embellishments
- Use decorative beads or buttons to adorn the butterfly’s wings.
- Sew colorful embroidery threads along the edges for added detail.
Assembly & Finishing Touches
Ataching Butterfly to Accessories
- For hair accessories: Stitch the butterfly onto a plain hair clip or barrette using the black yarn.
- For magnets: Attach a small, lightweight magnet to the back using a glue gun.
- For brooches: Sew or glue a pinback to the middle of the butterfly.
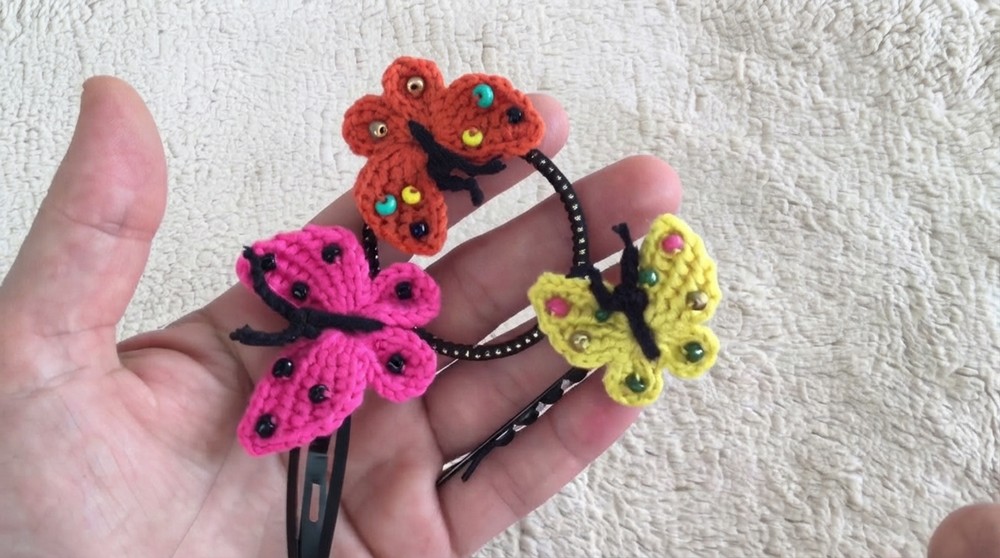
Finished Size
- Approximate size: 6–8 cm, adjustable based on the number of chains and yarn thickness.
Conclusion and Final Words
Congratulations on completing your crochet butterfly accessory. This simple yet elegant pattern is bound to brighten up any item or gift. With limitless potential for customization, you can create butterflies for any occasion or purpose.