
Quick and Easy Free Crochet Happy Pear Amigurumi Guide
Slip a Free Crochet Happy Pear Amigurumi Pattern onto your hook to build a cute smiling fruit plushie that brightens up your cozy kitchen shelves.
When I started designing this fun little amigurumi, I wanted to create something that felt cheerful and lighthearted, something that would brighten anyone’s day. The Free Crochet Happy Pear Amigurumi is exactly that: a soft, squishy pear with a sweet smile and blushing cheeks, perfect for gifting or displaying. Its adorable shape, smooth texture, and playful embroidered features make it a project bursting with personality while being simple enough for beginners to enjoy.
Smiling Pear Amigurumi Free Crochet Pattern You Must Try
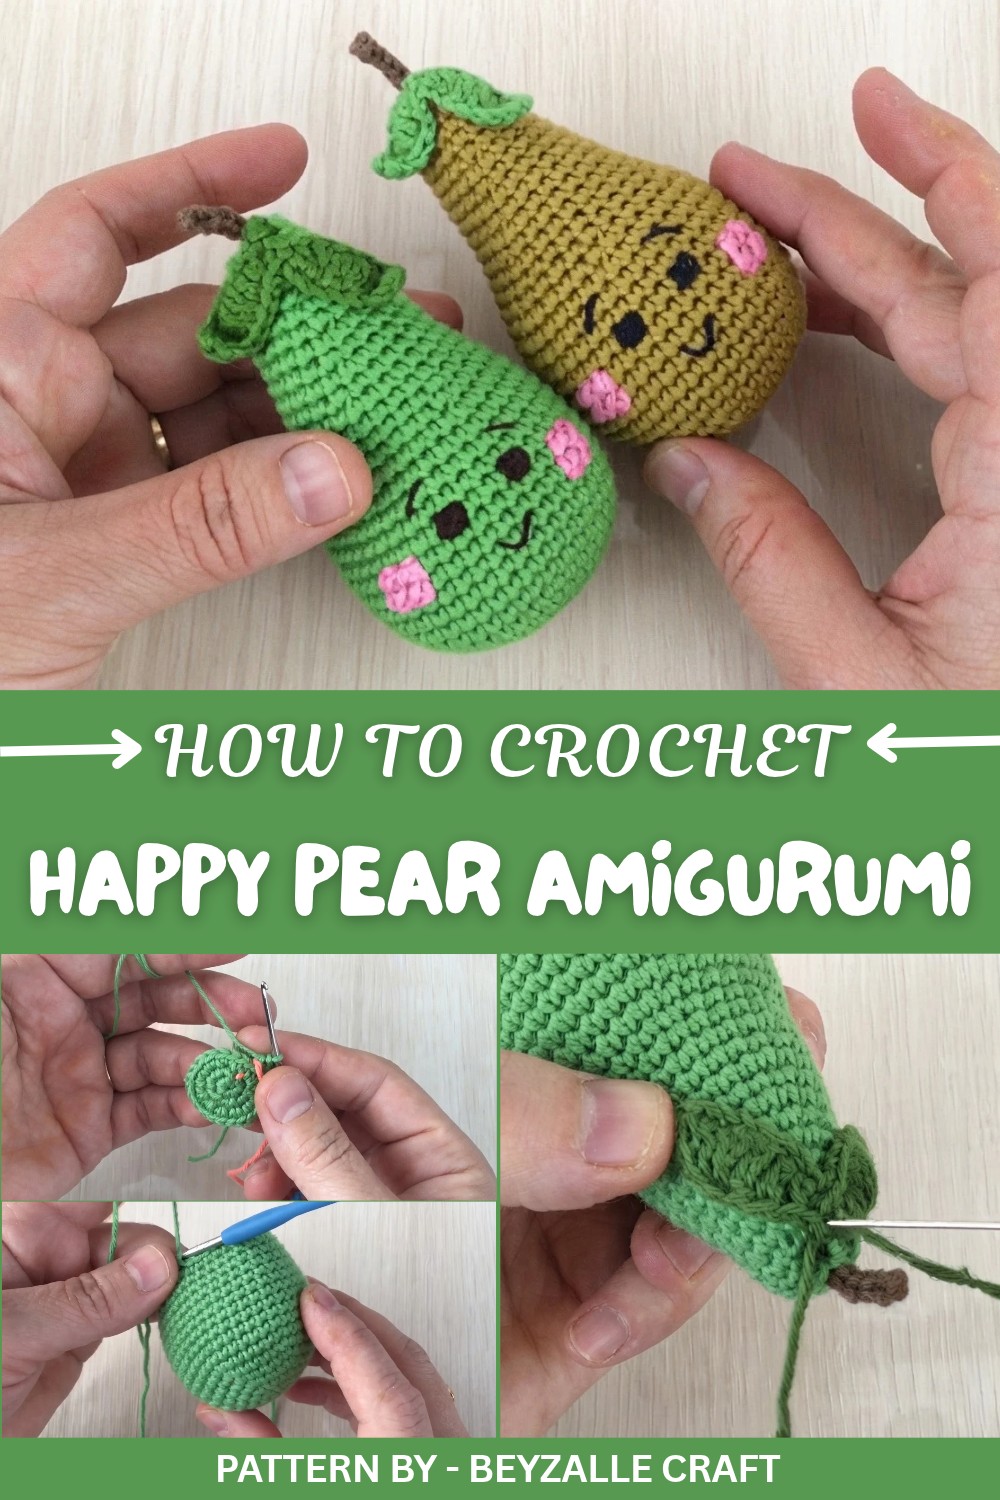
This pear amigurumi is worked in continuous rounds, which gives it its seamless appearance and lovely, rounded shape. The single crochet stitches create a sturdy canvas for the soft details like the embroidered face, the leafy top, and the cute little stem. Using lightweight and non pilling yarn not only ensures durability but also complements the stitch pattern, keeping the pear’s shape neat and tidy. The project is easy to customize, you can create anything from tiny keychain sized pears to larger versions that double as joyful décor pieces or comforting toys.
Pattern By Beyzalle CRAFT
This design suits anyone looking for a quick, creative project that’s adaptable and fun. It’s perfect for creating thoughtful gifts for birthdays, baby showers, or even cheerful thank-you tokens. You can personalize it with different yarn colors and experiment with facial expressions to make each pear unique.
The idea for this project was inspired by the happiness and beauty of fresh fruit, simple yet colorful and full of charm. It’s a wonderful way to showcase creativity and spread smiles through your handmade creations. Whether you add extra detailing or keep it minimal, this pear amigurumi will surely make someone’s day.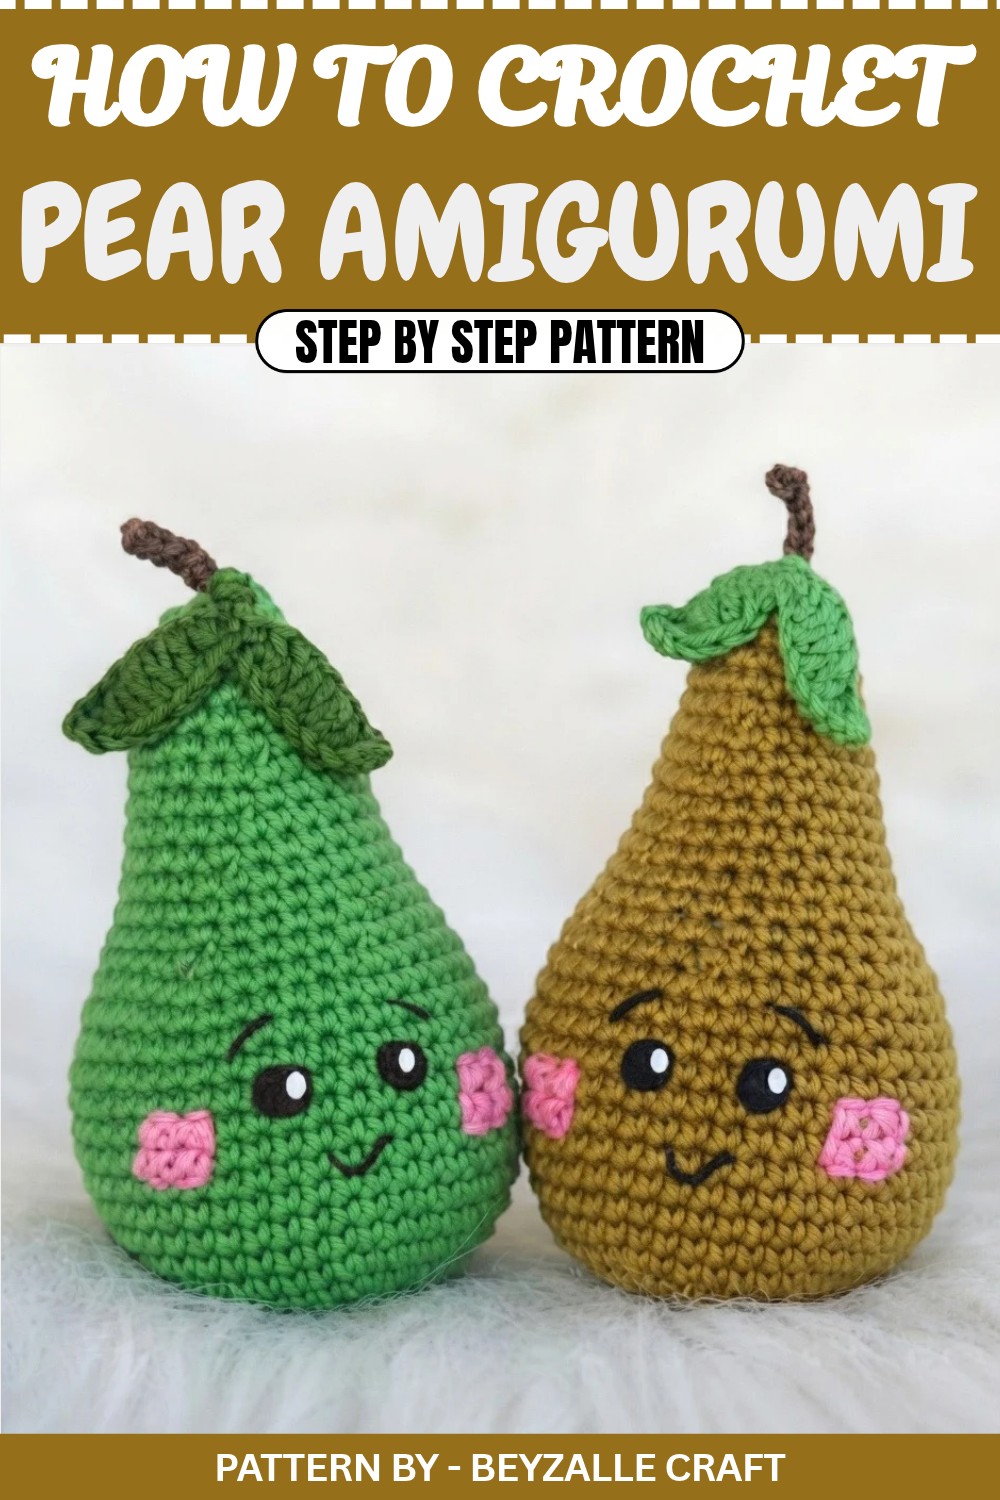
Crochet Pear Amigurumi Pattern
Crocheting a cute pear shaped amigurumi is a fun and rewarding project that’s perfect for gifting, decorating, or adding a handmade charm to your style. This step by step pattern guides you through creating the pear’s body, stem, leaves, and finishing details like facial embroidery and blush cheeks. The design is simple yet full of personality, making it ideal for beginners and experienced crocheters alike.
Quick Overview of Pattern
- Type: Pear Amigurumi
- Purpose: Decorations, gifts, or crafting practice
- Difficulty: Beginner friendly with embroidery elements
- Customizable: Change colors for varying styles (e.g., light green for a fresh pear or yellow for a ripe one)
Notes
- Use high quality, non pilling yarn to ensure long lasting results and a neat appearance.
- The stem and leaves can be styled with simple embroidery techniques, using contrasting shades for added flair.
- This project uses a 1.75mm crochet hook for a fine and precise finish.
Skill Level
Beginner to Intermediate
The pattern focuses on simple stitches like single crochet (sc), double crochet (dc), and chain stitches (ch), with some basic embroidery techniques for facial features and blush cheeks.
Materials
- Hook: 1.75mm crochet hook (or smaller for tighter stitches)
- Yarn:
- Green yarn for the body
- Brown yarn for the stem
- Contrasting green yarn for the leaves
- Pink yarn for embroidered cheeks
- Optional: Brown or black yarn for eyes and face embroidery
- Accessories:
- Stitch marker
- Embroidery needle
- Small scissors
- Polyester fiberfill for stuffing
Measurements / Sizing
- Finished pear measures roughly 8–10 cm (3–4 inches) tall when using a 1.75mm hook and cotton yarn.
Gauge
Gauge isn’t vital for this project, but ensure tight stitches to prevent fiberfill from showing through the gaps of your work.
Stitch Abbreviations
- ch: Chain
- sl st: Slip Stitch
- sc: Single Crochet
- inc: Increase (2 sc in the same stitch)
- dec: Invisible Decrease (two stitches crocheted into one)
Special Stitches
Magic Ring
Used to start the amigurumi’s foundation, the magic ring lets you work stitches into an adjustable loop.
The Crochet Pattern
The pear comprises four main sections: body, stem, leaves, and embroidery details. Below is the step by step breakdown for each part.
1. Pear Body
- Start with green yarn:
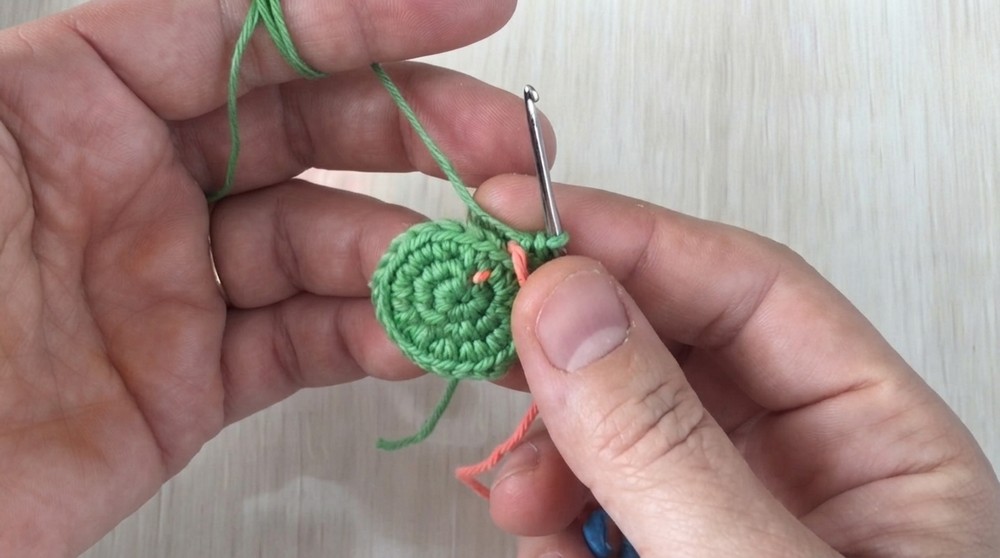
- Magic Ring: Make a magic ring and secure it with 1 chain.
- Work 6 single crochet (sc) into the ring. Pull tight to close, and place a stitch marker for tracking rounds.
- Round 2: Increase in each stitch around (2 sc in each stitch). You'll have 12 stitches.
- Round 3: Continue increasing (2 sc in each stitch) for a total of 24 stitches.
- Round 4: Change the increase pattern: work 3 sc, 1 inc, and repeat the sequence 6 times. At the end, you'll have 30 stitches.
- Round 5: Work 4 sc, 1 inc, repeating the sequence 6 times. You'll increase to 36 stitches in this round.
- Round 6: Continue increasing (5 sc, 1 inc) for a total of 42 stitches.
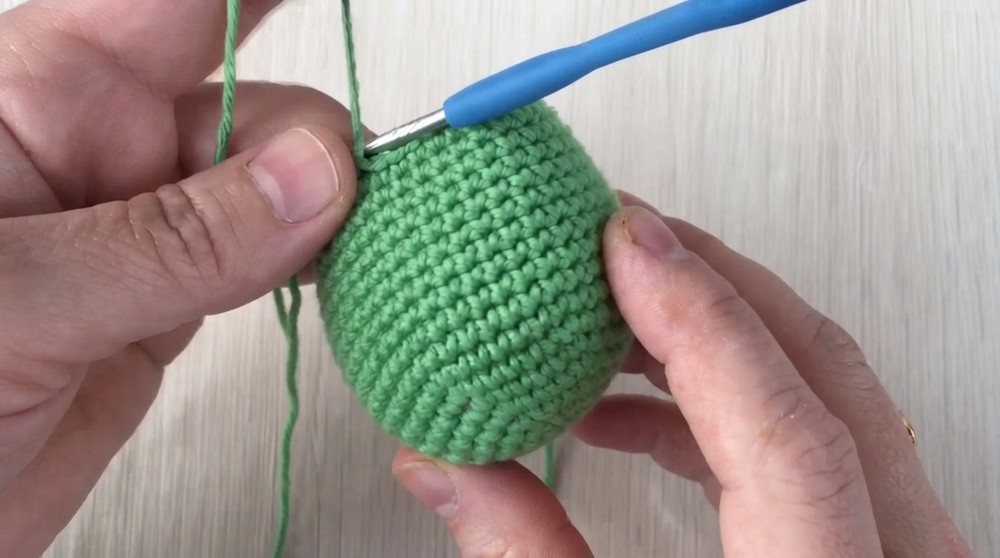
- Rounds 7–16: Work evenly for 11 rounds without increases or decreases. Keep all rows at 42 stitches to shape the body’s middle portion.
- Round 17: Begin decreases: Work 5 sc, 1 dec, and repeat 6 times. At the end, you'll have 36 stitches.
- Round 18: Work 4 sc, 1 dec, repeat 6 times. Reduce to 30 stitches.
- Rounds 19–20: Work evenly without increases or decreases. These rows will stay at 30 stitches.
- Round 21: Resume decreases: Work 8 sc, 1 dec, and repeat 3 times. Reduce to 27 stitches.
- Round 22: Work evenly for one row. Keep all stitches at 27 stitches.
- Round 23: Decrease again: 7 sc, 1 dec, repeated 3 times. Reduce to 24 stitches.
- Round 24: Work evenly without decreases for one row. Keep at 24 stitches.
- Round 25: Work 6 sc, 1 dec, repeated 3 times. Reduce to 21 stitches.
- Round 26: Work evenly without decreases for one row. Keep at 21 stitches.
- Round 27: 5 sc, 1 dec, repeated 3 times. Reduce to 18 stitches.
- Round 28: Work evenly for one row (18 stitches).
- Round 29: 4 sc, 1 dec, repeated 3 times. Reduce to 15 stitches.
- Round 30: 3 sc, 1 dec, repeated 3 times. Reduce to 12 stitches.
- Round 31: Work evenly for one row (12 stitches).
- Close the base: Secure with slip stitches. Leave a long tail for sewing or weaving the end.
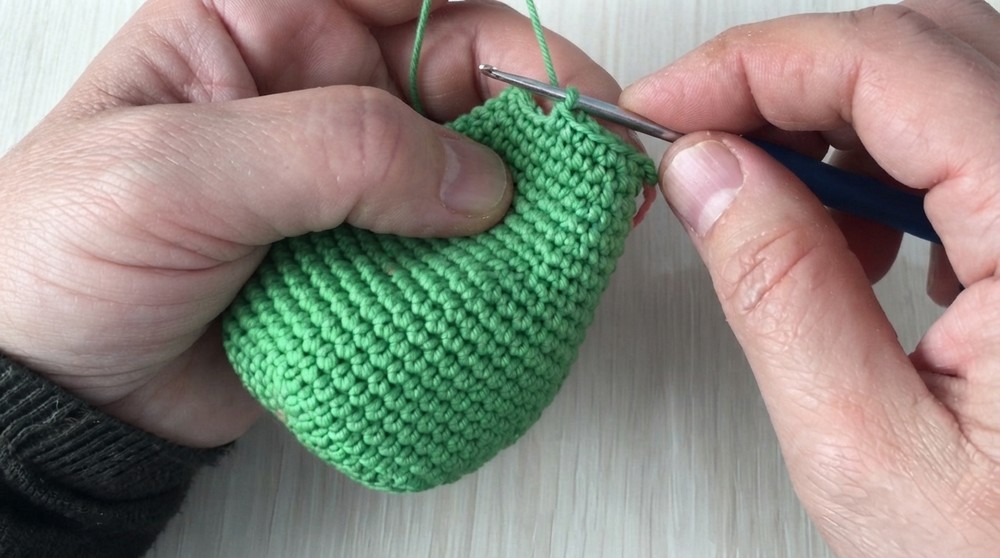
2. Pear Stem
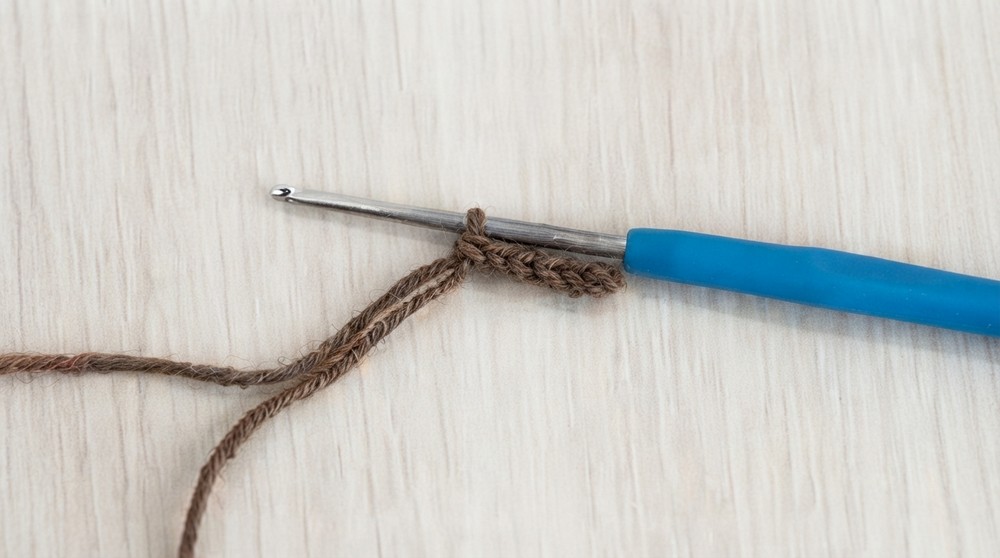
- Switch to brown yarn. Form a chain approximately 6 stitches long.
- Slip stitch into the base of the chain and fasten off. Leave a tail for sewing to the top of the body.
3. Pear Leaves
- Take contrasting green yarn.
- Work 9 chains for the leaf base.
- Work along the chain to form one side of the leaf:
- Second chain from the hook: Work 1 sc.
- Next chain: Work 1 half double crochet (hdc).
- Next chain: Work 1 double crochet (dc).
- Next chain: Work 1 treble crochet (trc).
- Work 2 treble crochet stitches into the next two chains.
- Finish off the side with 1 dc, 1 hdc, and 1 sc in sequence.
- Repeat for the other side of the chain to complete the leaf. Slip stitch into the starting point and fasten off.
- Optional: Repeat the process to make additional leaves.
4. Facial Embroidery
- Eyes: Use black or dark brown yarn to embroider simple round eyes. Position the eyes evenly above the middle of the body, approximately 13 stitches apart. Fill with small crisscross stitches.
- Eyebrows: Stitch subtle diagonal lines above each eye.
- Smile: Use contrasting thread to create a curved, simple smile. Start slightly below the eyes and center the smile.
- Cheeks: Use pink yarn to embroider small blush dots next to the eyes.
Assembly
Step 1: Attach Stem
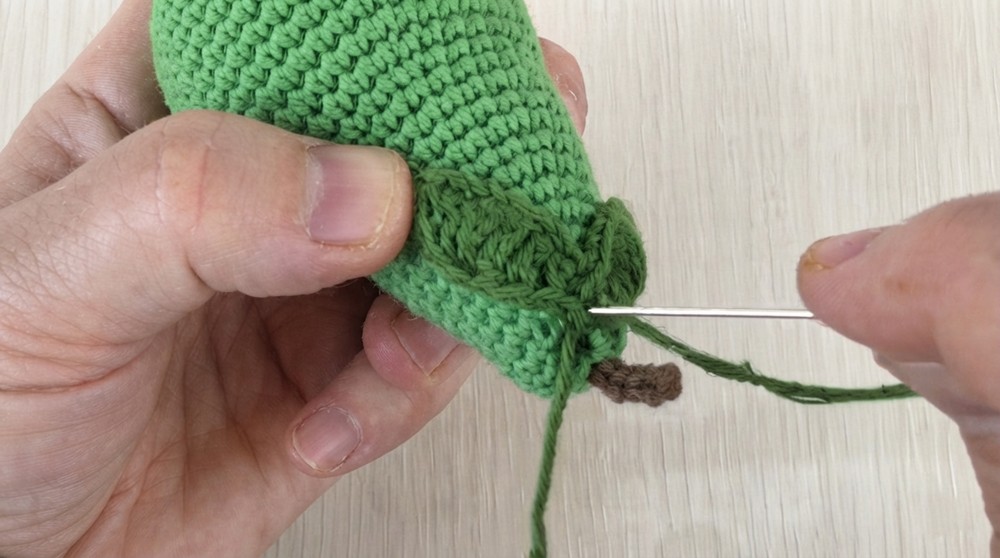
Thread the brown yarn tail through the top of the pear and secure firmly.
Step 2: Attach Leaves
Sew or glue leaves around the top with small neat stitches.
Step 3: Finish Facial Embroidery
Make final adjustments to the face and cheeks as desired.
Finished Size
The completed pear amigurumi measures approximately 8–10 cm (3–4 inches).
Conclusion
This Crochet Pear Amigurumi Pattern lets you create a delightful handmade piece full of personality. With its simple yet adorable style, this project is perfect for gifts or cute decor.